
Ghost Tonie
Print Profile(1)

Description
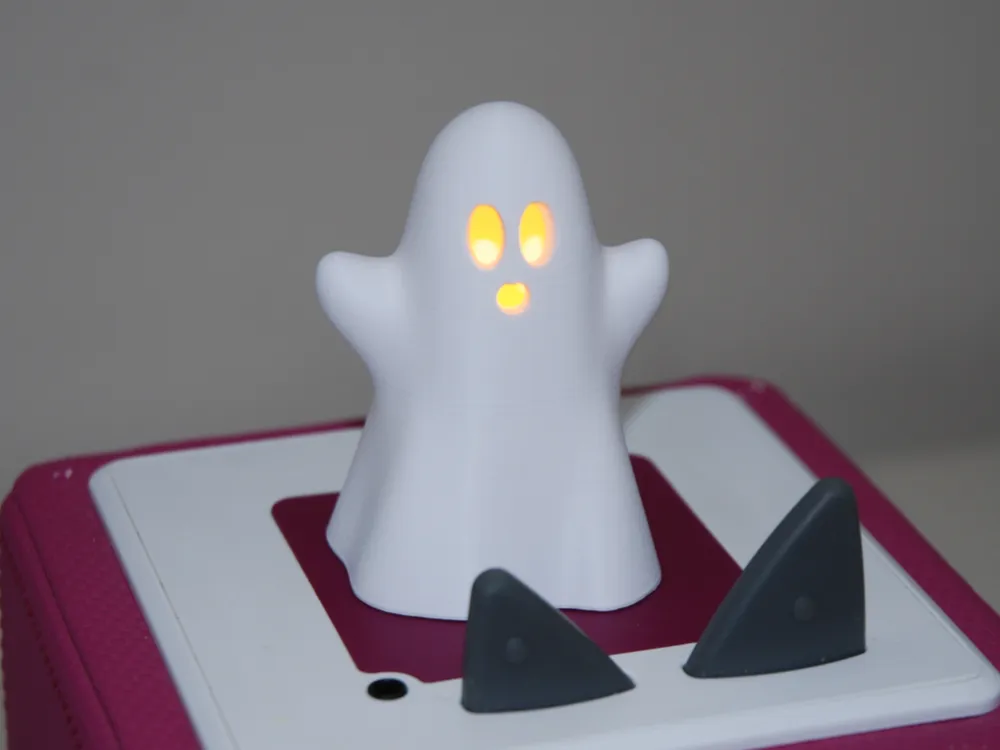

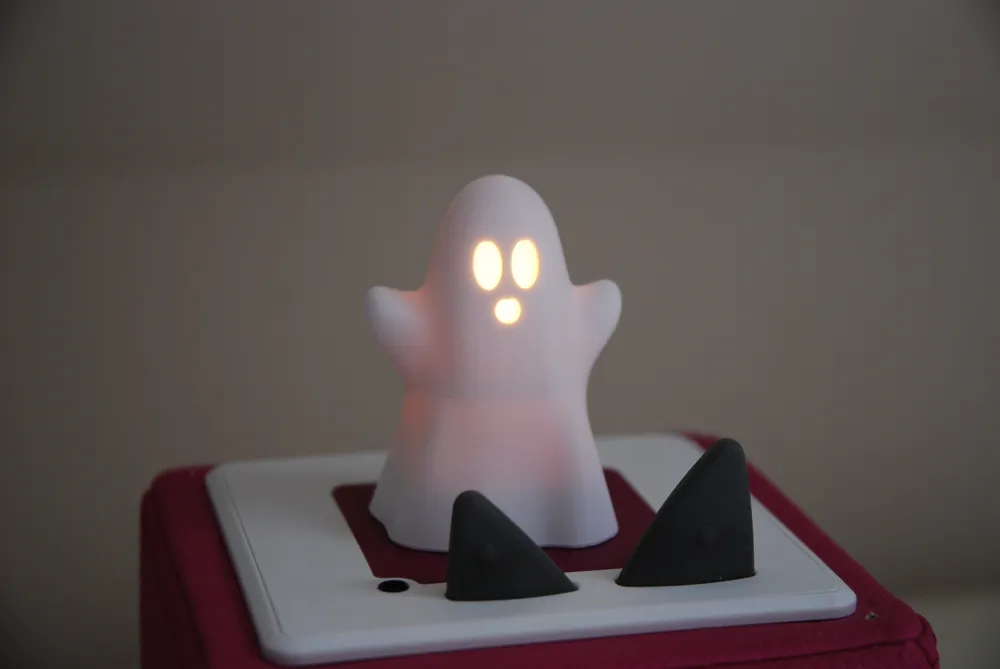
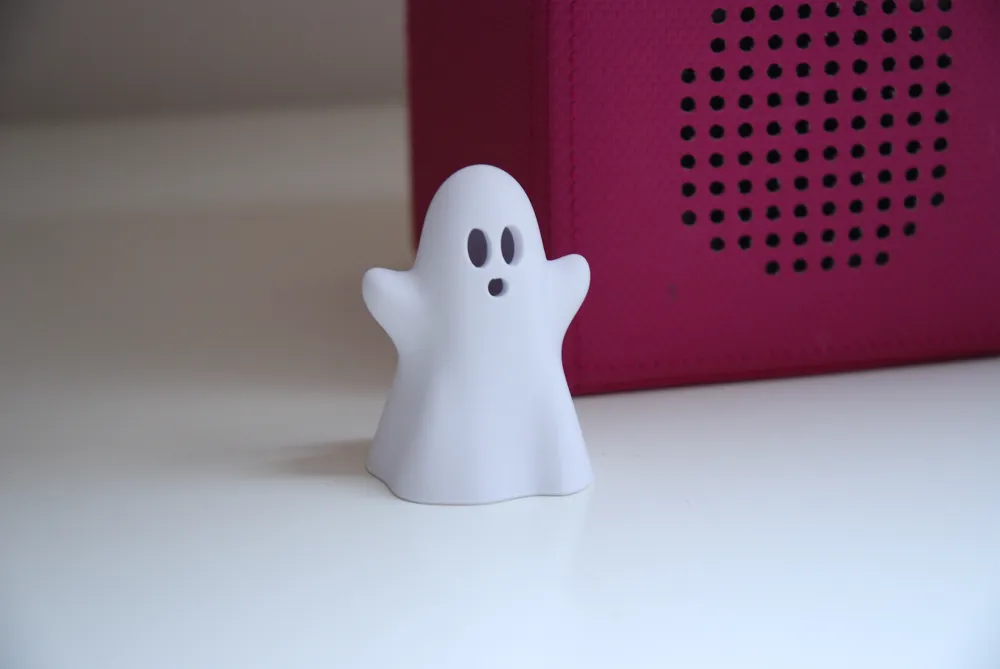
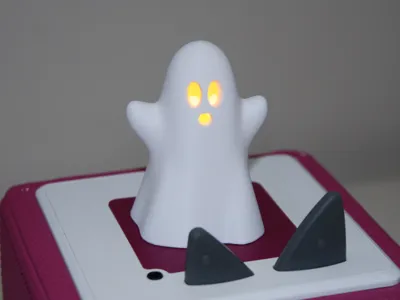
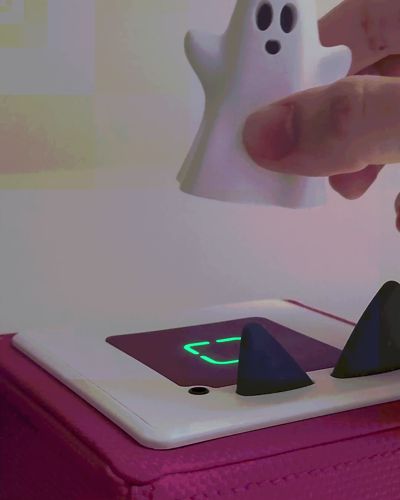
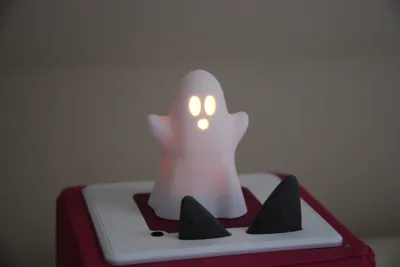
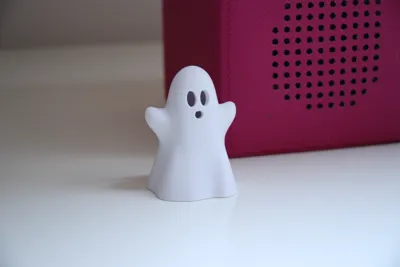
This Ghost Tonie is a custom Tonie figure for the Toniebox. It starts to shine when you place it on the Toniebox.
Here is everything you need:
- To play music with a custom tonie (if you only want the ghost without using it on a Toniebox, you can skip these steps):
- A teddyCloud or teddyBench
- A small version of a compatible RFID tag that is accepted by the Toniebox (ICODE SLIX-L RF interface, ISO/IEC 15693, 13.56 MHz). You can find instructions to build one here. You need this RFID Tag and this inductor.
- 10x4,5 mm magnet. I used these (It says 10x5 but they are slightly smaller).
- 4x15 mm NO Reed-Switch. I used these.
- 3 mm 3V LED. I used these.
- CR2032 battery
- wire
Steps:
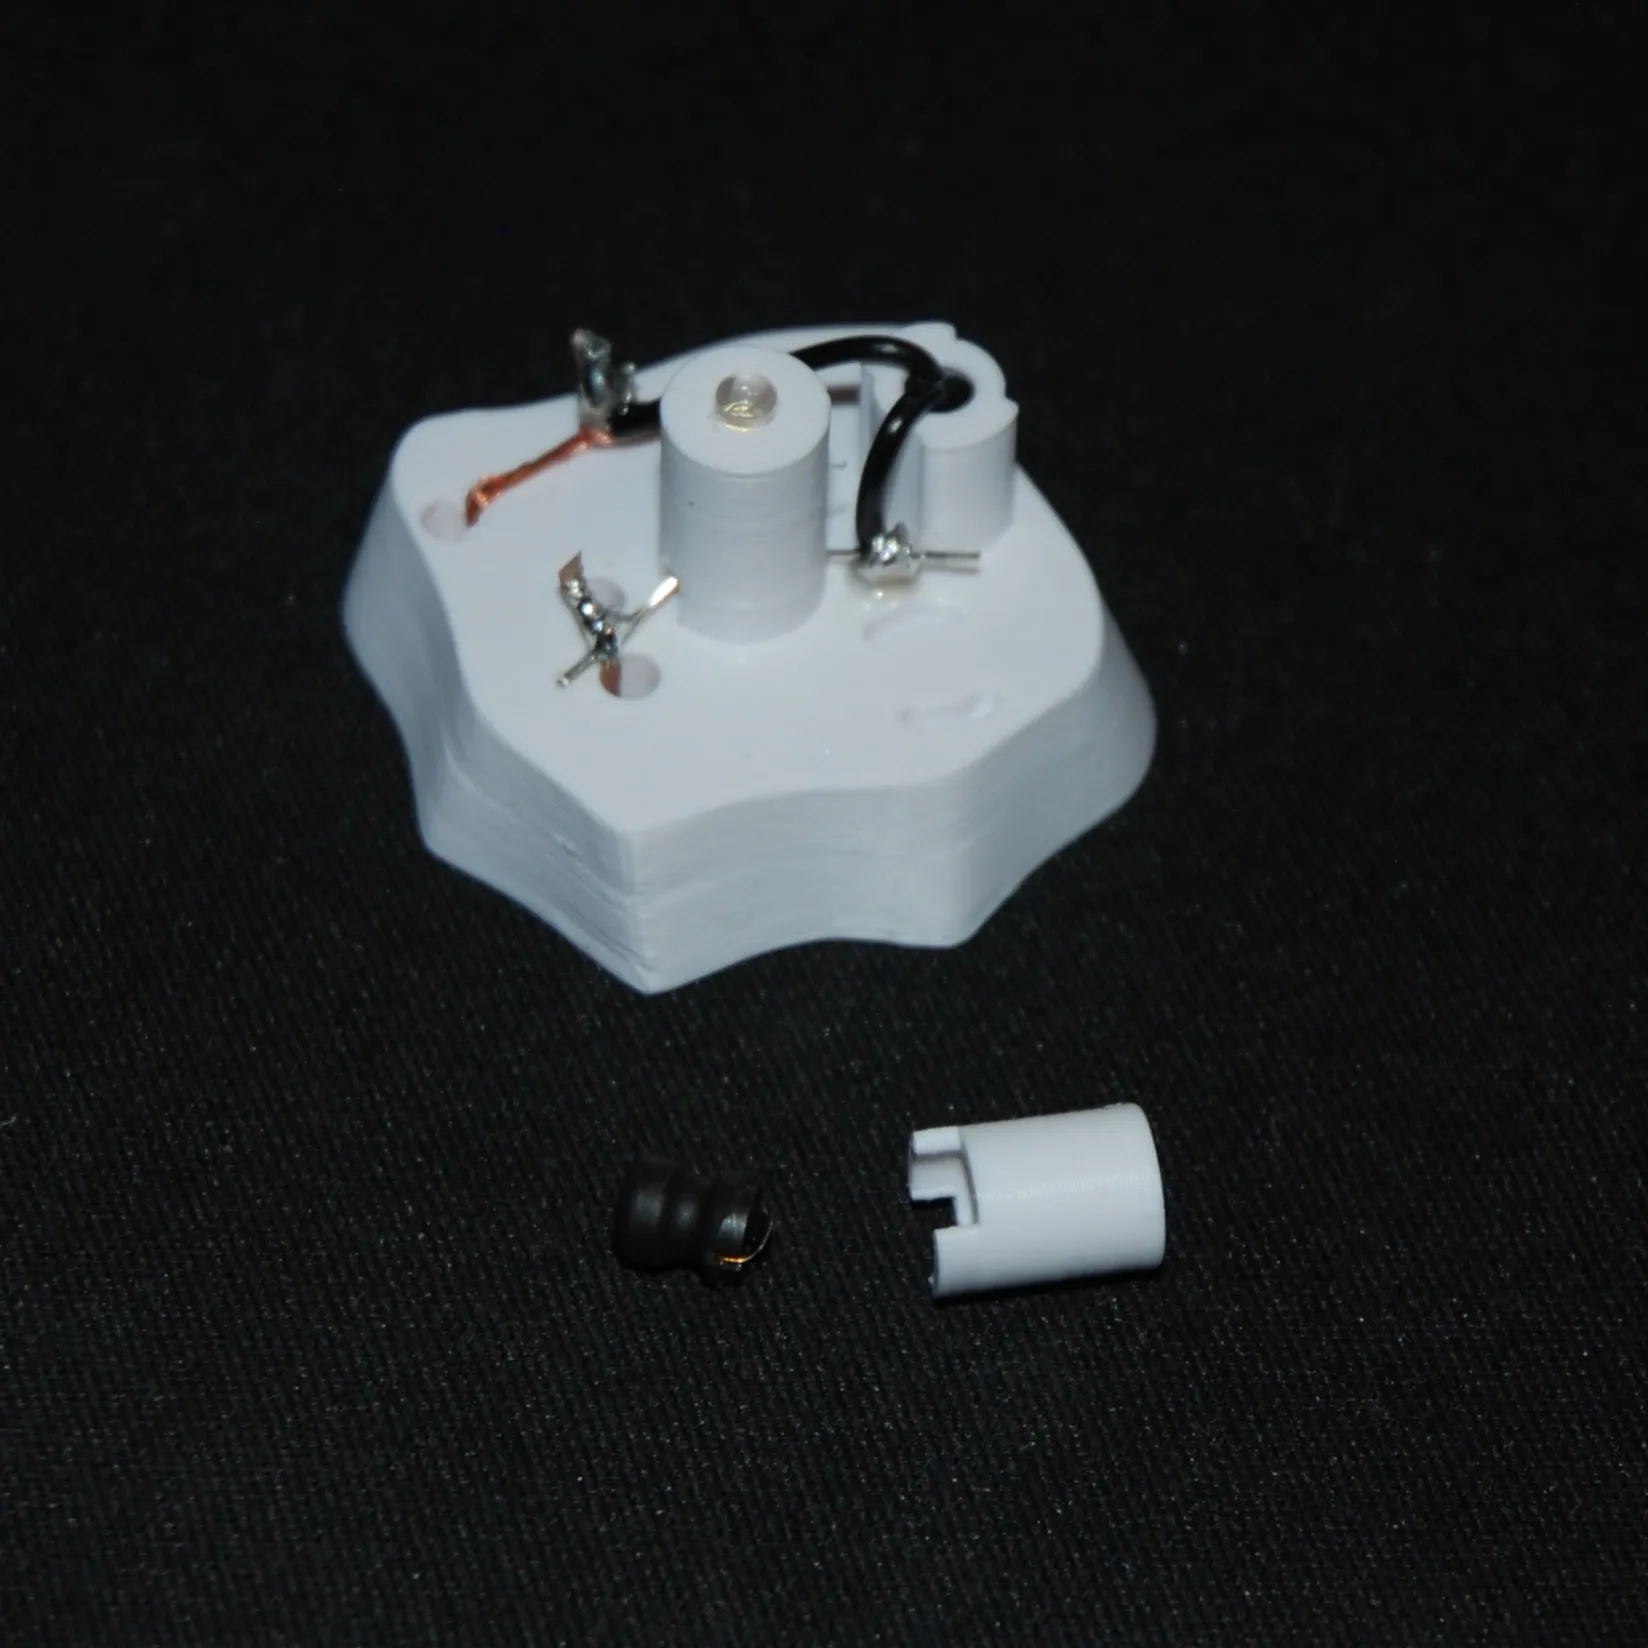
Print the base and remember to pause the printer at the right time to insert the magnet during the printing process. Attach two wires to the base. These will later be connected to the battery terminals.
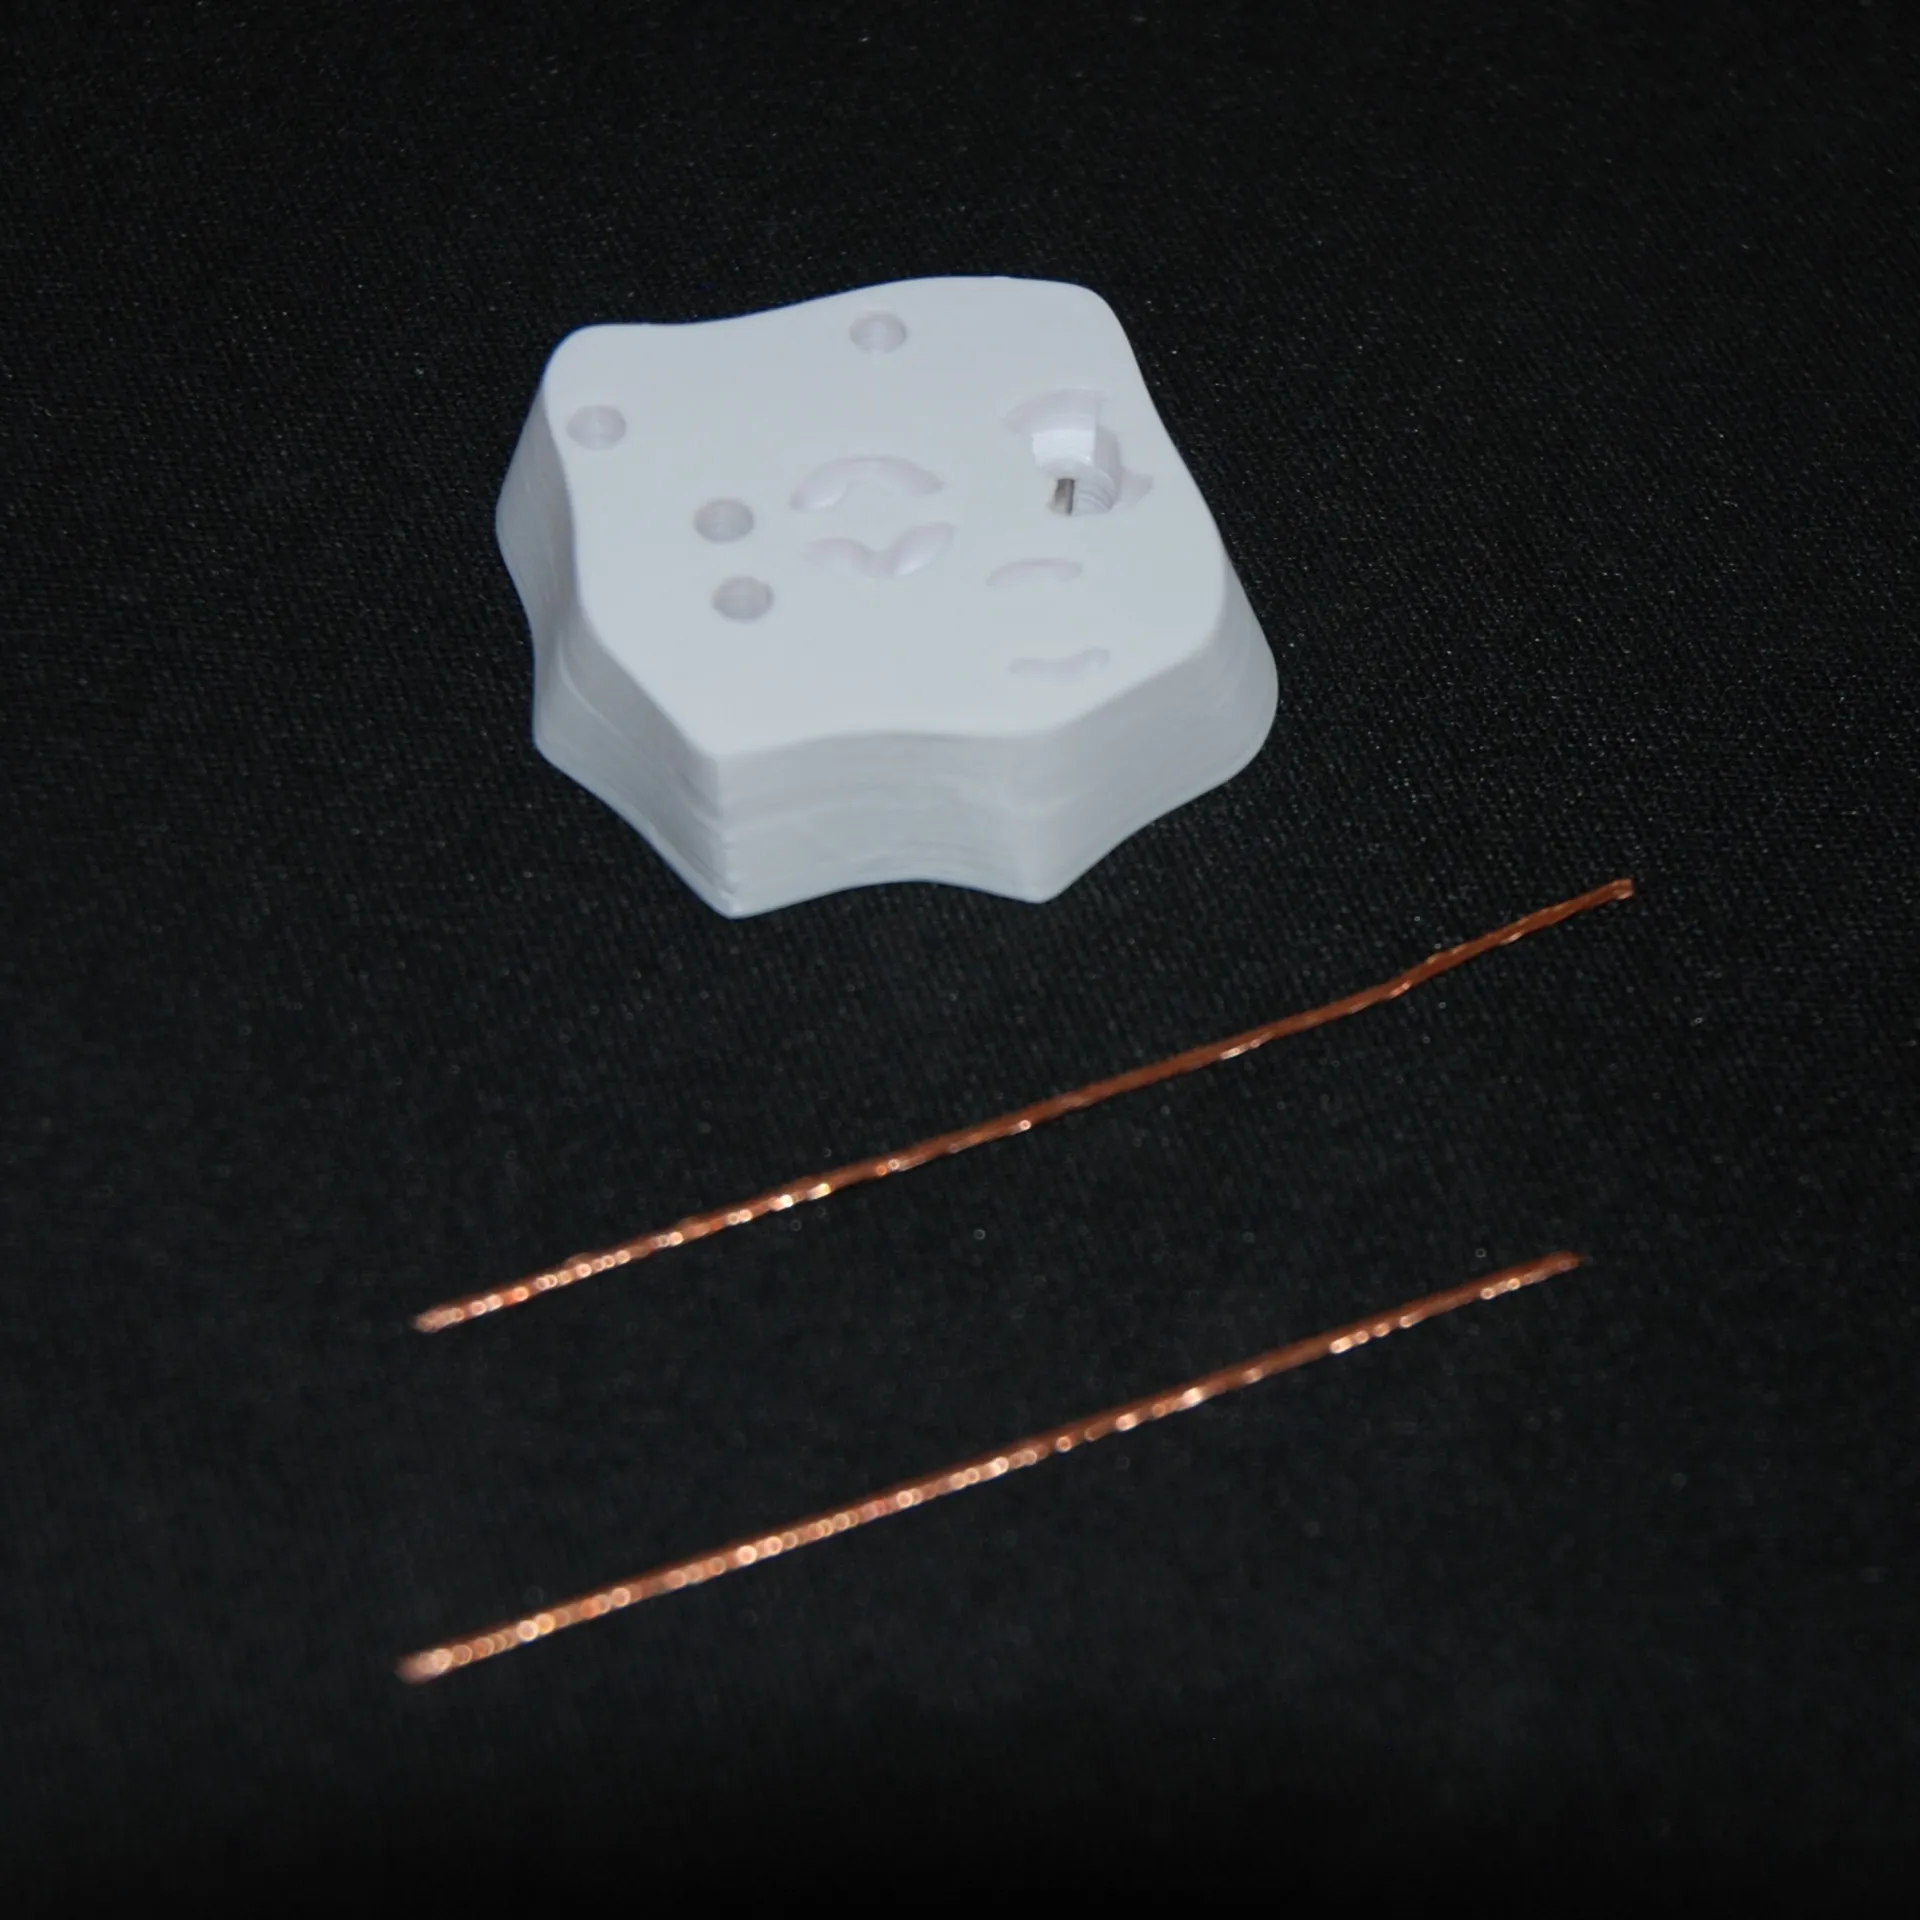
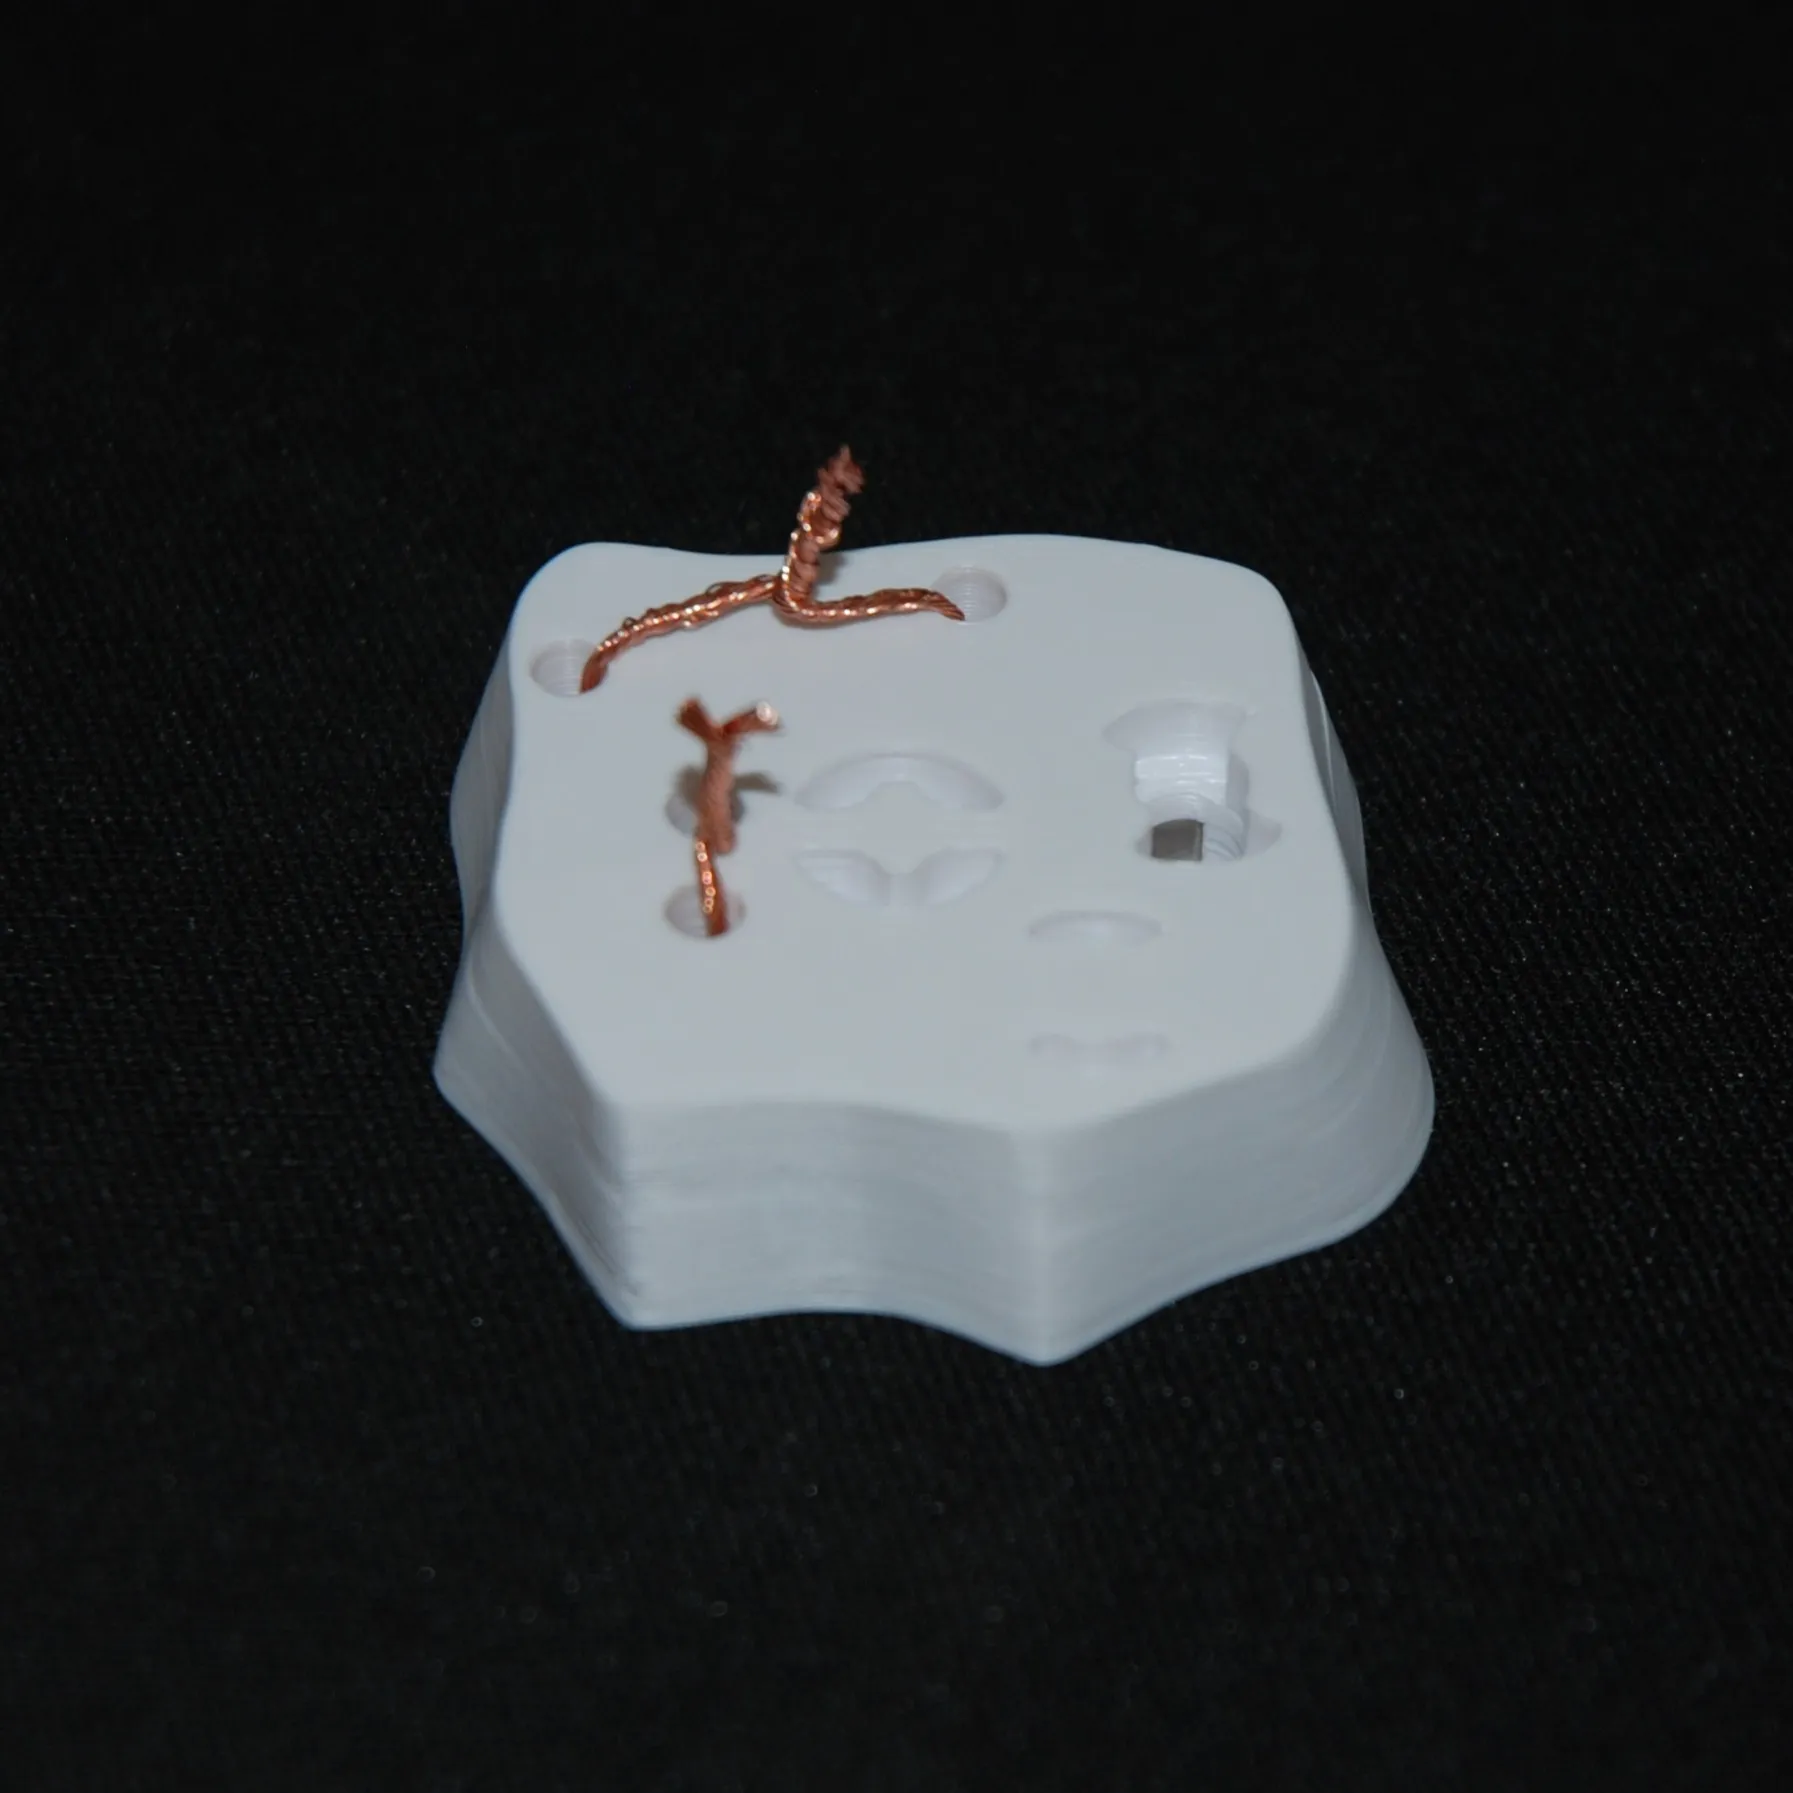
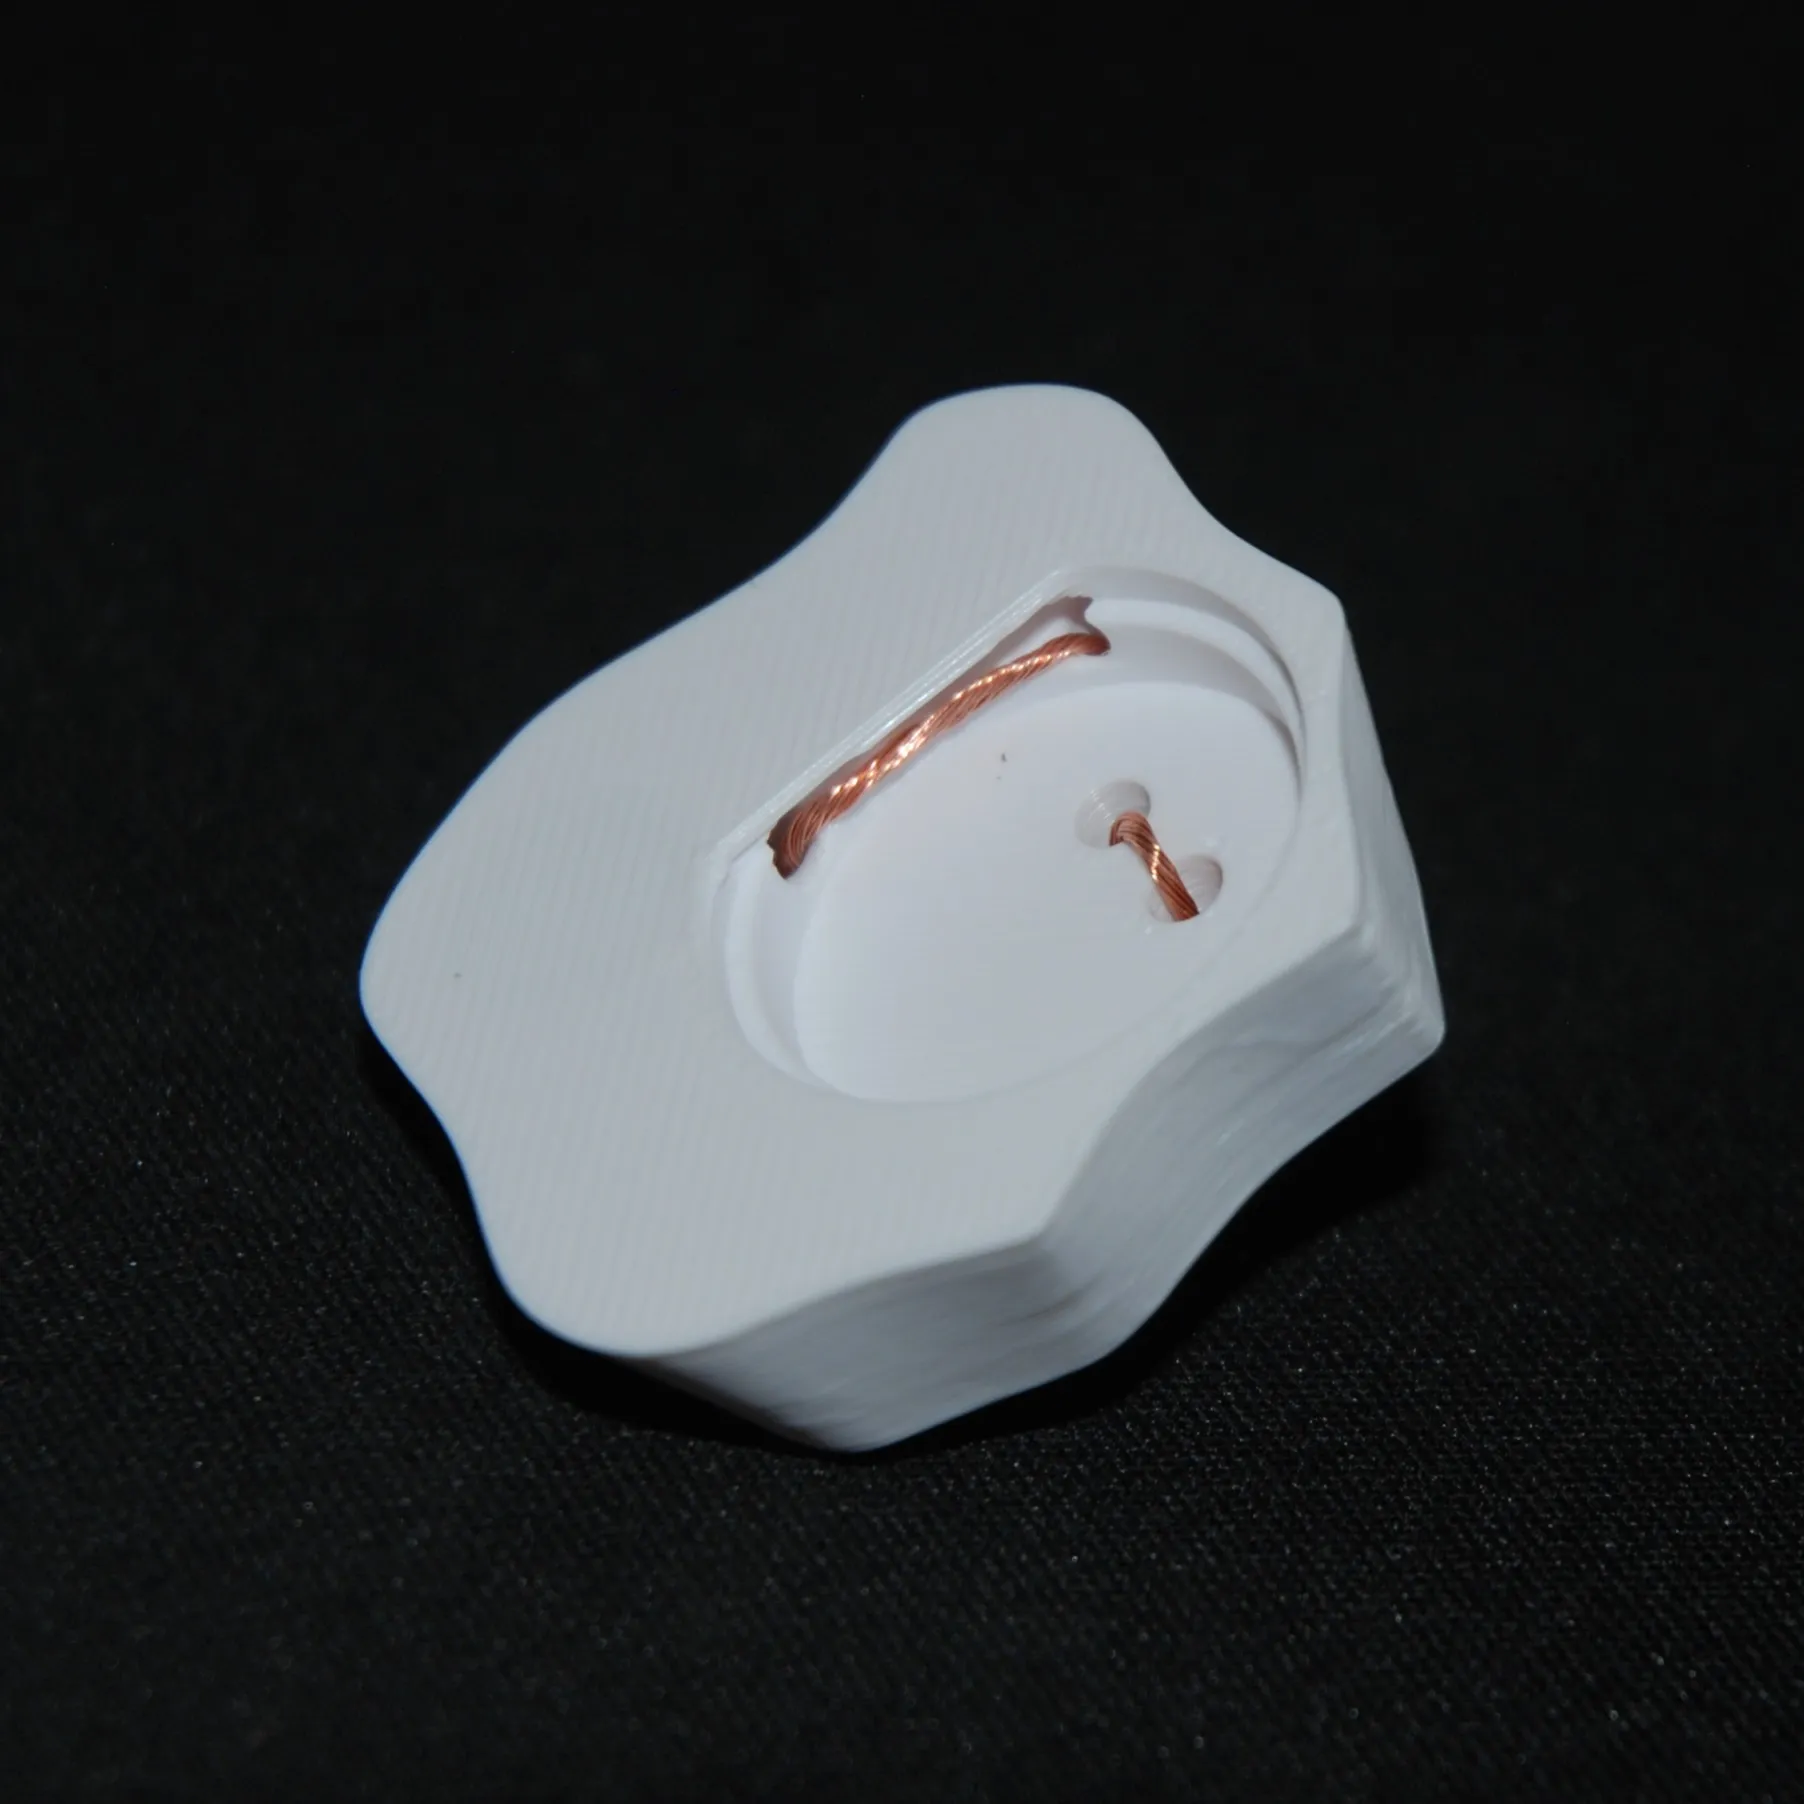
Take the LED Holder and insert a 3mm LED. Then use the LED separator and push it into the holder to separate the two leads and secure the LED in place.
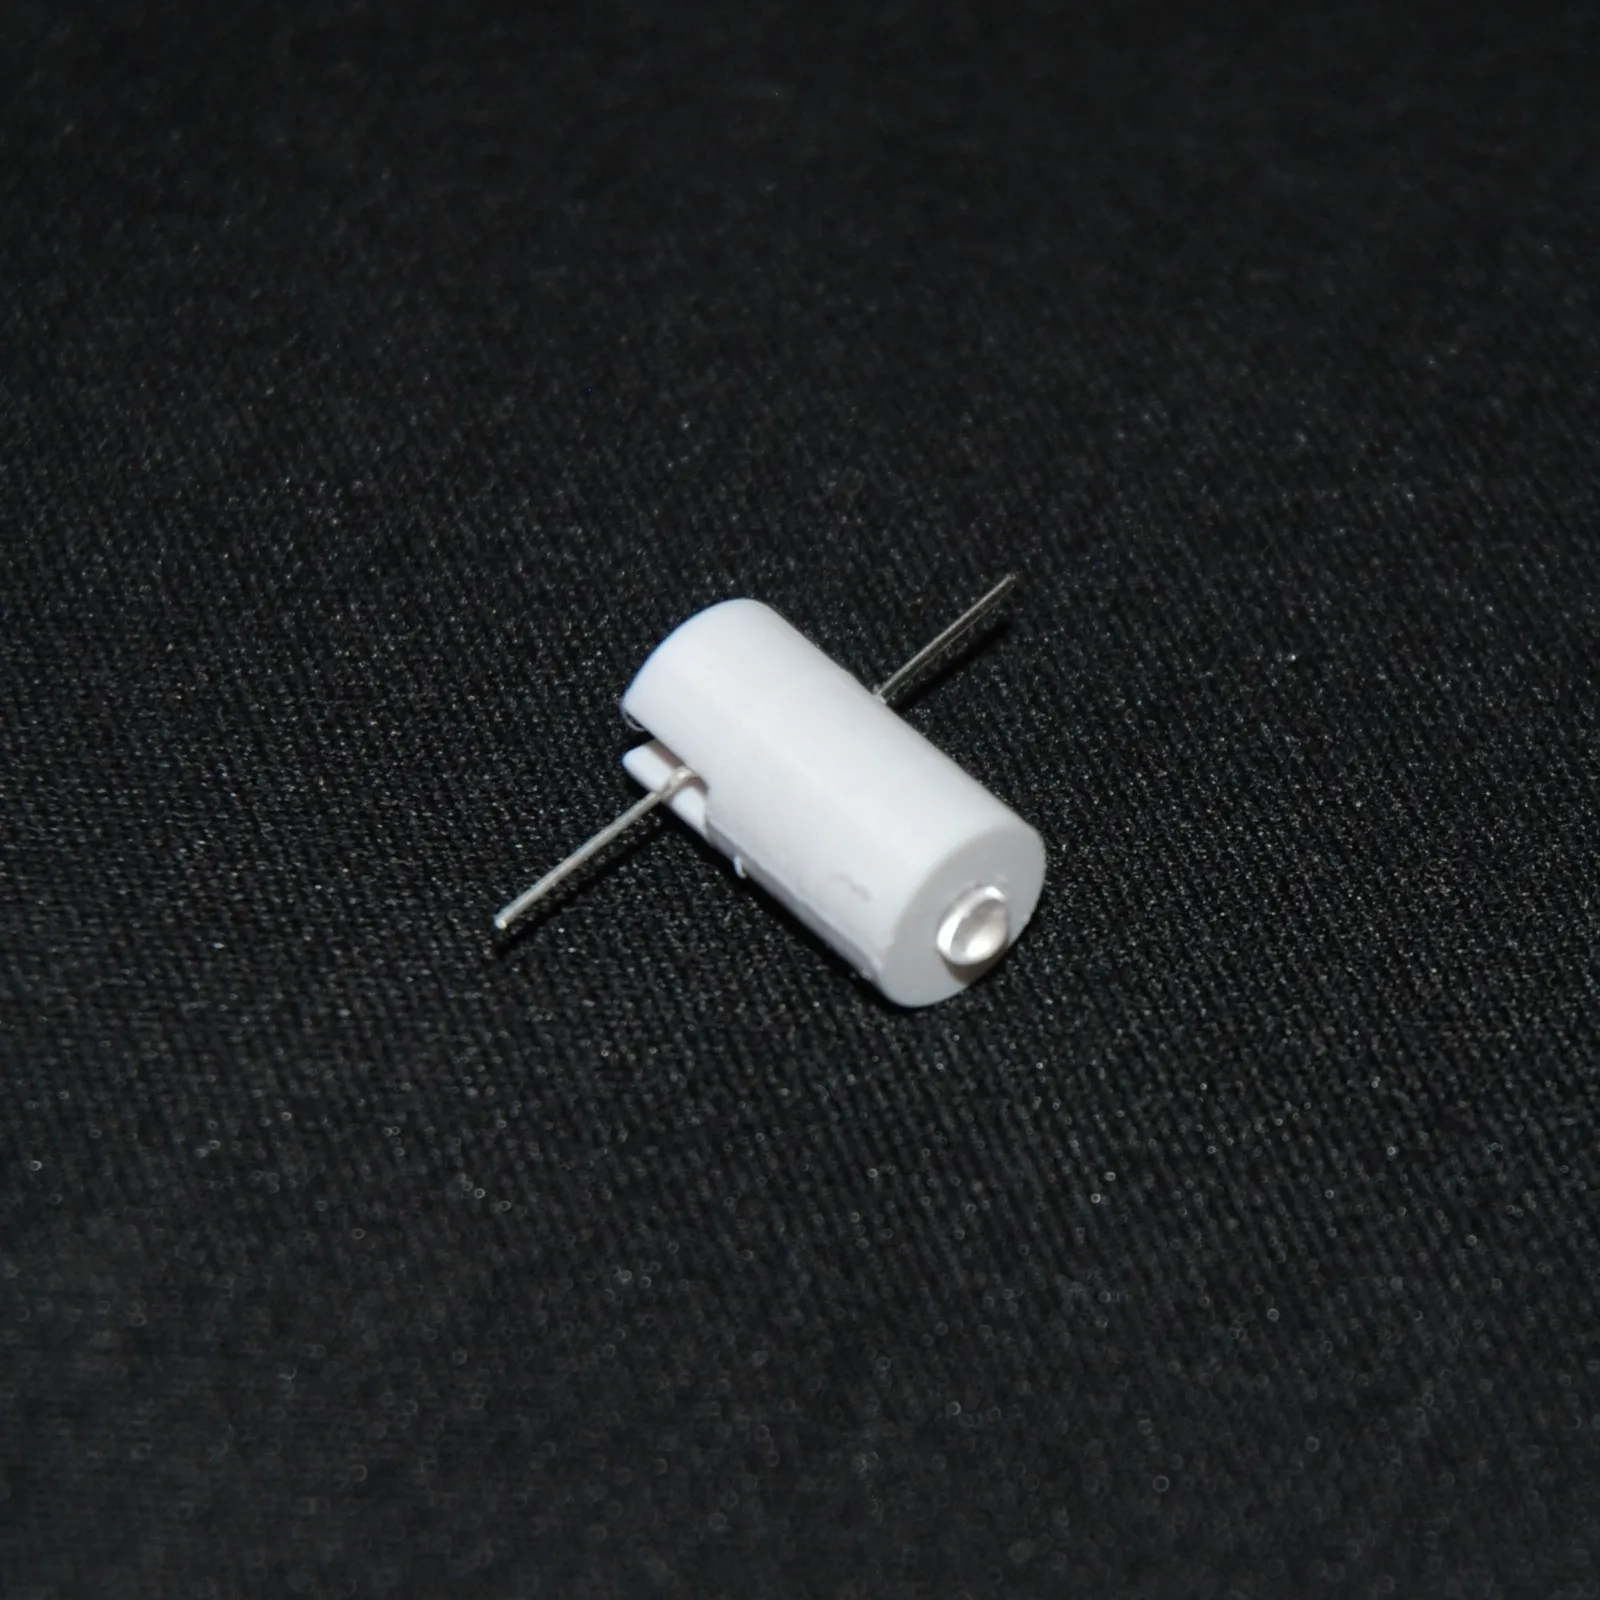
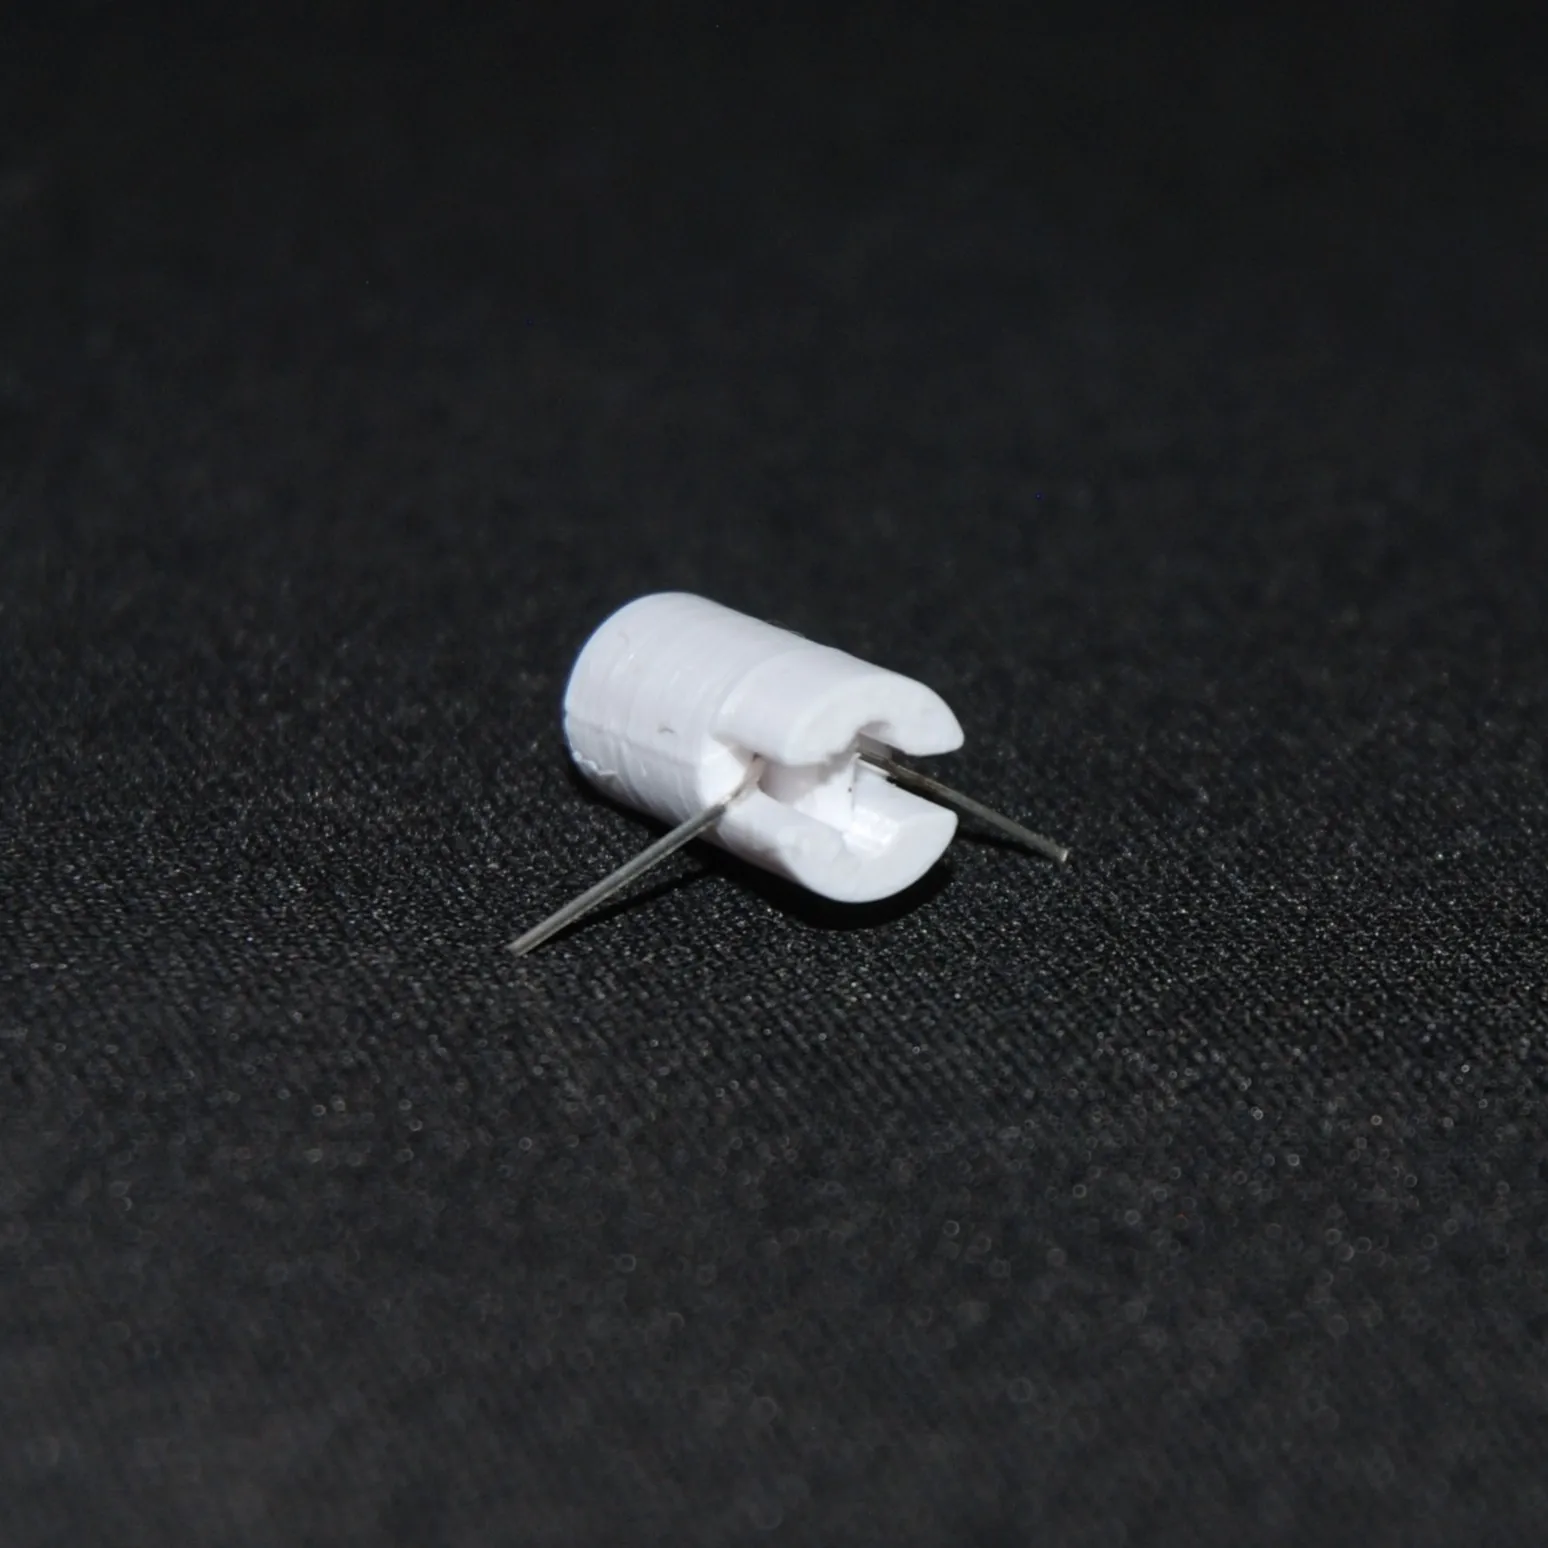
Now you can use some super glue to attach the LED to the base. Make sure to connect the shorter lead to the wire that is closer to the center.
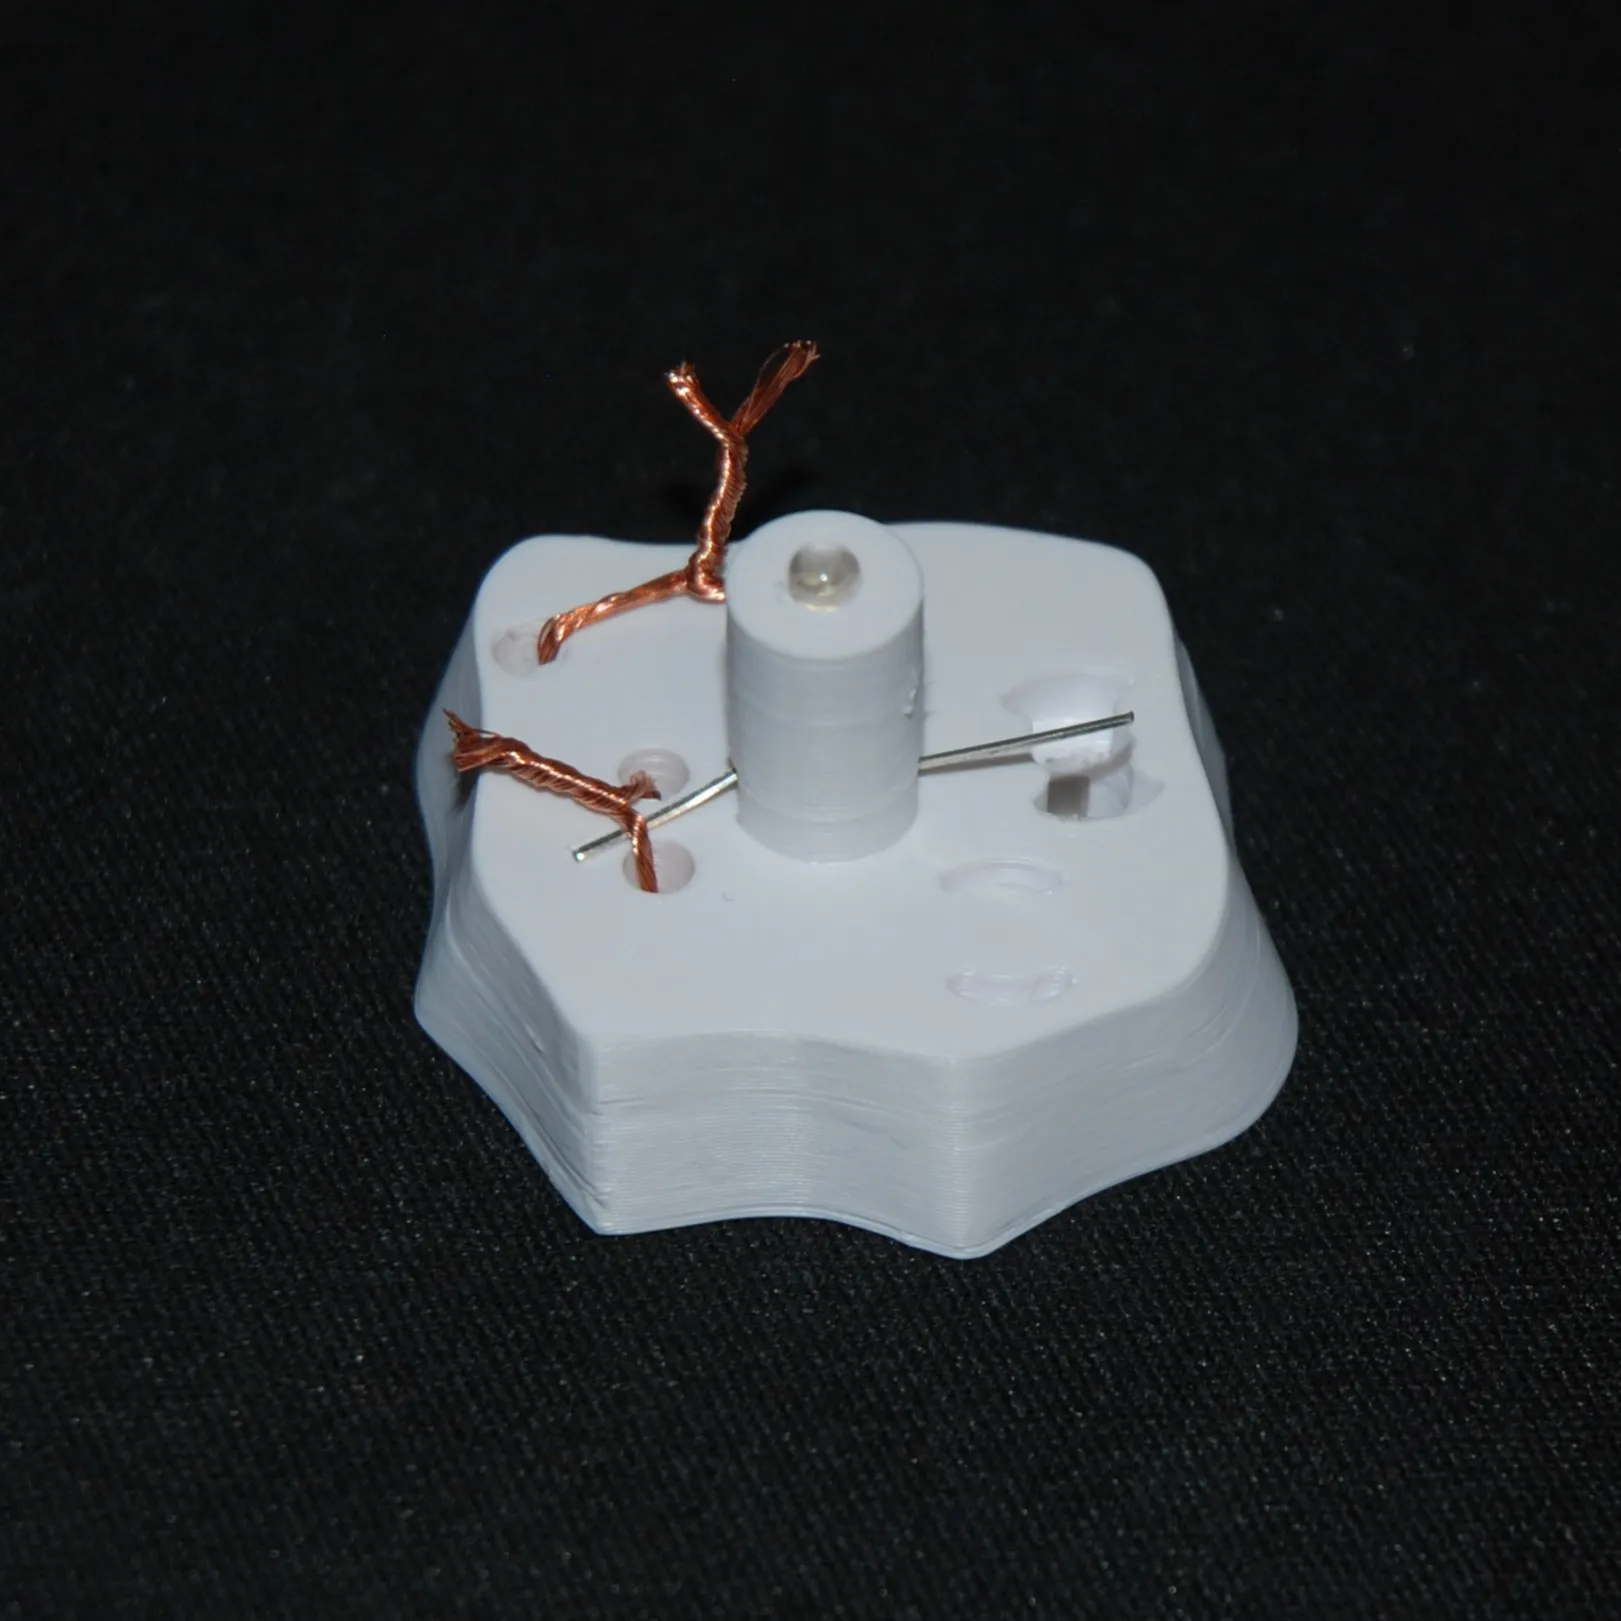
Take the reed switch and feed the wires through the reed switch holder. Then place the reed switch onto the base. Before attaching the holder, you need to figure out how to rotate the reed switch inside the hole.
A reed switch closes the circuit when it is near a magnet. The problem is that the toniebox has no build-in magnet. The Tonie figures only stick to the box because there is an iron plate inside. By placing the reed switch directly next to the magnet in the base at the right angle, we can prevent the reed switch from being triggered.
When the magnet gets close to another magnet or a magnetic surface, the magnetic field changes just enought to trigger the reed switch.
To find the correct angle, connect one end of the switch with the long lead of the LED and the other end to the second wire we attached in step 1. Now insert the battery and put on the battery cover. Rotate the reed switch until the LED is no longer shining.
To verify that everything is working properly, place the base onto the Toniebox or another magnetic surface. The LED sould now start to shine. If you have reached this point, do not move the reed switch anymore. Use some super glue to glue the switch to the base and attach the holder.
After that, you can solder everything in place. Make sure to remove the battery before starting to solder.
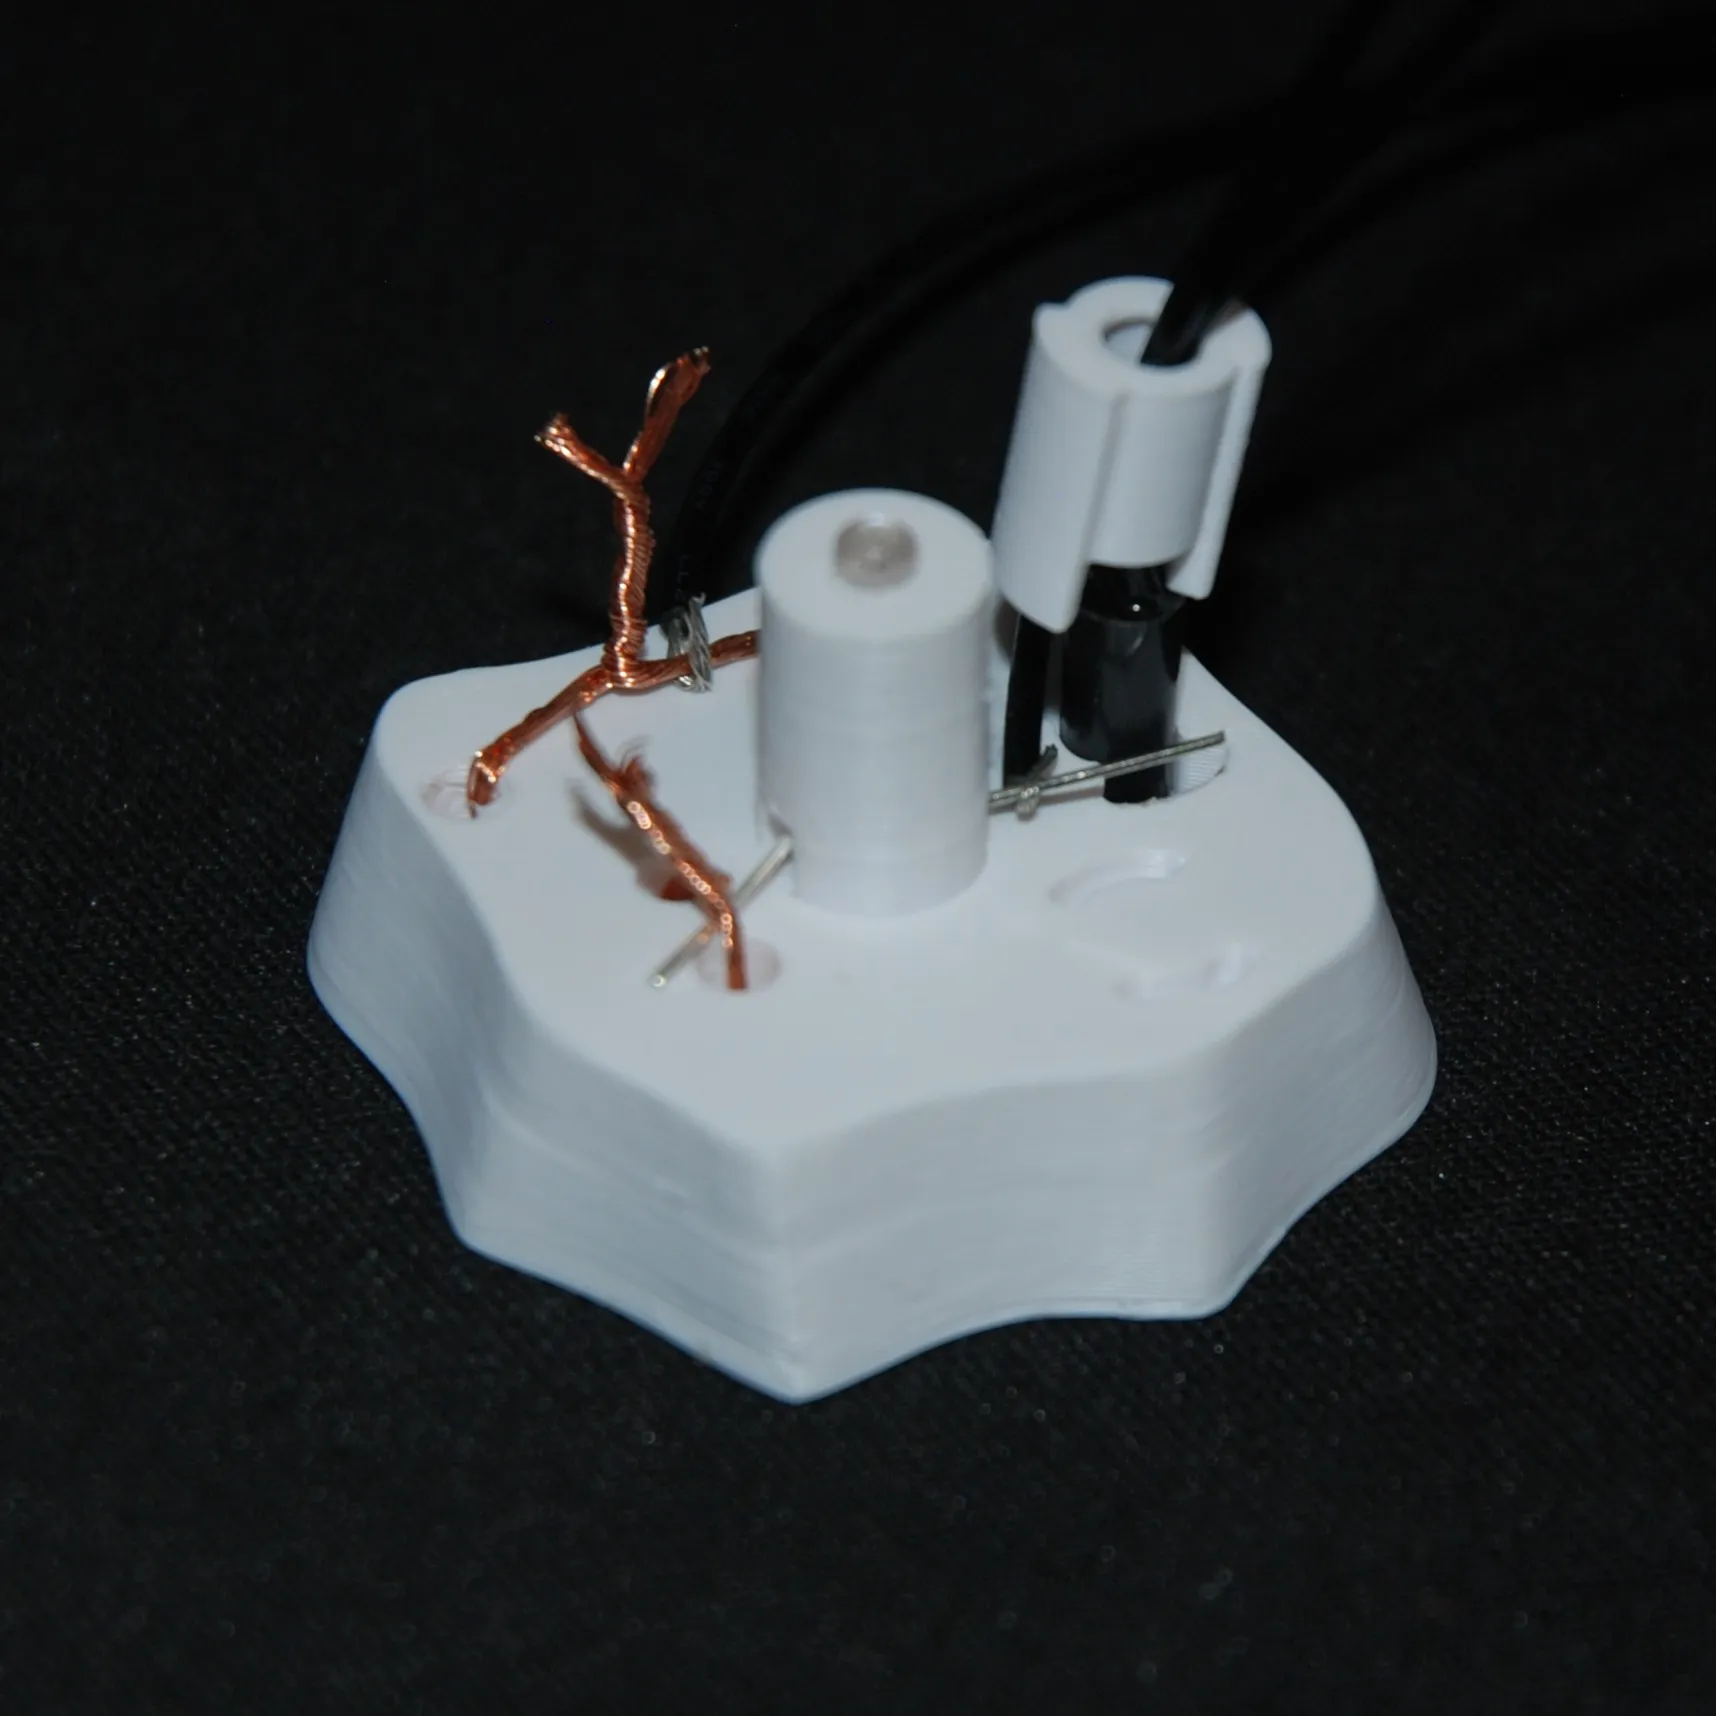
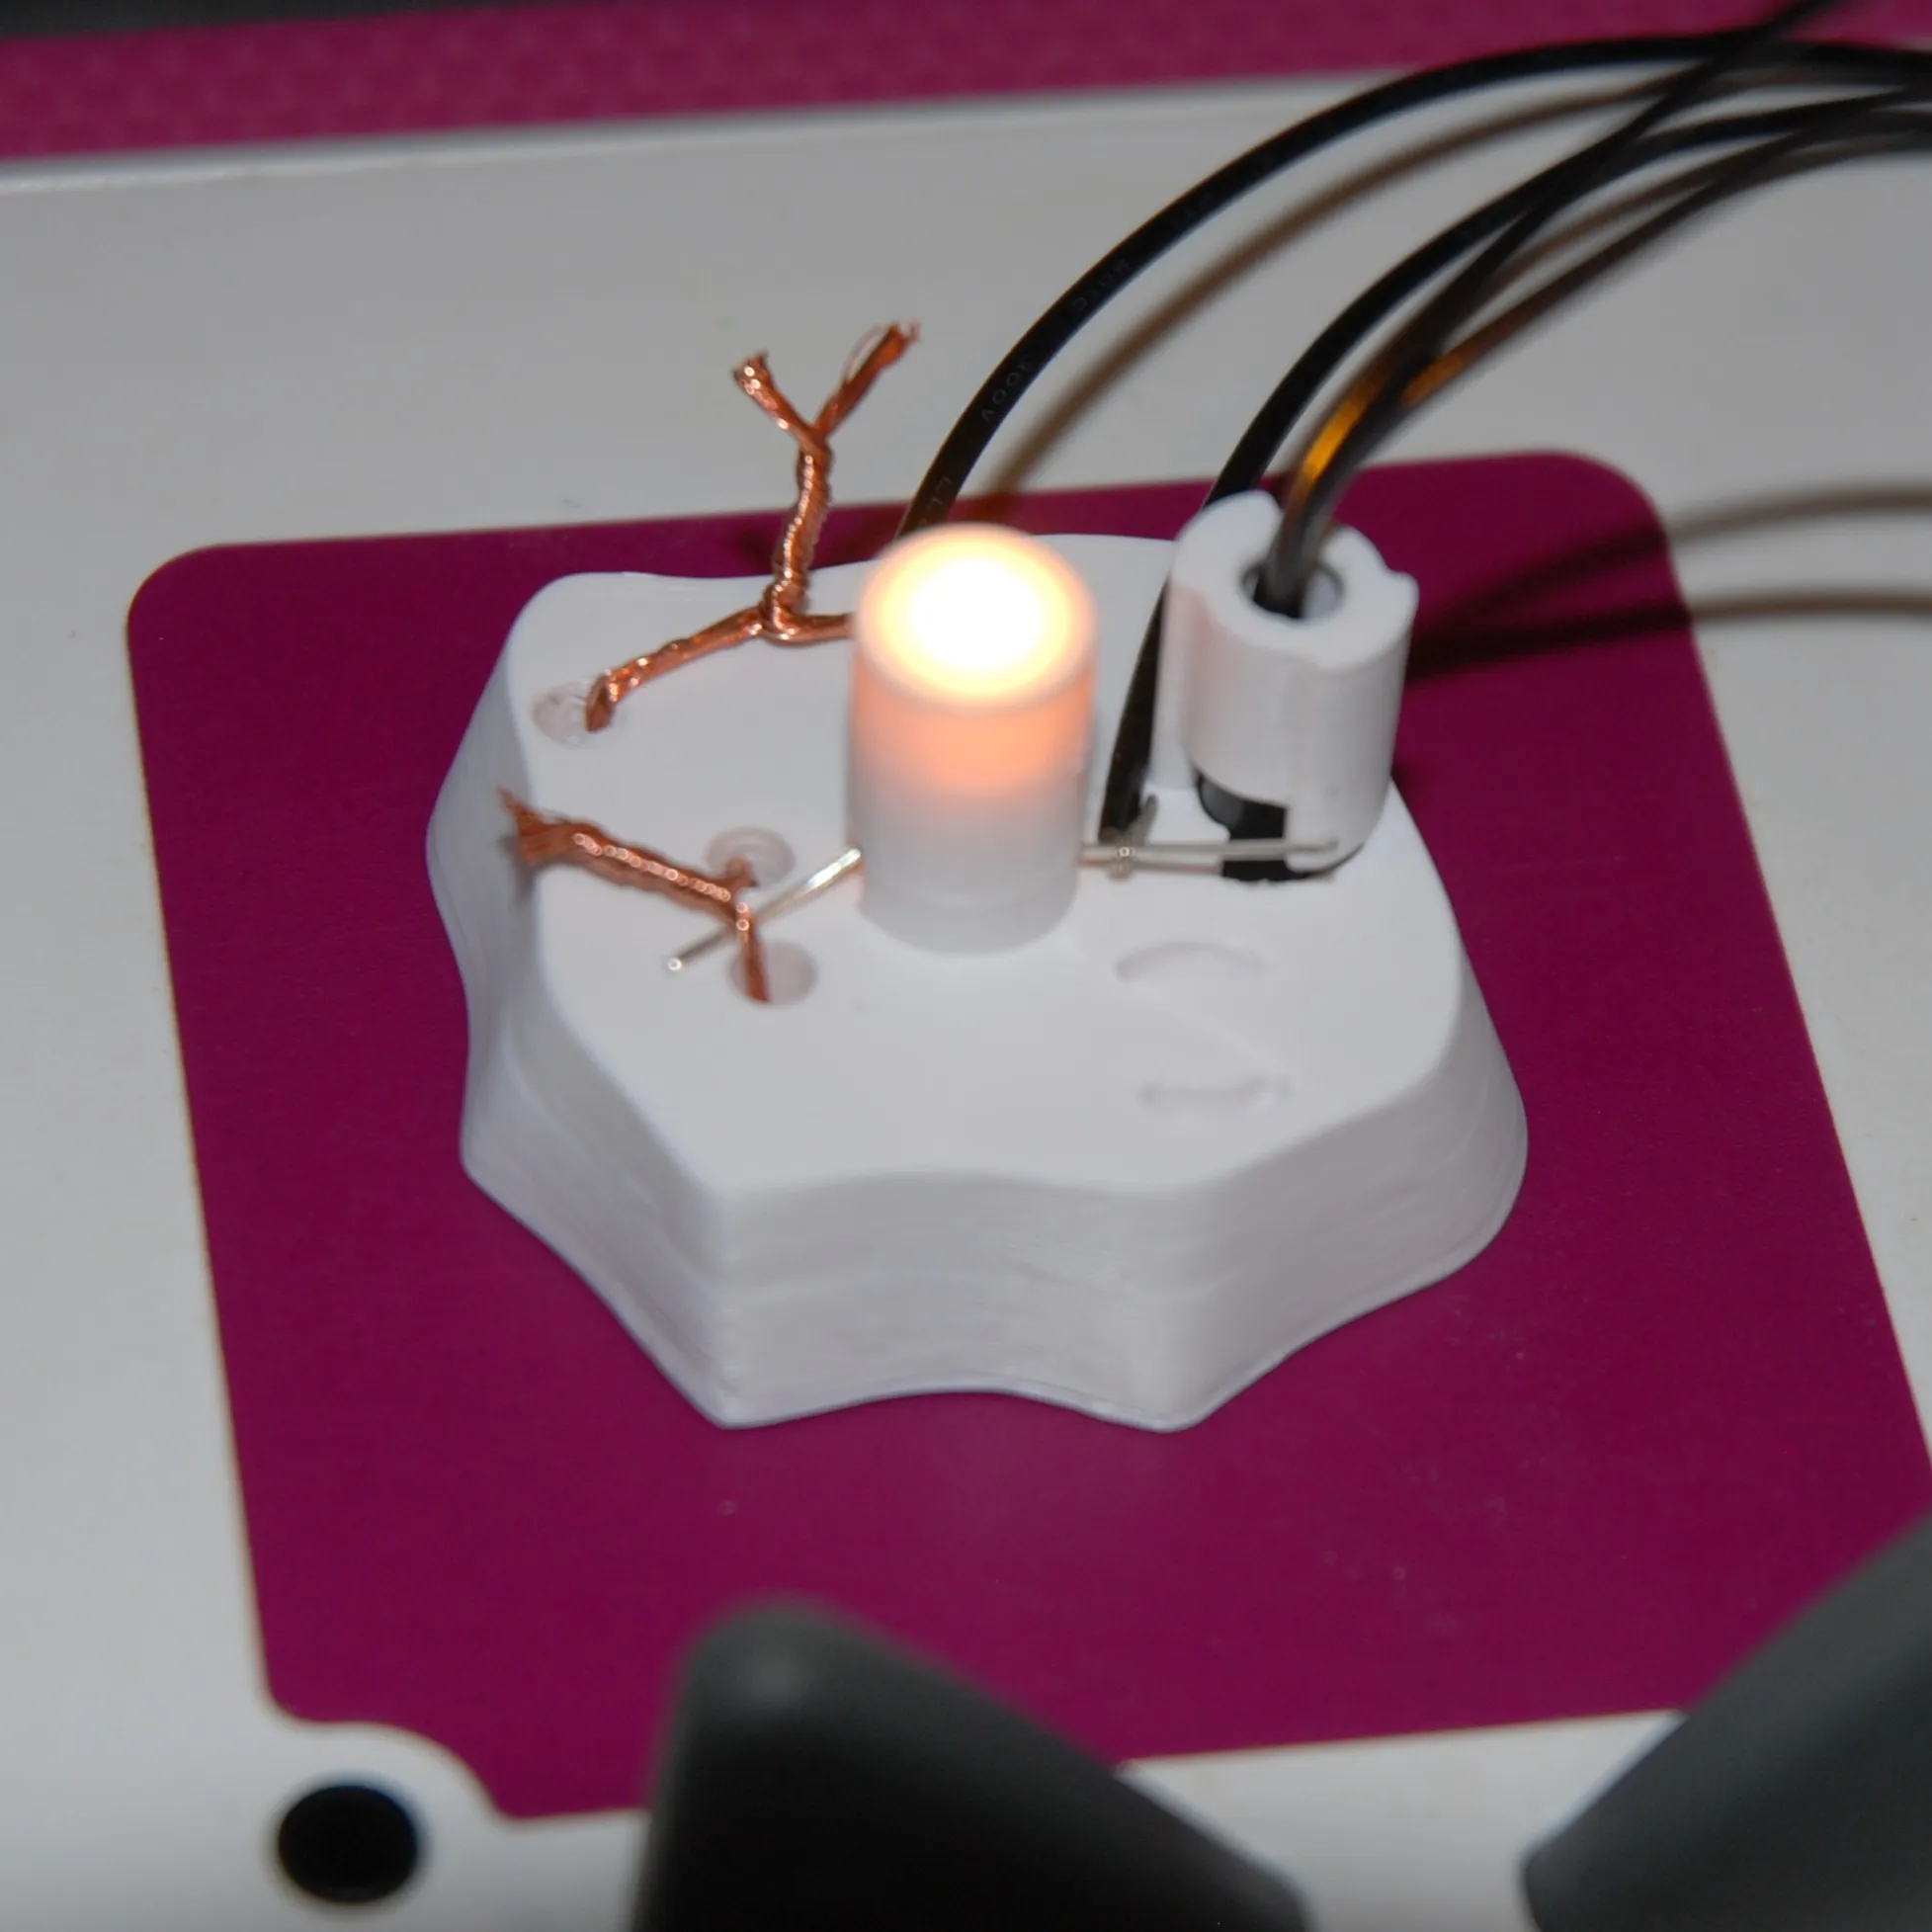
Put the RFID tag inside the RFID holder and glue it to the base.
Print the body. You need to pause the printer at the right time to attach the light diffuser in the middle of the body. Use some glue and wait a moment so the diffuser stays in place before the printer starts again.
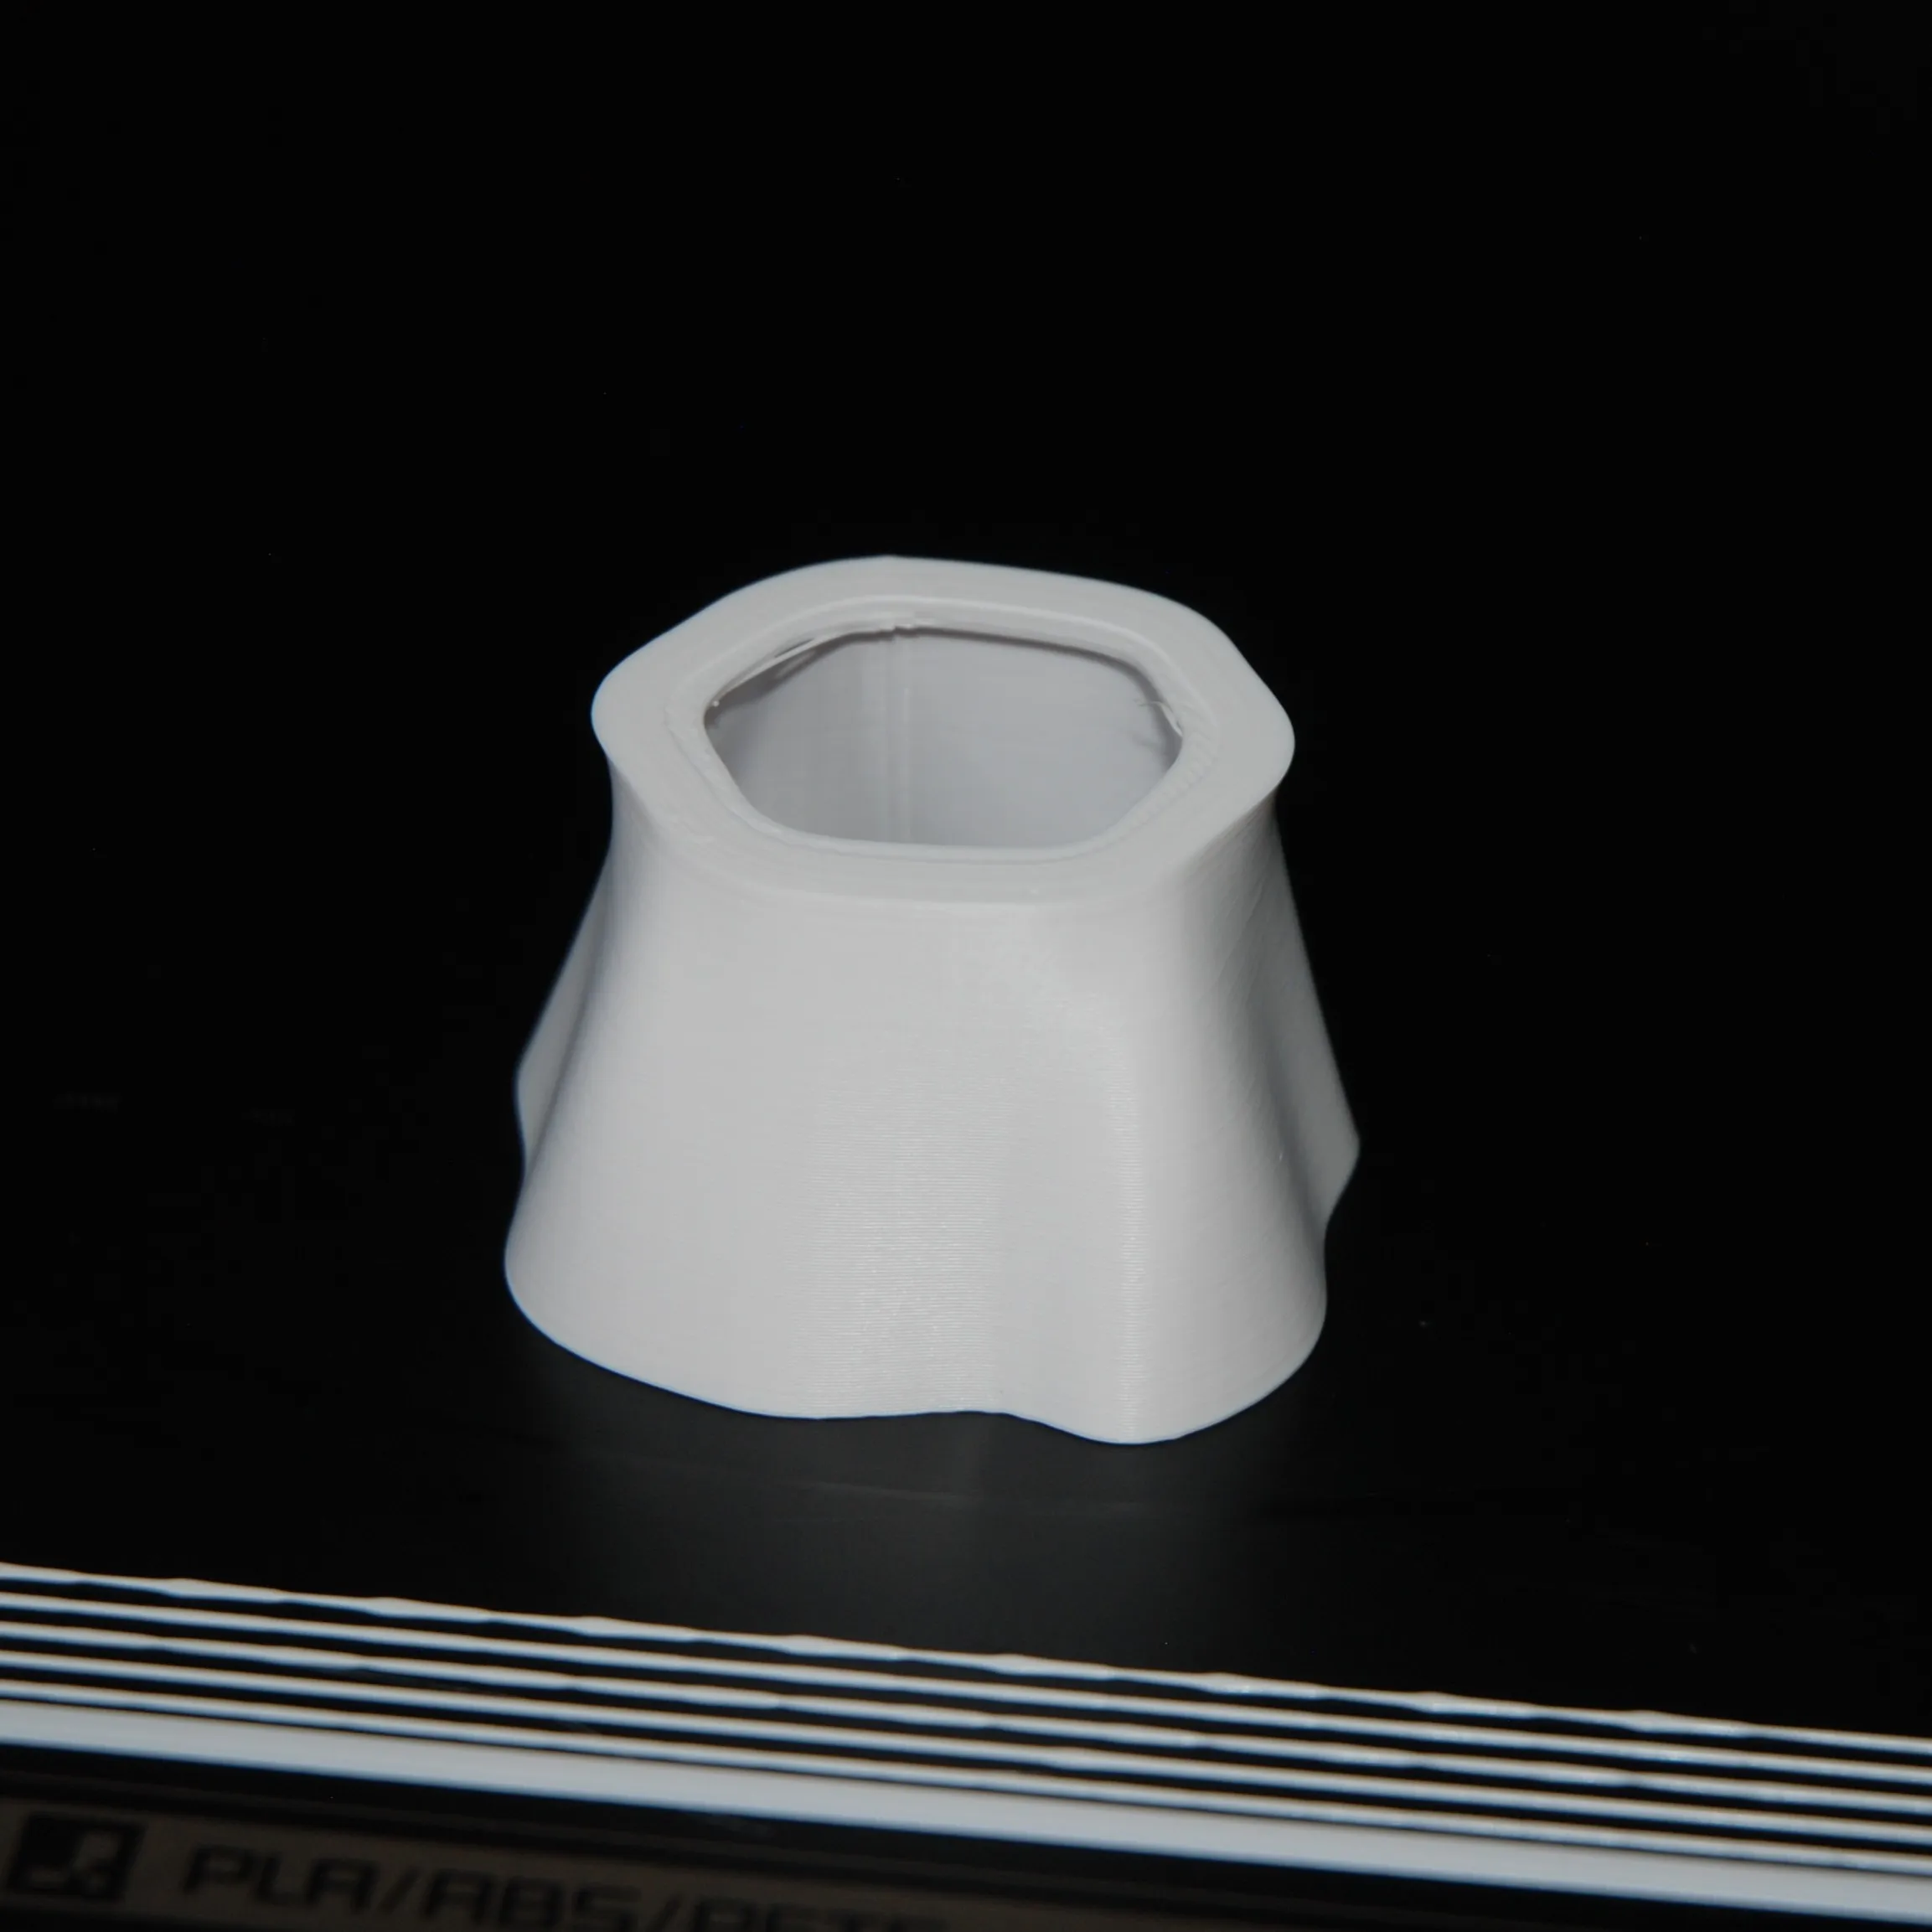
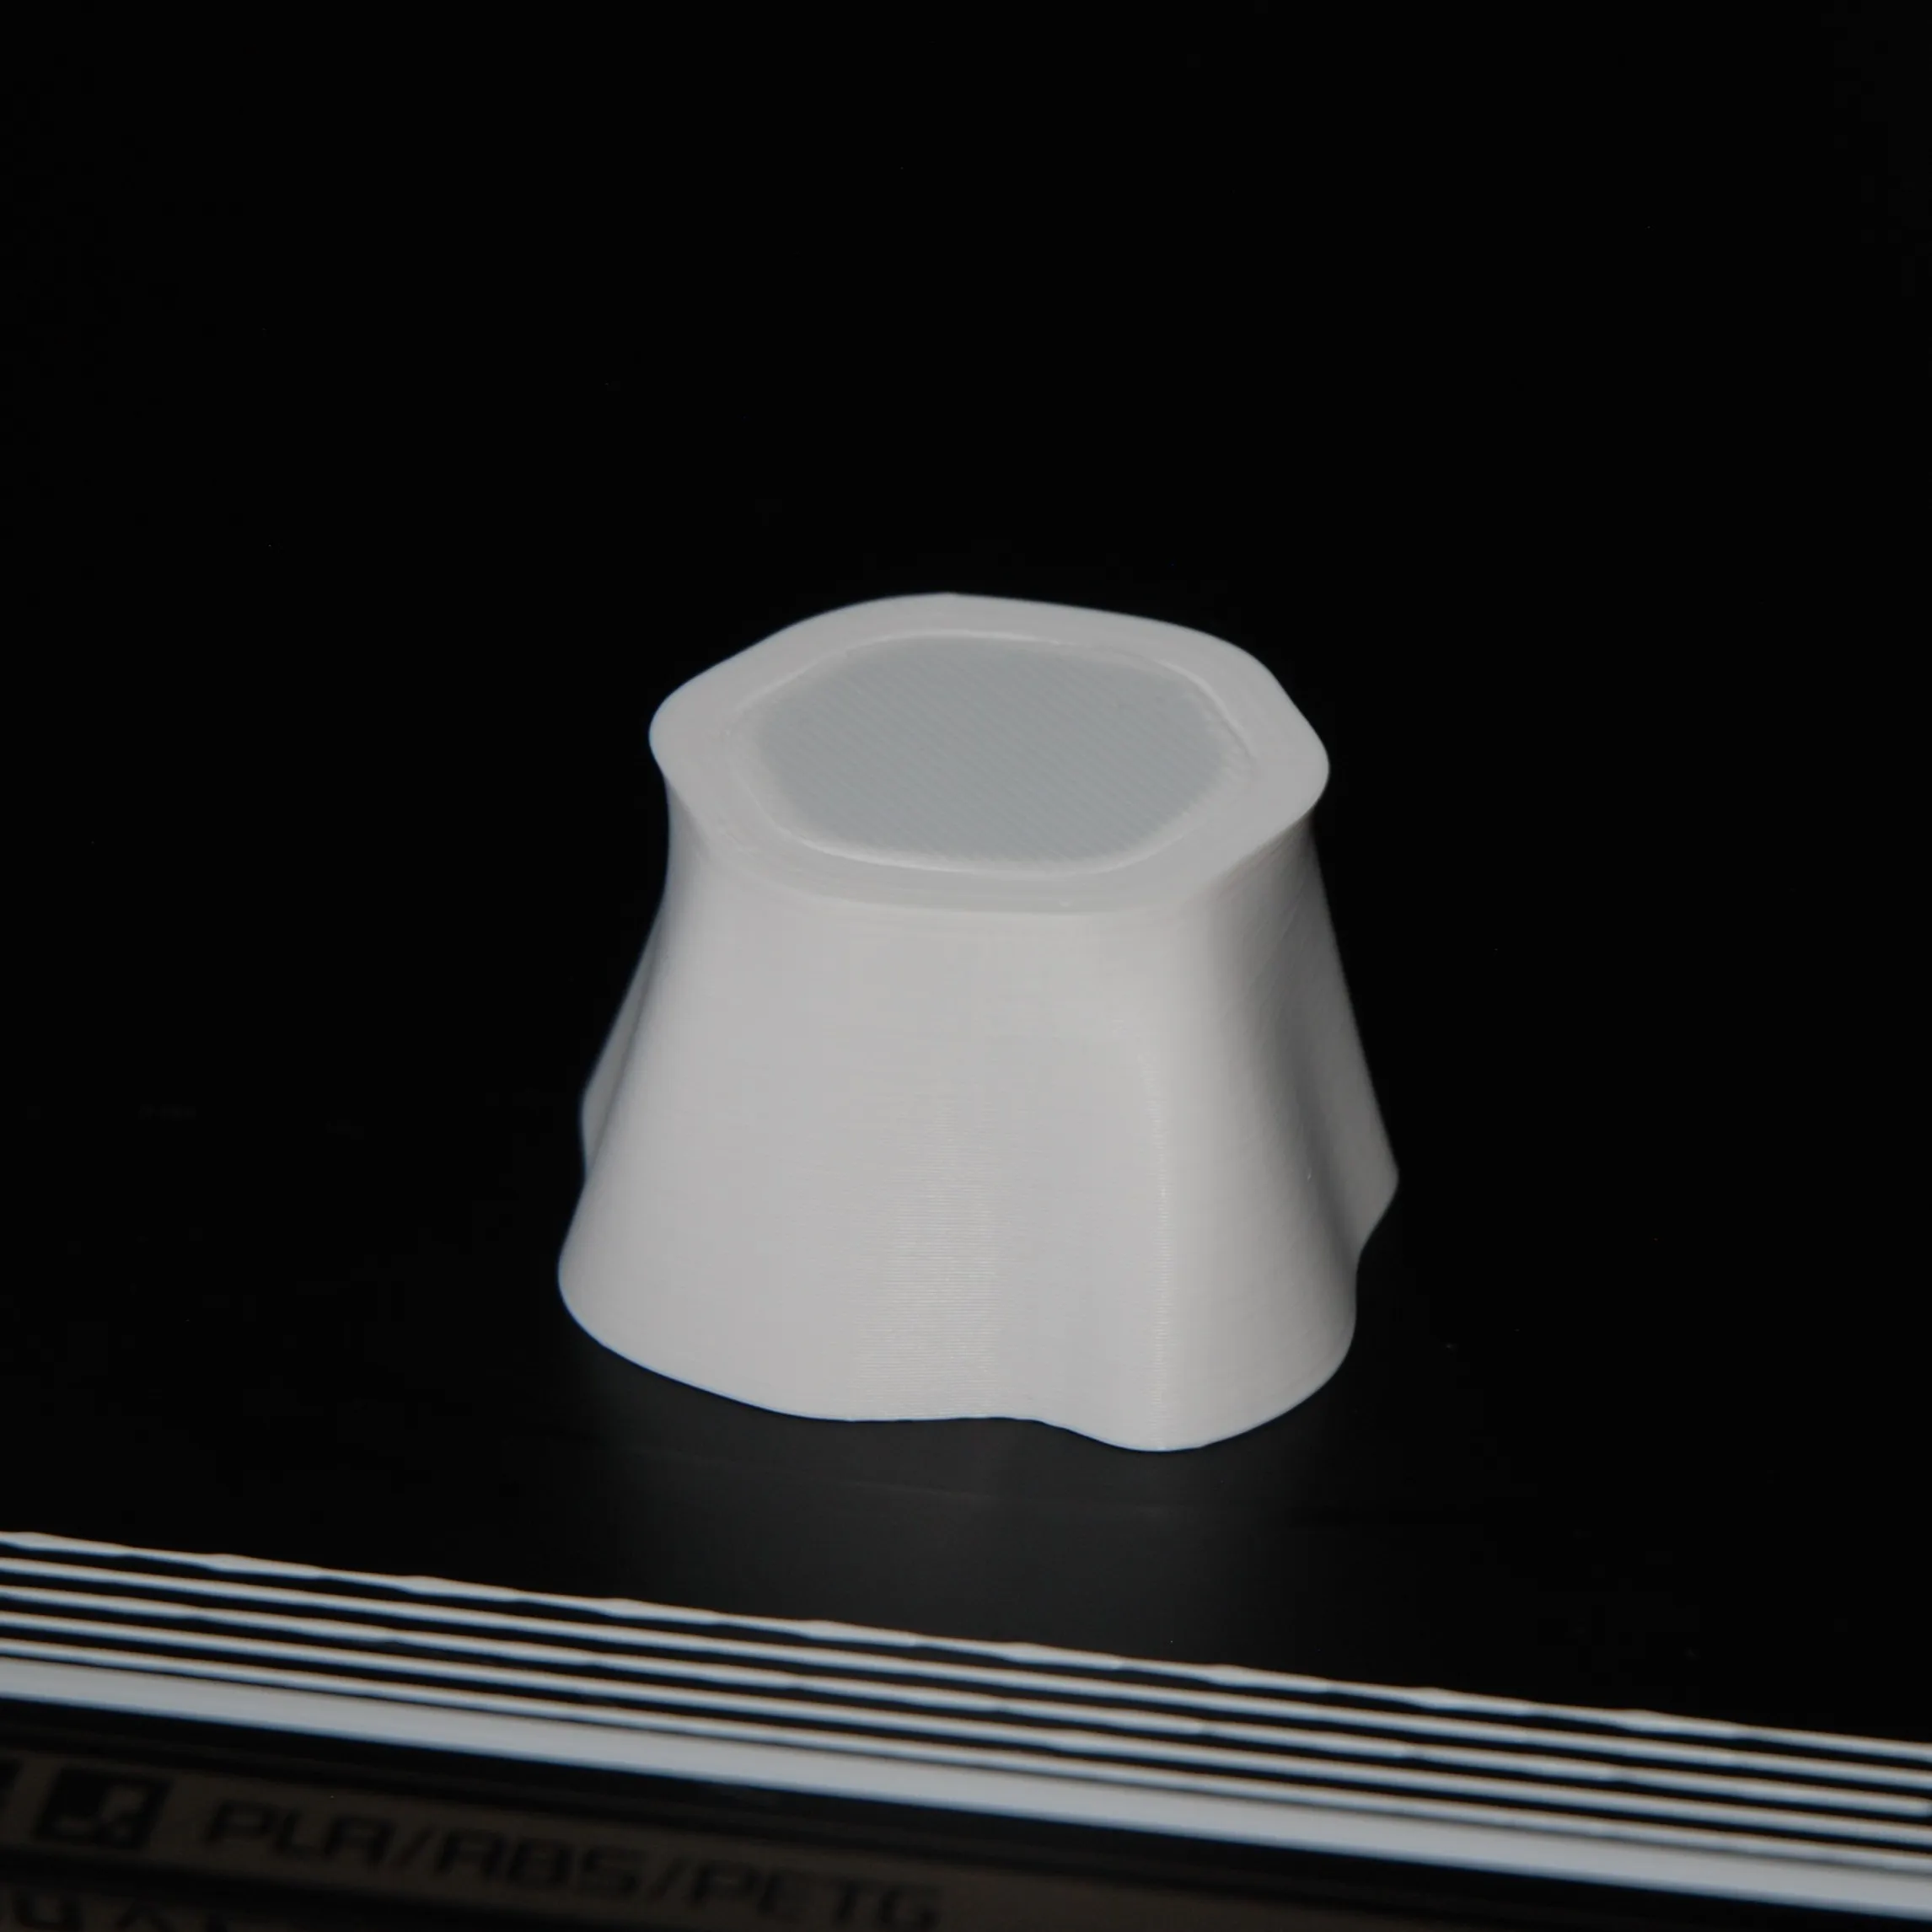
Finally it's time to assemble the body onto the base. Use some super glue for this step as well.
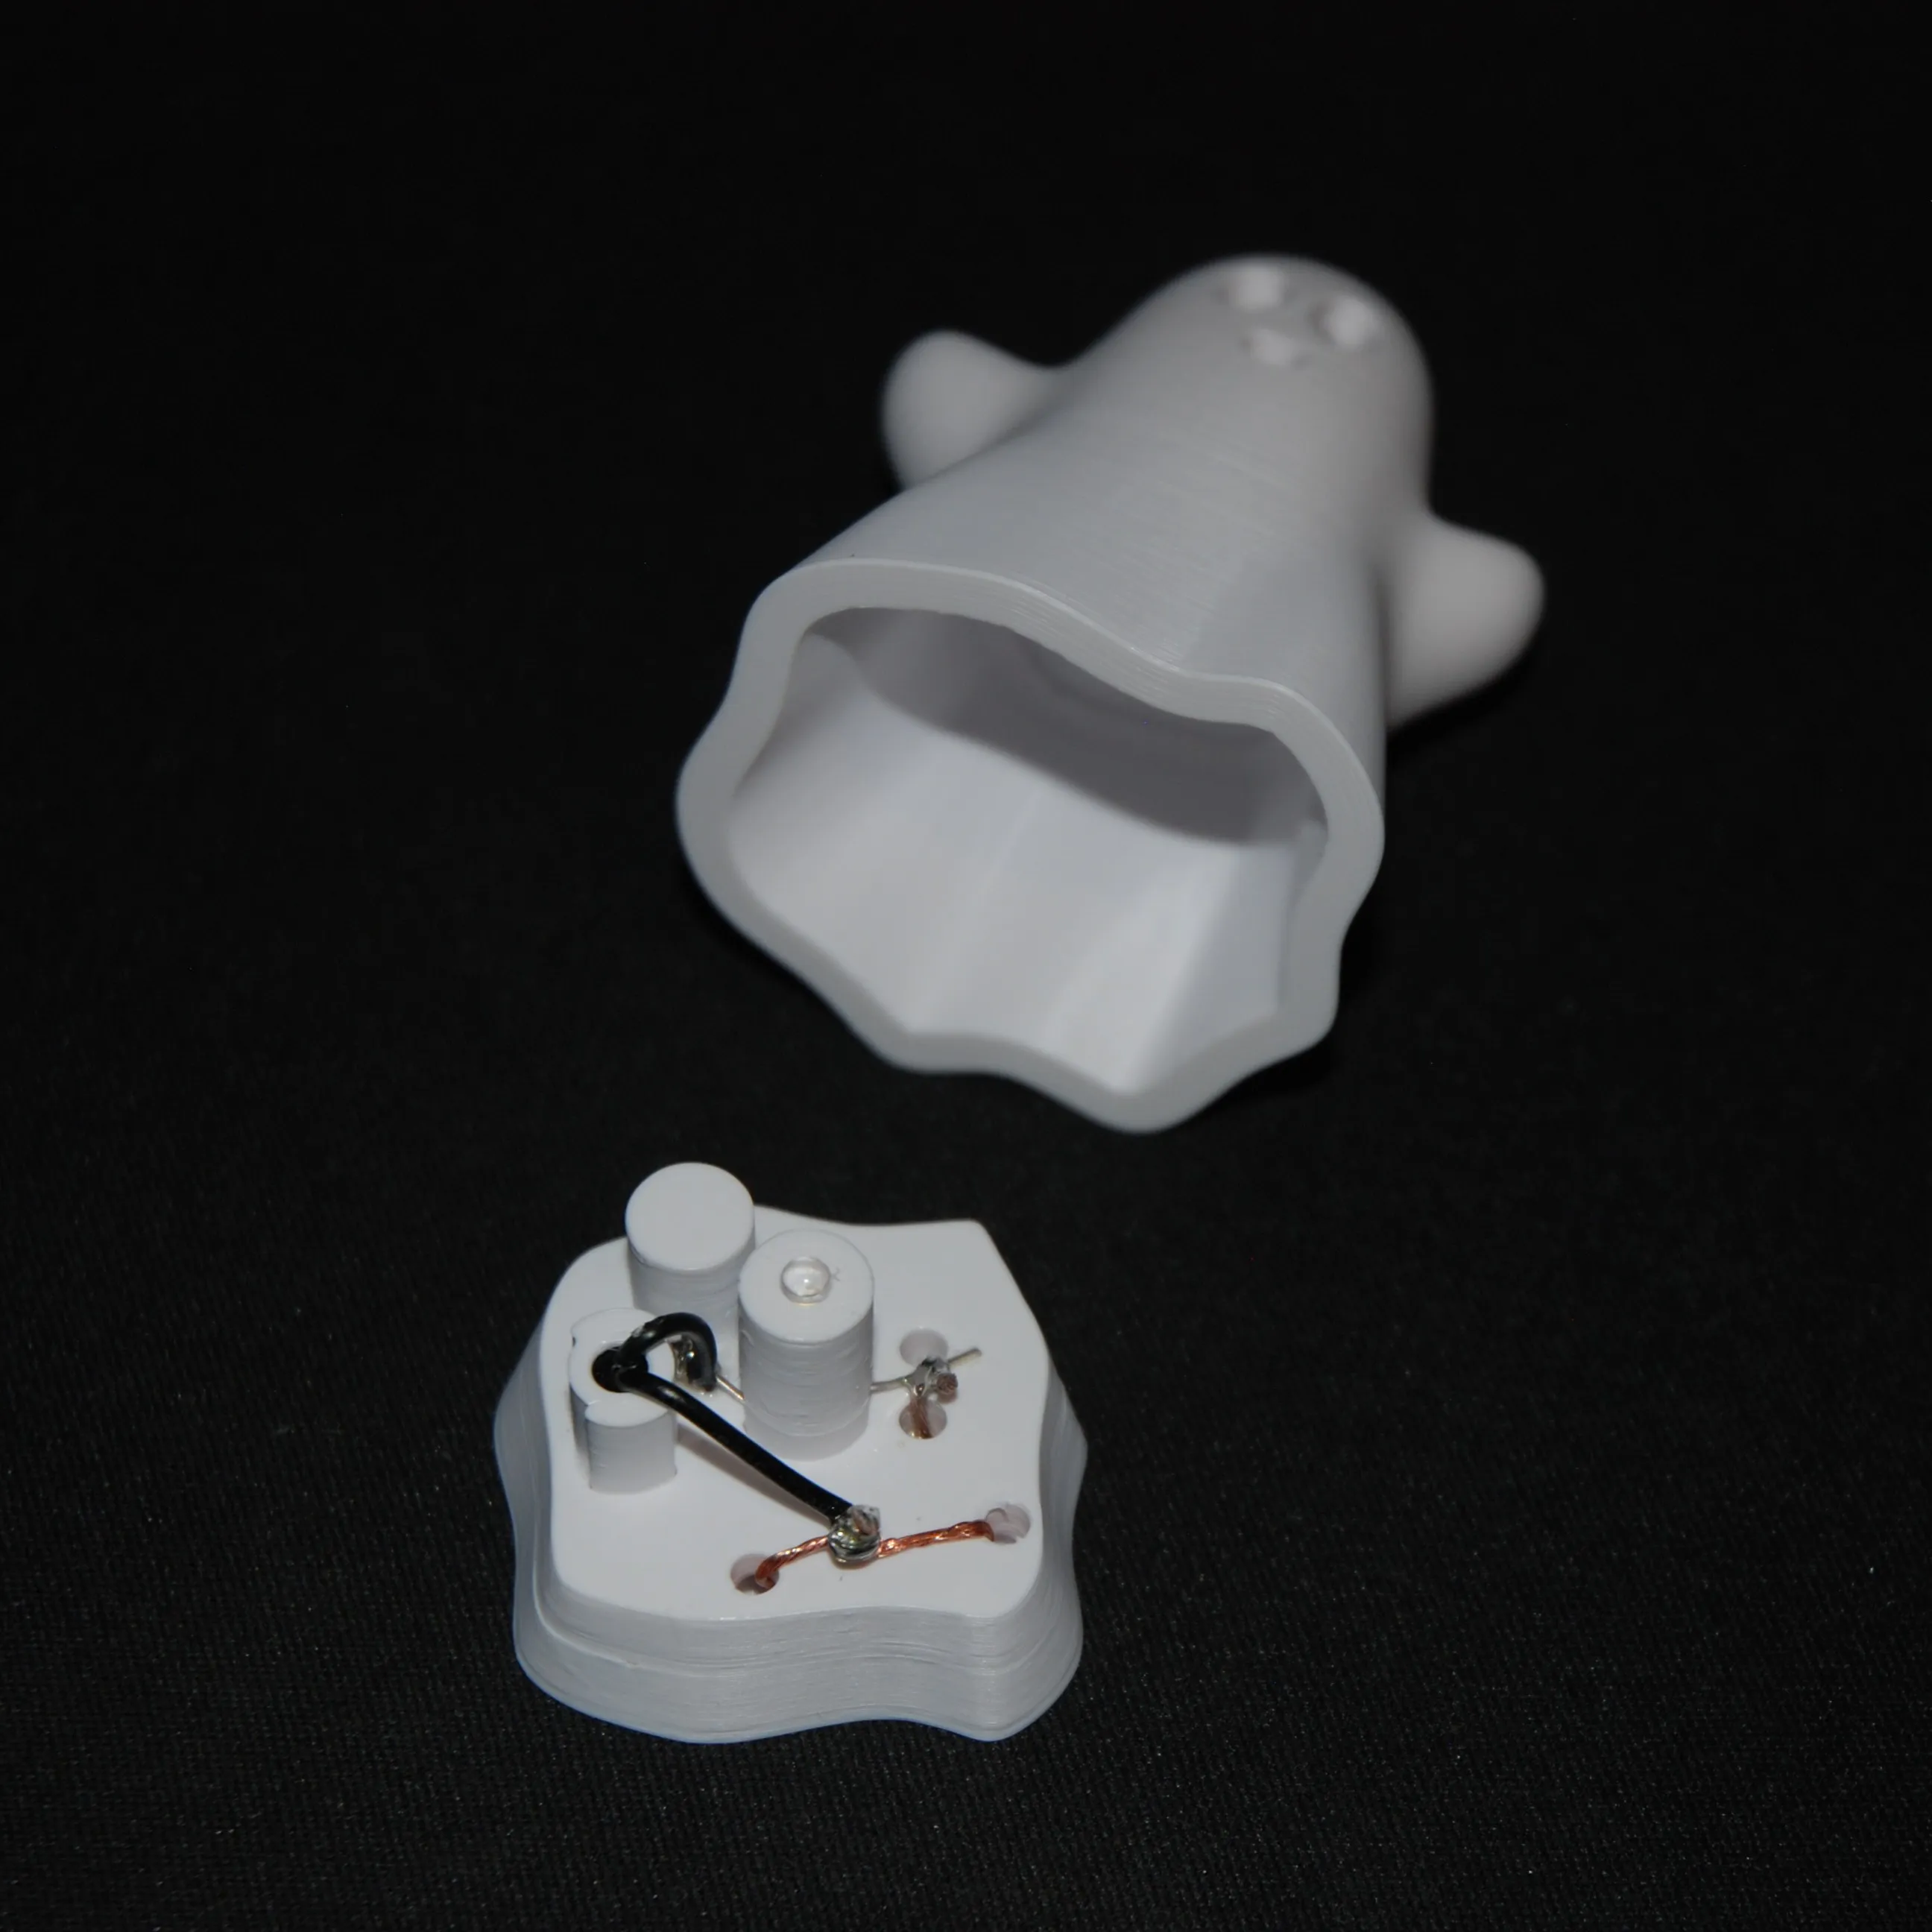
- That's it! Now you can connect the RFID tag to some custom music with your TeddyCloud or TeddyBench.
License

You shall not share, sub-license, sell, rent, host, transfer, or distribute in any way the digital or 3D printed versions of this object, nor any other derivative work of this object in its digital or physical format (including - but not limited to - remixes of this object, and hosting on other digital platforms). The objects may not be used without permission in any way whatsoever in which you charge money, or collect fees.


Comment & Rating (0)