
3D Printer Weaving Test

Print Profile(3)


Description
🎁 Join my Patreon for exclusive models, sneakpeeks, votes for new designs, and a commercial license to sell prints of my model kits!💎
Hey all!
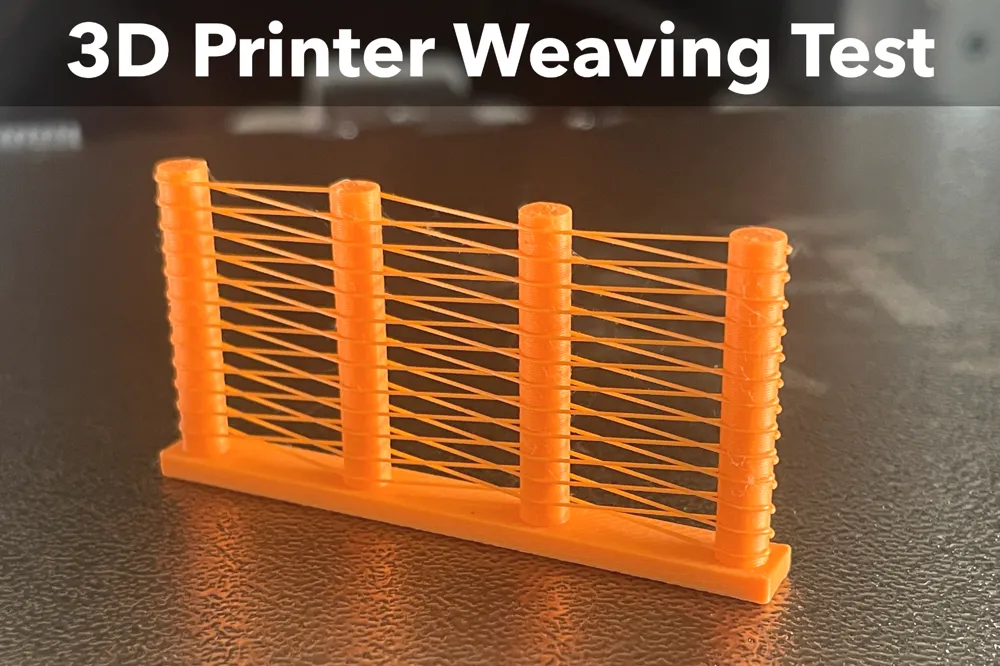
Recently, I saw a post on /r/3Dprinting showcasing a wonderfully inventive technique from /u/CheesmondN where the 3D printer was able to print weaves in thin air without supports. The idea intrigued me greatly and so I tried to recreate it myself and am happy to say that I've found some workable solutions.
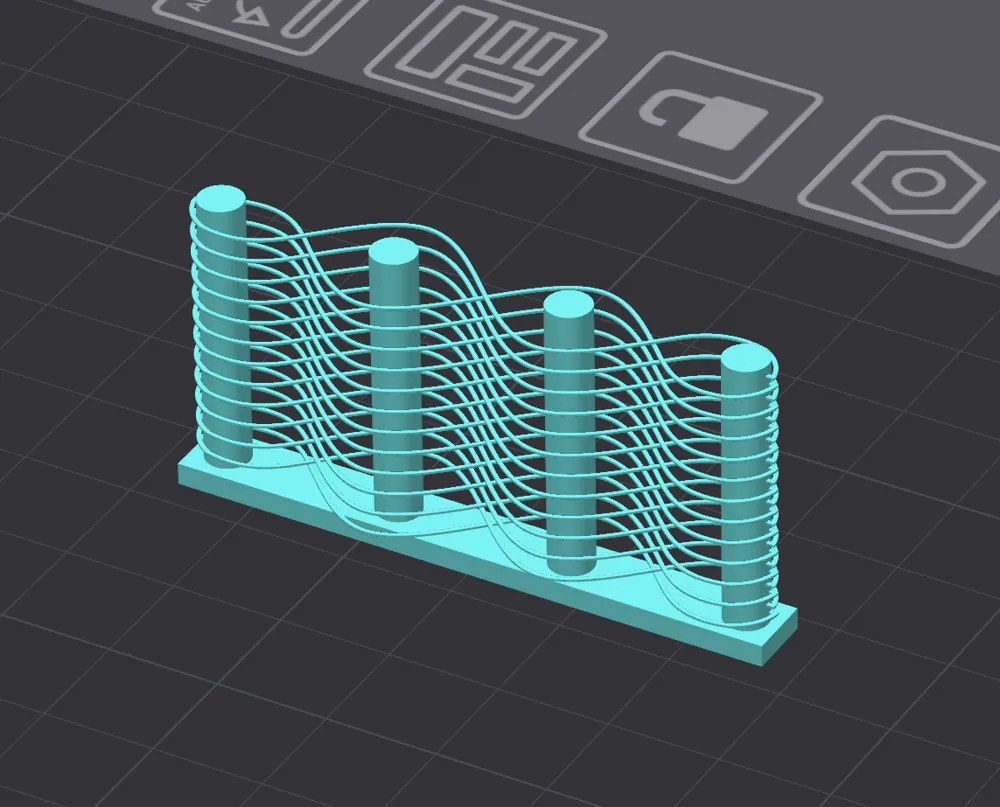
This model is much simpler than /u/CheesmondN's model, mine has four simple posts, is 25 mm high, and is mostly a proof-of-concept with some information on what worked and what failed for me when trying to create this weaving effect.
I found that the start and end of each weave behaved better when adding a perpendicular jutting edge instead of having the weave smoothly blend into the post:
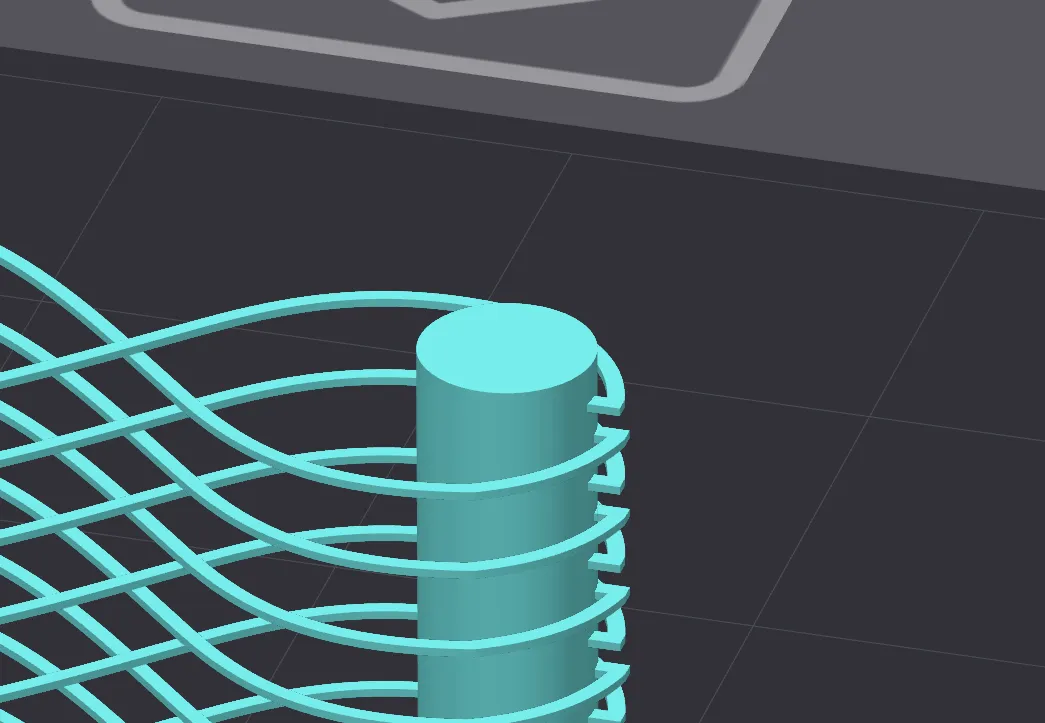
It's also important that the weaves are placed in intervals of whatever the layer height is. I have them 1mm apart since 0.2mm layers will fit into it well. If the placement intervals isn't easily divisible by the layer height, some of the weaves might be 2 layers tall, which is fine, but won't be uniform throughout the weaves.
According to the original inventor of this idea, they were able to achieve the weaving affect with fully stock slicer settings. I, however, have had to change the slicer settings once to get what I feel is ideal. I have turned on “Detect Thin Walls” and have left everything else the same. My reason for doing this is that I've found that even if I make the weave strands perfectly detectable without “Detect Thin Walls”, the slicer will enforce that there be an outer and inner wall. This makes it so that the weave strands will be 2 layers wide, which is also fine, but not what I personally wanted to achieve. By turning on “Detect Thin Walls”, the slicer is forced to only use one wall to create the weave strands.
It's also important to note that the slicer will throw a warning and that I've found it better that the slicer does the weave strands as an “Outer Wall”:
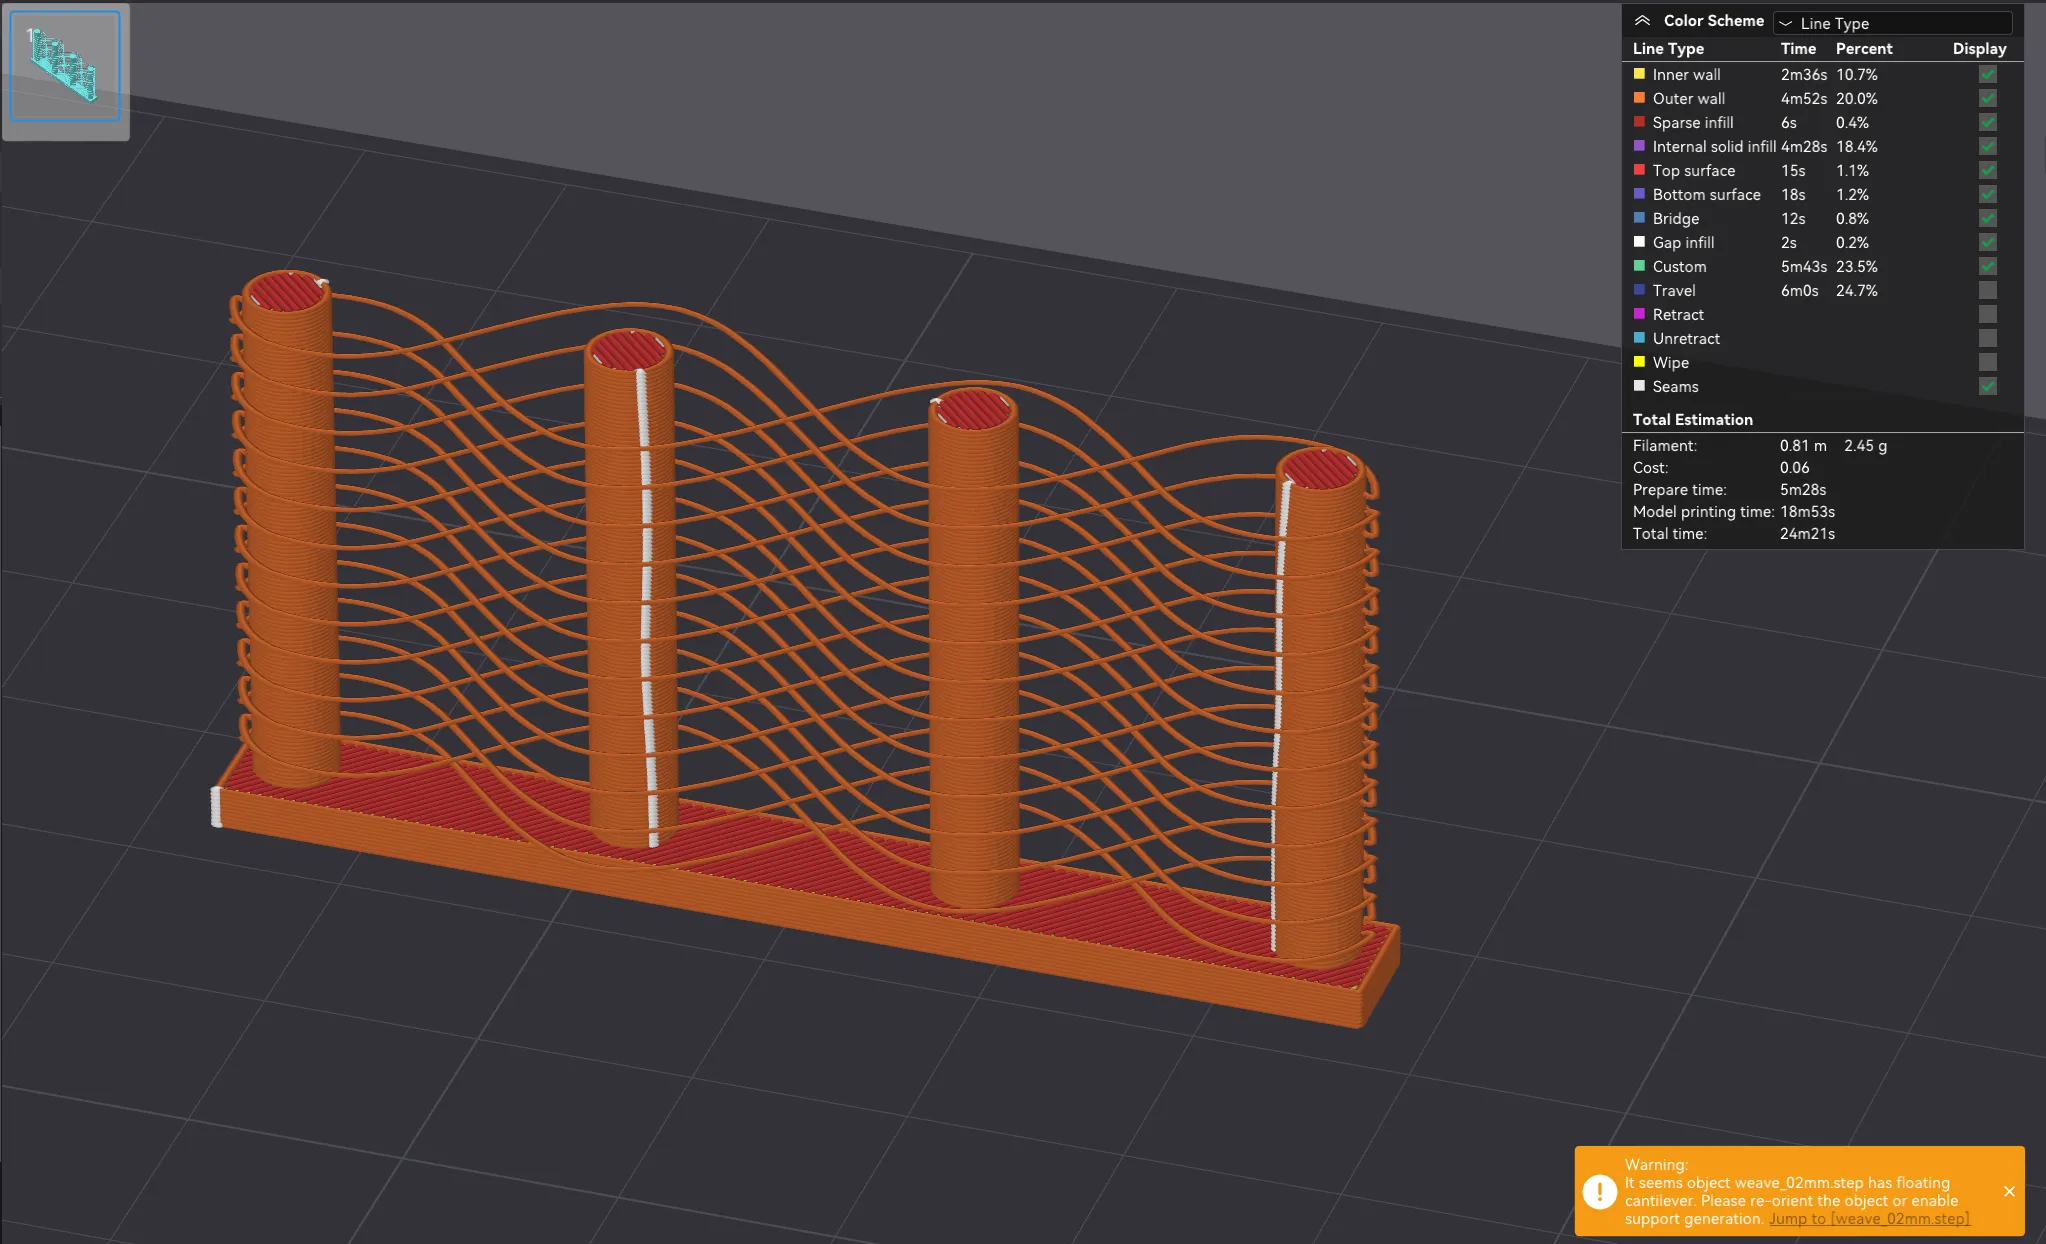
You can see above, that the weave strands are not considered ‘Overhangs’ in the slicer but are considered “Outer Walls”.
I've tested this model on the X1C, A1, and A1 mini, all with great success.
Besides the aesthetic of the weaves, I believe this technique has more potential to be used to create special kinds of overhangs. I'm testing out some possibilities and hope to share them if they lead anywhere.
This model is released under the Creative Commons Public Domain, and the FCStd (FreeCAD file) has been provided for those who would like a closer look at my solution for 3D printed weaving.
Printing Tips:
- “Detect Thin Walls” must be on
- Dry filament, the model is very susceptible to stringing
- The weaves print better when they're detected as “Outer Wall” and not as “Overhang”
Thank you for downloading, printing, and enjoying my designs! I really appreciate all of your support and I love seeing all of your prints!
Boost Me (for free)
Thank you for your support of my work!
License



Comment & Rating (77)