Moon Lamp - Table Lamp Version
Moon Lamp - Table Lamp Version


Print Profile(1)

Description
I wanted a version of the moon light that didn't use 120v bulbs. I also wanted a traditional end table lamp format. Source I remixed is located here:
https://www.printables.com/model/23859-designer-lithophane-moon-lamp
So I created this remix to use a cheap USB powered LED backlight kit from amazon. The LED kit was 6ft of LED strip, a remote control and an IR receiver/LED controller. The LED strip also came with adhesive backing, so it wrapped around the LED mount cylinder well. The kit only cost $8. I am not saying this is any better than other kits on Amazon, it’s just what I purchased.
https://www.amazon.com/dp/B07MMNH5HH/
I took the existing moon bayonet holder piece from the source model and added 2 screw threads in Blender. Top screw thread for the LED mount cylinder and the bottom thread for the stand pipe cylinder.
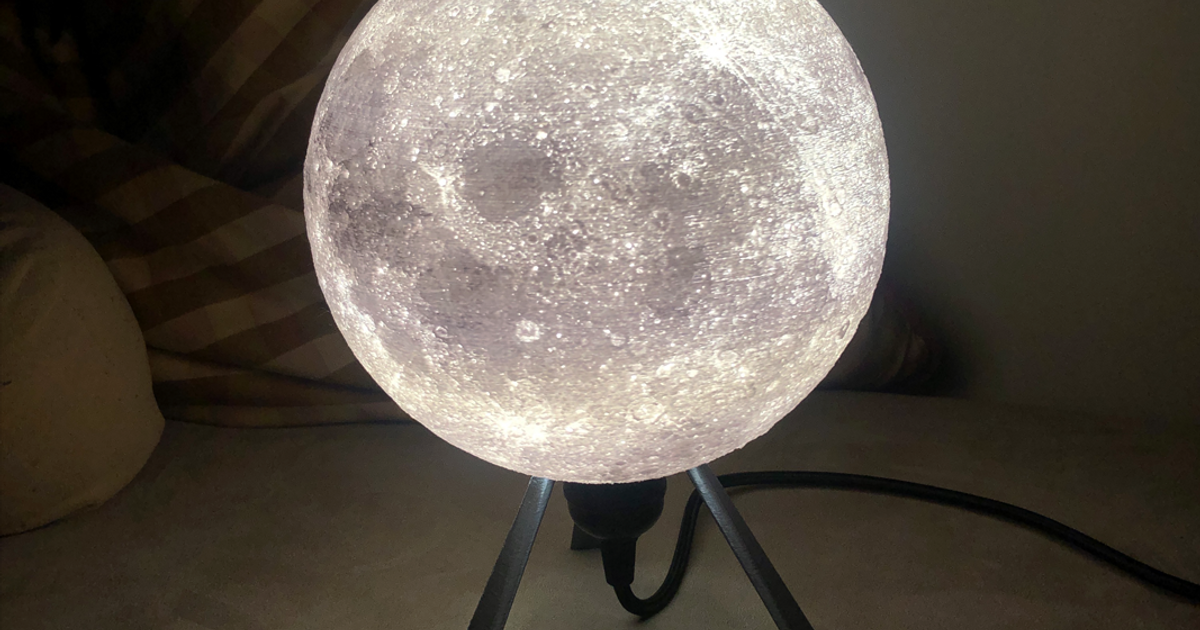
The cover photo is a 4 inch shaft with the flat base. I also uploaded a few different length shafts and a hemisphere base. Pick 1 base, 1 shaft and print the rest the parts.
Everything screws together very nicely. No supports are needed for anything except the base puck. You need supports for the channel in the base puck, but be sure to put blockers on the threads, they don't need them and it will only mess them up from screwing in smoothly.
I printed everything at 0.2mm in Enomaker ST-PLA (white and black) with 4 walls. 100% infill for everything except the base puck. The base puck was printed at 10% infill.
The LED strip is mounted by starting at the bottom of the big cylinder, wrapping upwards. When you get to the top, it goes down the middle, through the narrower stand cylinder and finally out the side of the puck. You want the LED controller / receiver to stick out a little, because that is where the IR receiver is located. Lay out everything without removing the sticker backing on the LED strip, to make sure you have spaced it out properly. Then go ahead the remove the sticker backing and put it on there.
The base cover is separate so you can freely position the LED control board in the puck. I used an on command double sided adhesive to keep it secure. After that, slide on the base cover to finish the base.
I am really happy with how this turned out. Learned a lot about Blender modeling in the process as well.