
Breathing Case
Print Profile(1)
Description
Boost Me (for free)
Thank you for your consistent support. Your support is my motivation!
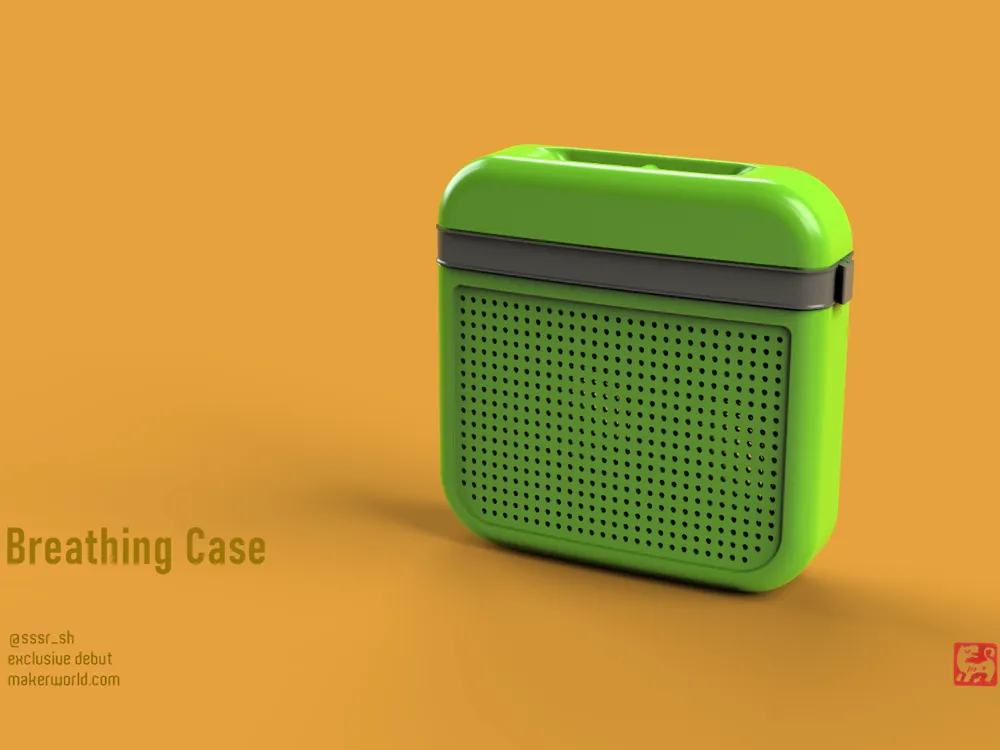
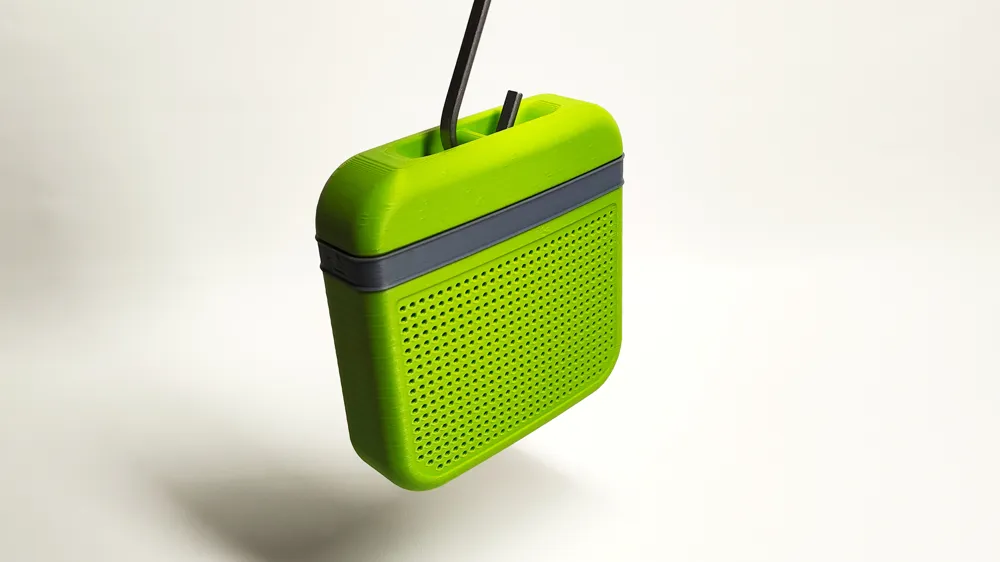
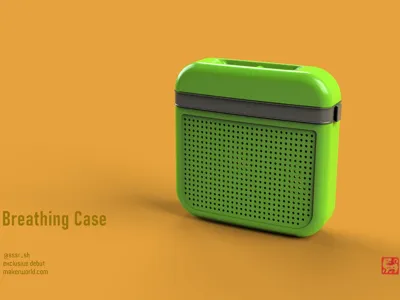
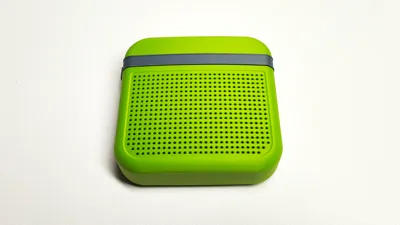
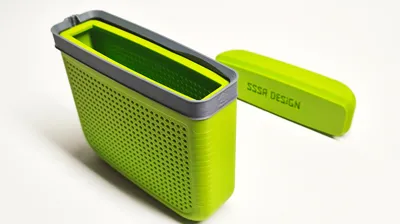
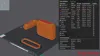
Breathing Case
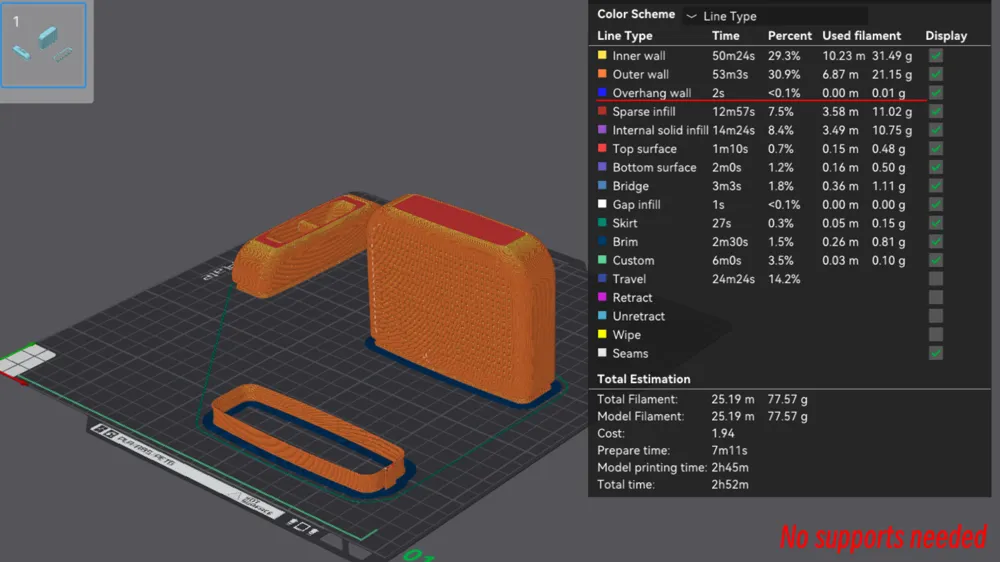
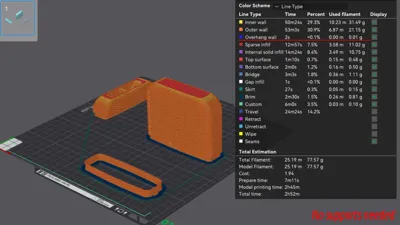
Optimized specifically for support-free FDM printing while preserving smooth rounded surfaces.
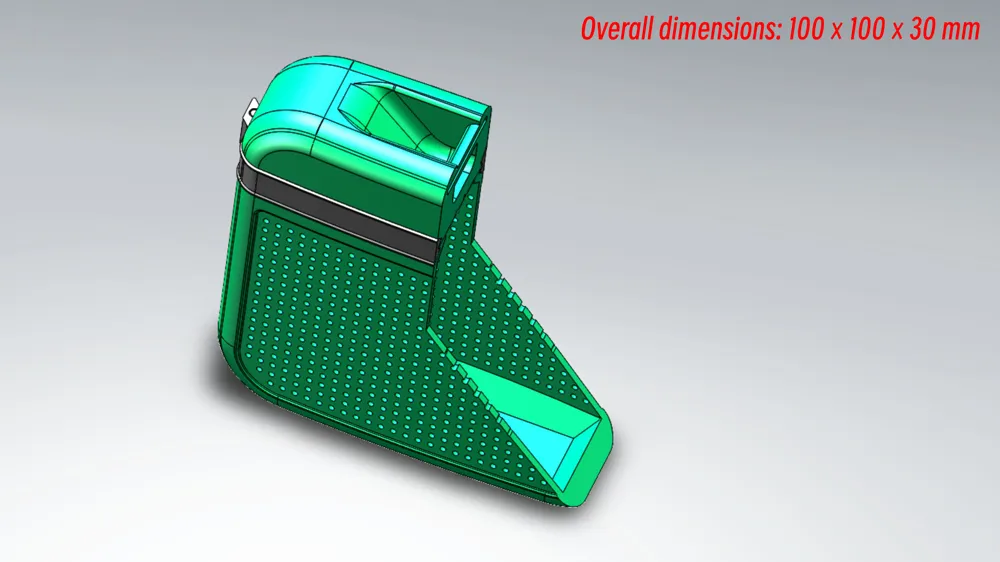
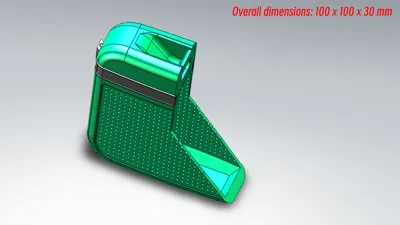
Overall dimensions: 100 × 100 × 30 mm
As we all know, when designing models for 3D printing, many rounded fillets often have to be replaced with chamfers in order to avoid overhangs and the need for supports. This inevitably causes smooth, organic forms to be replaced by sharper edges.
I have been continuously searching for a balance between aesthetics and printability, making compromises and improvements in overall design, part separation, connection, and locking mechanisms.
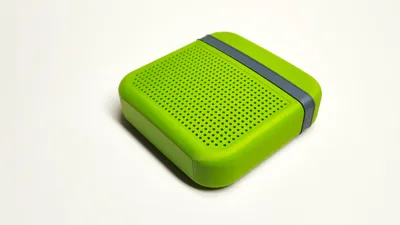
This time, I present a smooth and rounded Breathing Case.
Its function depends entirely on what you place inside.
If you fill it with desiccant, it becomes a desiccant box.
If you place fragrance beads inside, it becomes an aroma box.
If you use camphor, herbs, peppercorns, or other natural repellents, it becomes an insect-repellent case.
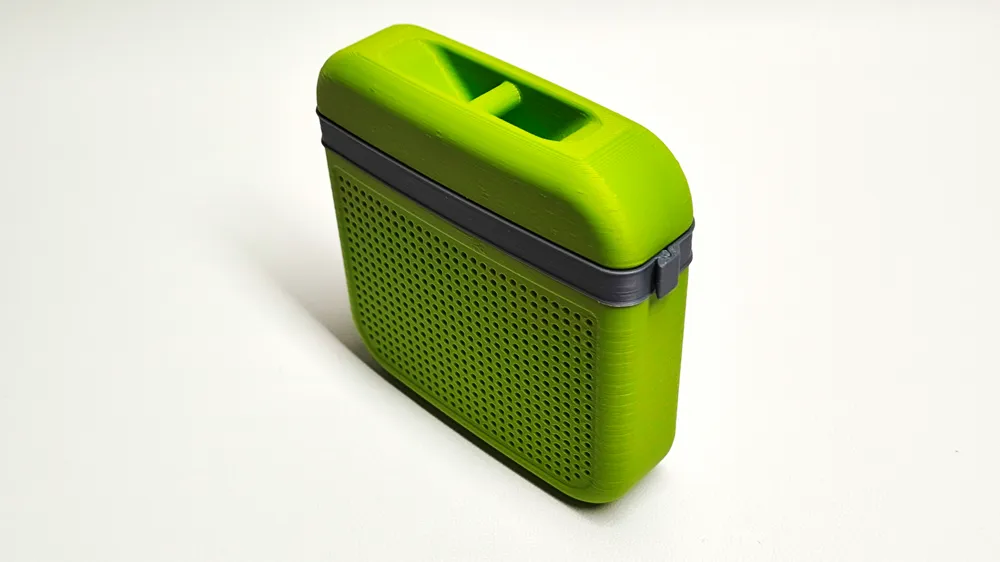
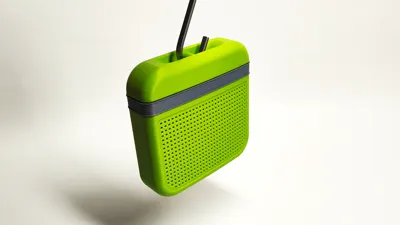
There is a hook hole on the lid, allowing you to hang it in your car, closet, or anywhere you like. It is simple and convenient to use.
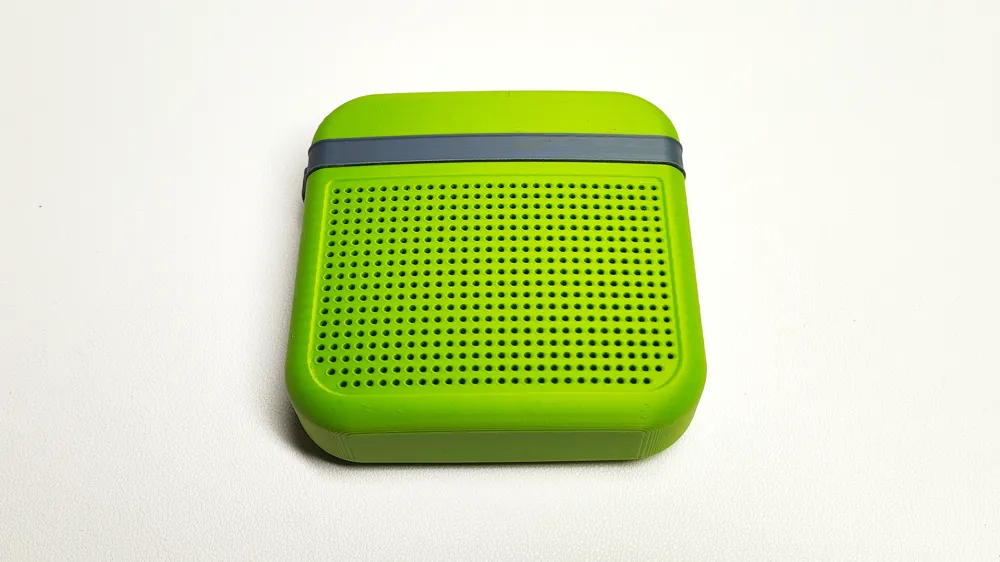
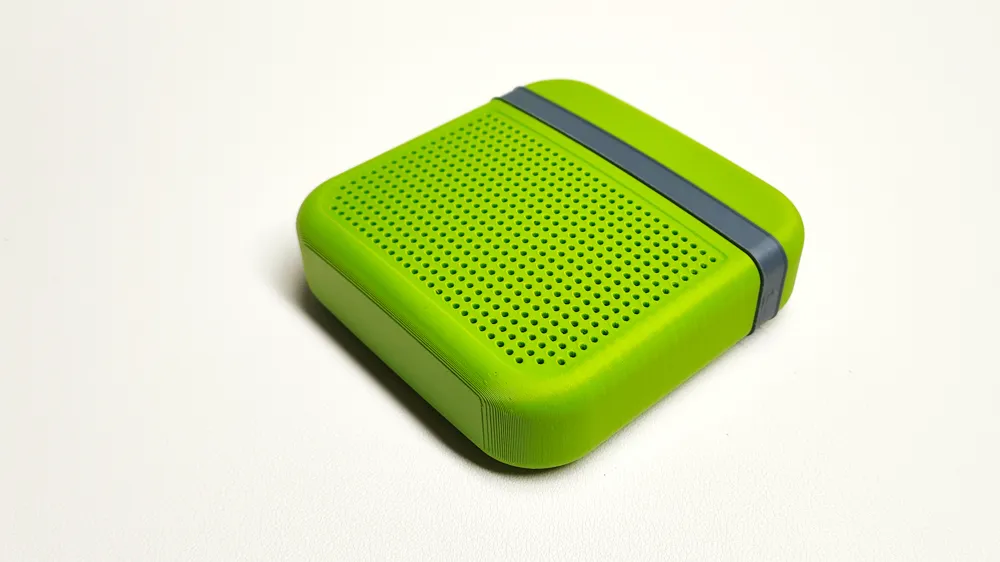
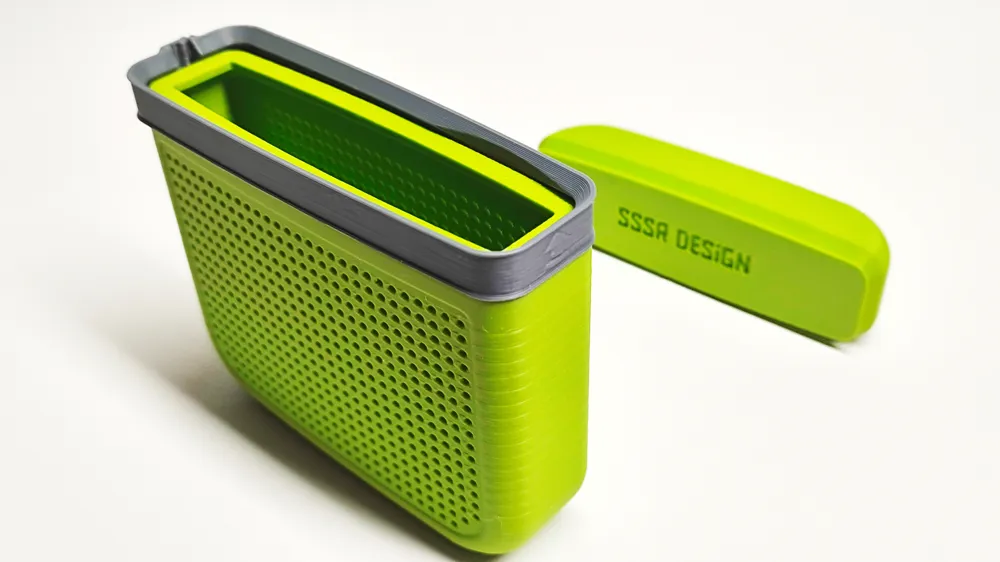
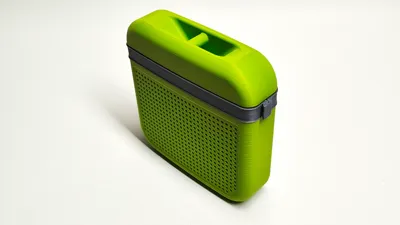
Because it allows air and scent to pass through, and the shell features many small perforations that let it “breathe” like skin, I named it the Breathing Case.
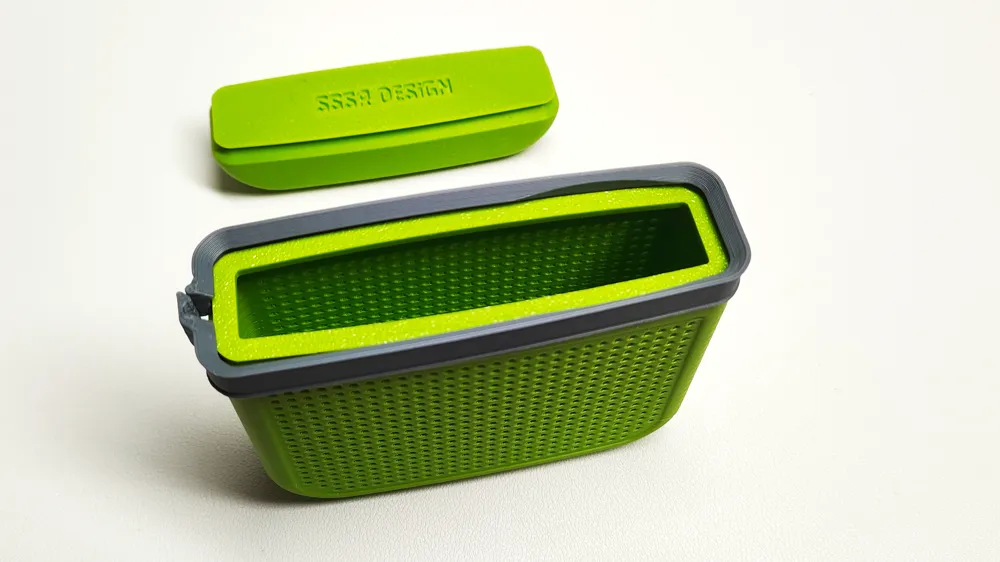
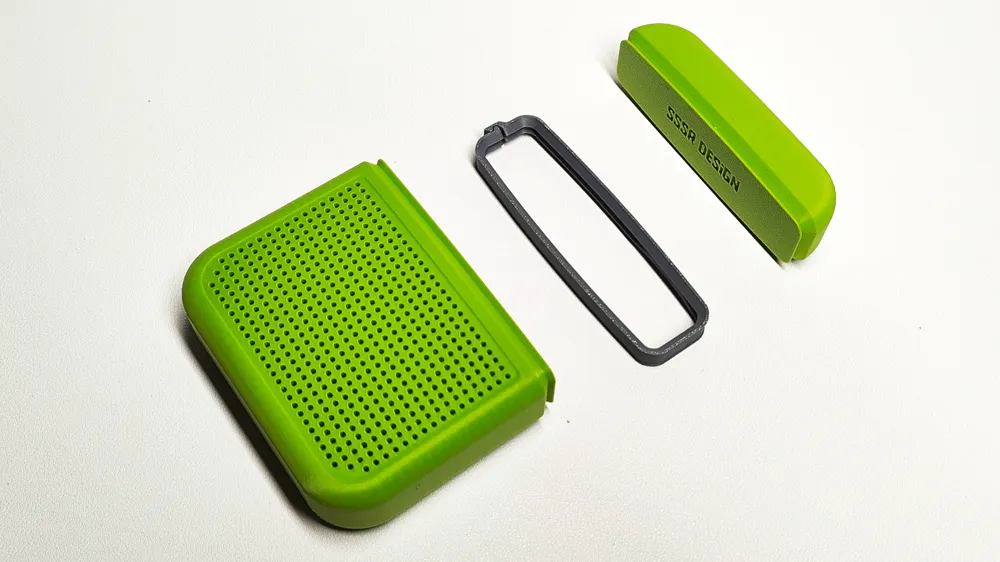
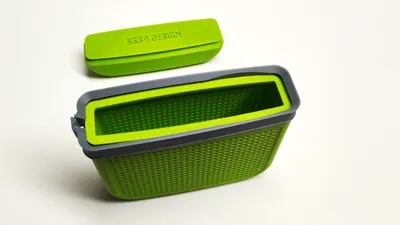
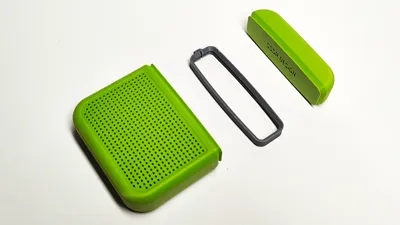
To preserve the rounded exterior while keeping the model fully support-free, the design is divided into two halves (base and lid), secured by a belt-style locking band. Both the base and lid are printed upside down.
To ensure clean support-free printing on the top surfaces, the inner curved walls are replaced with angled chamfers, and the top opening is rectangular instead of fully rounded. This improves overhang print quality compared to curved top surfaces. The belt edges are intentionally thin to provide a better tactile feel once assembled.
When printing, it is recommended to add a brim to both the belt and the base.
After printing the belt, if the locking area is slightly fused, simply squeeze the middle of the belt gently, and it will snap free.
Assembly instructions:
1. Unlock the belt.
2. Install the belt onto the base first. Note that the belt has an orientation — there is an arrow on the side pointing upward.
3. Slide the lid into the belt through the side opening.
4. Press firmly so the belt flexes open.
5. Close and lock the belt to complete the assembly.
This design achieves both a smooth, rounded appearance and fully support-free printing for all parts.
Membership
Interested in using this for commercial purposes? Join my membership!
License

You may create derivative works based on this object, provided that all such derivative works are published exclusively on the MakerWorld platform and include proper attribution to the original creator. You may not share, upload, host, distribute, or publish this object—or any derivative work of this object—on any other digital platform, marketplace, or distribution channel. Commercial use of this object and any derivative works is strictly prohibited. This includes, but is not limited to, selling, renting, sublicensing, or using the object in any context in which you receive monetary compensation or other financial benefits.


Comment & Rating (1)