
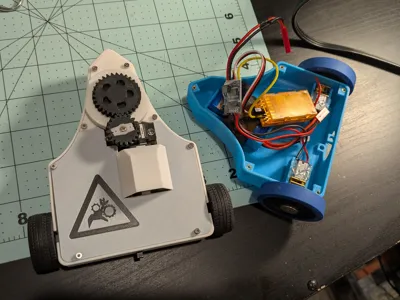
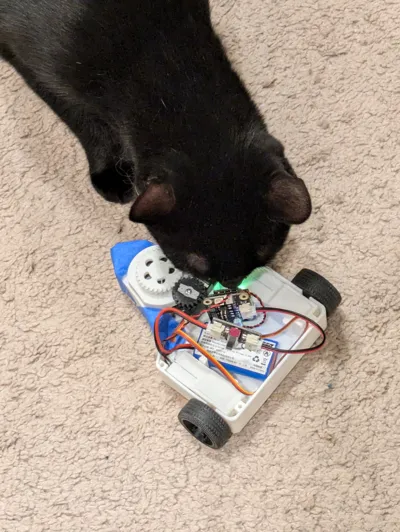
"Pinch Hazard" - Mini Bot
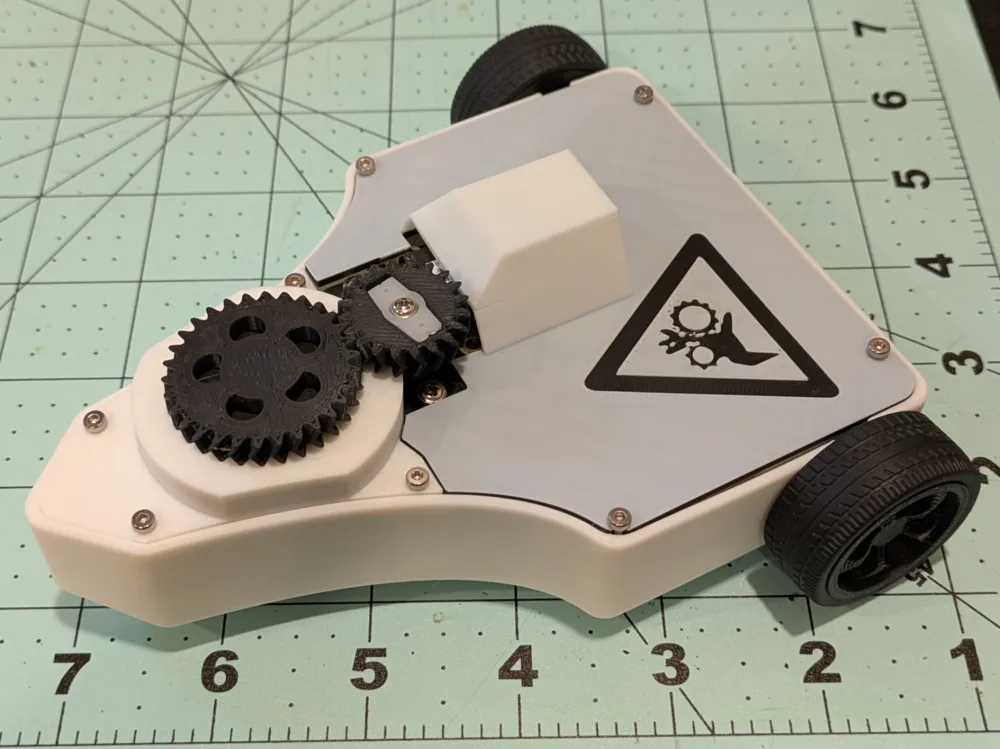
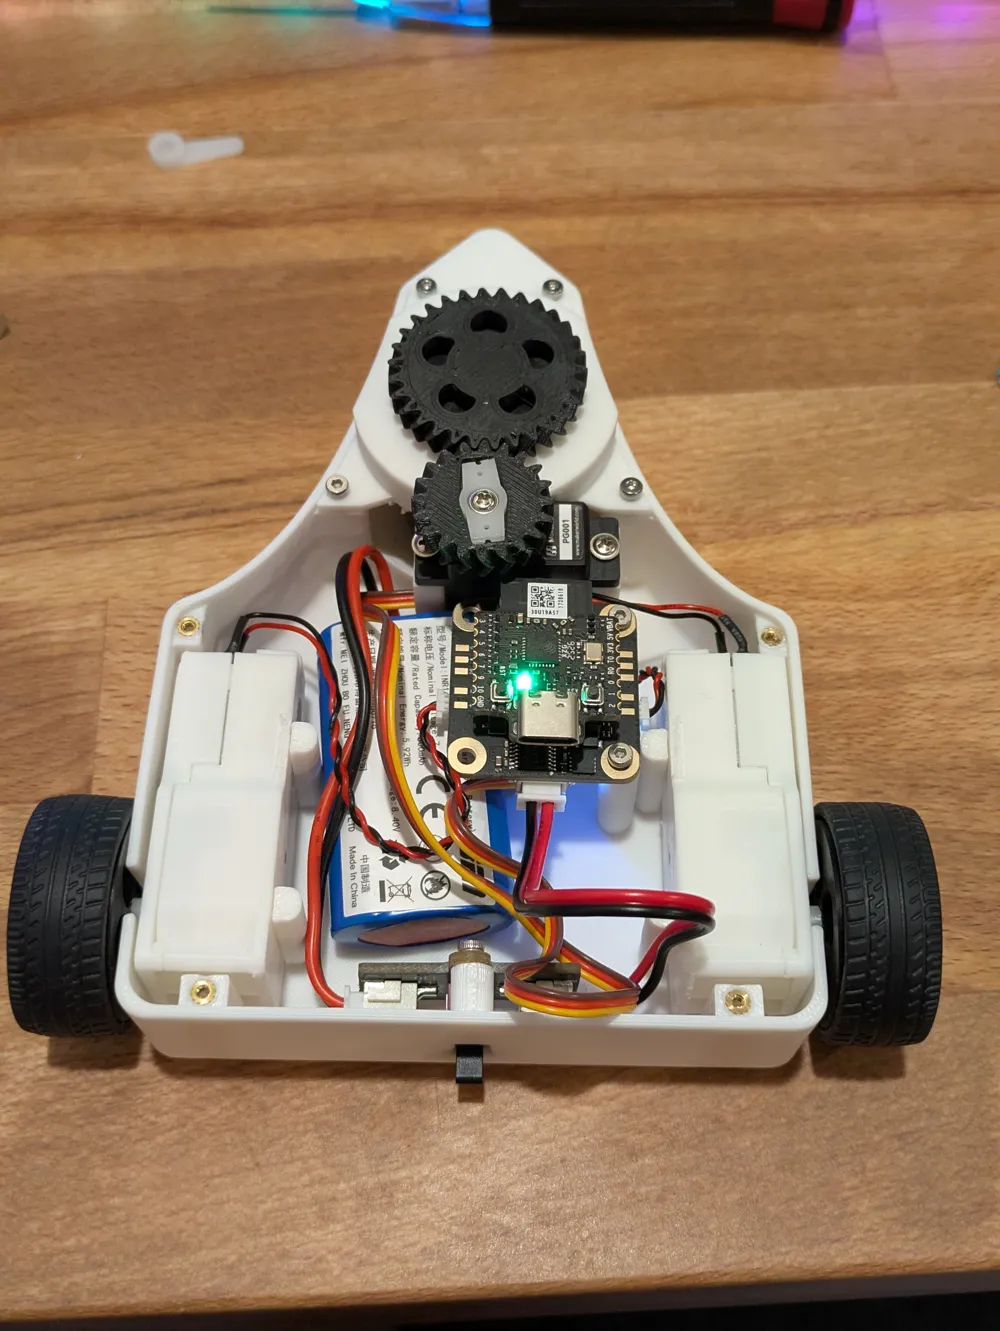
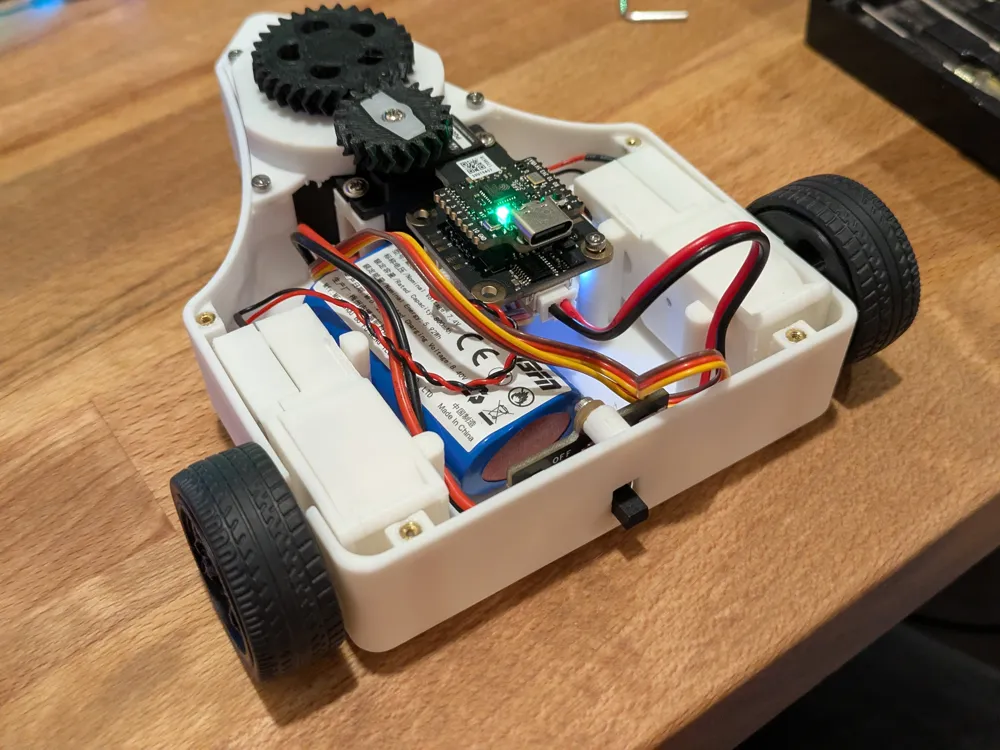
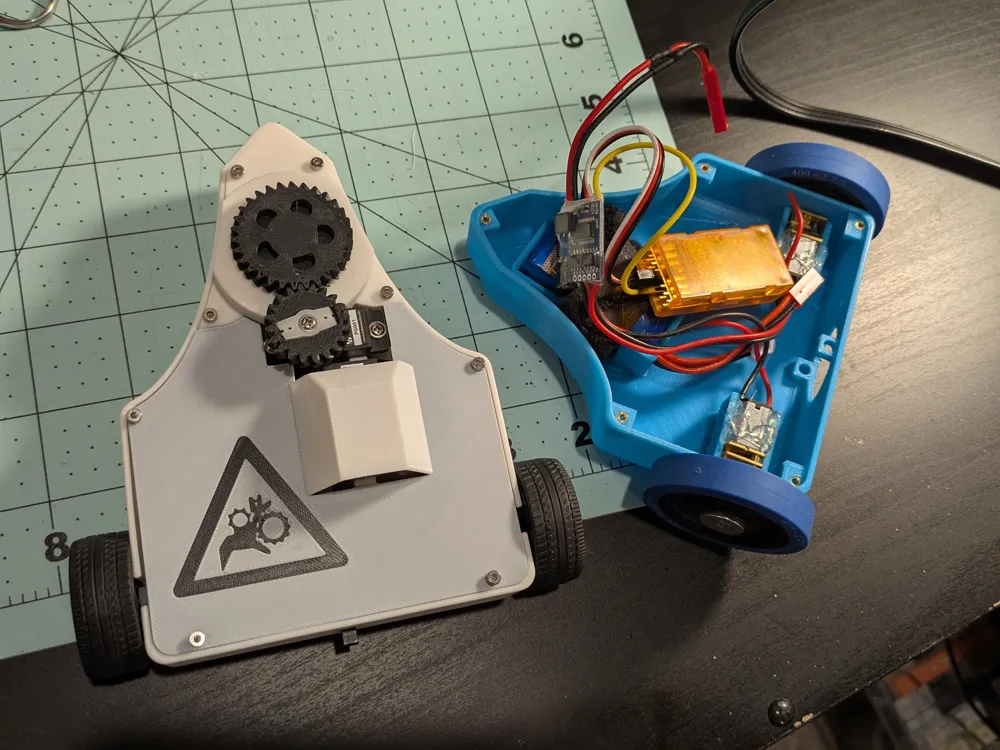
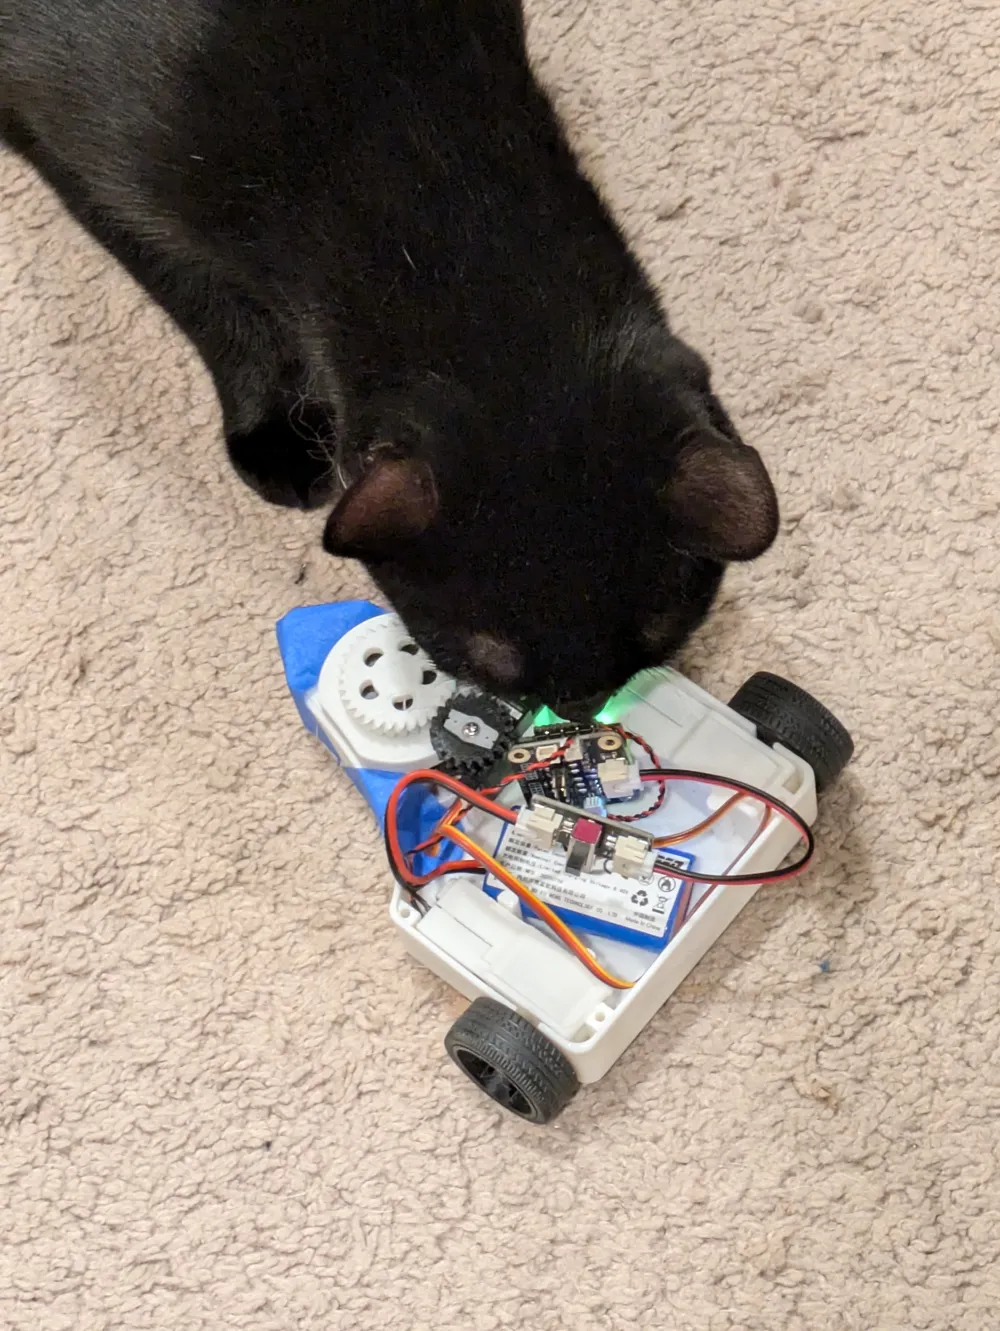


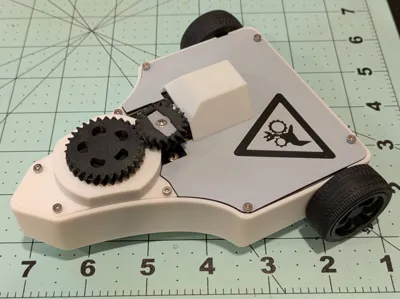
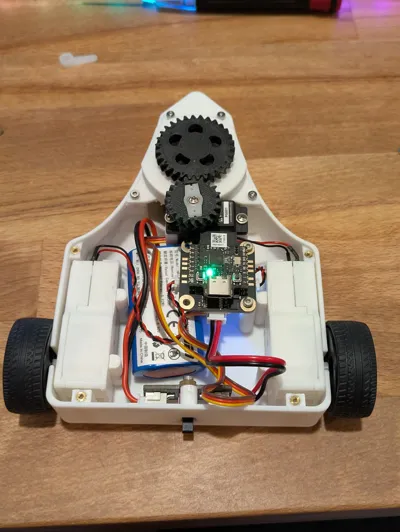
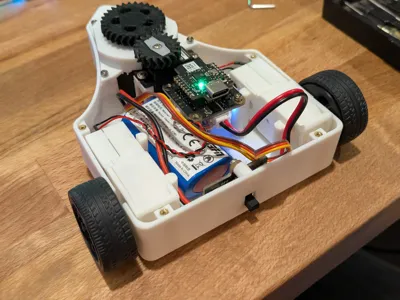

Print Profile(1)
Bill of Materials
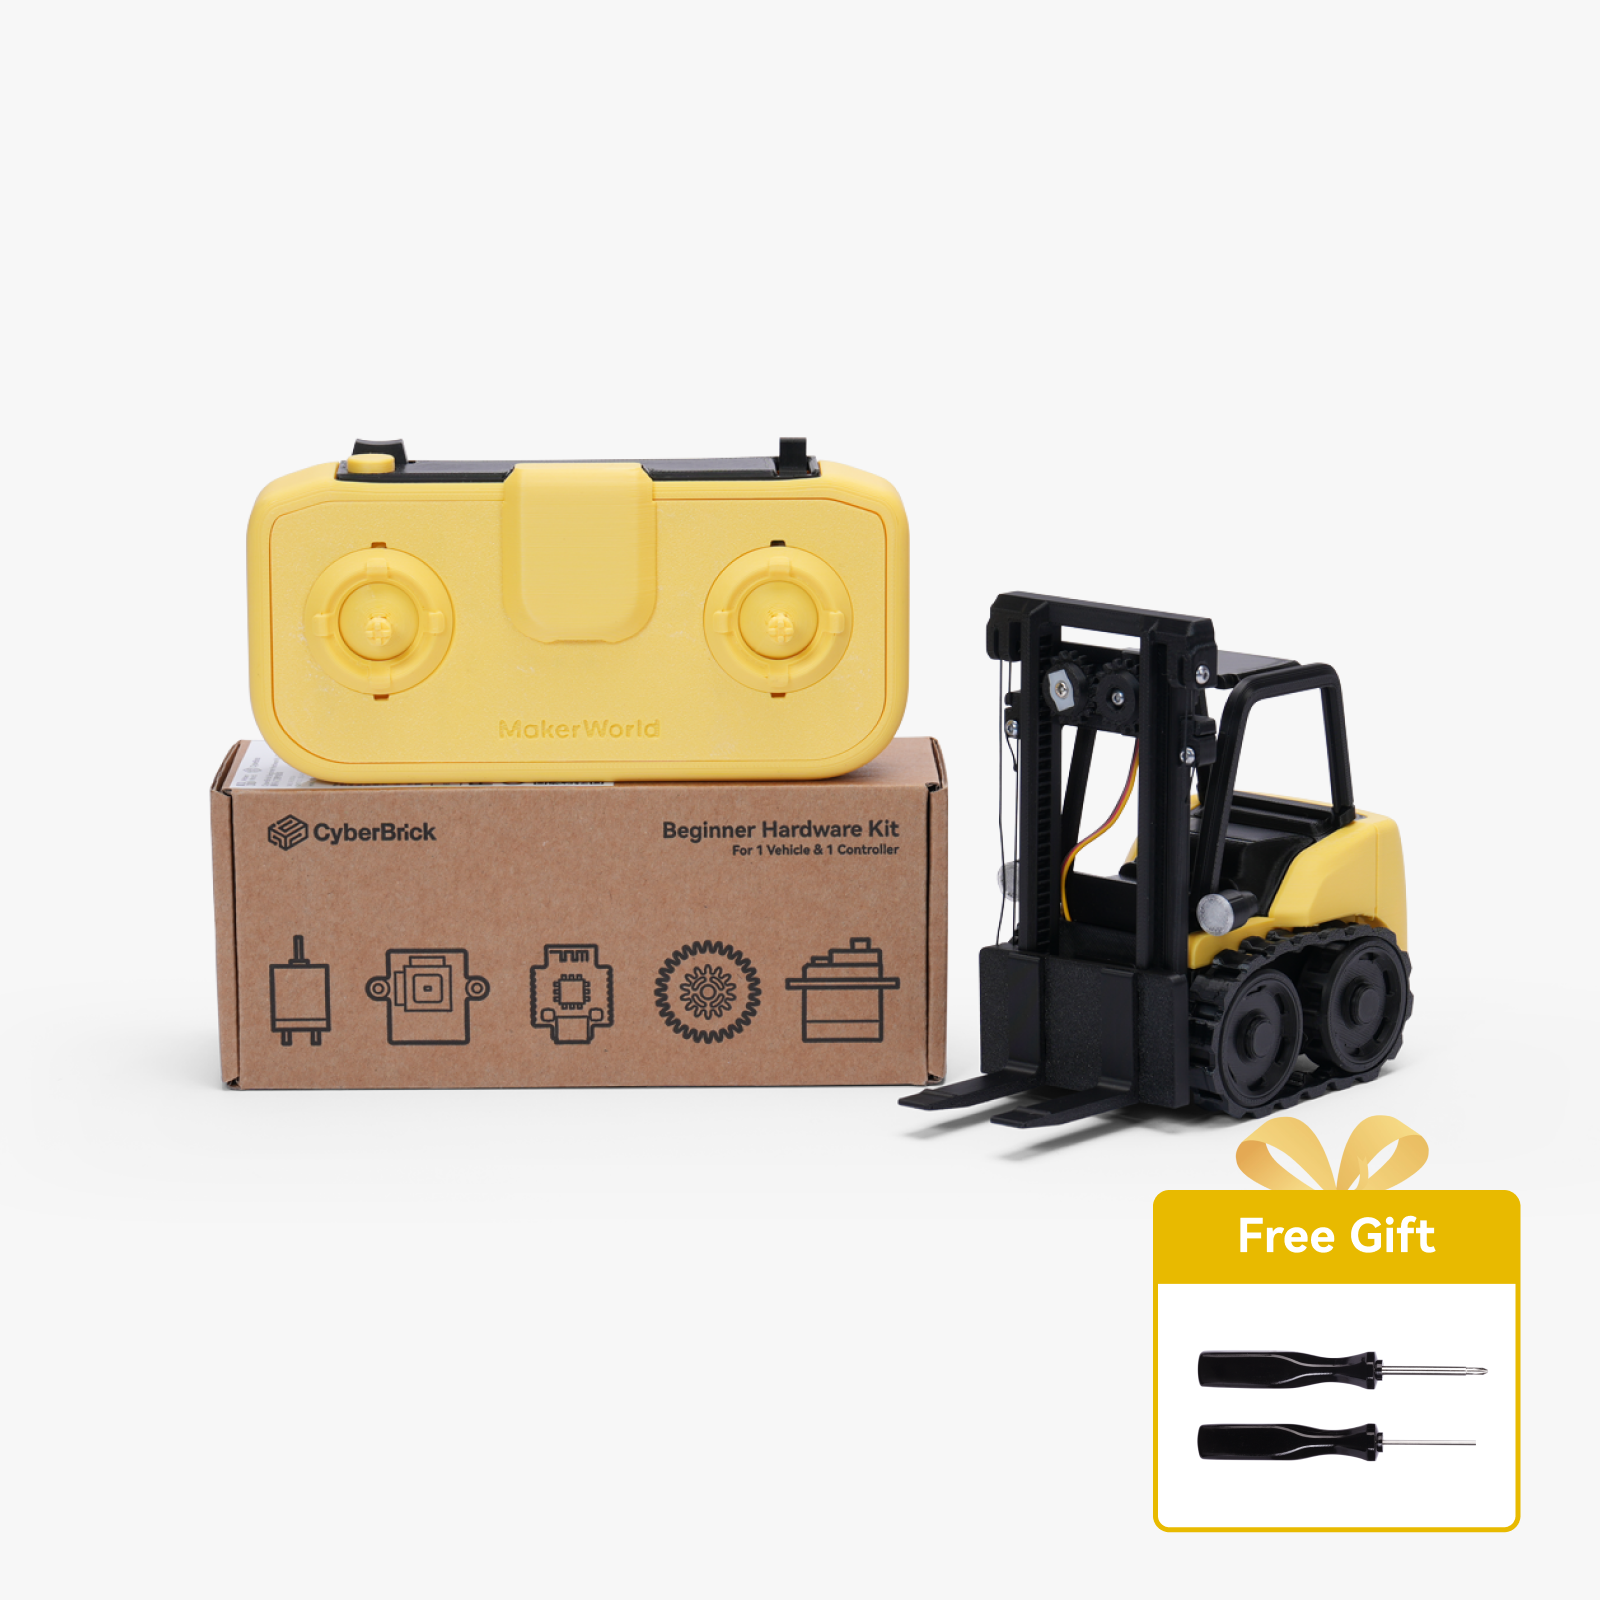



- M2 x 2 Heat Set Inserts x 11: https://amzn.to/4c7EXY2
- M2 x 4 Screws x 11: https://amzn.to/4s0CL9n
Description
After making This Side Up, which while fun to drive, is nearly impossible to steer effectively. I decided to make Pinch Hazard as a more conventionally steering based bot. I wanted to use the cyberbrick kit, but the other models looked so big for it, so I kept it as small as I could.
Assembly Outline:
- If you don't already have one, print off and assemble the cyberbrick remote
- Print off all the components
- Assemble the Gearboxes
- Add heat set inserts into the main body (8 around the edge, 2 for the receiver, and 1 in the back for the power switch)
- Add the extension wire onto the switch, and mount the switch to the rear mounting post.
- Plug the battery into the switch and lay into the bottom of the frame
- Add tires to all the wheels
- Assemble the front wheel
- Slot the wheel with the hole going all the way through into the forks
- Insert the shaft through the wheel and the forks, it should snap into place
- Slot the forks into the front lid, and snap the larger of the two steering gears on
- Mount the servo into the bot, the wire runs through the slot on the left-hand mount, and snaps a little bit into place. The servo mount uses the standard screws that come with it, rather than heat set inserts.
- Don't forget to center the servo before mounting the gear on top of it.
- Mount the front lid into place using the 4 M2 screw holes at the nose of the bot
- Cut a servo horn to fit into the smaller of the two steering gears
- Mount the gear/servo horn combo onto the servo so that it meshes with the larger of the two gears
- Make sure the front wheel is centered during this otherwise your steering center will be off
- Slot the motors into place, and the wheels onto the motor shafts
- Wire up the receiver and mount it onto the two mounting posts
- Mount the rear cover with its 4 mounting screws
- Enjoy!
Some additional details are below for certain steps.
Gearboxes:
The gearboxes make use of the 8 tooth plastic pinion gear for the motor, the crown gear, and output shaft gear (and two metal shafts).
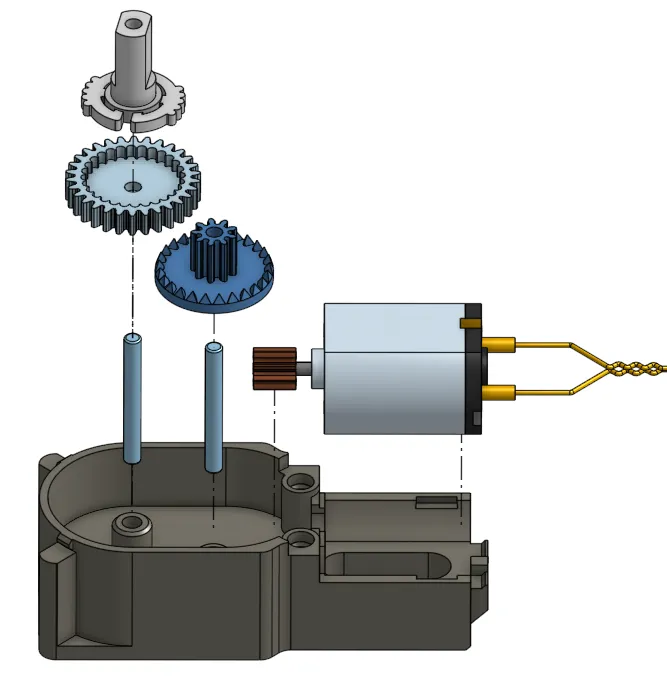
After everything is installed in the gearbox, apply grease, and the install the lid with 2 x 2.5mm x 6mm screws that come with the cyberbrick kit.
Wiring:
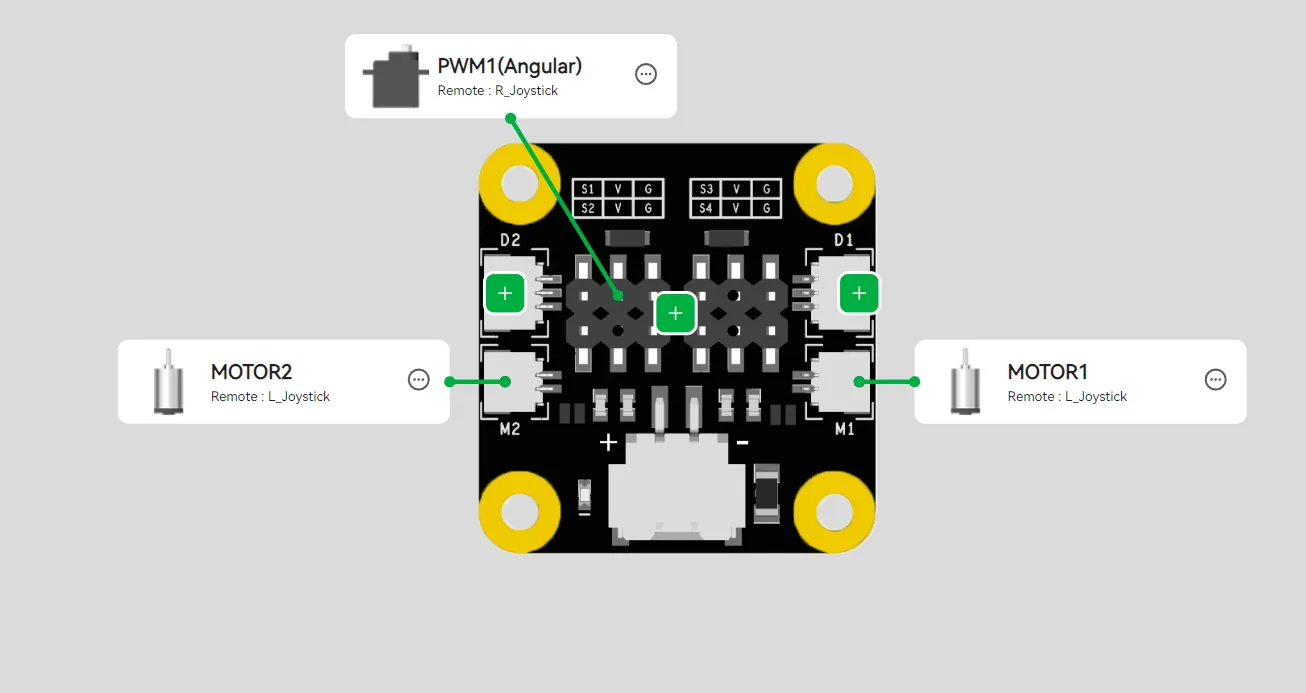
After installing the motors, give them a try on the remote, if they move backwards relative to what they should do, you can either swap the sides the motors themselves are on, or swap the ports on the receiver to invert them and make them drive the correct way.
Controls:
Resources
- 1:11 Speed Gearbox
- OpenSCAD Gear Generator used in the steering gears
Documentation (1)

License



Comment & Rating (0)