Bambu X1 Carbon Purge Chute Extension

Remixed by

Bambu X1 Carbon Purge Chute Extension

Remixed by
Boost
310
718
249

Print Profile(5)

All
P1S
P1P
X1
X1 Carbon
X1E
A1

0.16mm layer, 6 walls, 30% infill
38 min
1 plate
4.9(123)

Optimized Performance - Vertical-ABS-0.2mm layer, 4 walls, 100% infill
22 min
1 plate
5.0(35)

PETG Standing 0.2mm layer, 4 walls, 15% infill
39 min
1 plate
4.9(28)

0.16mm layer, 3 walls, 25% infill
16 min
1 plate
4.8(33)
Click to see more

Open in Bambu Studio
Boost
310
718
249
61
1.3 k
1.2 k
Released

Description

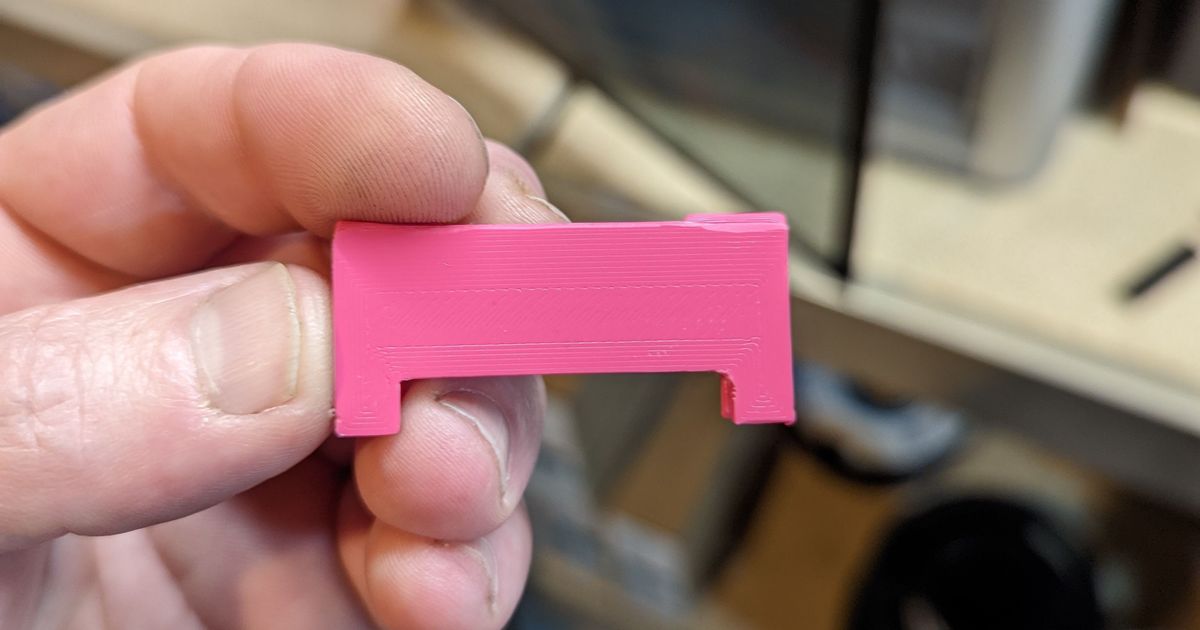
This model was designed to help reduce instances of purge waste being flung back into the print area. The models I remixed had two issues in my experience.

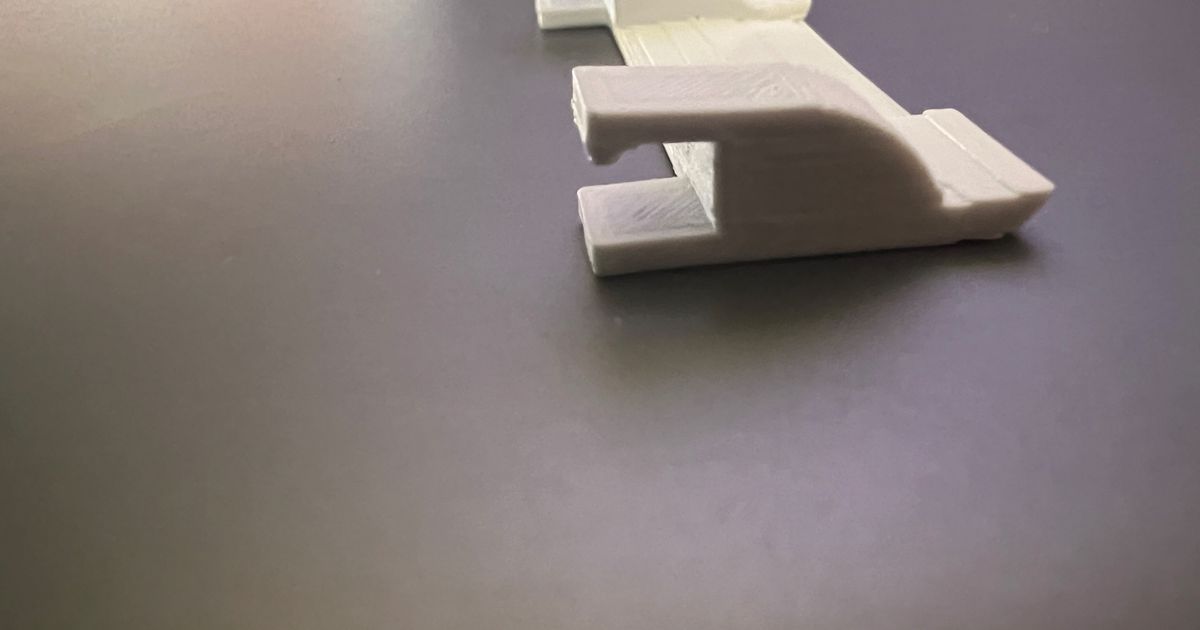
The original model is push fit and extremely thin in areas and not really optimized for printing. The second remix solved the push fit issue by adding in snap fits (which I copied exactly). Snaps fits worked great, but the model was still very thin and weak in several areas, especially where support removal is required. Geometry wasn't very optimized for printing, seemingly unnecessary super steep overhangs, and seems like the overhangs for the mounting snap fit tabs could be printed without support in a different orientation, but you're kind of forced to print in a single orientation due to how thin the middle of the flap is. Broke one then printed another. So i designed this remix with the copied snap fits and a stronger and more optimized design for printing.

Print standing tall as pictured. Standard 0.2mm layer height print profile in Bambu Studio. I used a ~10mm brim just to be safe. If your print quality is not great, double check your minimum layer time and cooling settings as this is a small, thin, and tall part so your layers may not be getting enough time to cool. I used 5 seconds min layer time I believe. I'd recommend a material with higher heat resistance than PLA such as PETG or I used ASA. Higher chamber temps could negatively affect PLA.

Fusion 360 source and .STEP files included.

Comment & Rating (249)

Please fill in your opinion
(0/5000)

Print Profile
0.16mm layer, 6 walls, 30% infill
Just printed and installed on my P1S. Fingers crossed that it stops the poop from flinging back onto the bed. Print turned out perfect.
2
Reply
looking at this as a possible solution how's it working on your p1s
0
Reply
Replying to @ST3Drane :
Have only had ONE poop flinger since adding it! I would call it a 99% success considering before adding it I would have multiple poops flung onto the bed.
1
Reply
Replying to @flightoffancy :
thanks i printed it and have fitted it. cross our fingers huh :D, its working better then the cap situ. my trapdoor is actually working now .
0
Reply
Print Profile
Optimized Performance - Vertical-ABS-0.2mm layer, 4 walls, 100% infill
Seems like it's helped stop purged filament from flicking out on to the build plate
0
Reply
what is the blue piece under the poop chute please?
1
Reply
Replying to @ewilli133 :
thanks!
0
Reply
Boosted
Print Profile
PETG Standing 0.2mm layer, 4 walls, 15% infill
Nice print! Looks nice in PETG Translucent. So far it seems to have my X1C potty trained! Thanks!
1
Reply
Boosted
Print Profile
PETG Standing 0.2mm layer, 4 walls, 15% infill
One of the best mods I’ve done on my printers - love it, great work.
1
Reply
Print Profile
0.16mm layer, 6 walls, 30% infill
Solved the problem, thank you
0
Reply
Print Profile
0.16mm layer, 6 walls, 30% infill
Quick and easy print. Snapped into place solidly and has a nice tight fitment. Now lets hope for less poop getting flung onto the print bed
0
Reply
Print Profile
0.16mm layer, 6 walls, 30% infill
Hoping this will potty train my P1S...
0
Reply
Print Profile
0.16mm layer, 6 walls, 30% infill
came out decent
0
Reply
Print Profile
0.16mm layer, 6 walls, 30% infill
worked well
0
Reply
Print Profile
0.16mm layer, 6 walls, 30% infill
had some overhang problem with Asa
(Edited)
0
Reply