
Editable edge protector

Print Profile(4)
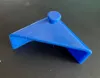
Description
After hitting my head a few times (give me some ice, PLEASE), now I know very well that I often forget to close the doors of all those wall cabinets in my home.
The edges are really hard and pointed, so in the past I've bought different kind of protectors to save my head (really I've never hit a protector, always those bare edges …).
With a “good” 3D printer I've finally been able to design a protector that I could hope to bump, if I really can't avoid it.
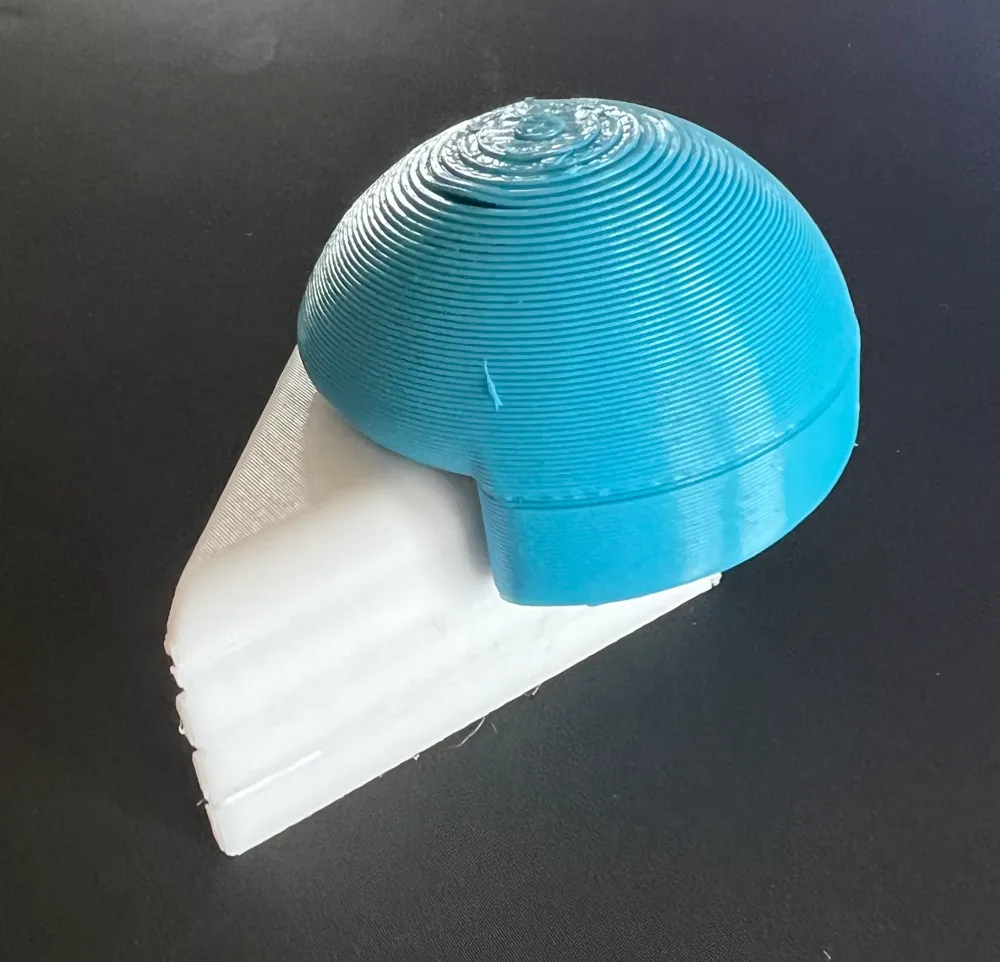
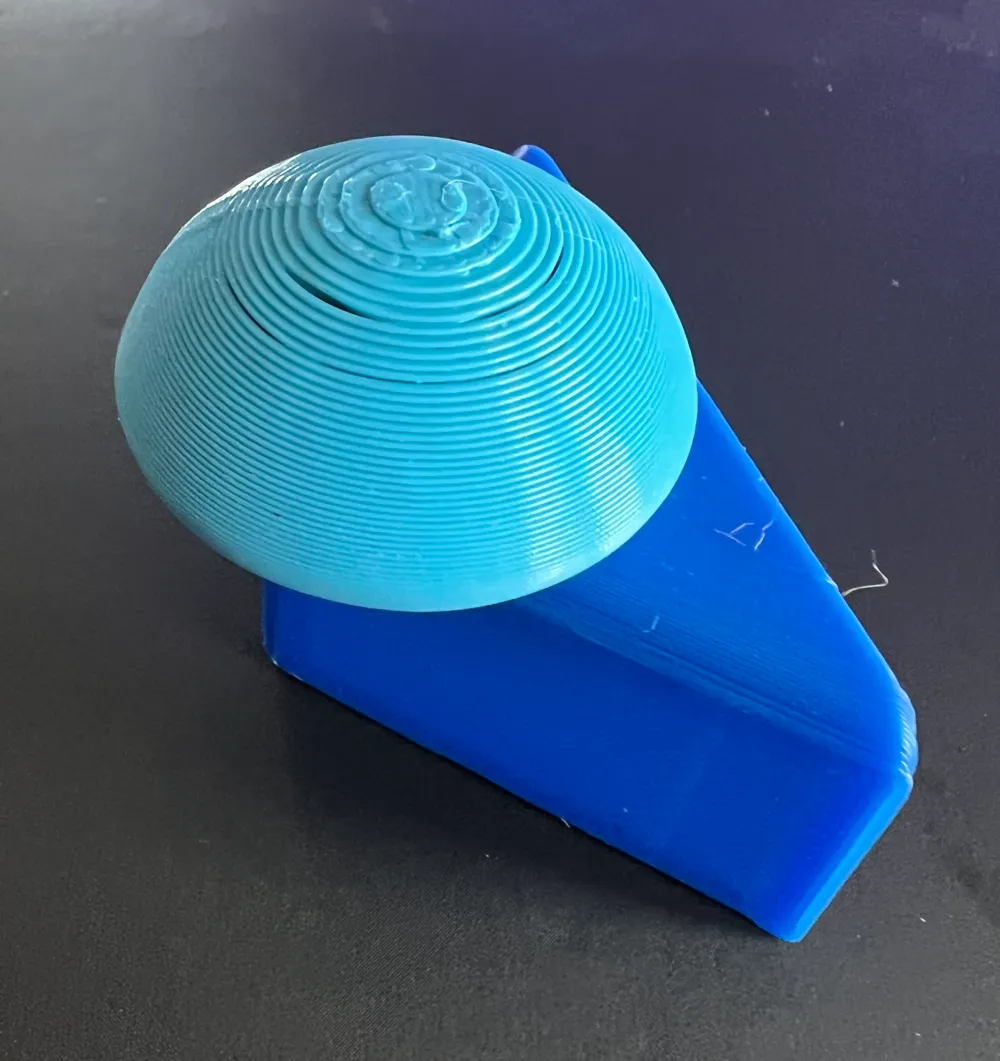
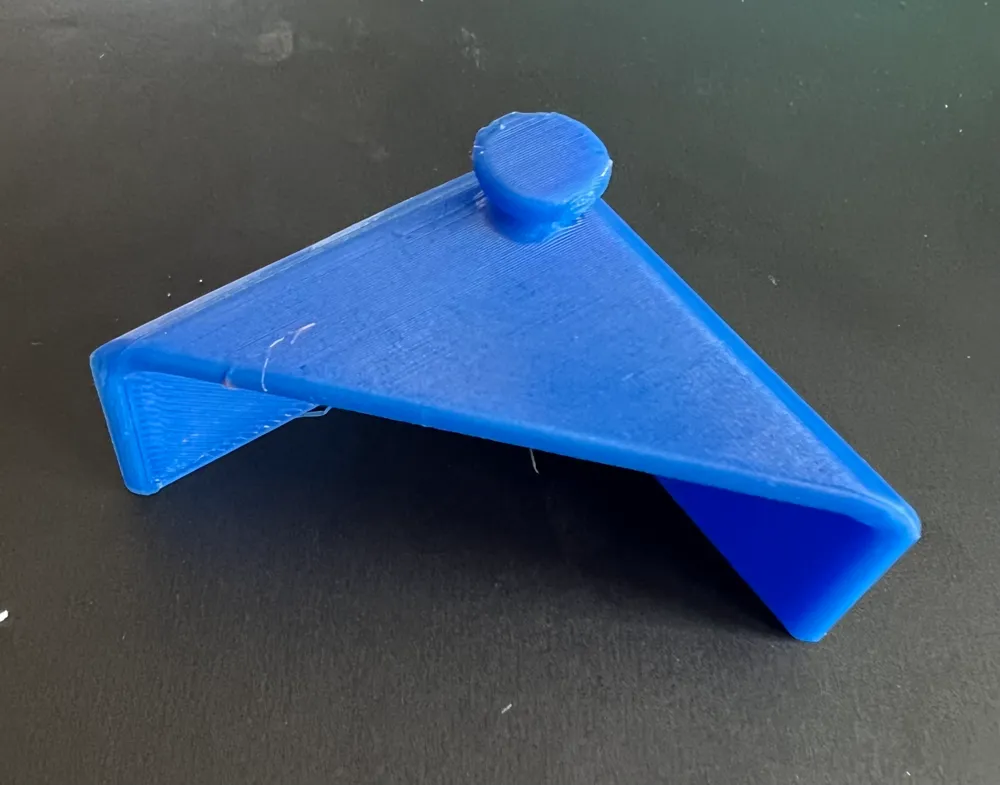
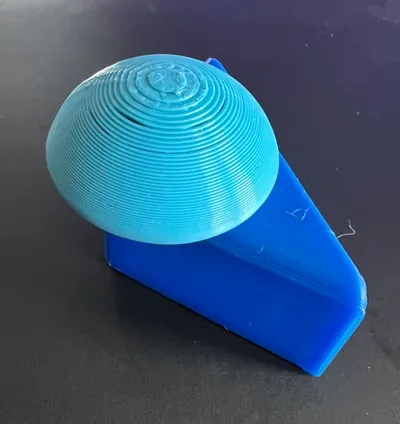
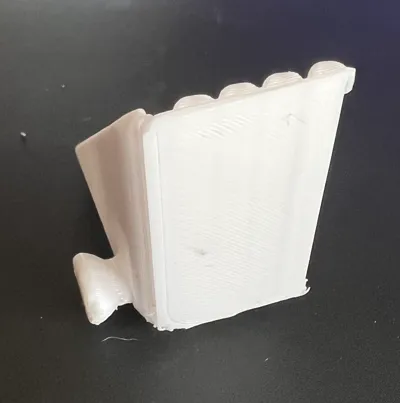
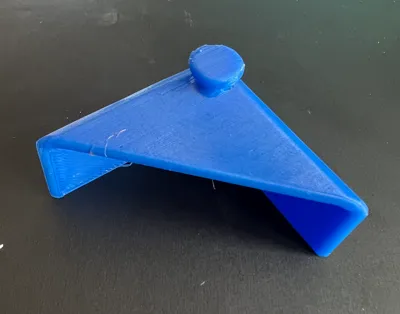
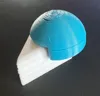
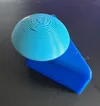
It was a simple project, a piece of PETG, 90° angled, and a TPU pad that could be coupled and positioned with double-sided tape on the edge.
Trying it I found that some furniture doors are thinner than others, so my idea was to make an “editable” protector that could be reduced in size.
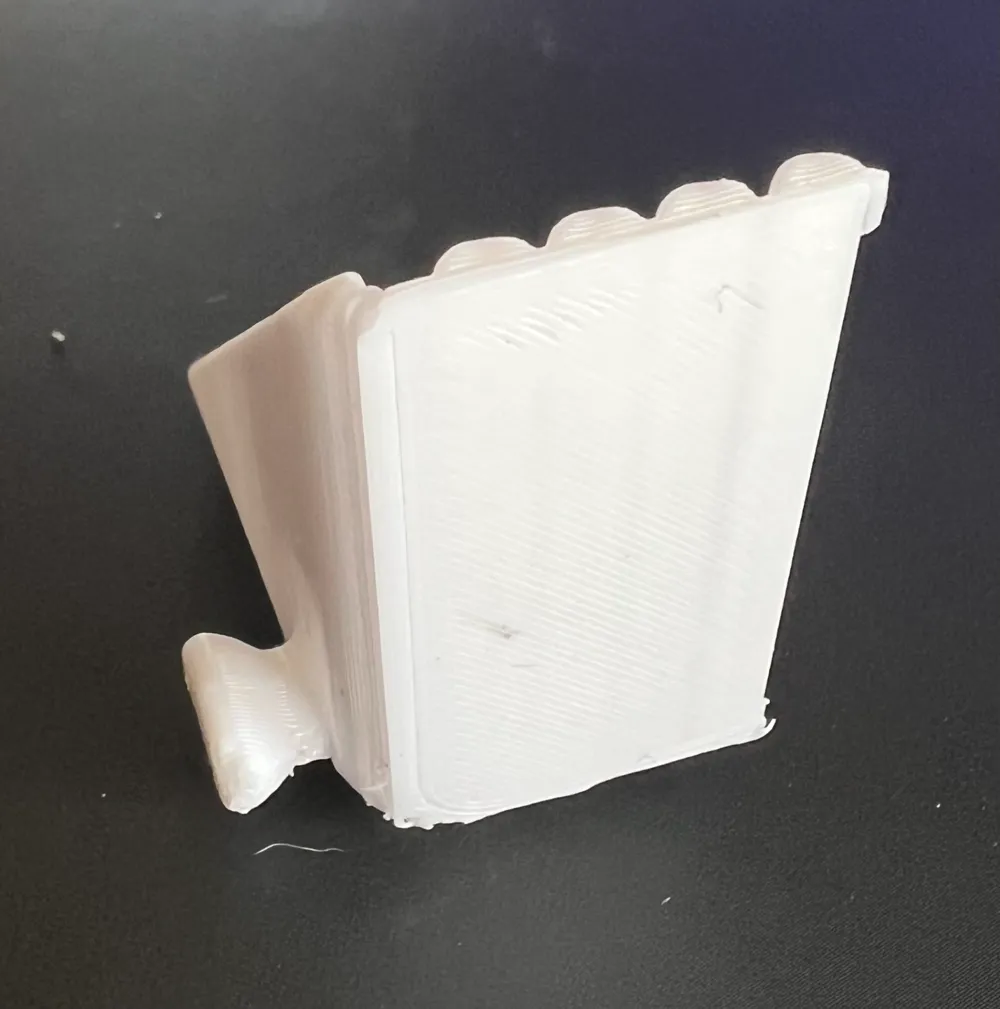
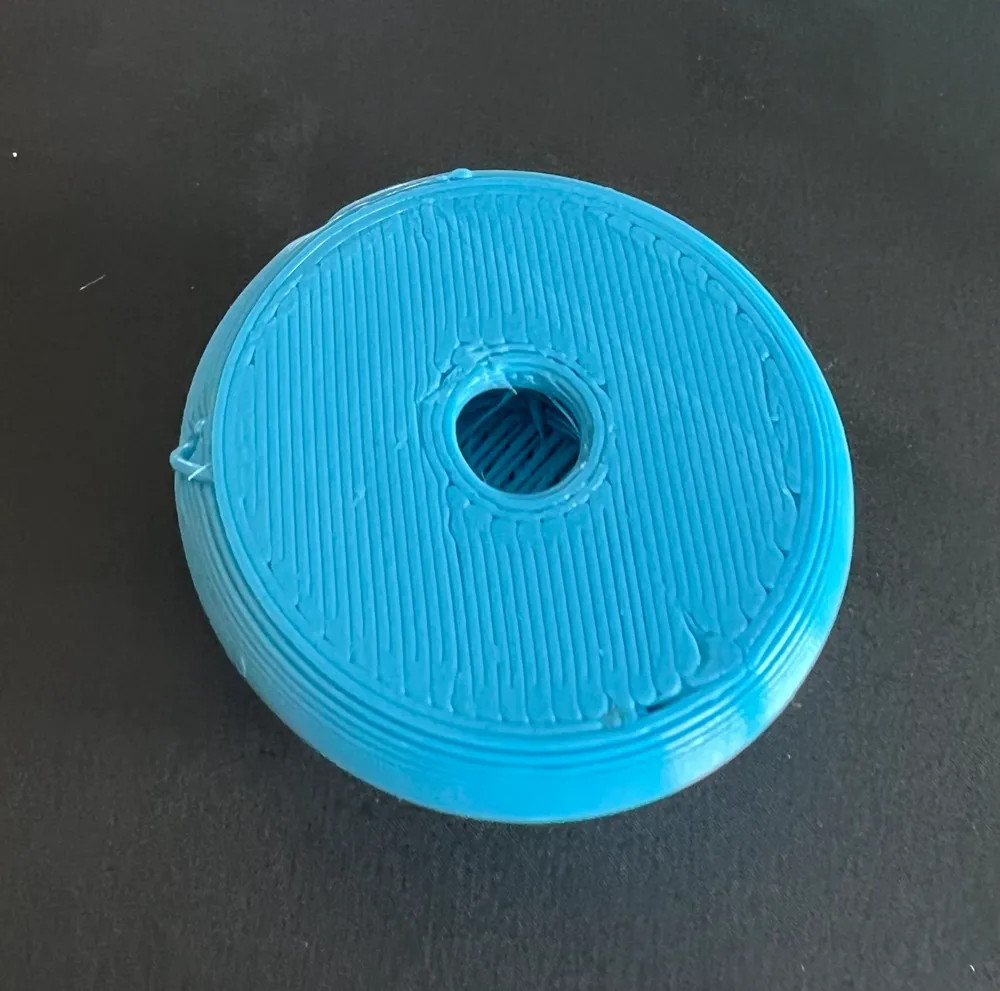
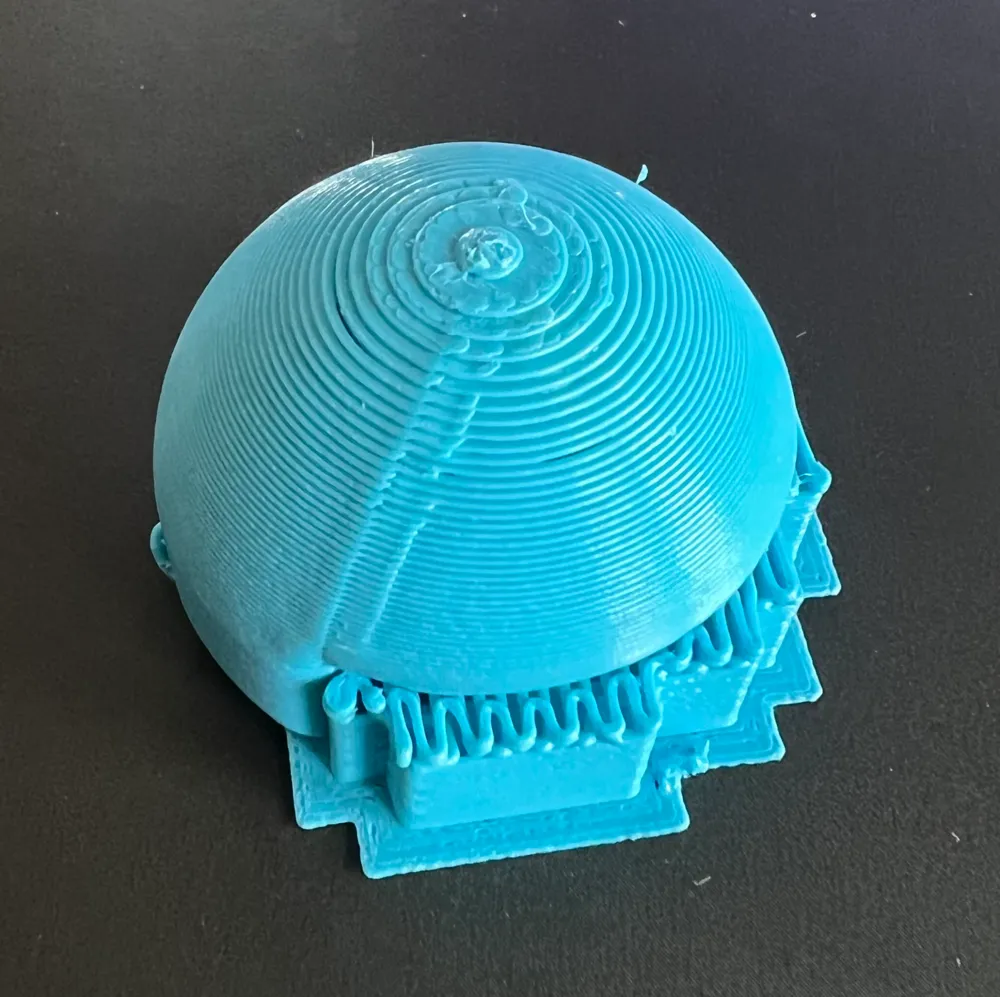
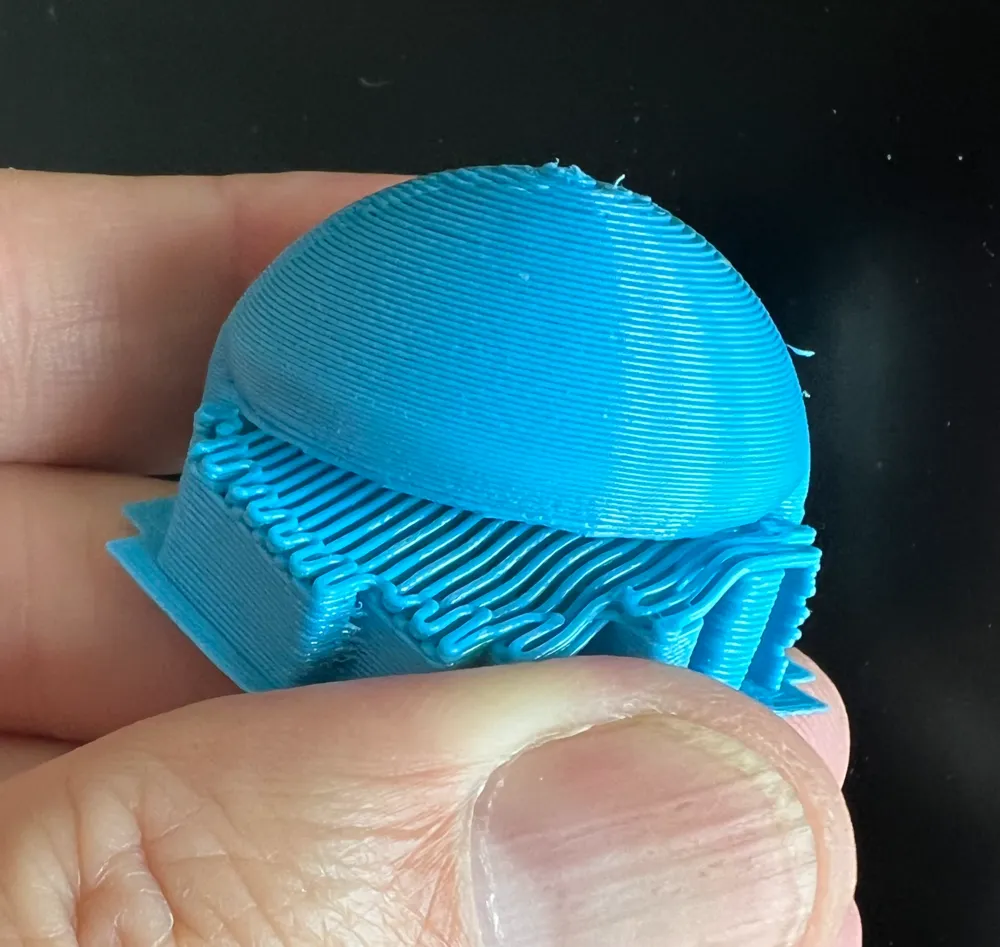
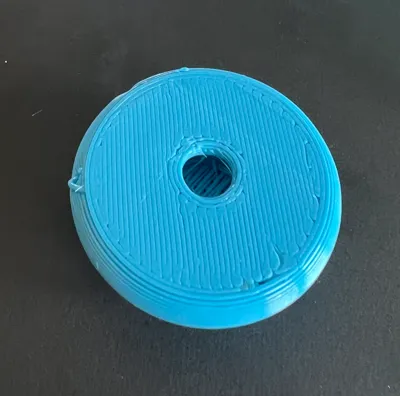
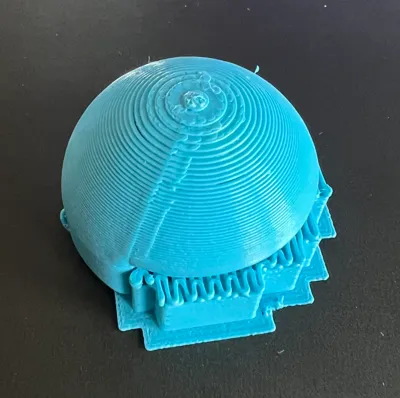
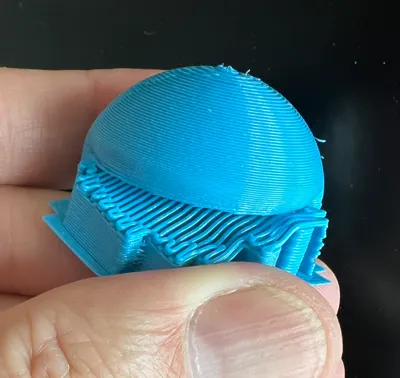
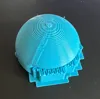
The TPU is Filaflex A82 (so, obviously, NO AMS), the settings are GENERIC TPU with 2 walls and 15% infill. For the “enlarged” pad you'll need a support, usually I set the TOP Z at 0.27 mm and a picture shows you that removal has been enough easy.
I used ESUN PETG, as I like it, but any good and dry filament should work well. You'll need a little bit of support for the pad connector…
So I'm able to choose the filament colors more suitable for the piece of furniture the needs an edge protector.
Good printing to everyone!!
License



Comment & Rating (1)