HKR Interlocking Poop chute with removable bucket


Print Profile(22)


Description
We completely redesigned HKR Interlocking Poop Chute.
New version is compatible with X2D & P2S, X1 and P1 series printers.

Enjoy!
Boost Me (for free)
(for free) If you enjoyed this model, please consider boosting it to support creator. Thank you!
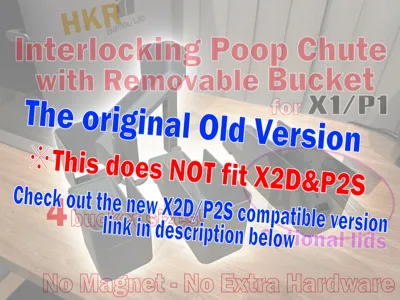
(DESCRIPTION FOR OLD VERSION)
This model is designed to fit X1 and P1 series printers. IT DOES NOT FIT P2S.
HKR poop chute features interlocking leg to secure the chute to the printer body without extra hardware or magnets.
We also offer modular poop chute system for H2D / H2S printers here: https://makerworld.com/en/models/1289566-hkr-modular-h2d-poop-chute-no-hardware-required#profileId-1319473

MODEL UPDATE - 04/13/2025:
Added optional lids for all size buckets for pet safety.
※Fitment Note:
If you got X1, X1C and P1P in Feb 2023 and earlier (most likely built in 2022) , Your printer might have shorter legs than current version.
This can cause a printer to not sit level with the chute installed.
How to tell if you have a early style short leg printer

If it goes like picture above, you have current style. no further action is required.
If the chute base doesn't goes in, follow instructions.
Scroll down for further information


Removable bucket are easily access from front and available in 4 sizes.


Boost Me (for free)
If you enjoyed this model, please consider boosting it to support creator.
Thank you!
《Solutions for early short leg printers clearance issue 》
2 ways for fix - both methods raise the printer height to same as current version to correct clearance issue.
So print whichever you prefer and install to an early style printer.
(Files are available for download)
- Replacement TPU leg - Extended legs replace stock rubber feet. Print with TPU


- PLA spacers - PLA or whatever rigid filament material you used to print the chute would work. They fit inside the leg pockets, use with stock Rubber feet


Tip for leg replacement:

NEW:
Optional lids are available for buckets in all sizes.


Checkout more HKR printer accessories: https://makerworld.com/en/u/2567436854
・HKR Stackable Build Plate Storage: https://makerworld.com/en/models/120963#profileId-130105

・Foldable AMS side mount spool holder - No Bearing: https://makerworld.com/en/models/145321#profileId-158083
・Foldable AMS side mount spool holder - with Bearings: https://makerworld.com/en/models/153090#profileId-167255

Happy printing!
License
You shall not share, sub-license, sell, rent, host, transfer, or distribute in any way the digital or 3D printed versions of this object, nor any other derivative work of this object in its digital or physical format (including - but not limited to - remixes of this object, and hosting on other digital platforms). The objects may not be used without permission in any way whatsoever in which you charge money, or collect fees.
Comment & Rating (10263)