Ender 3 V3 SE Lighter Fan Shroud
Ender 3 V3 SE Lighter Fan Shroud


Print Profile(0)
Description
3rd photo shows how it should be laid out. Takes similar inspiration from another shroud, but is designed around the shroud being remixed. Supports aren't needed, but it may look nicer if printed with supports, and make sure to use Cura for the best results with supports. If you're looking for a 2150 to 4010 fan shroud that pairs well with this, you can find it on my profile or here.
Instructions:
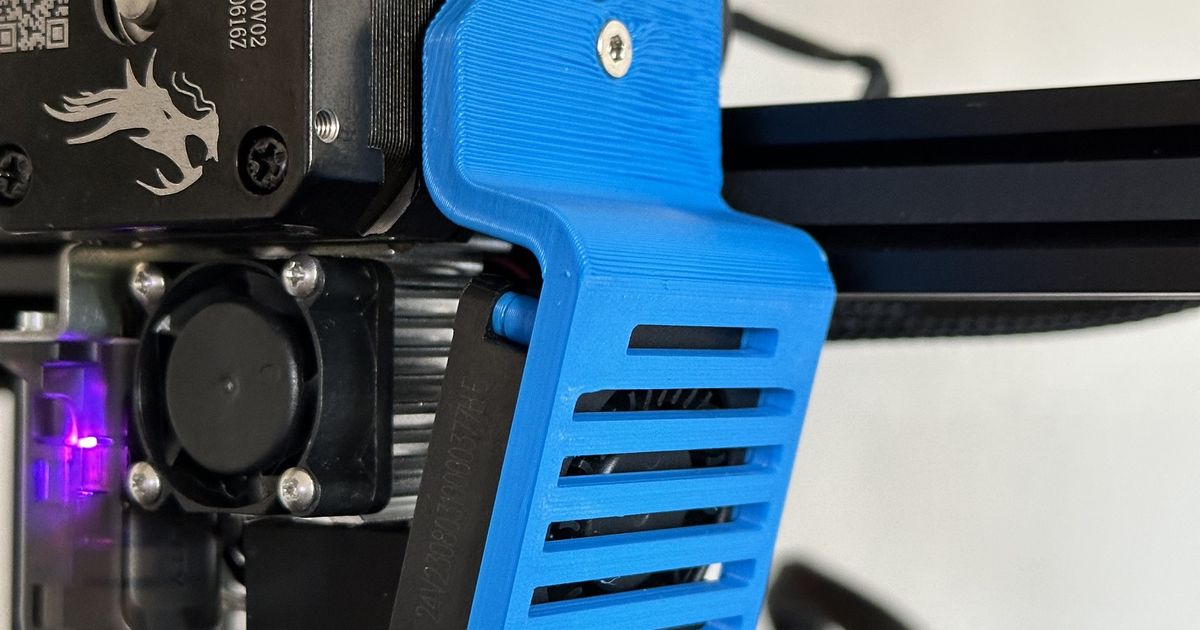
Step 1: On the old fan shroud, remove the three screws holding it on (one is on the left and two are on the right) and pull off the stock shroud.
Step 2: With the stock shroud removed, screw in the screw on the left into its slot for safekeeping (not required but recommended). Remove the 4 Phillips screws for the fan and remove the old air duct.
Step 3: Slot in the new duct. With the 4 Philips screws from earlier, have the fan placed on it (with the duct facing the bottom of your new shroud).
Step 4: Line up the screw holes with the old screw holes on the extruder. Use the two screws from earlier to screw it in.
And it’s in! Enjoy your new shroud!
I am now probably officially uploading this to Creality Cloud, because of the model's nature.