
Mini Golf Set
Print Profile(1)
Description
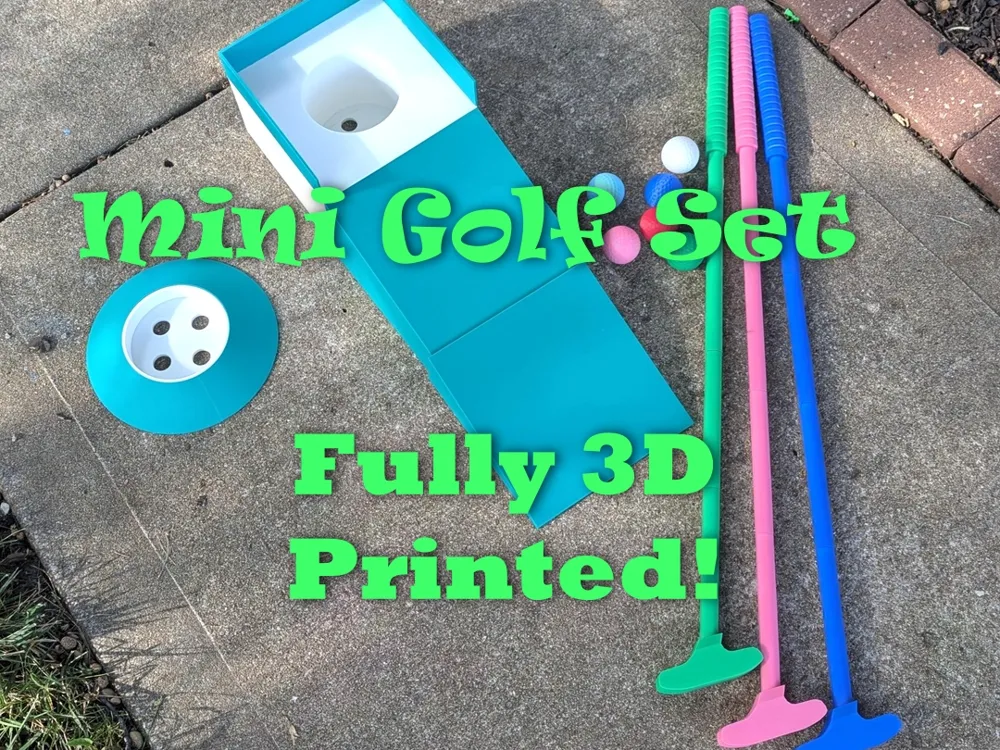
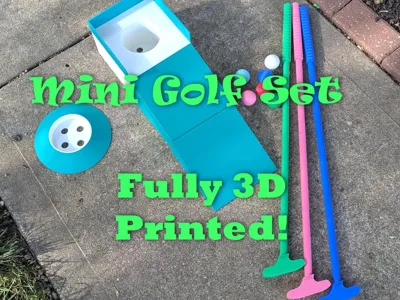
Mini Golf Set
About the Model
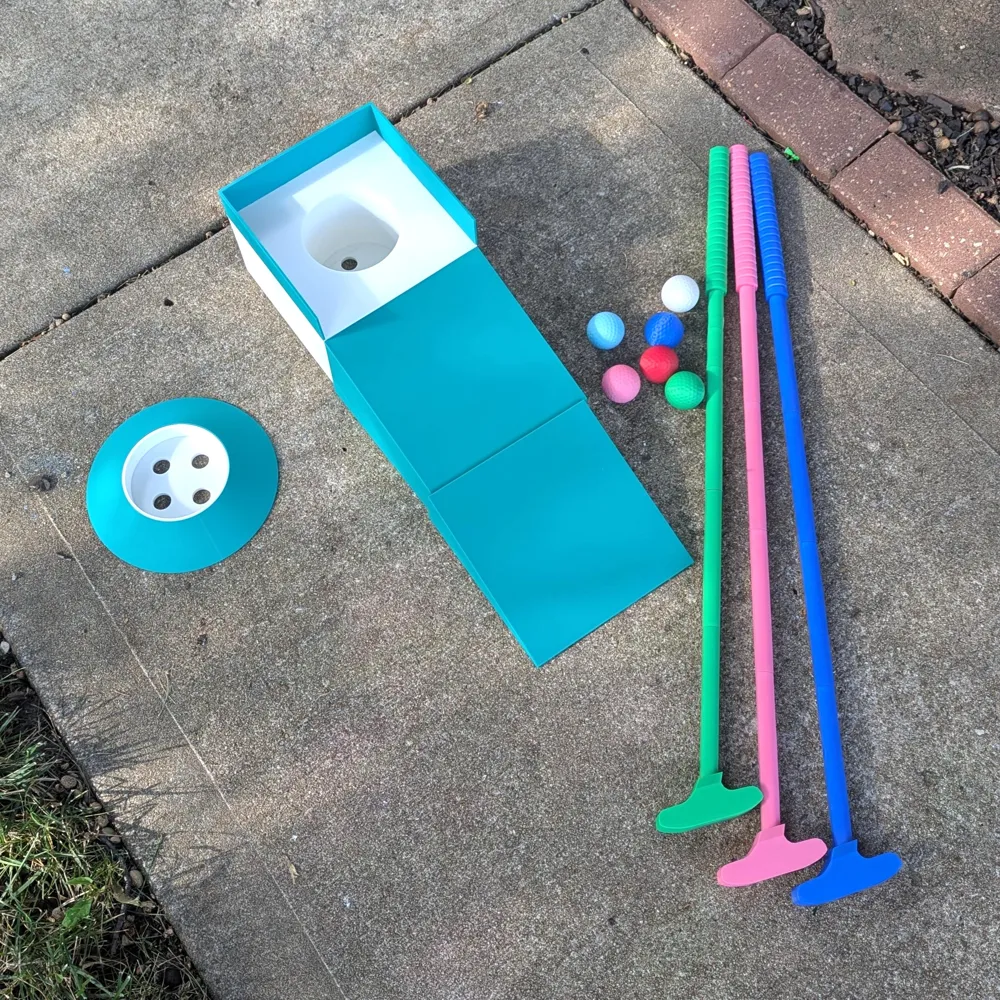
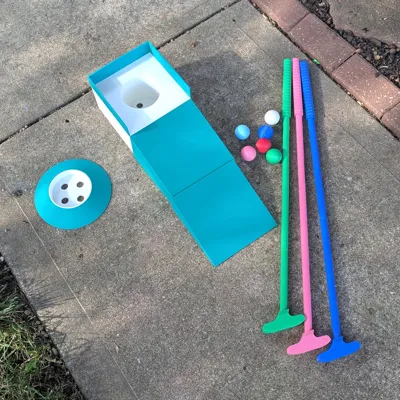
Bring a stroke of fun to your summer (or any time of year!) with this exciting and family-friendly mini golf set. Kids and adults alike love to gather to try their luck at the local mini golf course.
****************************
☑ Play Mini Golf at Home!
☑ Putters, Ball, and Hole Are All Printable!
☑ Easy to Print and Assemble!
****************************
Now, you are in total control of your experience!
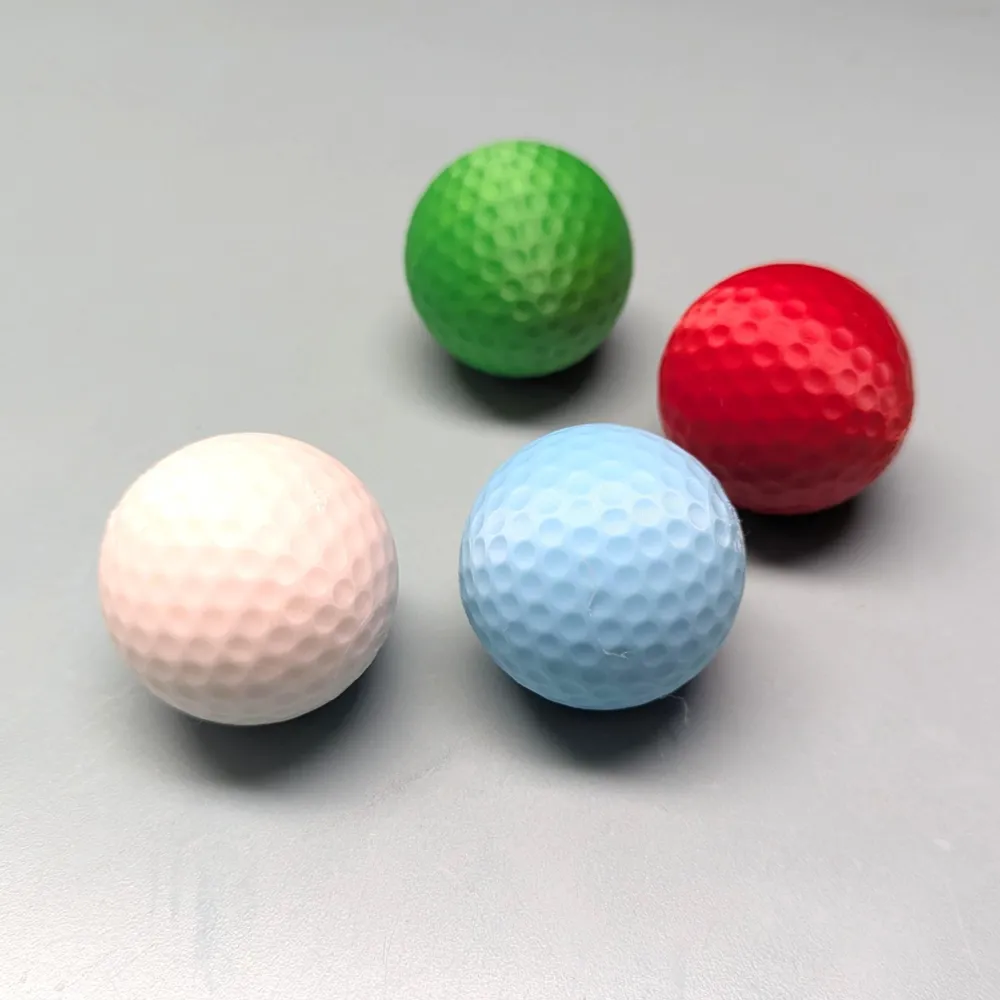
What color will your putter and ball be? Will your golf course be easy with flat and generic holes…or will be extravagant with windmills, decorations, and sand traps? Par 3 or Par 30?!?!
With this kit, you can print a mini golf set at home for about the same cost as taking a family of 4 to play on a commercial course!
PAY SPECIAL ATTENTION TO THE INFILL SETTINGS FOR THE PUTTERS!!!
Boost Me (for free)
Love this model? Let me know!
Materials:
Sunlu Mint Green: https://amzn.to/4dExaS6
Sunlu White: https://amzn.to/4sgHsfQ
Sunlu Colors: https://amzn.to/4sXcER5
*Affiliate Links - I may earn a small commission if you make a purchase.
Features
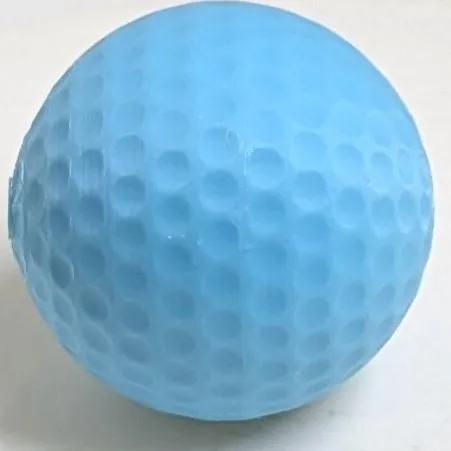
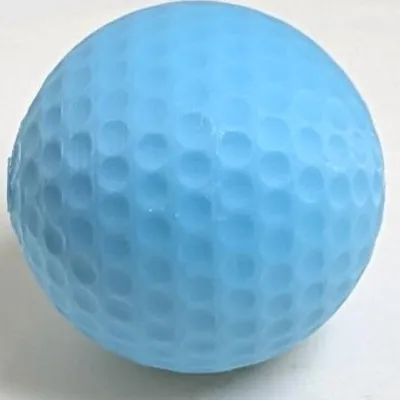
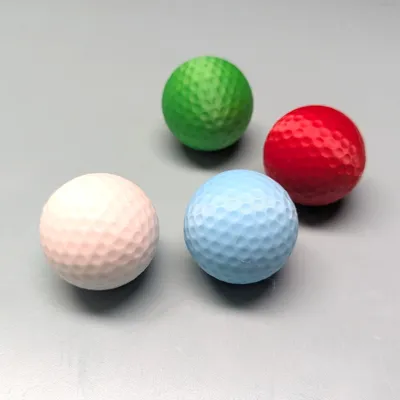
- The Golf Ball has been designed to be the same size and weight as a real golf ball. I spent almost a whole day getting it just right!
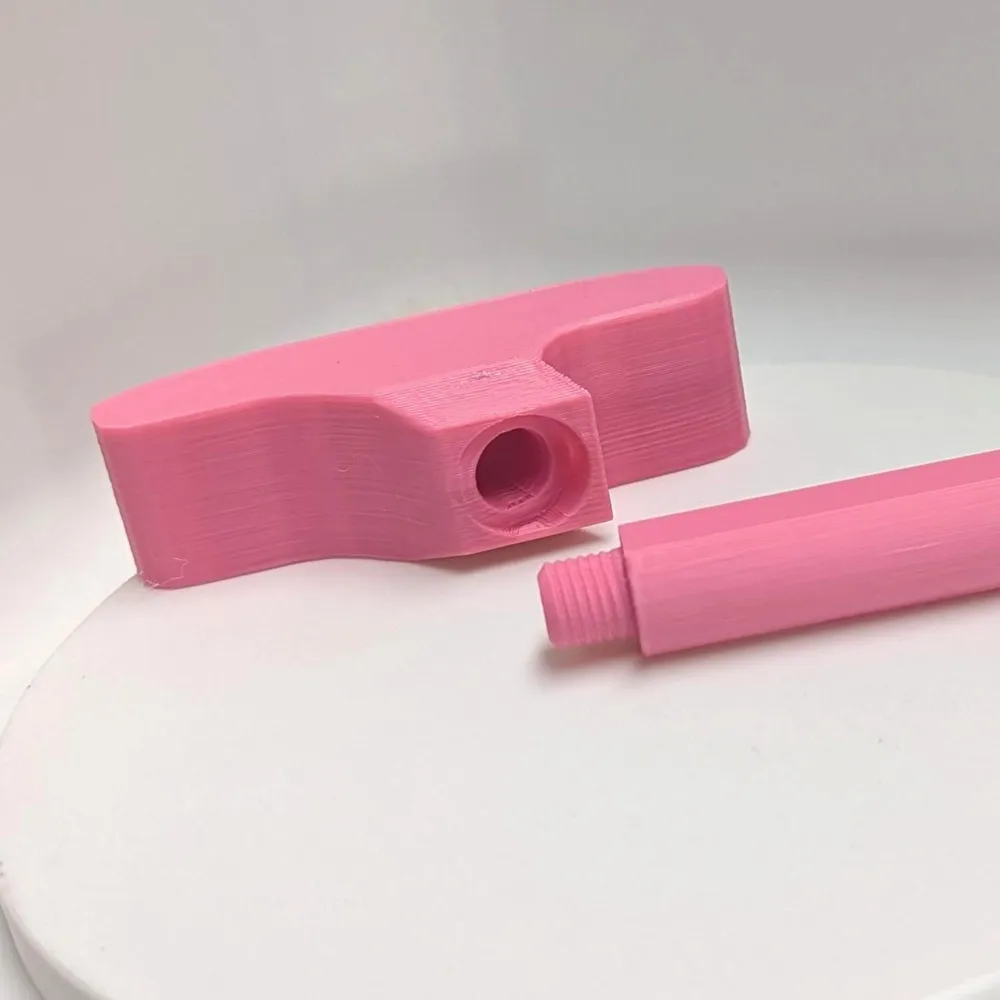
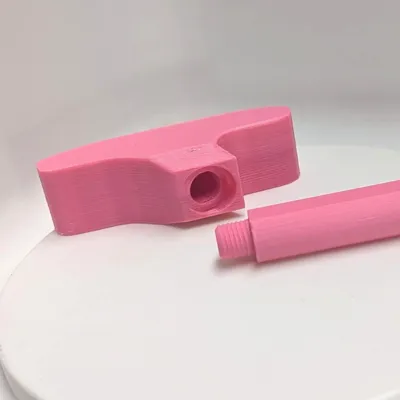
- The putters screw together for easy and secure assembly.
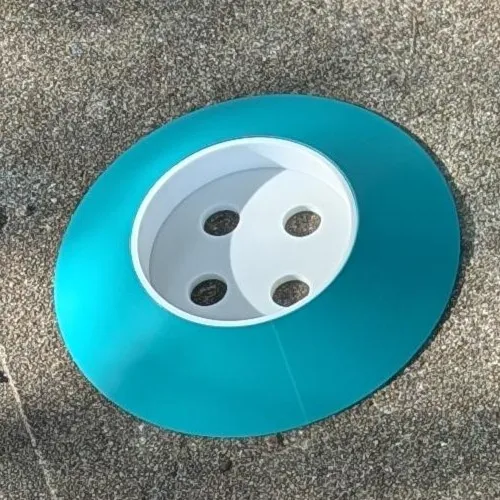
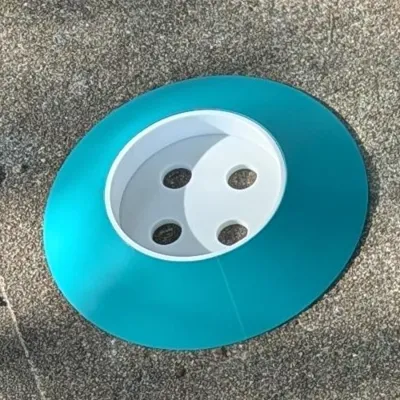
- The hole has drains included for both the in-ground and ramp versions to prevent them from filling with water during rain.
Printing the Golf Ball
- For the golf ball, to get an accurate weight you will want to use 90% infill with a rectilinear pattern. You’ll also want to consider using a smaller layer height (I used 0.12mm) to get appropriate detail on the ball.
Printing the Putter(s)
- For the putters, use a strong material. The shafts will need thicker walls and higher infill. While the clubs shouldn’t be exposed to strong forces during regular play, you don’t want your club to snap just because you accidentally hit something with it.
- You’ll also want to use a brim (☑ Other Options > Outer Brim) for better bed adhesion
- The 3MF file included has custom modifications to the infill. If you are generating your own settings, use 30% infill throughout most of the club and then apply a modifier to the ends with 60% infill to ensure they do not break off. Also increase the wall count to 4.
Printing the Ramps and Holes:
Use 15% infill to minimize material usage, there is no need for these to have high infill. If you are printing on the K1C (or similar sized bed). You will want to scale all parts of the raised hole down to 95% to allow the middle piece of the ramp to fit on the build plate.
Support:
☑ Enable Support > Tree (auto)
☑ From Build Plate Only
You DO NOT need to support the putting green or raised holes.
Assembly:
Putter:
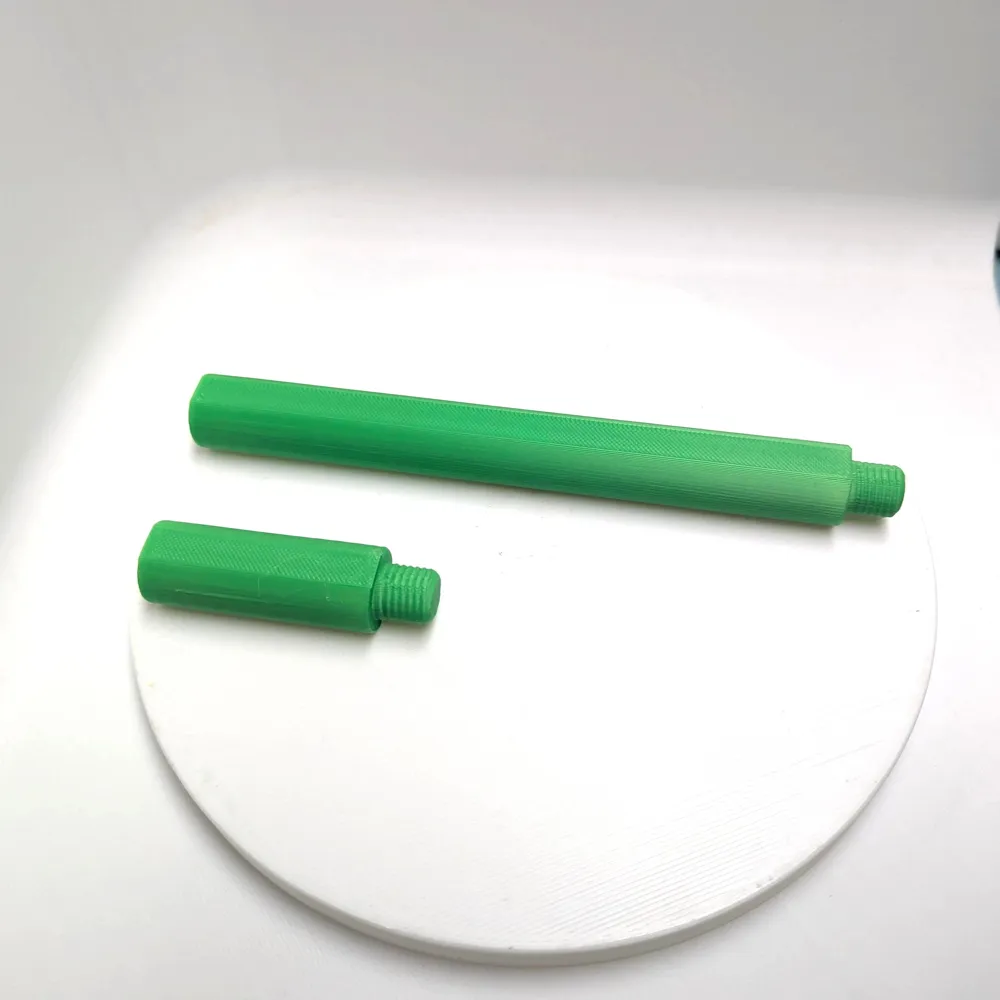
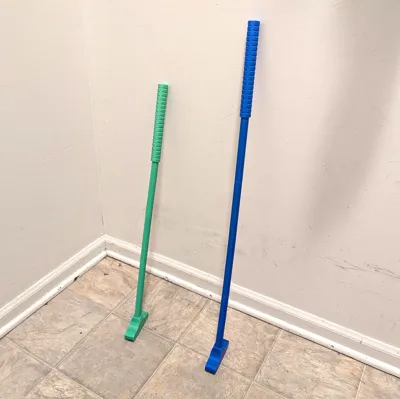
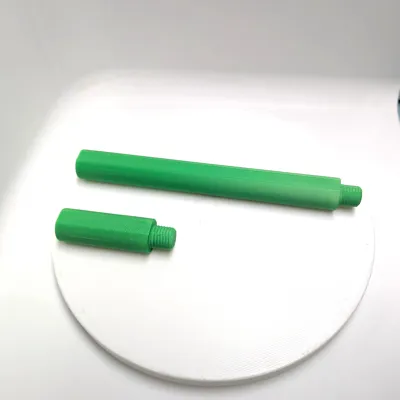
📐 The larger-shaft sections are 150mm (~6in) in length.
📐 The smaller-shaft sections are 50mm (~2in) in length.
For each putter you will need to print a putter head and a handle.
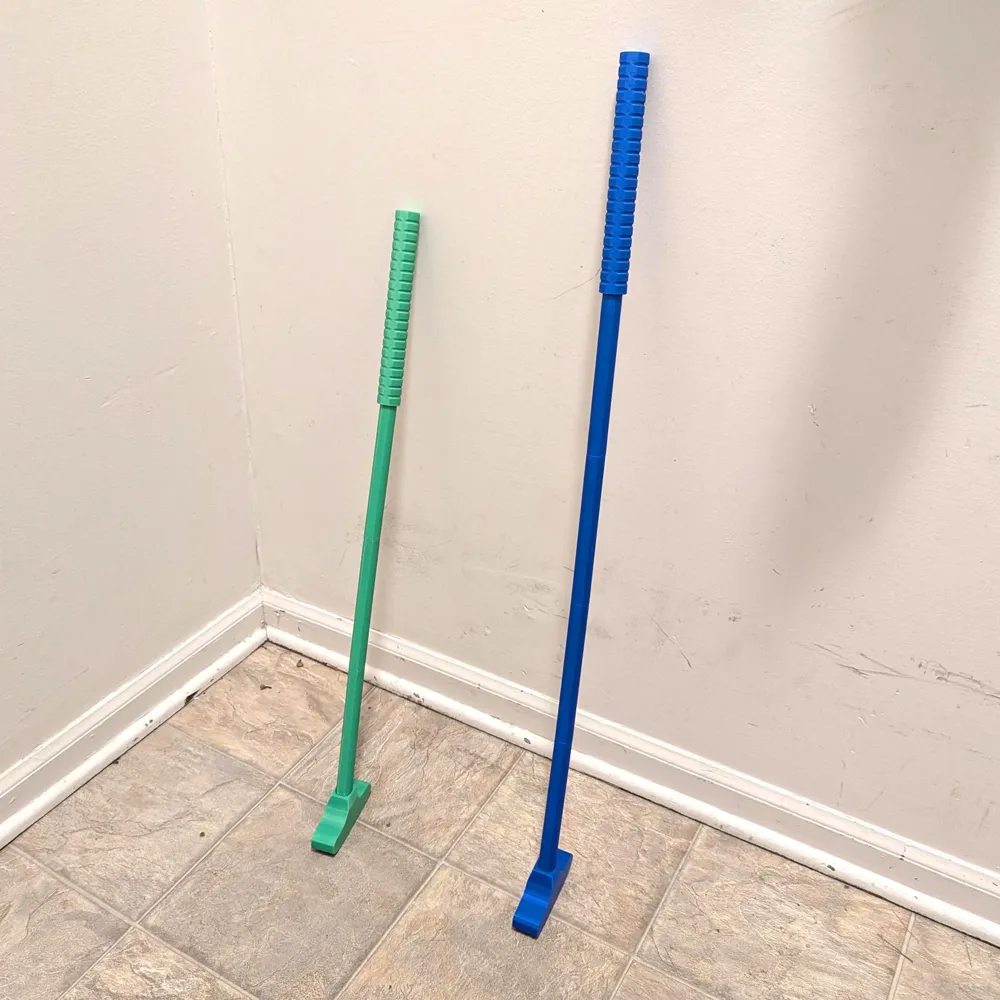
🧑🏼🦰👩🦰For adults I recommend printing 4 of the longer-shaft sections.
👶👶🏽For children I recommend printing 3 of the longer-shaft sections.
Optionally, use the smaller sections to fine-tune the height of the putter.
Screw the pieces together to form the club.
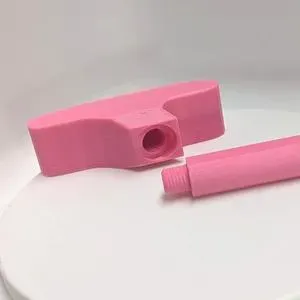
You will need to glue the head in place to prevent it from popping out:
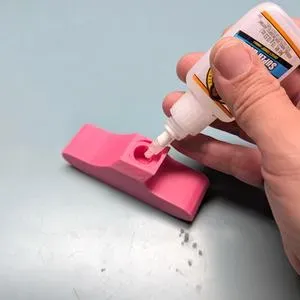
The club generally works best with the flat parts of the shaft aligned with the head of the putter:
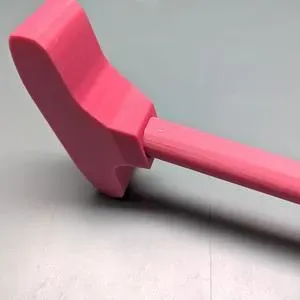
The flat sides of the shaft should line up well naturally, but if you want to make sure they stay in alignment, place some glue along the joining edges before screwing them together.
Ramps and Holes:
Optional: You can glue the wall on the top of Part 3 of the ramp.
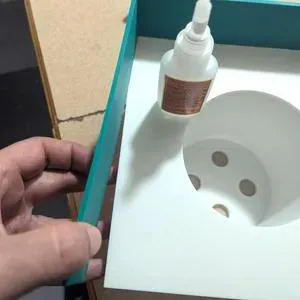
The ramps line up end to end:
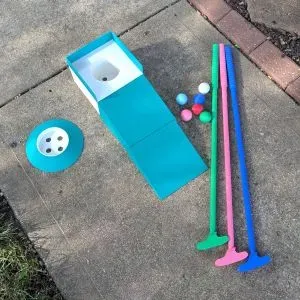
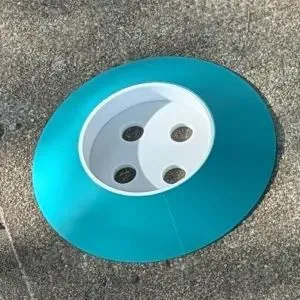
The holes can simply be placed inside their housings:
Commercial Use:
This model is for PERSONAL USE ONLY.
💲💲💲
If you would like permission to SELL THIS MODEL please subscribe
Membership
Sell my models!
or to my Patreon here: https://patreon.com/davidsitgarage
OR
Membership
You can sell my models through my MakerWorld membership!
Documentation (1)
License

You shall not share, sub-license, sell, rent, host, transfer, or distribute in any way the digital or 3D printed versions of this object, nor any other derivative work of this object in its digital or physical format (including - but not limited to - remixes of this object, and hosting on other digital platforms). The objects may not be used without permission in any way whatsoever in which you charge money, or collect fees.


Comment & Rating (4)