Clip in Filament Dryer Spool Holder (8 Bearing) - EIBOS Easdry Compatible
Clip in Filament Dryer Spool Holder (8 Bearing) - EIBOS Easdry Compatible
Print Profile(1)

Description
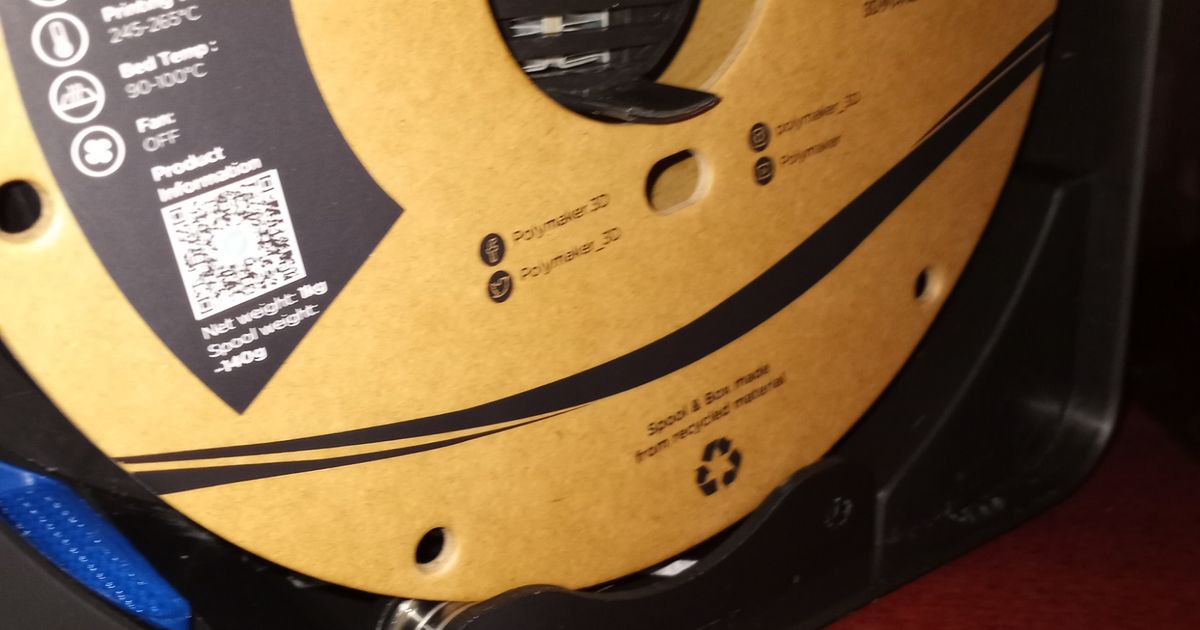
I wanted to be able to print from my EIBOS easdry filament dryer, and needed a rollerbearing spool holder to do it. I remixed a similar model from printables, the original printables model was defective (one of the bearings wouldn't spin), so I heavily remixed it for all bearings to work and have a equal height, and simplified the design to make it print more quickly. This particular print is (1 assembled parts (3 printable pieces) using (8) roller bearings and (4) m3 screws and nuts.
Features:
- Clicks into place in EIBOS Easdry Filament Dryer, easy to remove/install.
- 1 Assembled piece means bearing holders wont fall over when inserting/removing spool.
- 8 Bearings to easily accommodate range of widths of spools.
- Accommodates a large variety of spools. Works best with Spools that have a large center hole. Certain spools with small center hole like hatchbox or elgoo won't work. Spools with a large hole like Sunlu, ~72mm work great, and no longer require an adapter to be centered on the dryer.
Materials Needed to assemble:
- (4) m3 screws 12-16mm length
- (4) m3 nuts
- (8) F688ZZ bearings
Print and Assembly Notes:
- Let parts cool fully before removing. If you need to reheat the bed to remove reheat to 60C after cooling, then remove parts.
- First place 4 bearings on the large outer part, then place 4 bearings (2 on each rail), to the rails. With flanges facing away from each other.
- Then install m3 screws/and nuts with the nuts on the inside spool holder rails.
- The nut should be out the inside of the spool holders, the flange should be installed against each rail.
Print Profile Notes:
Nozzle: Suggest 0.4mm nozzle for precision fit
Wall Loops: 3 wall loops on 0.4mm nozzle, 0.6mm nozzle not recommended due to decreased layer adhesion.
Layer Height: Suggest 0.16 or 0.20mm to maximize strength (0.16mm default)
Infill: 25% gyroid
Brim: None on textured build plate. Consider brim for smooth PEI plate.
Batch Size: For optimum layer adhesion advise printing 2-4 parts at a time to keep layers hot. For large batches (4+) reduce fan cooling. PETG performs worse if layers cool too much, and you risk a layer shift on bed-slingers like A1.
Material: PETG or ABS (NO PLA, PLA is not safe for filament dryer)
Color: Any
Print Orientation: Print horizontally as seen in .3mf file.
Supports: Supports only within m4 hole, can be removed by popping out with an Allen key (from the inside)
3d Printers: Should be printable on any printer.
Filament amount required: 27.92g per 3 parts.


