Search models, users, collections, and posts


Print Profile(4)
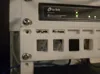
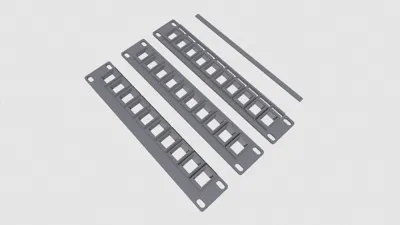
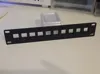
10 inch Patch Panel with Label
Designer
1.5 h
2 plates
10 inch Patch Panel, 10 inch Patch Panel NUC (8, 10 Port)
Designer
4.7 h
4 plates

Patch panel with place for label
1.5 h
1 plate

Label Cover
13 min
1 plate
Open in Bambu Studio
Boost
68
310
9
6
424
220
Released
Description
have 3 type
- patch panel
- patch panel NUC - some NUC higher than 1U and i dont want to create specific shelf for every of it, so i make this type to fix it by make more space under keystone (14.5mm)
- patch panel with label - read below
My print settings
- layer height: 0.2
- wall: 3
- infill: 15%
Patch Panel with Label
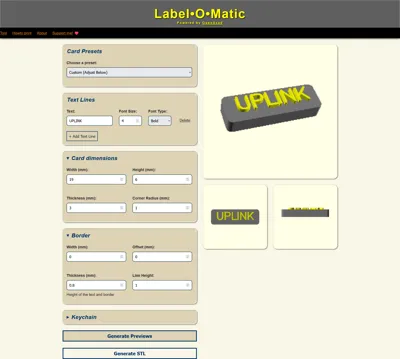
Create Label
i use Label•O•Matic website to generate label or you can create by your self use label size below
- read how to print in website first
- card preset: custom
- label size
- width: 19
- height: 6
- thickness: 3
- corner radius 1
- font size 4 or bigger
- border
- width: 0
- offset: 0
- thickness: 0.6, 0.8 or 1 (this will be your text when change filament color mid print)
- line height: 1
- check preview and generate stl
Print Label
- at the start of printing text layer add code to pause/change filament or read how to
- my printer is Creality so i follow this guide Color Change ? and add custom G-code “M600” before sent to print text layer
- after change filament color dont forget to extrude old filament color before resume print
Change Log
- 2025/10/16
- add model with description
- Patch Panel with Label 8 port
- add model with description
- 2025/03/11
- add model with description
- Patch Panel 8 port
- Patch Panel NUC 8 port
- add model with description
- 2025/03/07
- add model with description
- Patch Panel
- Patch Panel NUC
- add model with description
Boost Me (for free)
---------------------------------------------
If you enjoy my work, please consider follow or support at link in profile.
License
This user content is licensed under a
Creative Commons Attribution-Noncommercial-Share Alike
Comment & Rating (9)