
Minecraft-inspired Base/Diorama Builder


Print Profile(12)

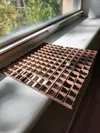


Description
IMPORTANT NOTE ON COMMERCIAL USE OF MY MODELS
Please note that I am sharing my designs for everyone to enjoy but for personal use only. You may share physical copies for FREE but not the digital copy nor sell as I have NOT provided any commercial license to any one to sell either digital or physical copies of my designs. I will not hesitate to report to Etsy's and other online sites' admin if I find them being sold there for profit.
__________________________
Expansion Sets:
- Mine Cart Chase Marble Run now available for download!
- Christmas House expansion set
_______________________________________
IMPORTANT WARNING
Note that there are a lot of variables that affect parts fitment, e.g., flow rate, temperature, speed, etc. Please do a quick, test print for each filament type and color to test for fitting first before printing all the parts. This way you know that the filaments have already been calibrated and you're sure the fitting will be correct when you print the parts. I have provided the profile test print plate - BL PLA Basic for you to test.
If you find the fitting too tight, the easiest you can do to adjust the fitment is play with the the Flow ratio (see below). Keep reducing it by 0.01 until you find the right fit.
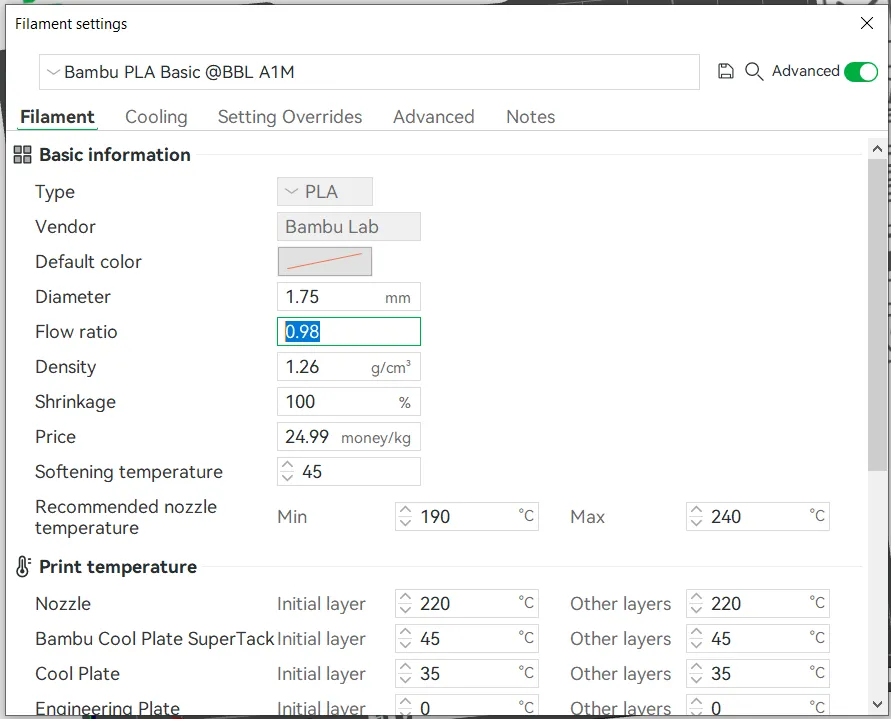
Using Bambu Lab PLA Basic Silver, I have not adjusted anything and the printed part fits exactly as intended. See video below. As stated above, depending on the filament to be used, you may have to calibrate first to get the right fitting.
INTRODUCTION
This is a set of building block models that allow creation of custom bases or dioramas with Minecraft theme. It comes with a customizer program for creating your own grids of varying sizes. Blocks are hollow and uses minimal amount of filament just enough to make the blocks rigid.
Build your own custom bases and dioramas for the Minecraft mini figure kits!


PRINTING
- Print as oriented with no supports needed.
- Printer must be calibrated to get the best fit out of the printed parts. You may need to adjust your bed adhesion to minimize elephant's foot (elephant foot compensation), nozzle temperature and flow rate. Too hot or too much molten filament extruded causes layers to be wider which will affect fitment of the parts.
IMPORTANT NOTE: Elephant's foot (first layer too squished into the build plate) may cause the blocks to be tight. DO NOT REMOVE assembled blocks right away. Wait at least a day and due to material creep, the blocks will get loose over time.
ASSEMBLY
- Use the supplied plates of varying sizes as base to attach individual block pieces. You can also use the plates to connect/combine other plates to make bigger base plates.

- Combine tiles and blocks of varying heights to make a whole block.

- Print the same blocks and tiles using filaments of different types and colors to achieve a different look depending on the biome or terrain you're shooting for.

- Combine blocks, tiles and plates to make trees.

- Print individual blocks and tiles to make your custom base or generate your own grid by using the Customizer.
USING THE CUSTOMIZER
- Below the profiles list, click the Customize button.
- In the next dialog box that opens, select “Parts Grid Generator” and click Customize.
- Inside the Customizer window, modify the parameters in the left panel. See Settings table below for reference on what can be customized
- Press the Generate button at the bottom of the left panel to preview your customized the design.
- Once satisfied with your nozzle dimensions, click Download.
- Import the downloaded STL file into your slicer, slice and print.
Boost Me (for free)
If you find this creation useful or just to show appreciation for the effort in making this model, please hit the BOOST button!
License



Comment & Rating (531)