
Organizer for SUNLU FilaDryer S4 Stand




Print Profile(7)


Bill of Materials





Description
Hey everyone,
I found the great model by Benjamin Kott (581222) https://makerworld.com/en/models/581222
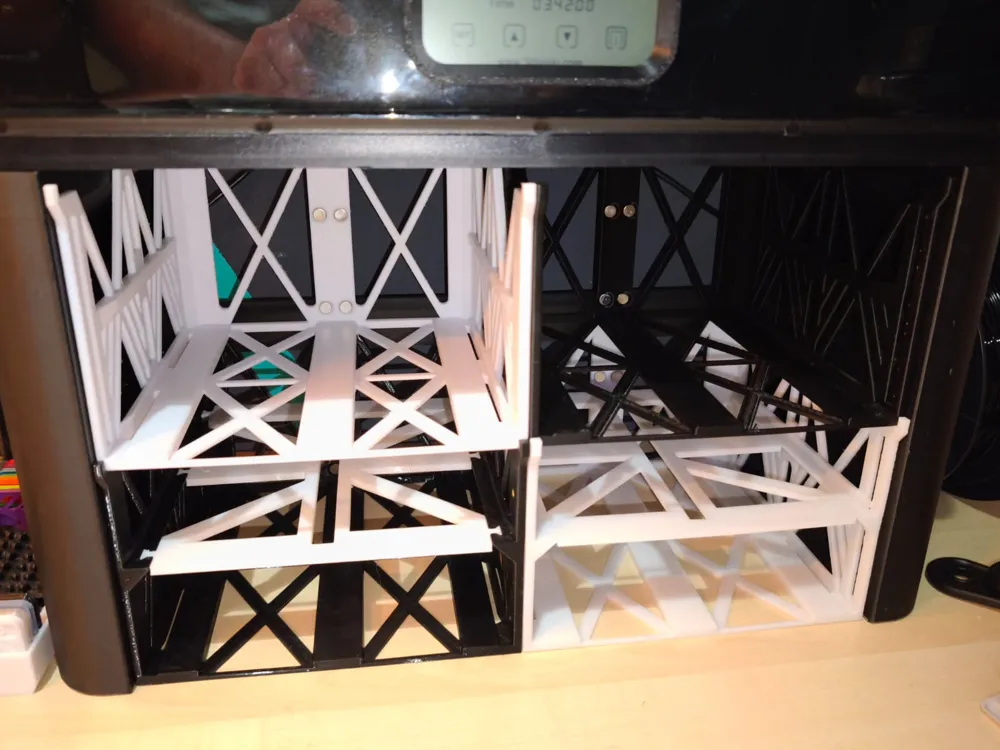
for my Sunlu S4 FilaDryer – and based on it to incorporate some drawer elements. Here is the result!
I initially designed the model entirely for the 24.5 cm version,
but since it's divided into two parts, it also fits the 15 cm version! 🎉
You can divide it however you want.
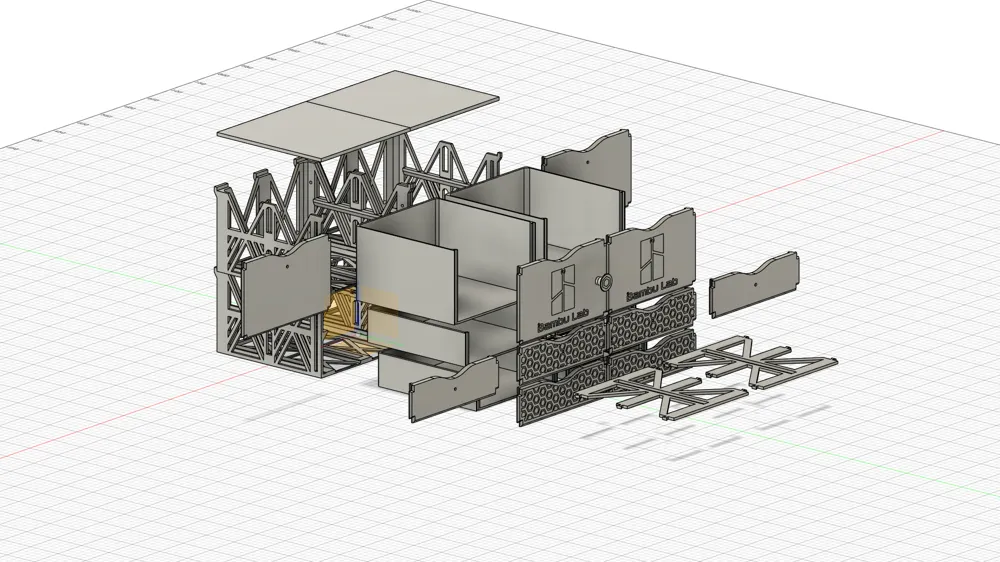
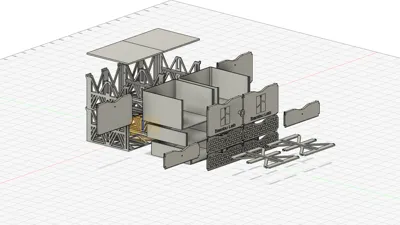
There are four basic elements (important: divided into right and left).
Two elements are for small drawers, two for large drawers.
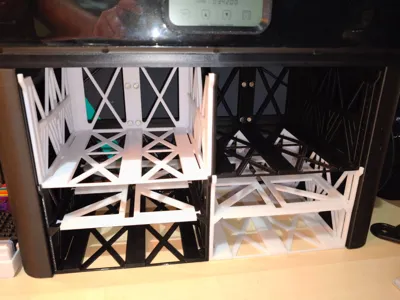
So whether you have two small ones at the top and two large ones at the bottom – or vice versa – is completely up to you.
For example, you can also combine two small ones on the bottom left and one large one on the bottom right. Everything is flexible!
Printing & Assembly
The models are completely support-free printable – making them super easy to handle.
For the bezels, I have also uploaded neutral variants that you can design as you wish.
Additionally, the design I used myself is also included.
Important Notes
- It is important that you start assembling the model from the bottom, meaning frame - drawer element 1 - intermediate shelf - drawer element 2, otherwise there could be problems when inserting the drawer elements
- The drawer elements and bezels are glued.
Although there are grooves, these are only for alignment – not for interlocking!
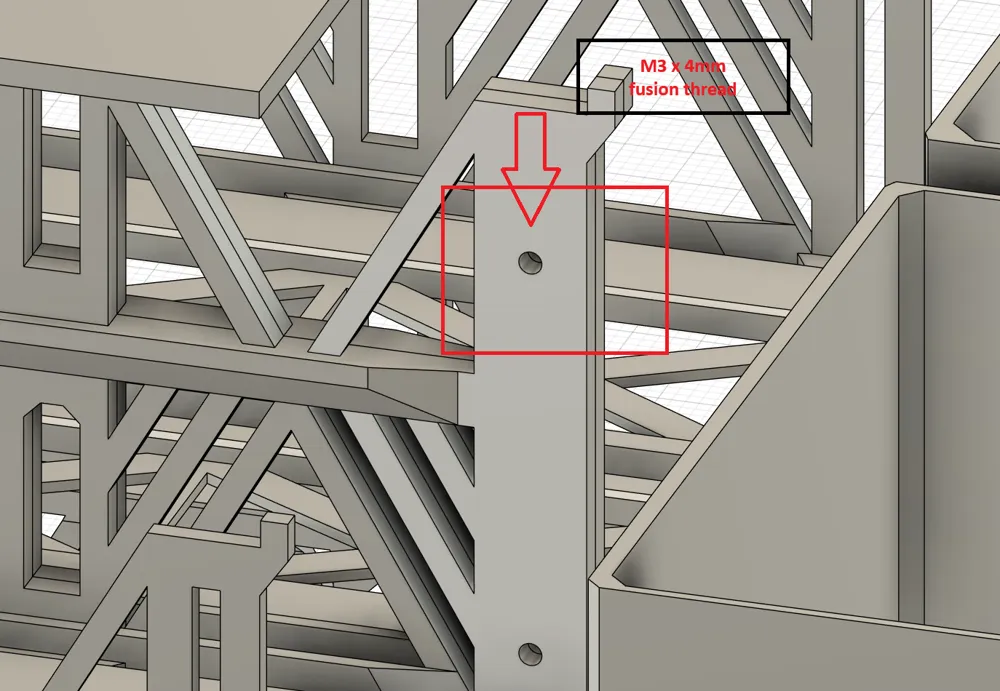
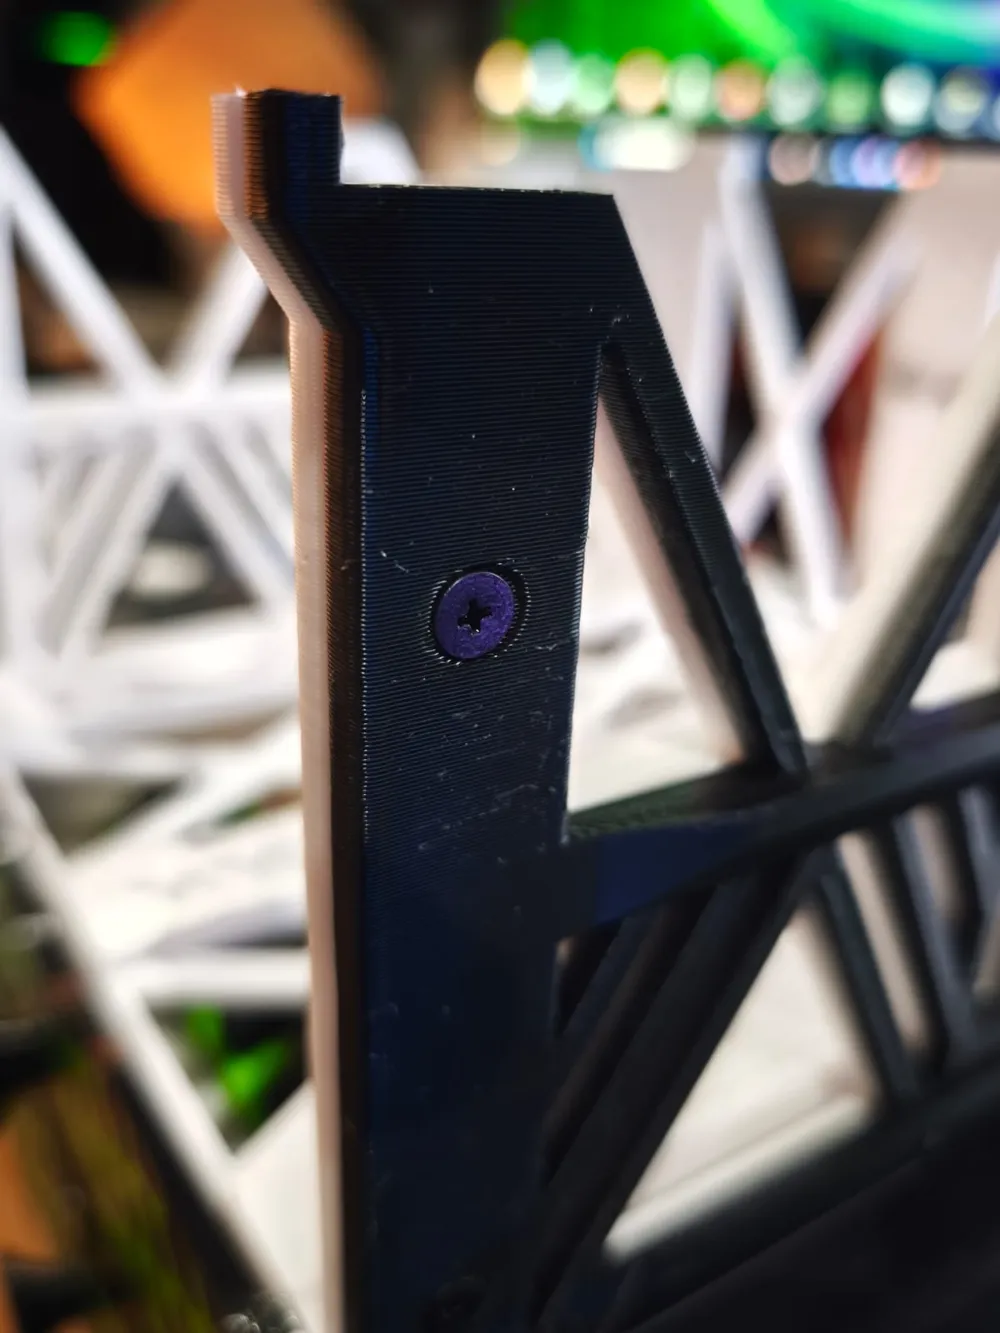
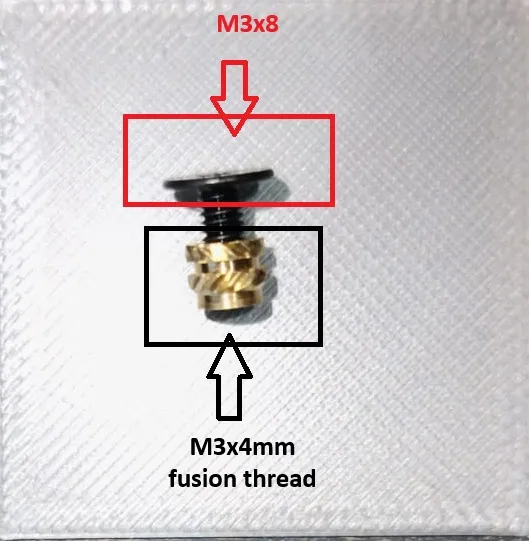
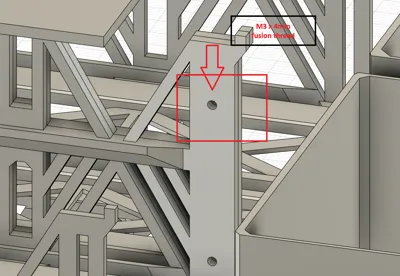
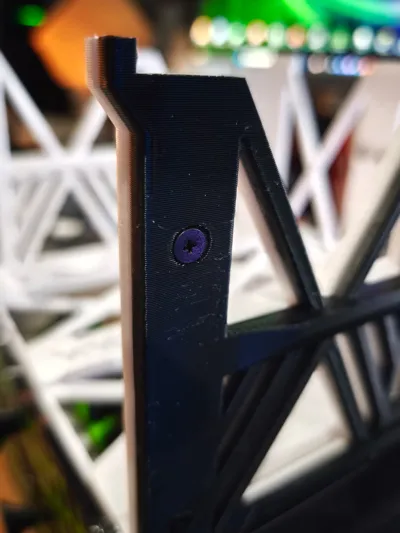
They help to correctly position the parts and glue them at the correct height. The base frames are screwed together (you can also glue them as an alternative).
The cover plates are simply glued on top at the top and bottom, nothing more is needed.
The frame is also screwed to the base model 581222 – it fits perfectly through the elongated holes on the front left and right.
Important Components
- The cover plates as well as the click plates for the frame with two drawer elements are important –
otherwise the drawers would simply slide out.
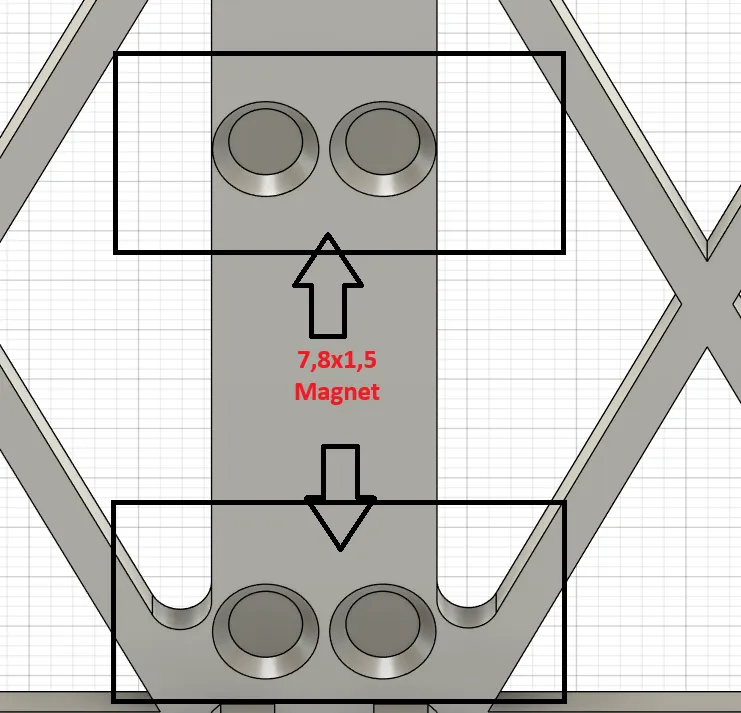
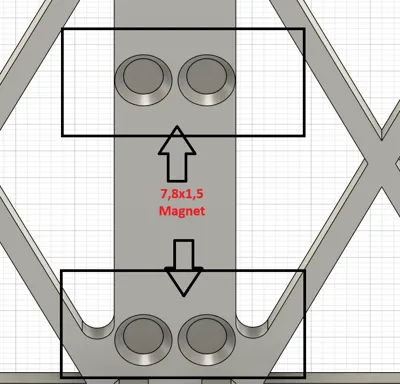
(However, if you want that, you can of course omit them.) - At the back there are small recesses – there you can insert small magnets if needed (not a must).
- If you choose the variant where the large drawer elements are at the bottom, the lid is not necessary.
Then you can simply pull out the large drawer element completely –
and since it stands on the floor or table anyway, it won't fall out.
Additionally, I have also created a drawer element with the Gridfinity system – for the right side.
Have fun printing and crafting!
If you have any questions or feedback, feel free to write them in the comments. 🙂
- Material list :
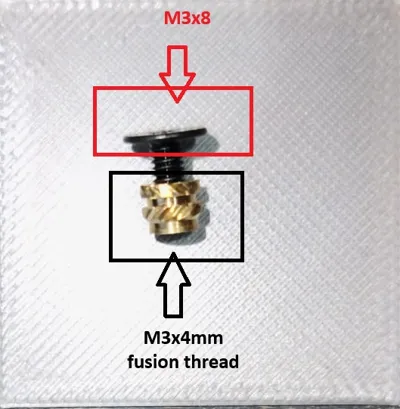
For the frame itself : 4 x M3x4mm heat-set inserts
4 x M3x6mm flat-head screws
Drawer elements : 6x M3x4 heat-set inserts
6x M3x6 flat-head screws (normal M3 screws also work)
For attaching to the base model: 4x M3 washers
4x M3 self-tapping screws
- Magnets (not a must) 32x 8x1.5
I hope the explanation was clear so far and I haven't forgotten anything important – it's not quite my forte
Please feel free to ask if you have any questions
License

You may create derivative works based on this object, provided that all such derivative works are published exclusively on the MakerWorld platform and include proper attribution to the original creator. You may not share, upload, host, distribute, or publish this object—or any derivative work of this object—on any other digital platform, marketplace, or distribution channel. Commercial use of this object and any derivative works is strictly prohibited. This includes, but is not limited to, selling, renting, sublicensing, or using the object in any context in which you receive monetary compensation or other financial benefits.


Comment & Rating (90)