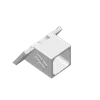
Bambu Lab P1S Wyze Cam 3/3 Pro Camera Mount


Print Profile(3)


Description
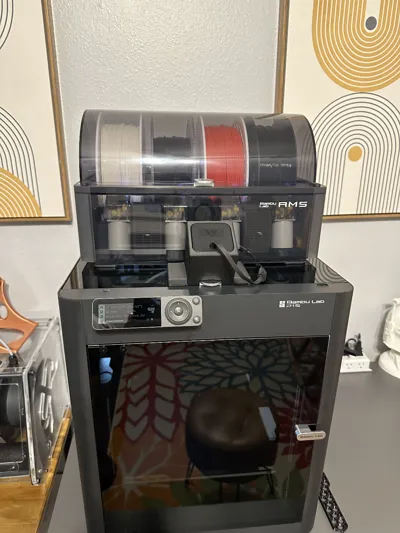
After upgrading my P1P to a P1S I found my previous mount for my WyzeCam would no longer be useful. This solution enables you to still monitor your prints without worrying about opening or closing the door depending on the material being printed.
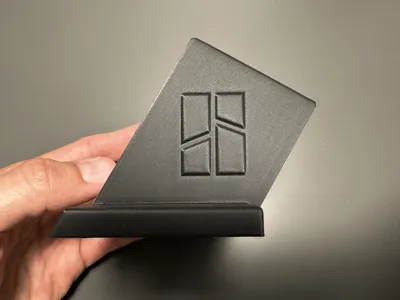
Example pictured is printed at default .2 layer height settings with supports enabled.

Once printed, the bottom inserts can be used for either adhesive rubber in order to keep it non-slip but removable, or Medium Size Command Strips if you'd like a more semi-permanent solution(I haven't tested Command Strips yet, but the dimensions are correct per their description). I've opted for the non-slip rubber, and have included a small template in the files to help you cut out the correctly sized strips. I traced the template then used scissors to cut them out. Please trace the inner outline of the template for the correct size.
Adhesive Rubber used. (I've found its come in handy for other projects as well)

Simply place the mount on the top glass of your P1S, and it should slot right on top of the silver handle. 
Obviously you will not be able to remove the top glass and use the camera at the same time, but if you're like me and have your AMS top mounted, it won't be a common thing anyway.

The viewing angle of the camera isn't what I'd call ideal, but is perfect for monitoring each layer and the movement of the tool head which is what I'm most concerned with.
IMPORTANT!: Night vision does NOT work as the glare from the IR Lights obstructs the image. Please print with your chamber light ON if using this setup. I would recommend disabling night vision all together. Also, turning off the “Camera Status Light” in advanced will get rid of that red dot you see in the photo.
I'd recommend making something like this LED Riser for AMS to help the quality of the video.
The picture below is with the chamber light off and the LED Riser light on. The photo above is without and only with the chamber light.

Please feel free to let me know if you have any issues with the model.
If you found this model useful, please consider buying me a beer, thanks!
Comment & Rating (262)