
Tardis LED Lamp (Multi-Colour Print)


Print Profile(4)

![[Faster] Highly Optimized (Fully Painted)](https://makerworld.bblmw.com/makerworld/model/US3029941f139e84/126891230/instance/2024-09-11_538ab40423869.png?x-oss-process=image%2Fresize%2Cw_100%2Fformat%2Cwebp)


Bill of Materials




Description
This is a detailed T.A.R.D.I.S. lamp which uses the LED Lamp disk available from the Bambu Lab store.
This famed TARDIS from Doctor Who stands just over 17cm tall and prints using just 4 colours with an AMS.
No AMS? No problem!
I've also produced another version of this design which can be printed without an AMS, but if you do print that version with an AMS it can feature even more detail than this one. Access that one here.
Have an AMS? Great, this'll be easy!

If you do have an AMS, you can print this all together:
Assembly Instructions
This model is nice and easy to assemble as it's mostly printed as one.
Before assembling it, make sure you remove the support material. This is mostly in the lamp fitting zone underneath the tardis, and there will be a small strip under each of the 4 signs on the top section.
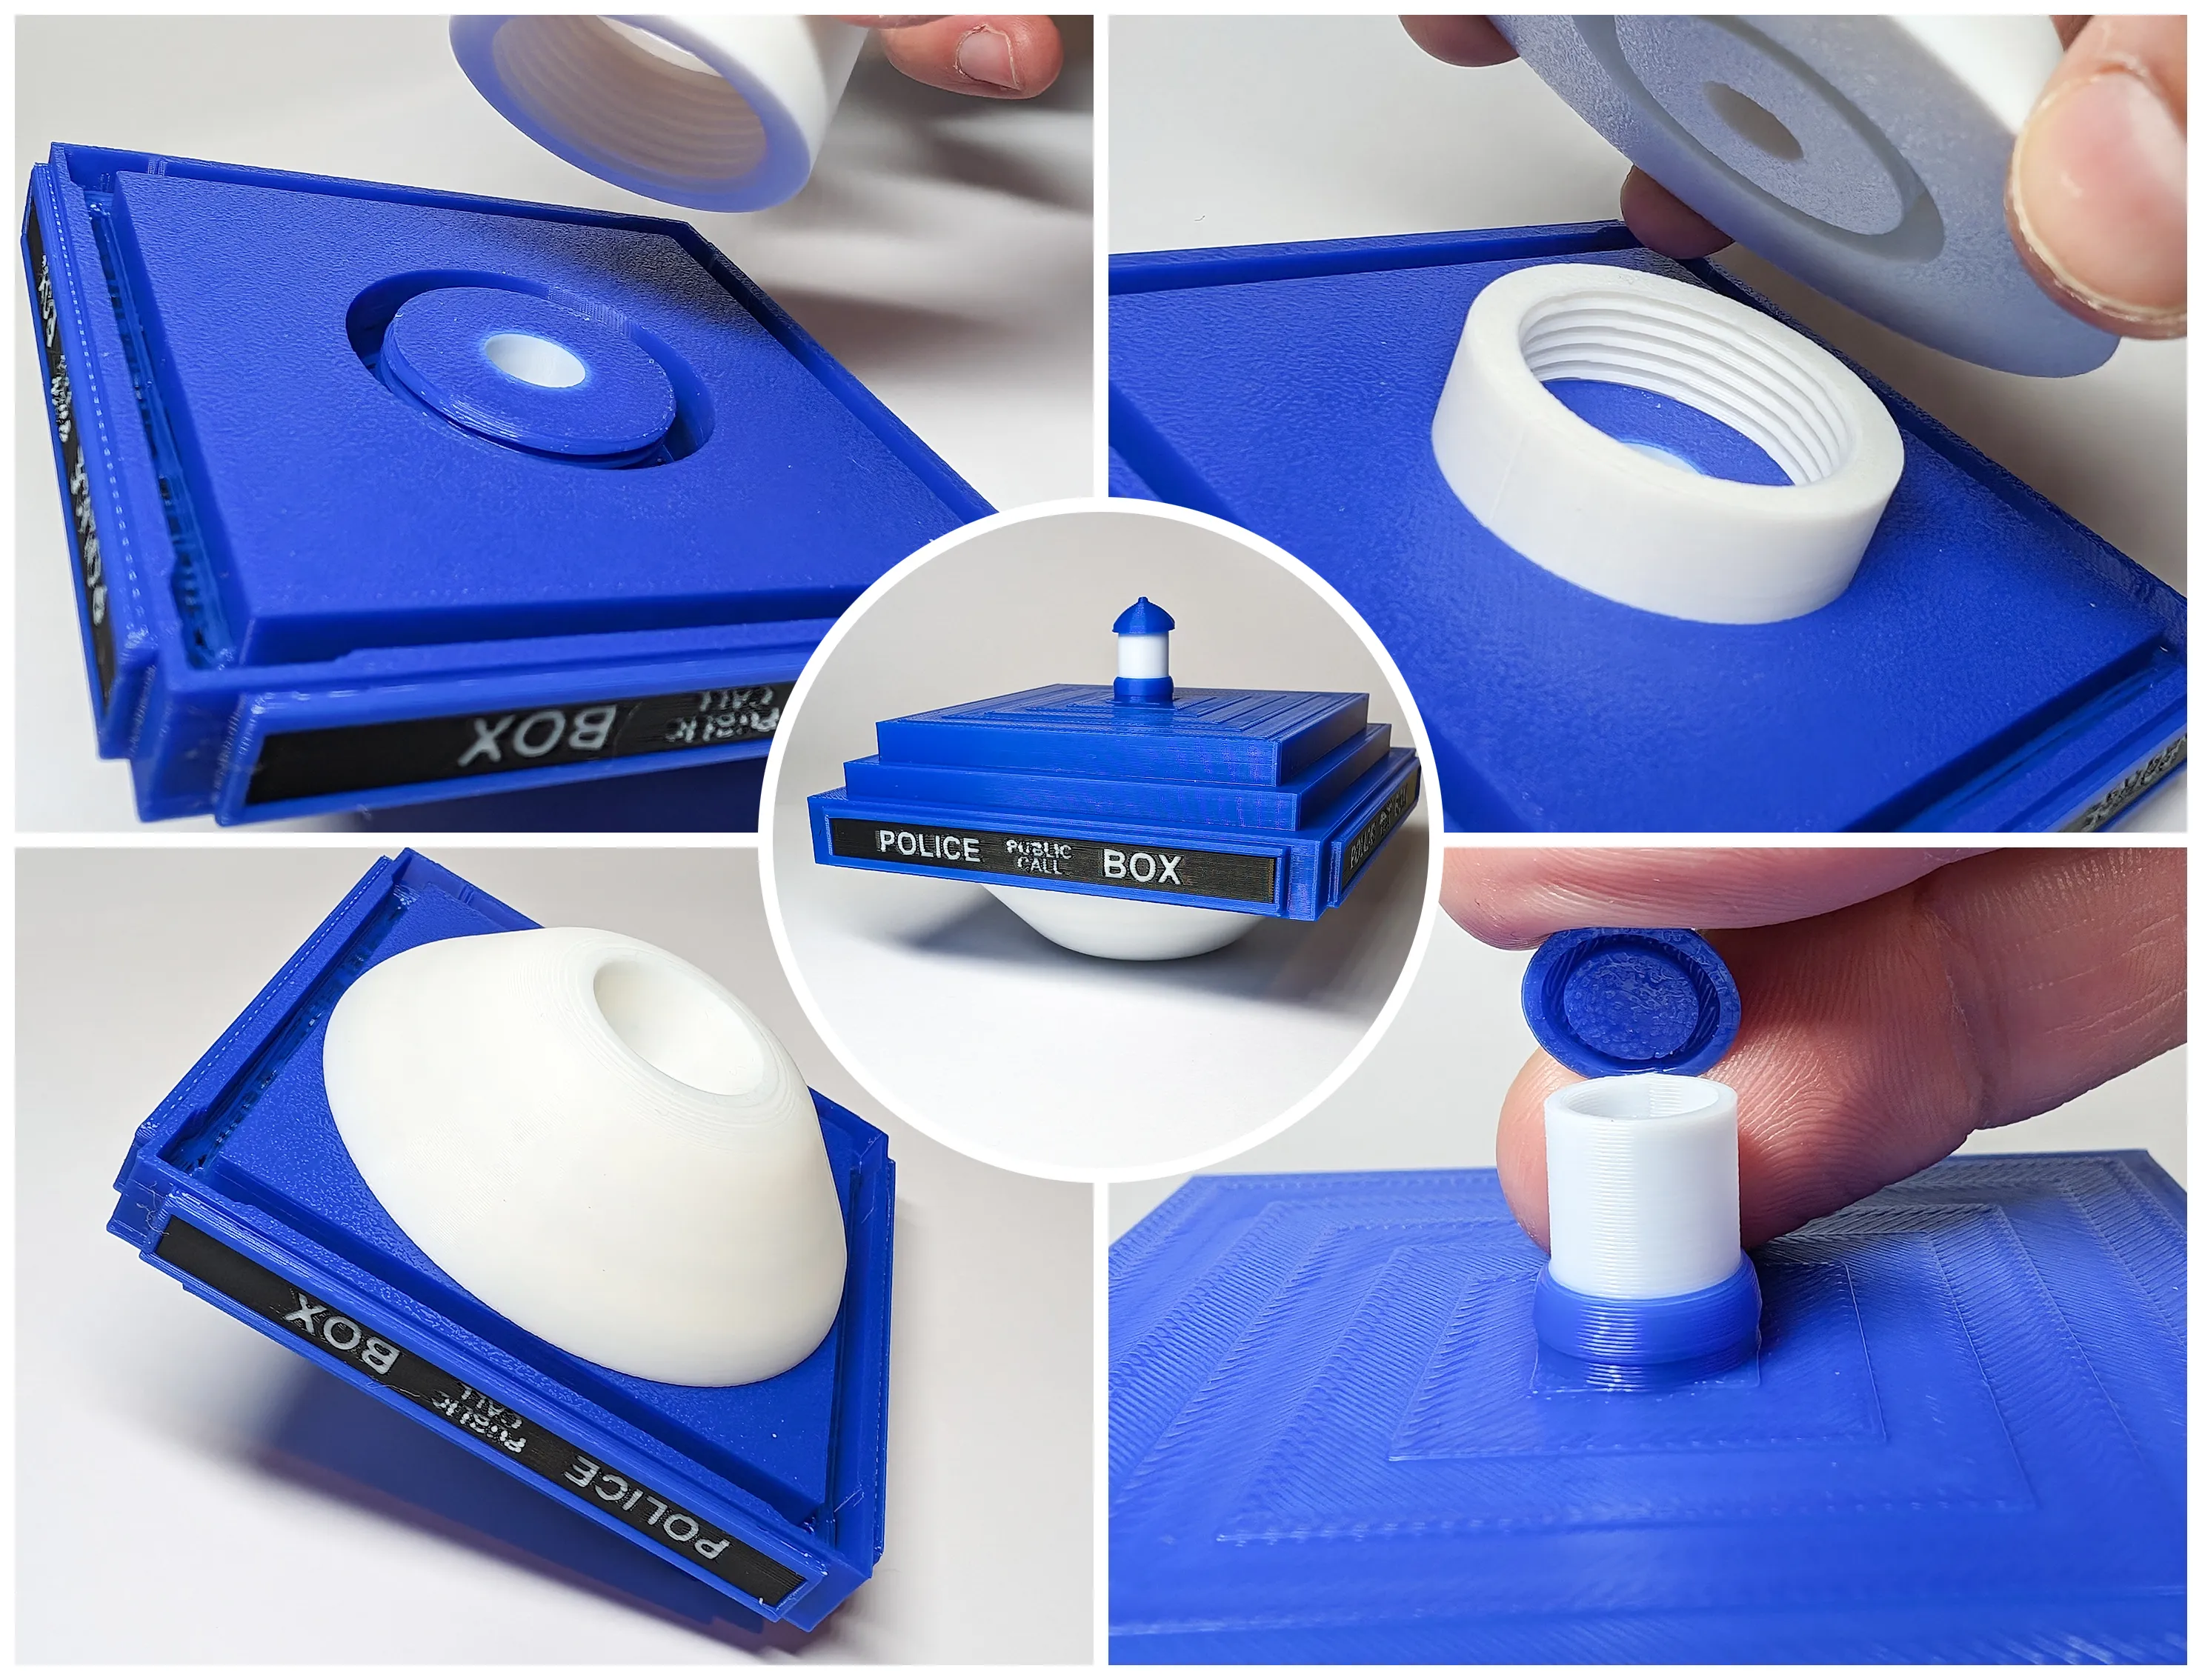
Step 1
Take the reflector screw, and screw it into the bottom of the reflector, then screw that whole unit into the base of the lid.
Finally take the cap for the top of the lamp and slot it down onto the top of the lamp.
Step 2
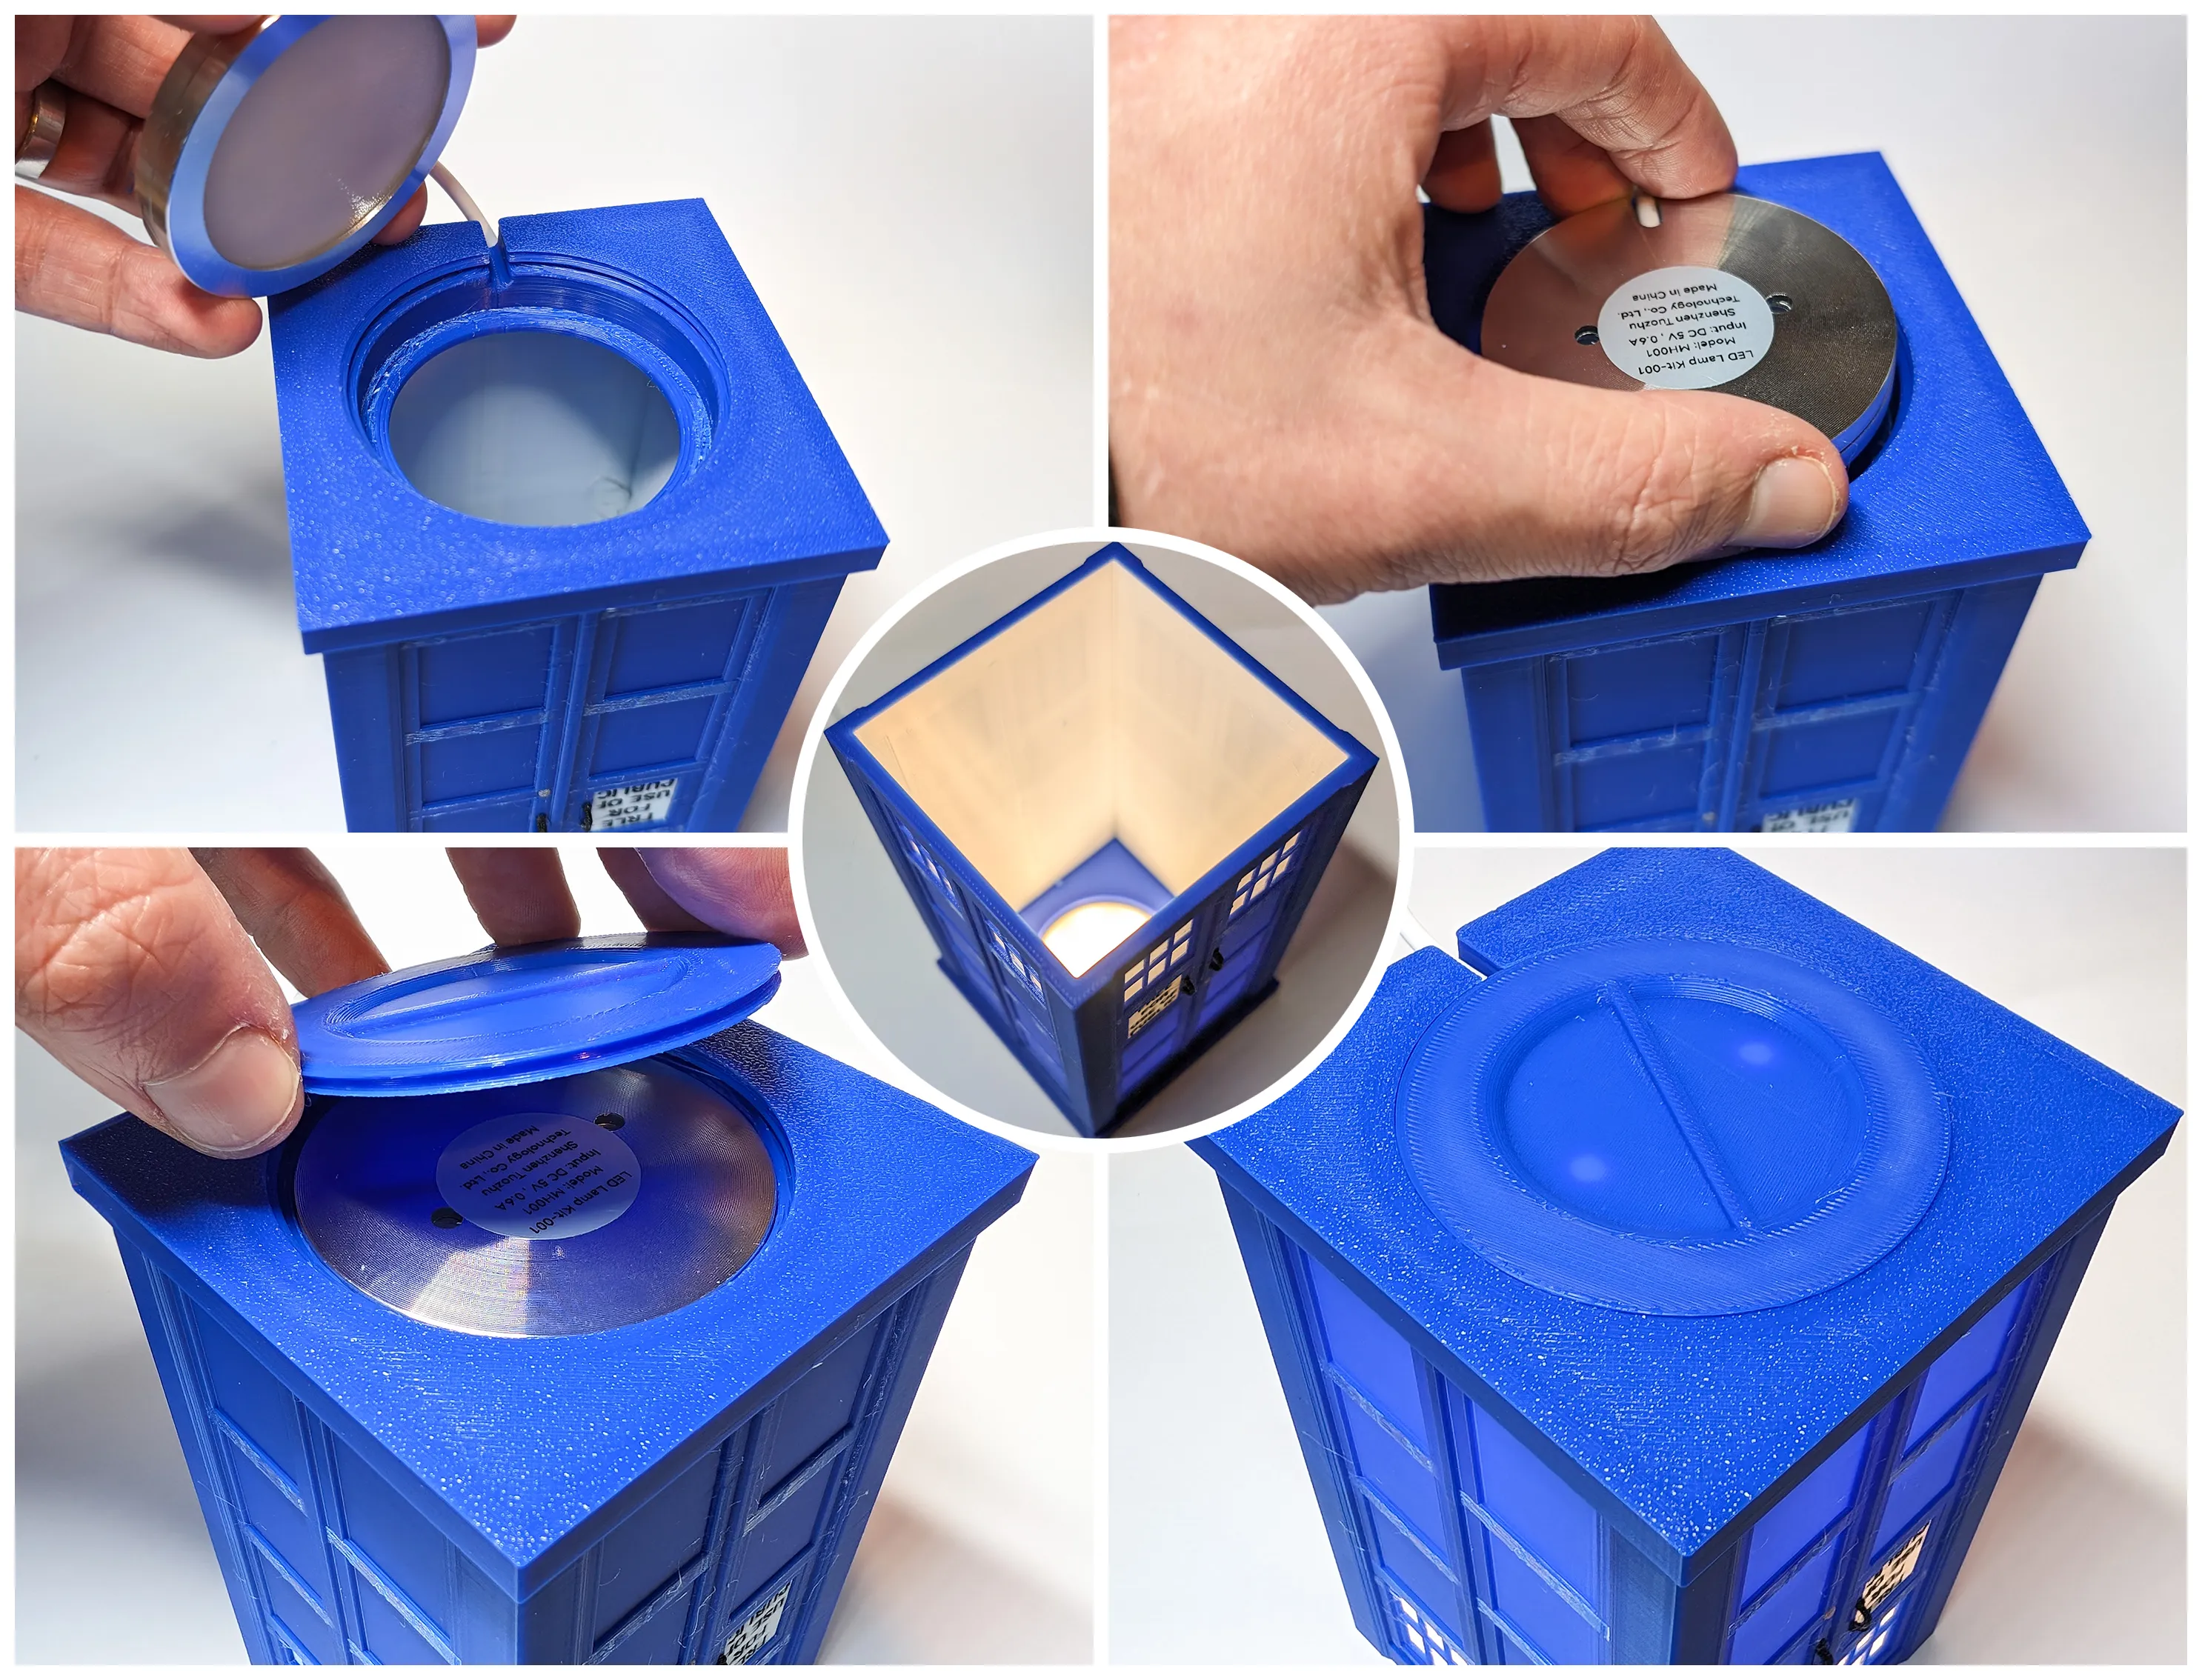
Take the Bambu Labs LED lamp and insert it into the base of the tardis with the cable feeding out the cable slot. If it's not fitting, there may be some discreet support material still fitted in place, use a pair of tweezers or a deburring tool and make sure it's cleaned up, it should slot straight in.
Once the lamp is fitted (ensuring the light is facing up, into the tardis), take the base cap and screw it in place to secure the lamp.
Step 3
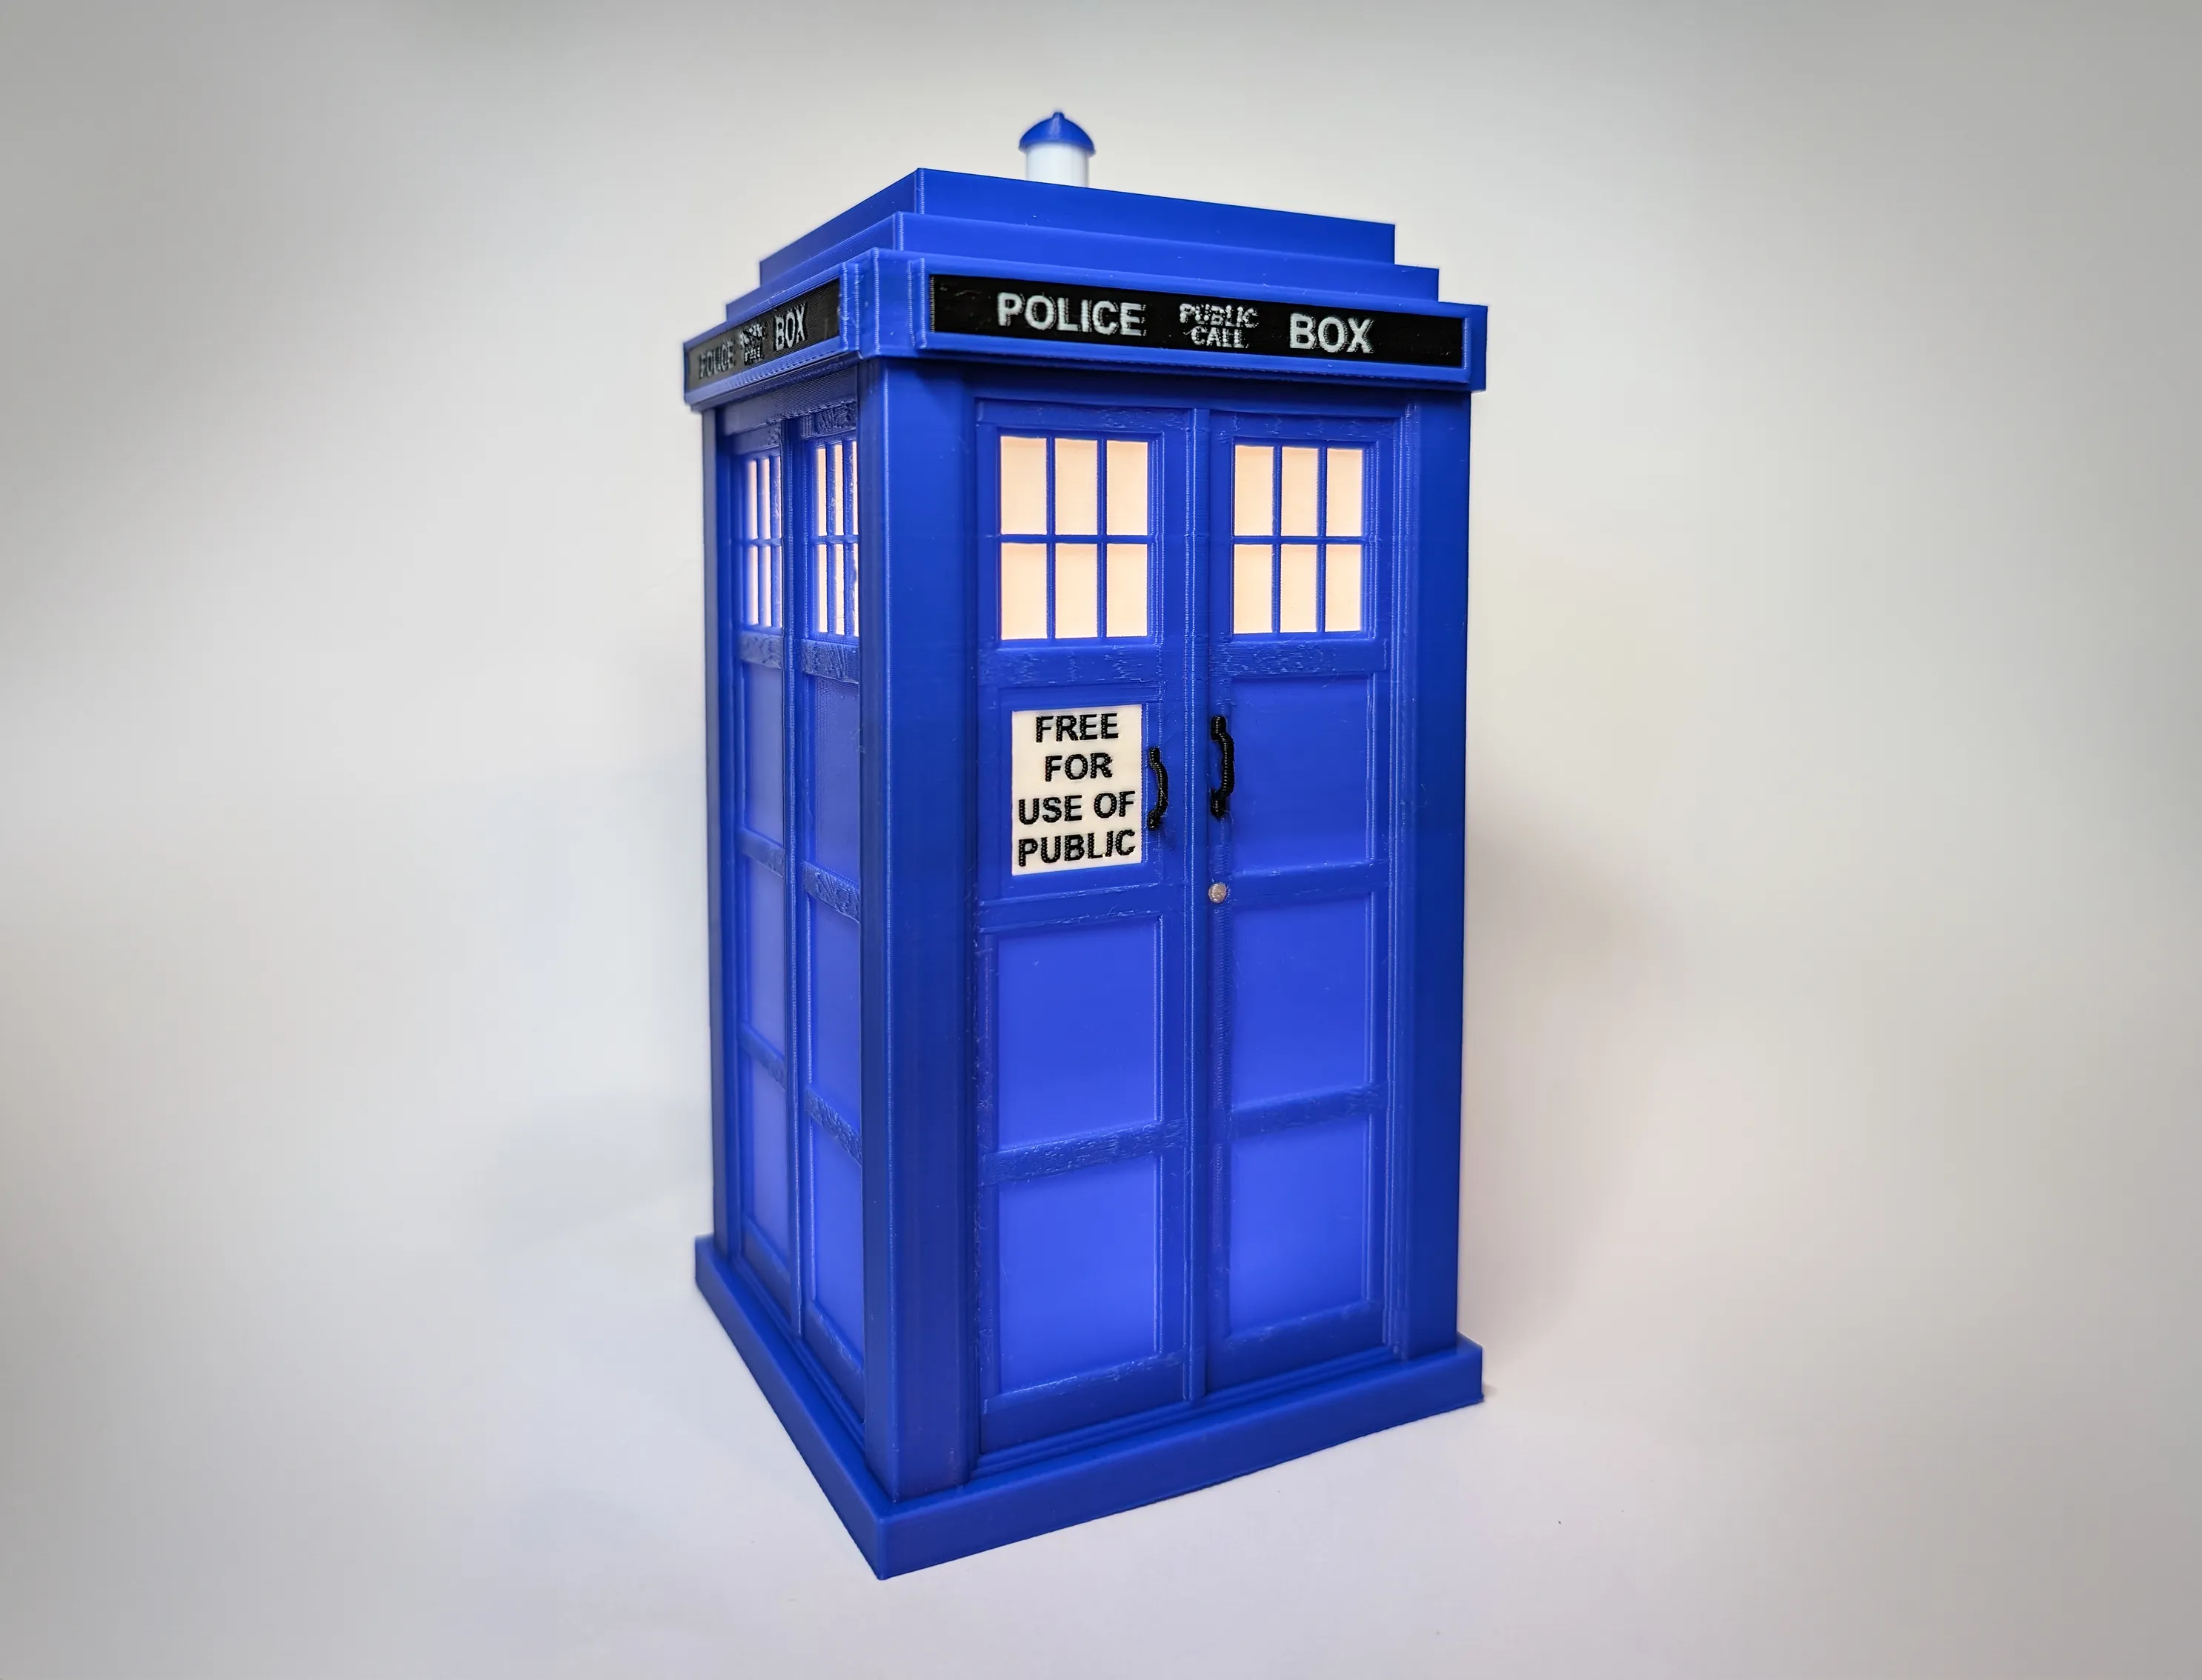
Take the lid and slot it down onto the TARDIS body. Sit back and enjoy, your TARDIS is ready!
Printing Instructions
I'd advise using my profile for printing this as I've ensured everything will print well, but here's some notes, especially for if you're slicing this yourself:
- This involves some particularly small sections (namely the door handles). If you're slicing this yourself, you'll want to ensure your printer is slowing down sufficiently for these areas.
- Layer Height: 0.2mm minimum (But 0.1mm will allow for better detail in the signs)
- You'll want support material in the lamp area at the base, but make sure it is designed so that it isn't going to cause issues with the tread. Look at the support painting and settings in my profile for reference even if you're slicing it yourself.
Print Profiles
Not only do my print profiles feature fully pre-painted parts, they has also been heavily tested and refined, with different speeds and settings for different parts. I highly recommend printing with my profiles (marked with the green ‘Designer’ box).
There are two profiles available. The finished external results are identical, but the ‘Faster’ profile only features a white interior at the height of the windows (this is necessary for a solid print due to the thin nature at that point).
This avoids considerable unnecessary filament changes throughout the rest of the print, reducing the print time by 11 hours 3 minutes, and saving 105g of filament.
The only difference in final results between this one and the primary profile is the difference in paitning on the inside of the Tardis.
The reason I've kept both versions is in case the filament you use results in a slightly different exposure level creating a slightly brighter band around this part of the TARDIS.
Boost Me (for free)
If you like my designs please consider boosting me, it's free for you and will help me to continue to produce designs for you to download for free.
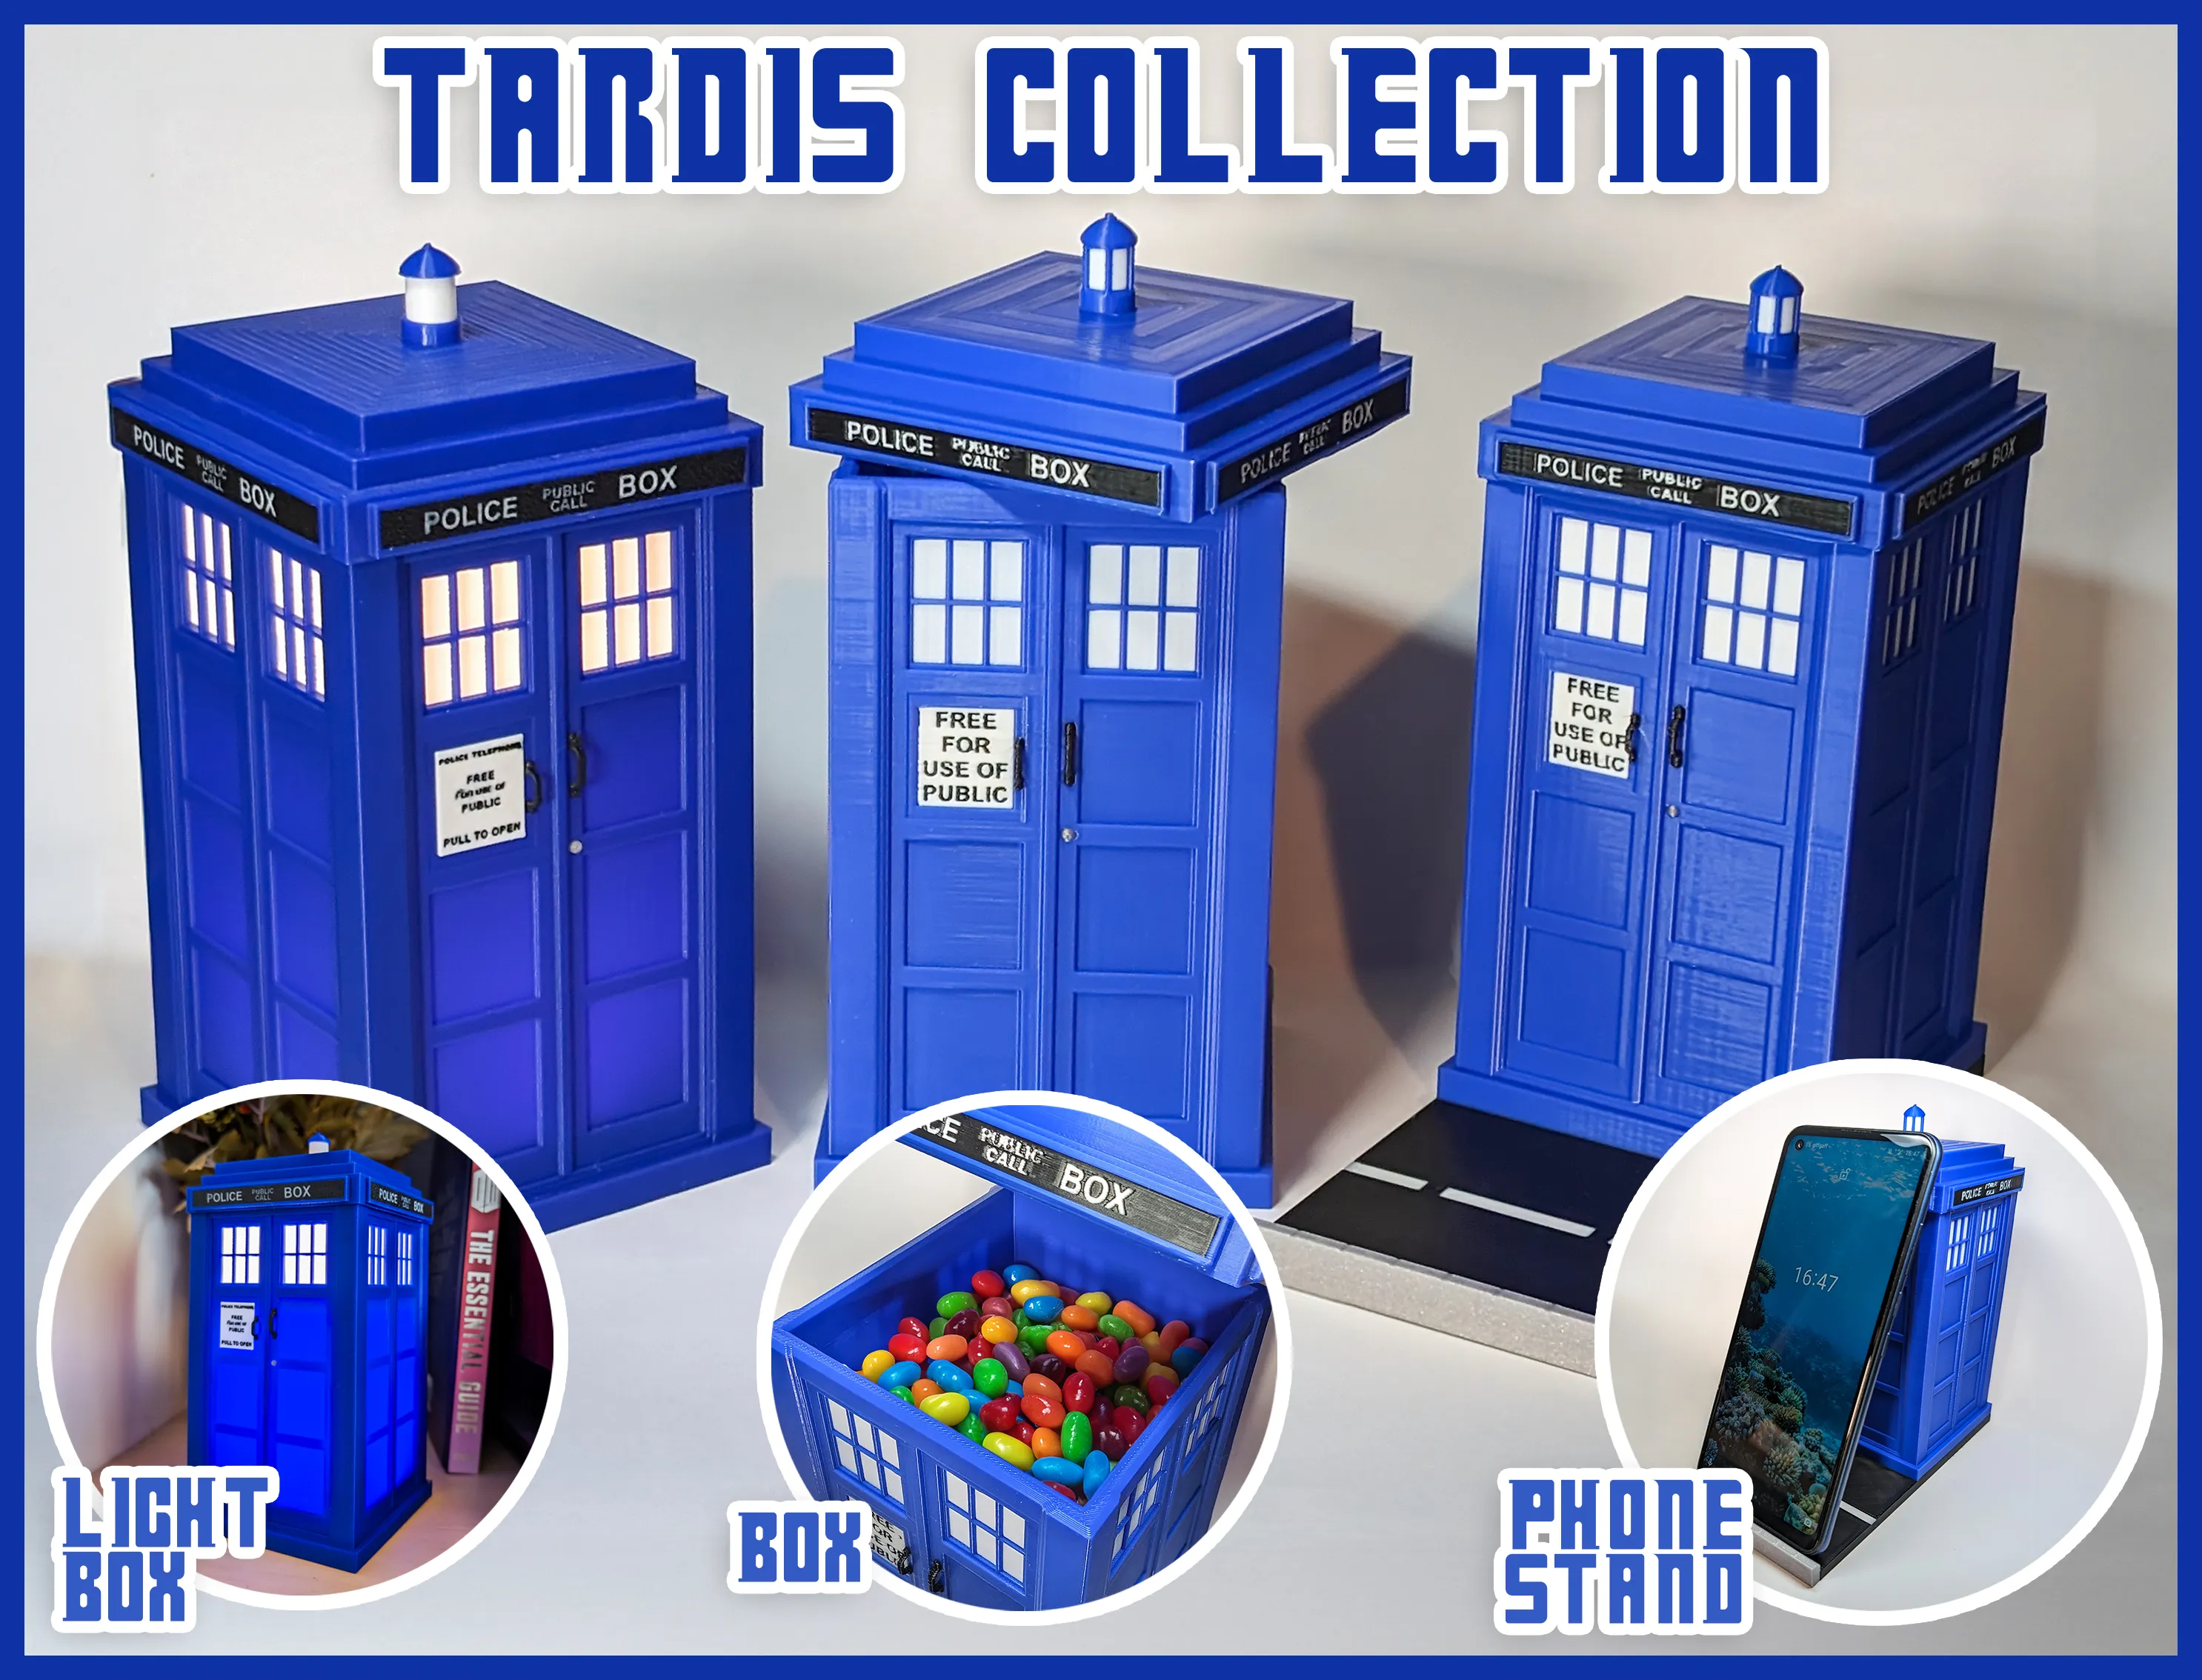
My TARDIS collection currently includes:
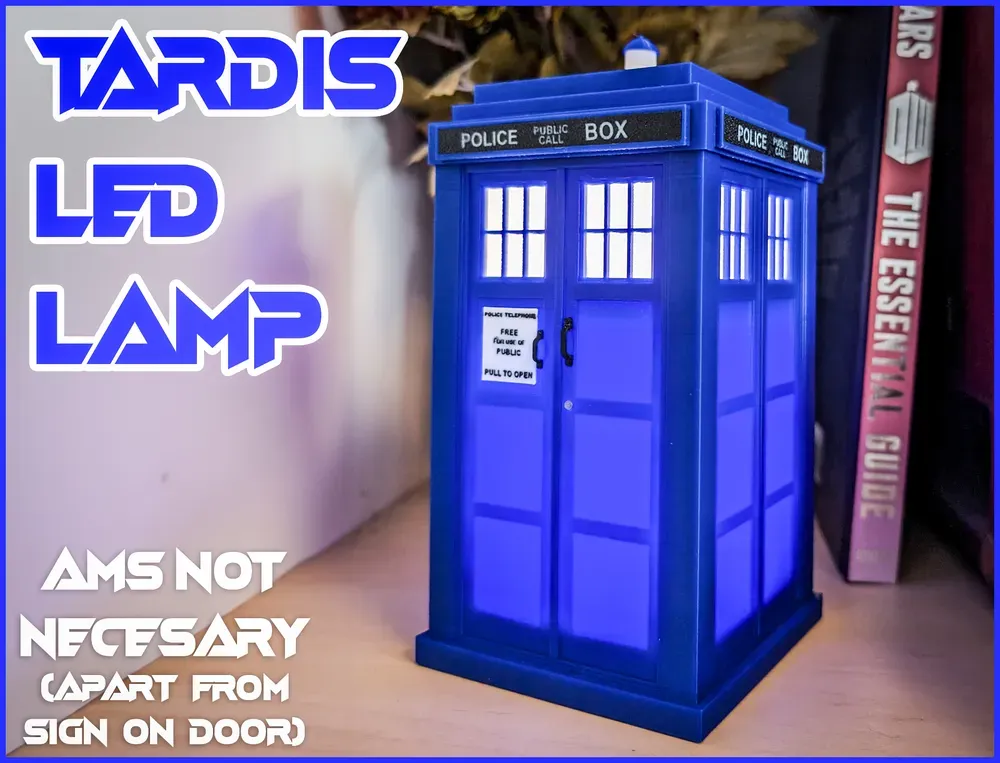 | 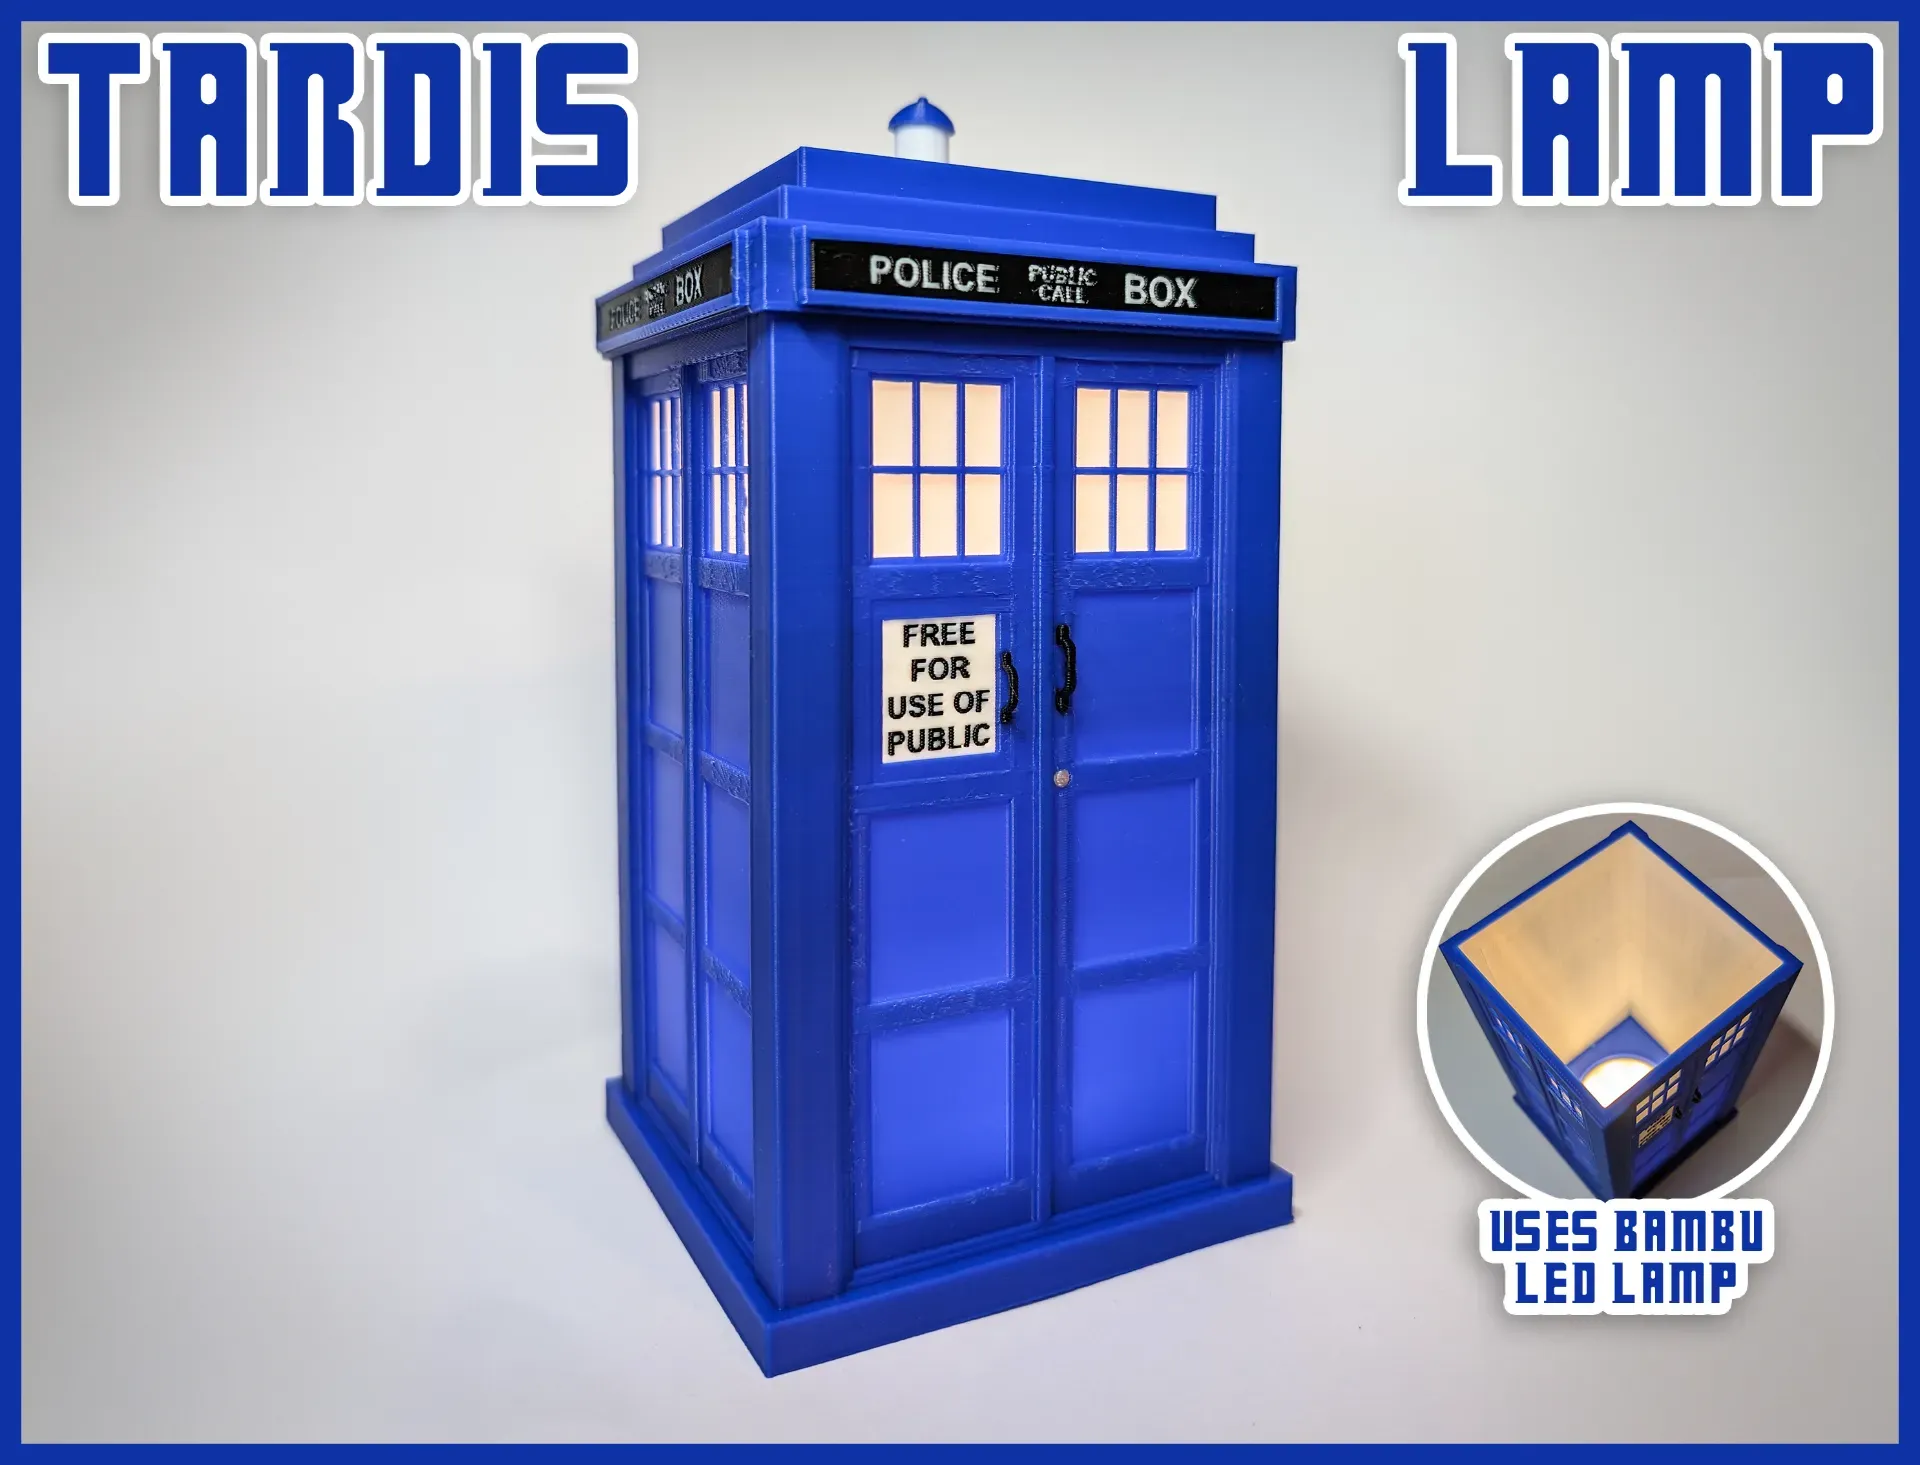 | 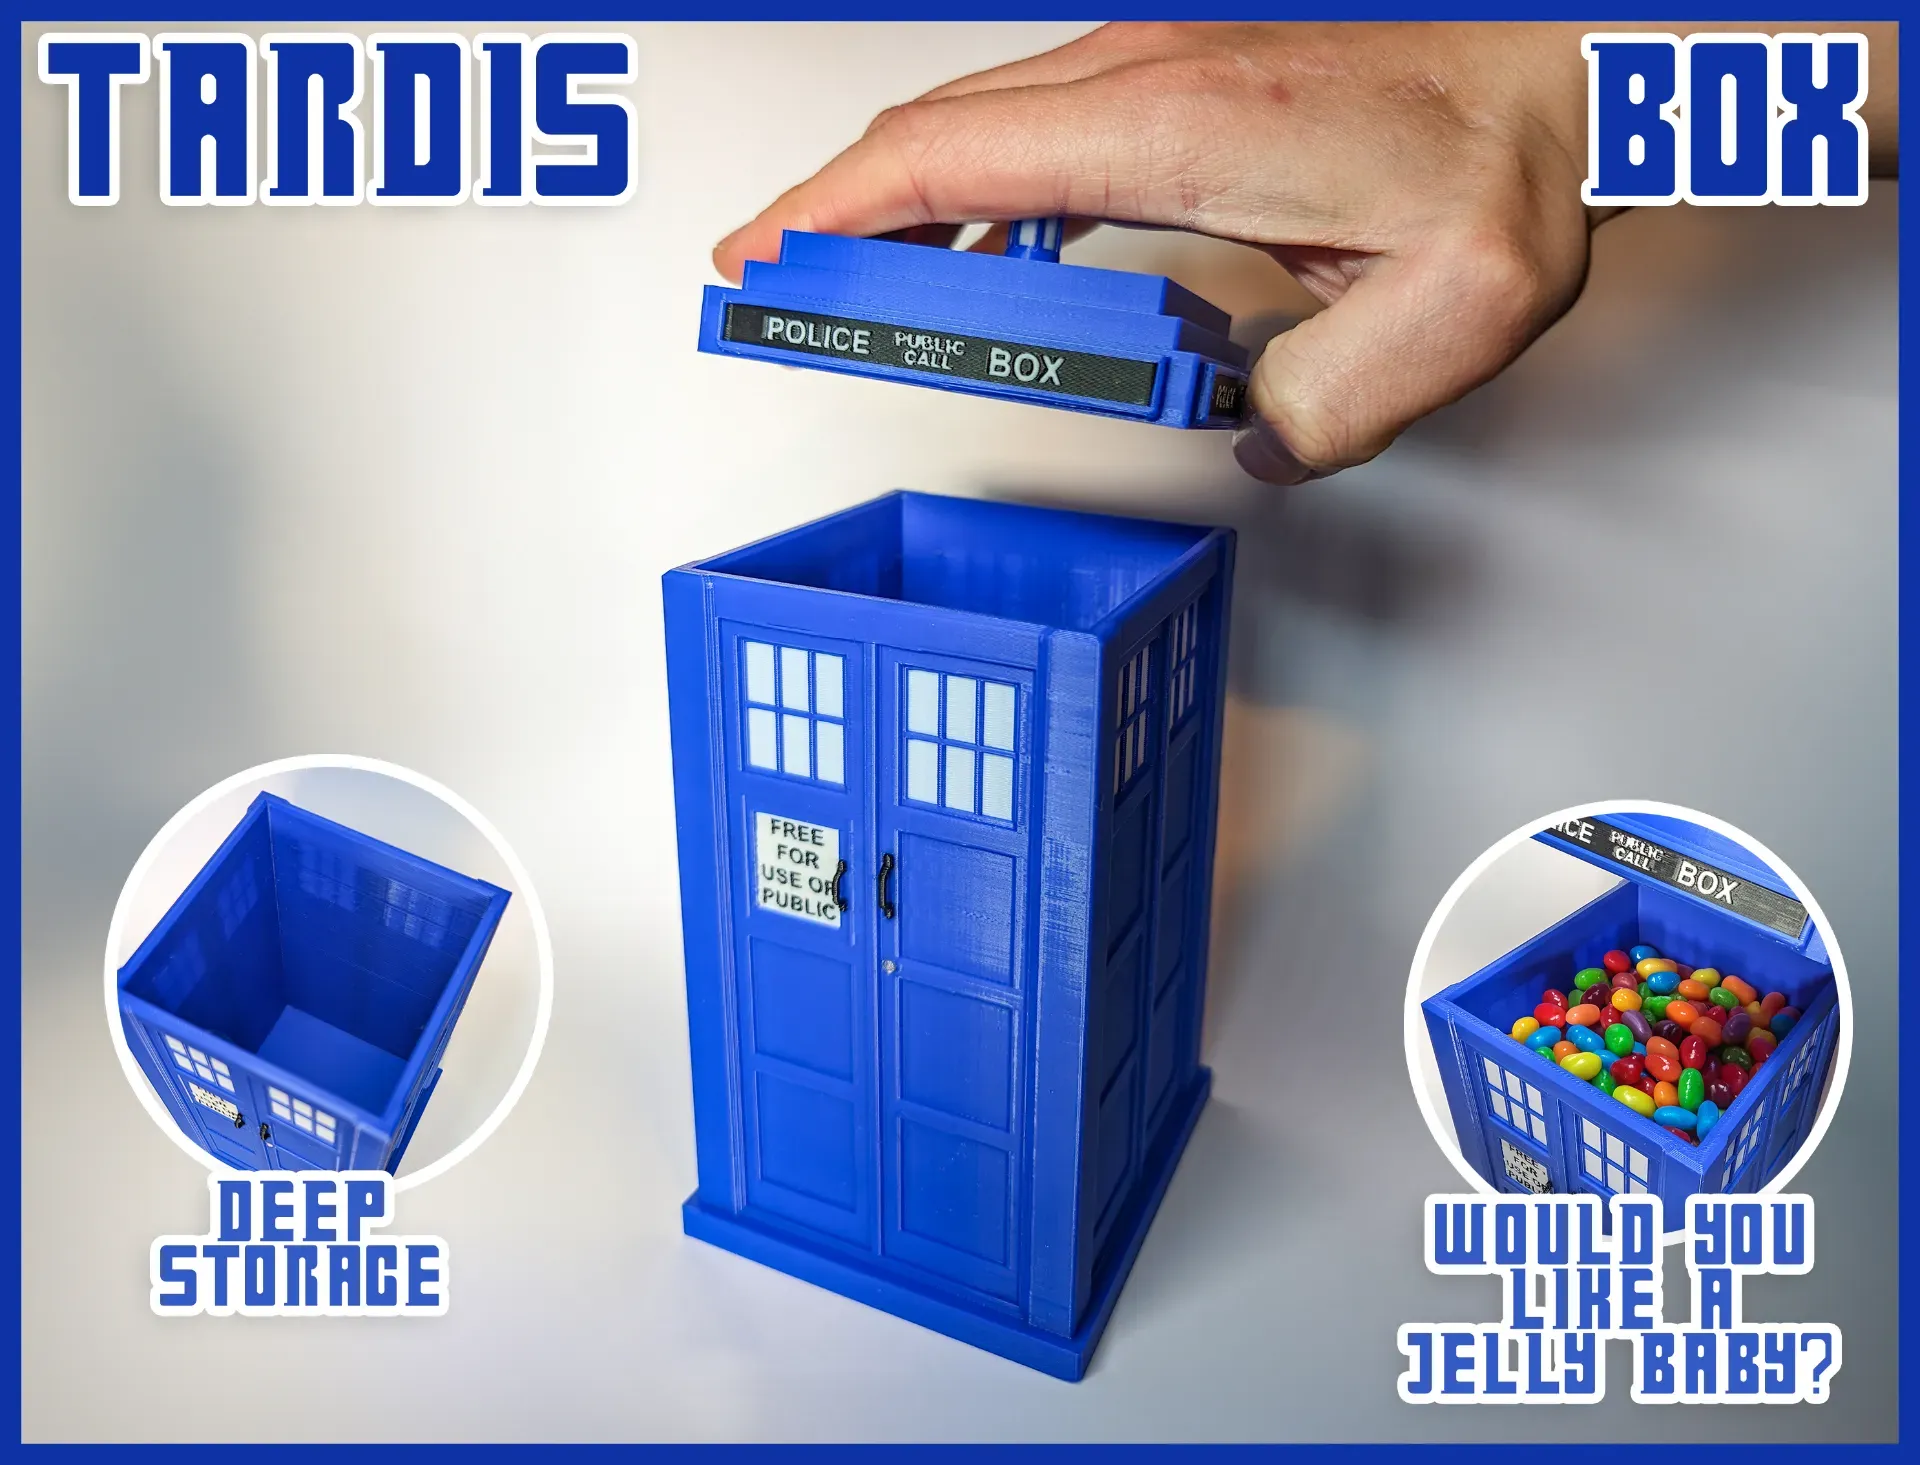 |
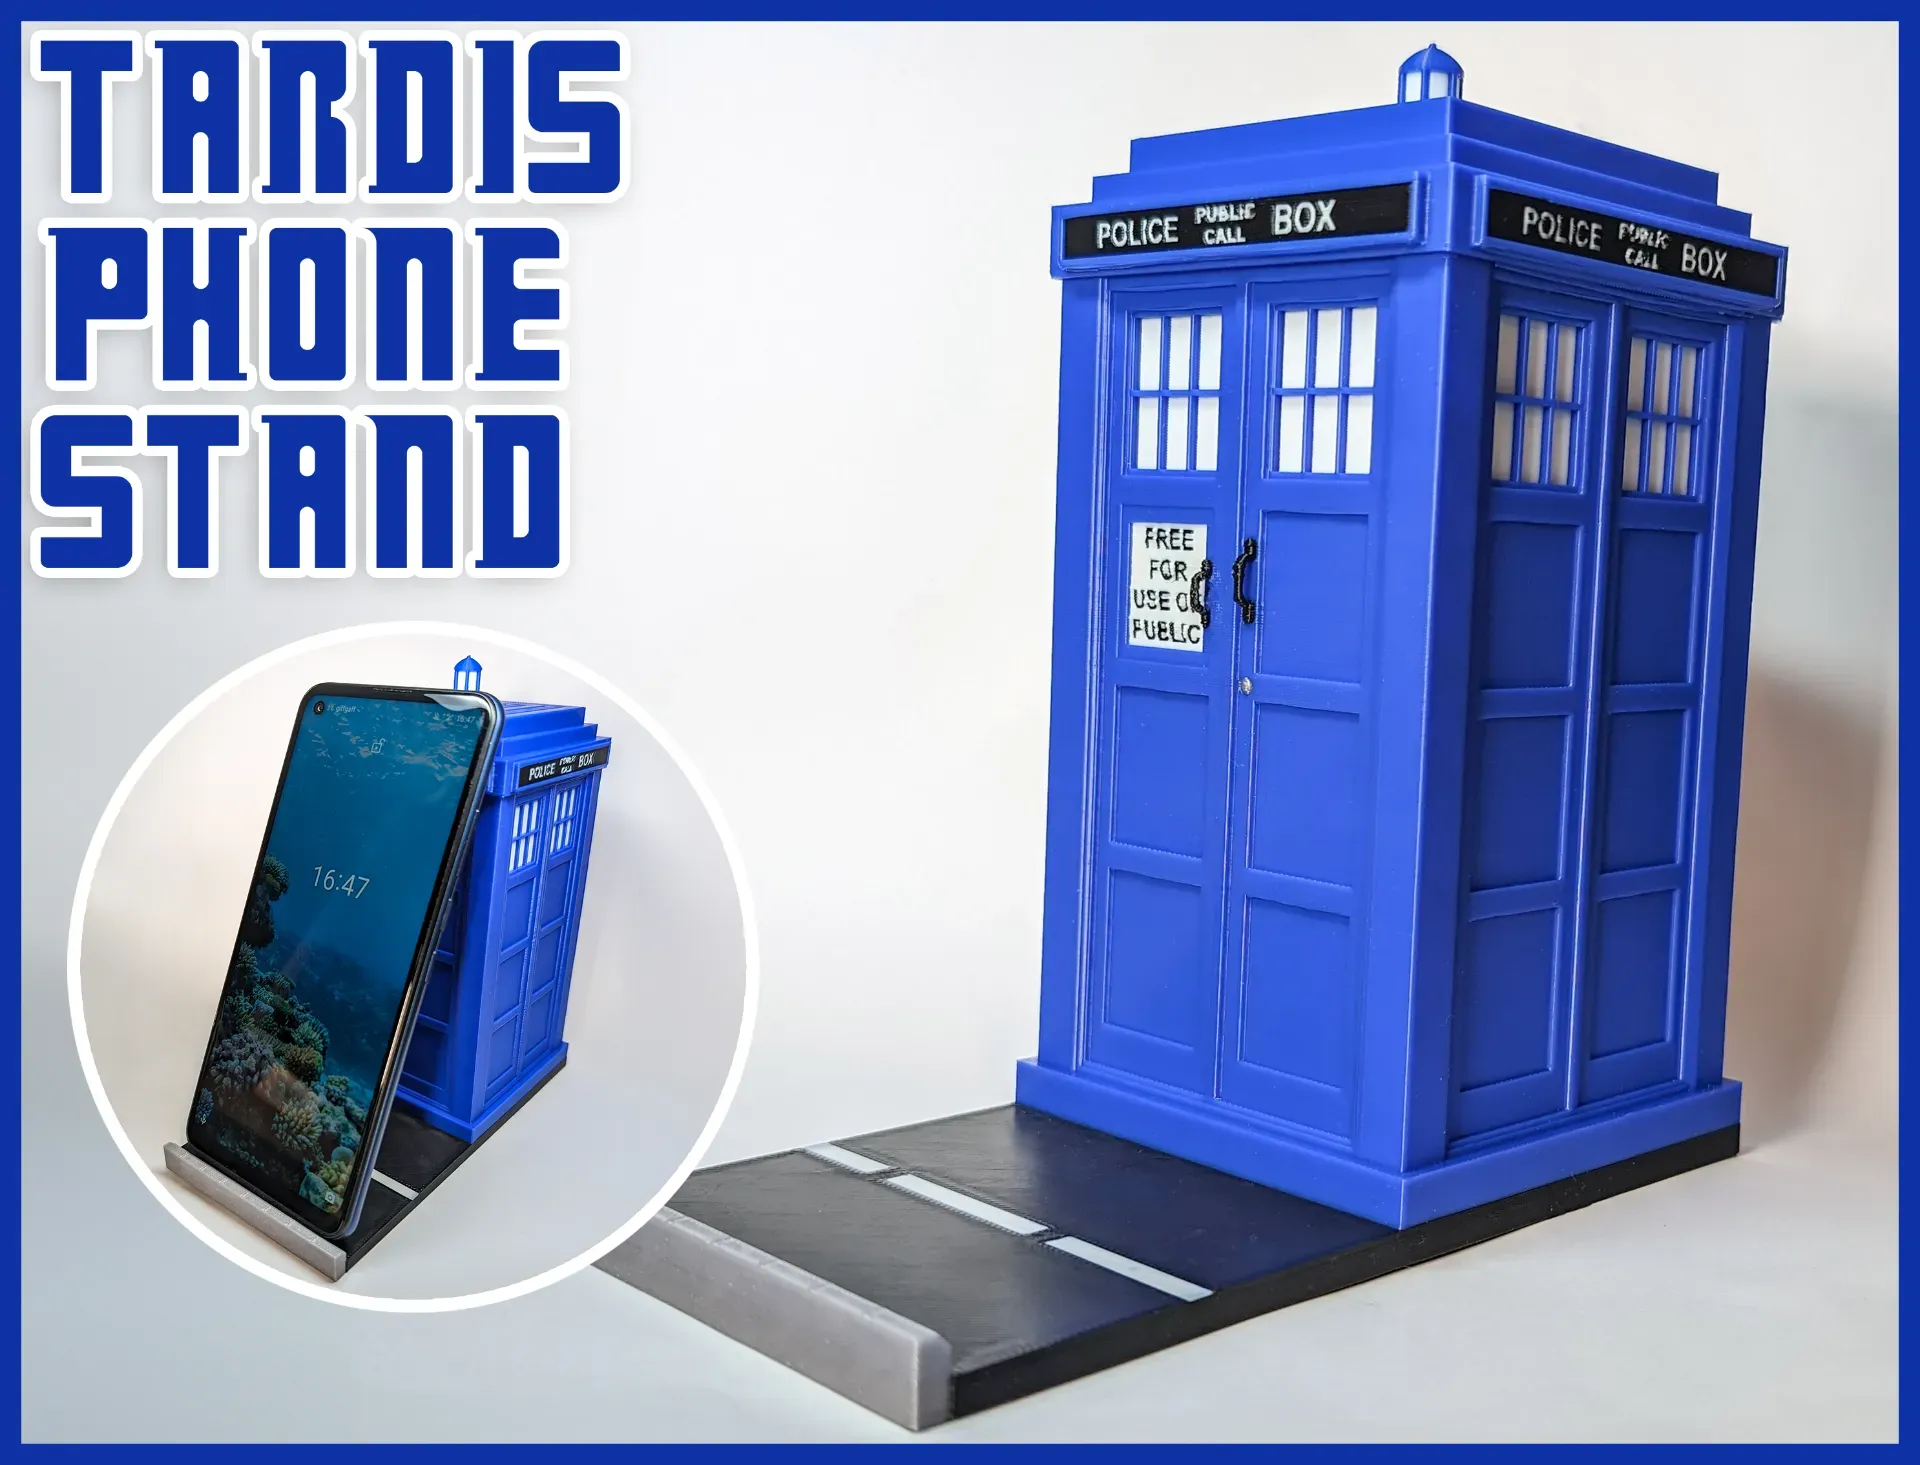 | 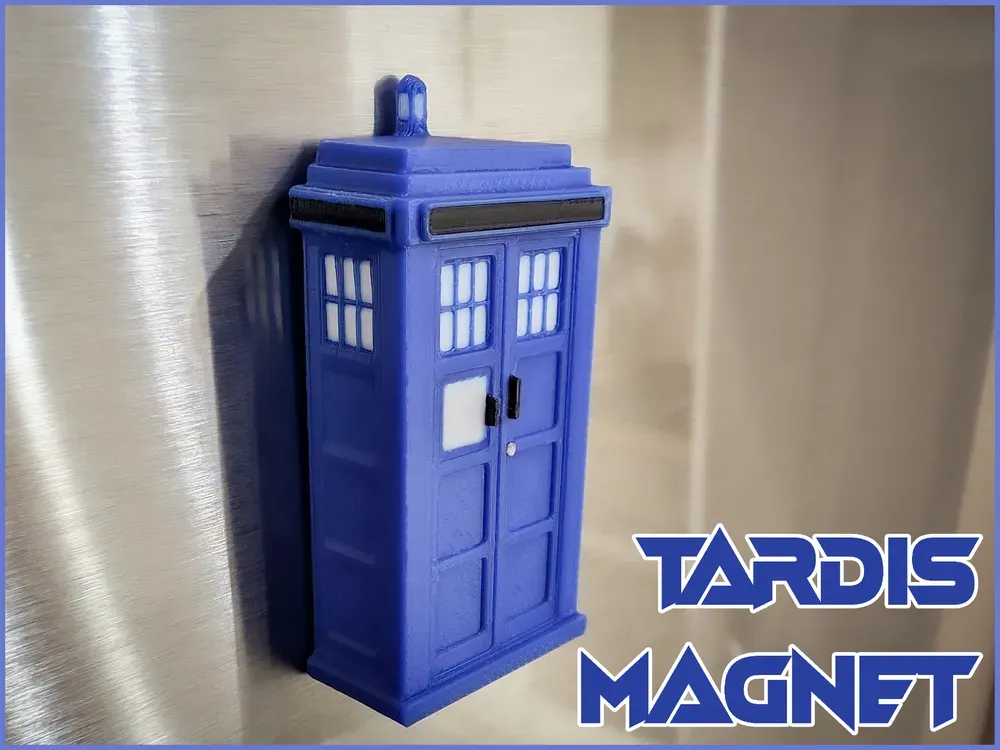 | 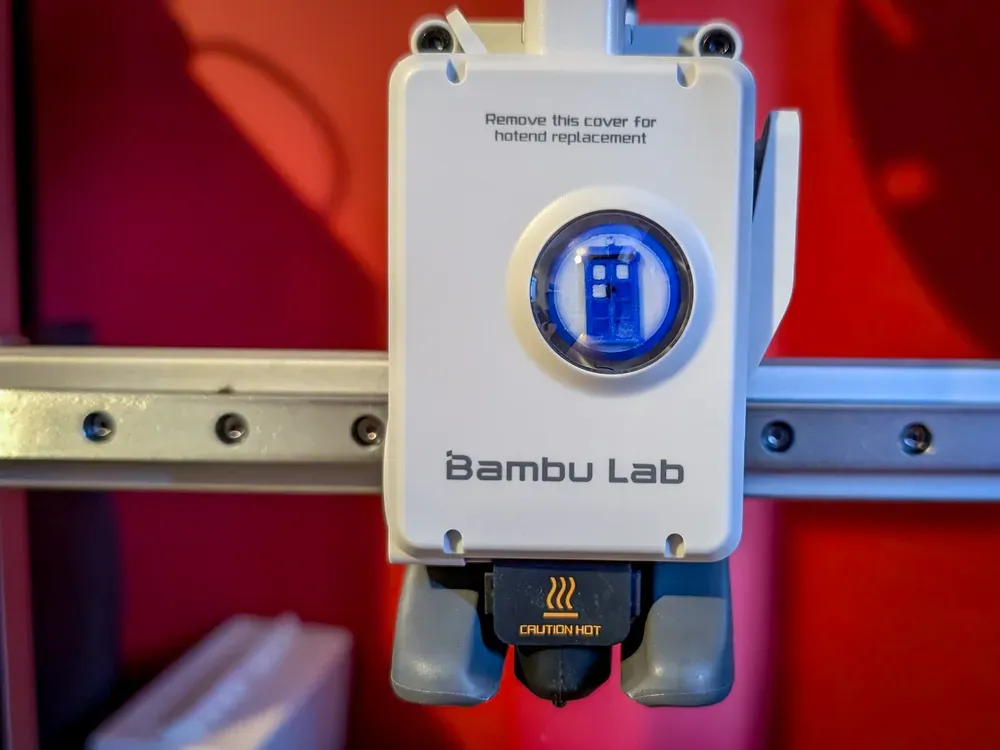 |
License

You shall not share, sub-license, sell, rent, host, transfer, or distribute in any way the digital or 3D printed versions of this object, nor any other derivative work of this object in its digital or physical format (including - but not limited to - remixes of this object, and hosting on other digital platforms). The objects may not be used without permission in any way whatsoever in which you charge money, or collect fees.


Comment & Rating (91)