
Painting Light Arch Upgrade Kit
Print Profile(3)


Bill of Materials


Description
Membership
Boost Me (for free)
A set of three upgrades for my V2 Painting Light Arch. They're broken out into separate print profiles so you can print just the ones you want.
Important: This is not the painting light arch, but a set of upgrades for it. You can find the light arch here: V2 Painting Light Arch
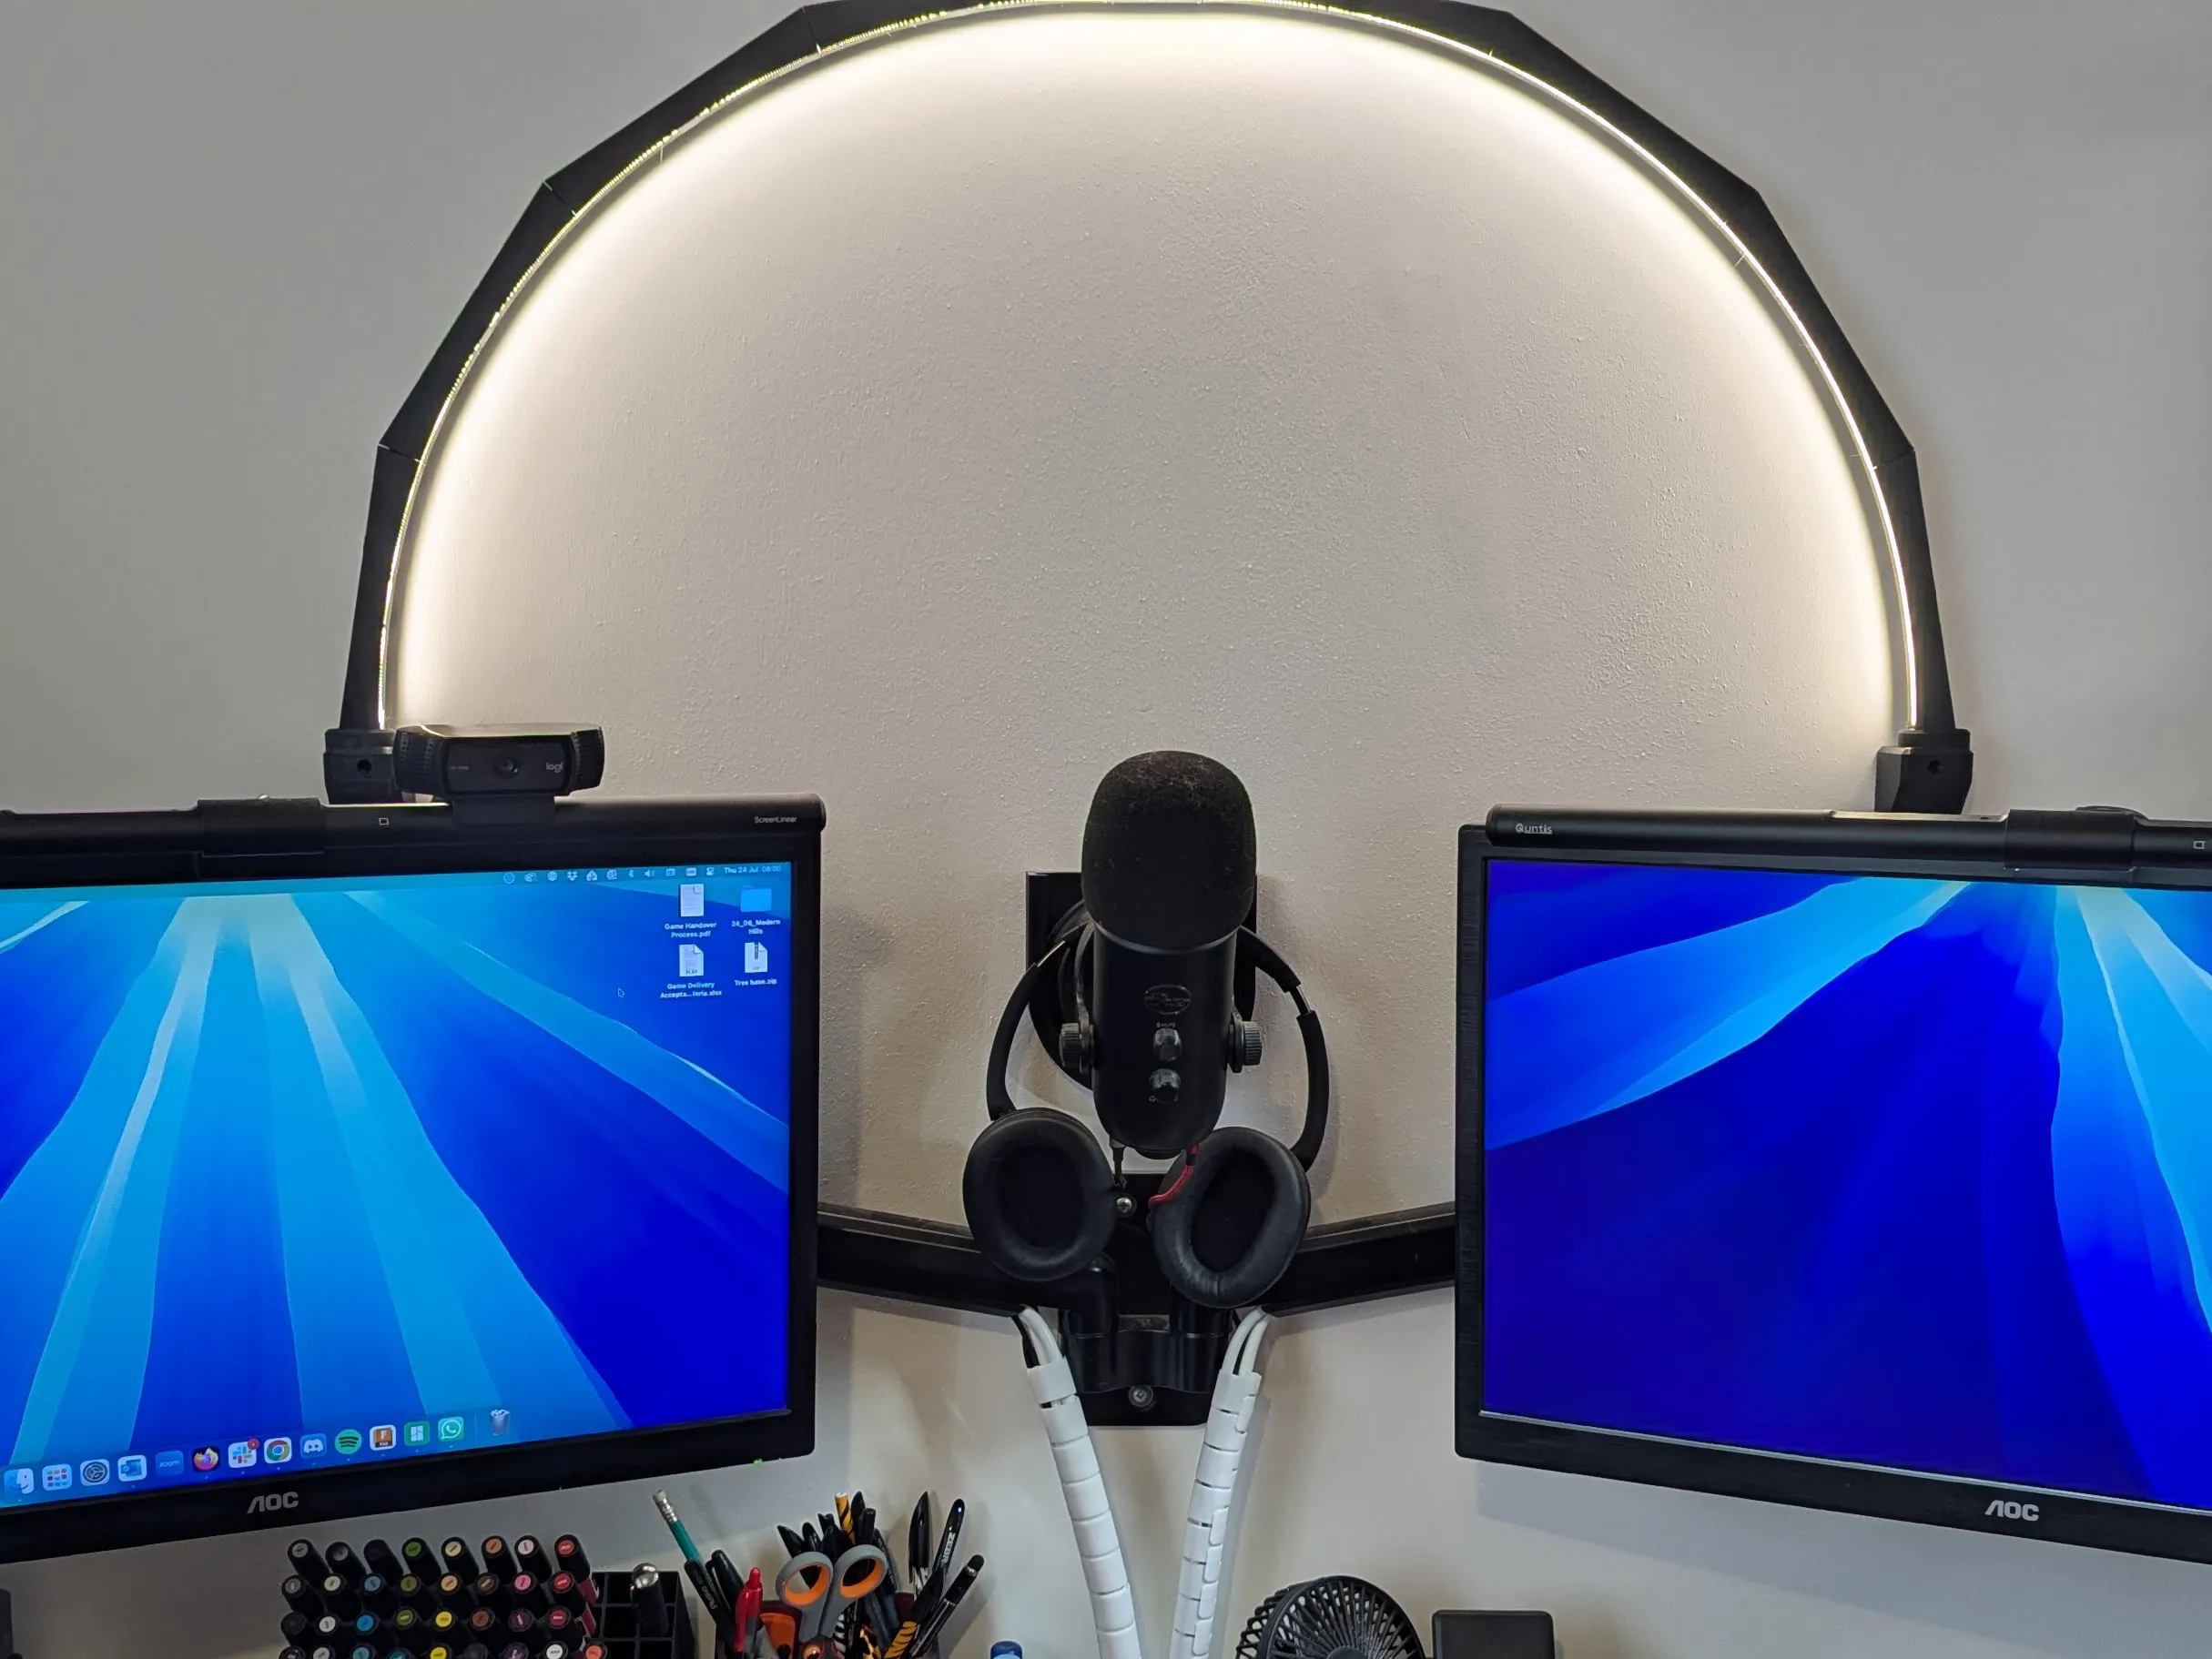
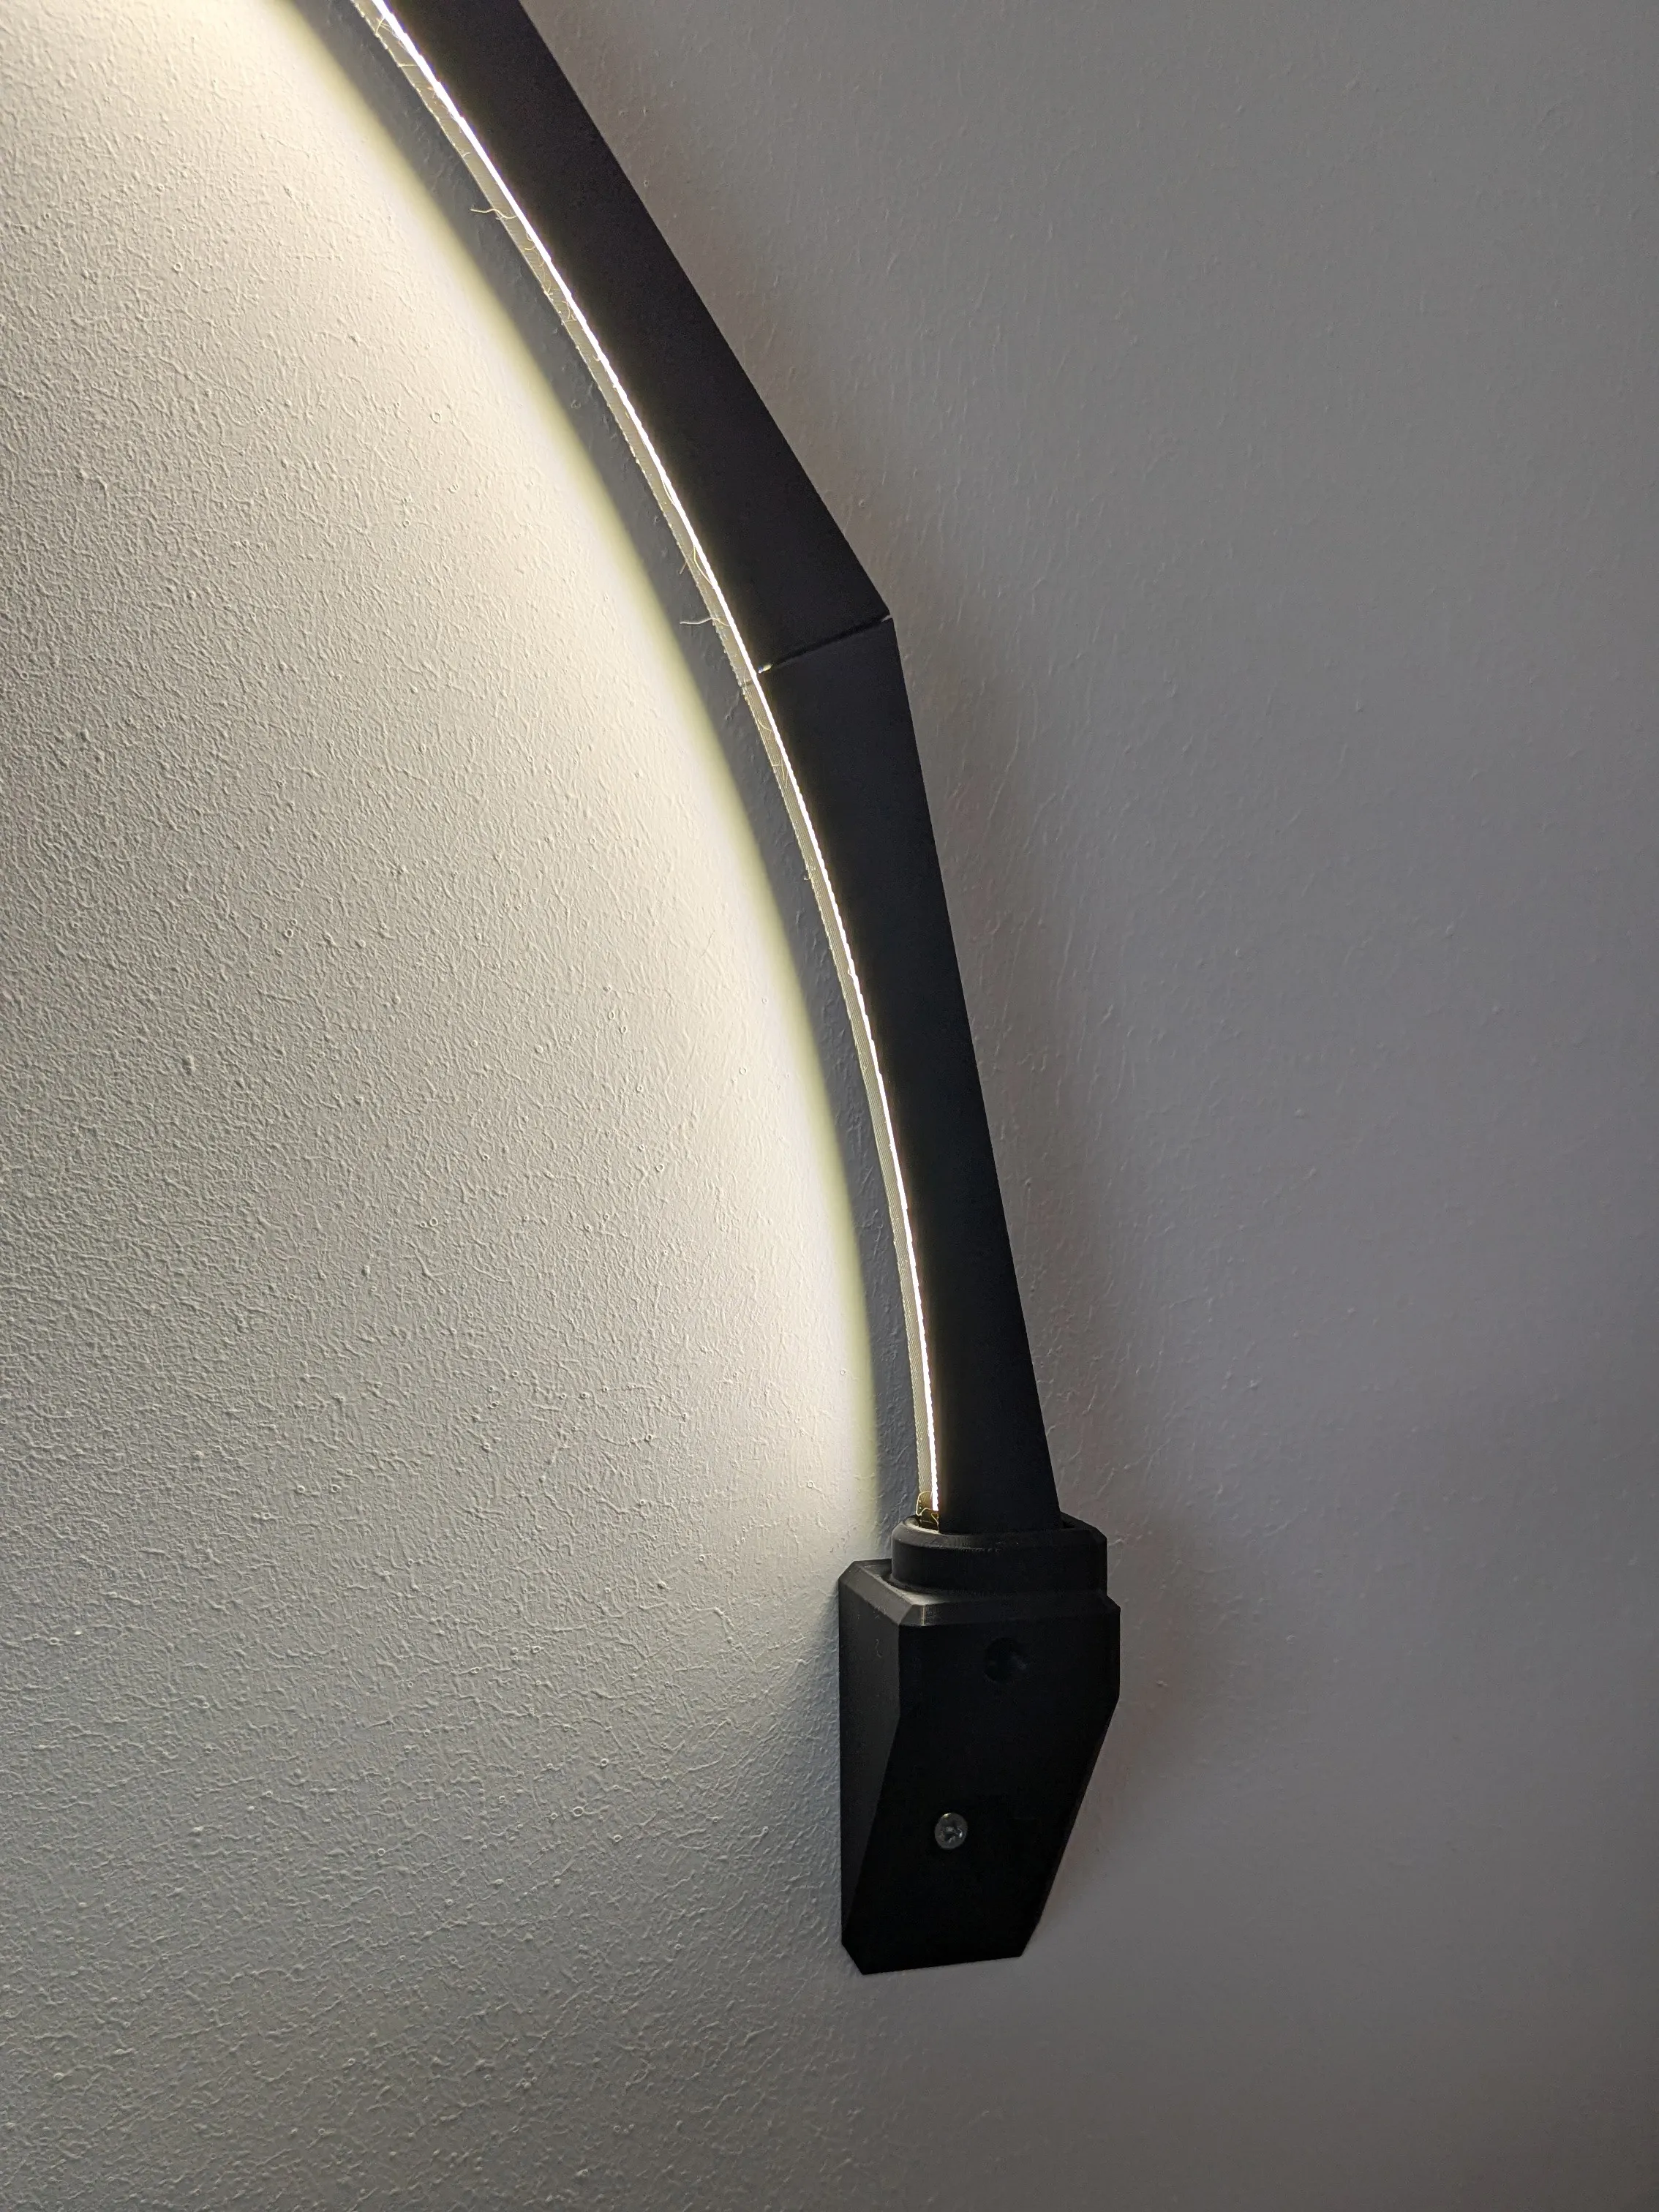
Wall Mounts
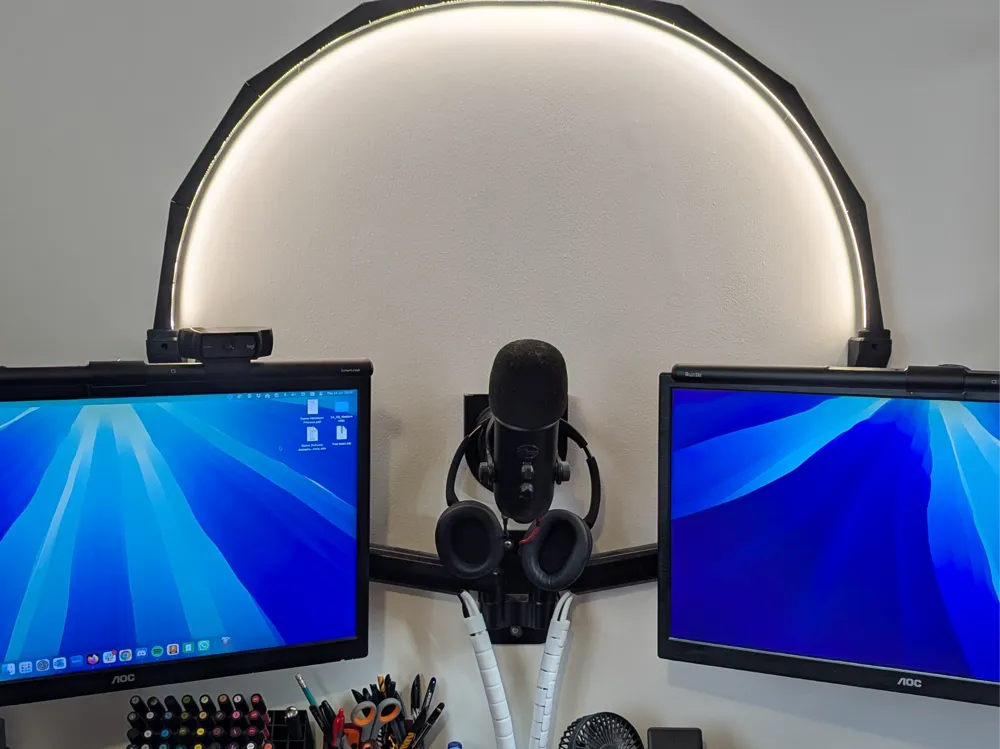
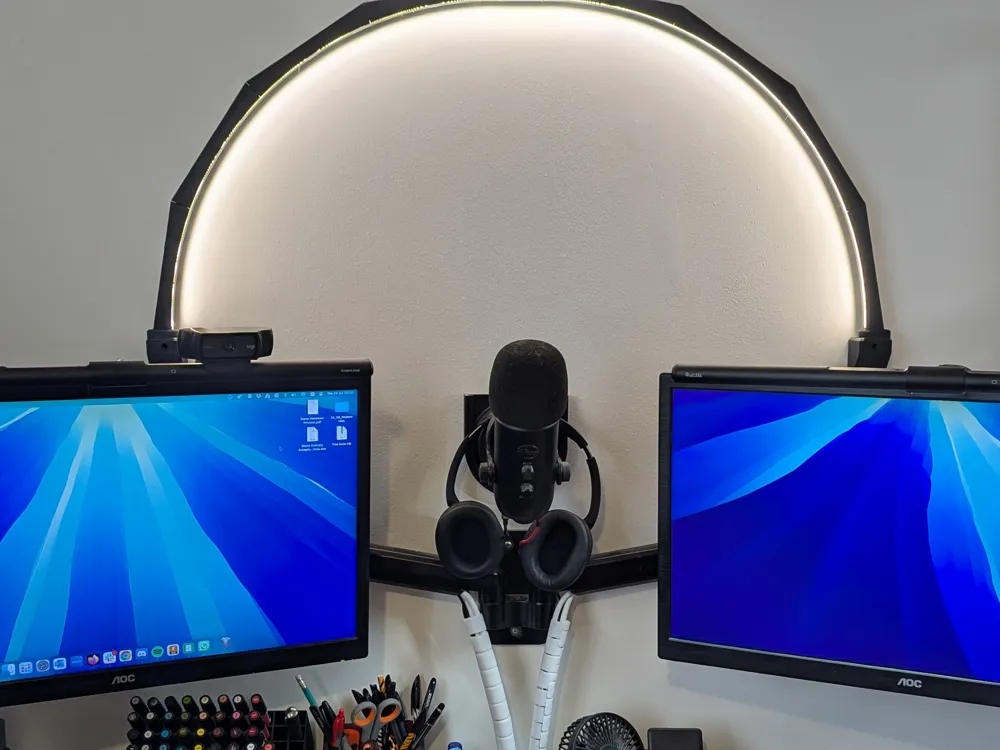
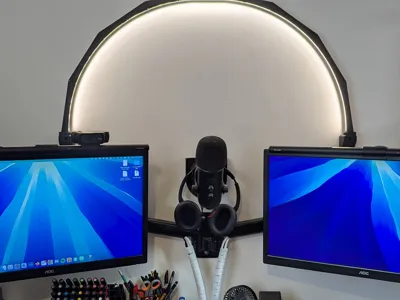
This simple pair of brackets allows you to store your light arch on the wall and use it as a decorative accent light. Place a small shelf in the middle and you could use it to illuminate your beautifully painted minis. You'll want the holes to be 800mm apart, or 845mm if using the adaptor bar (see below)
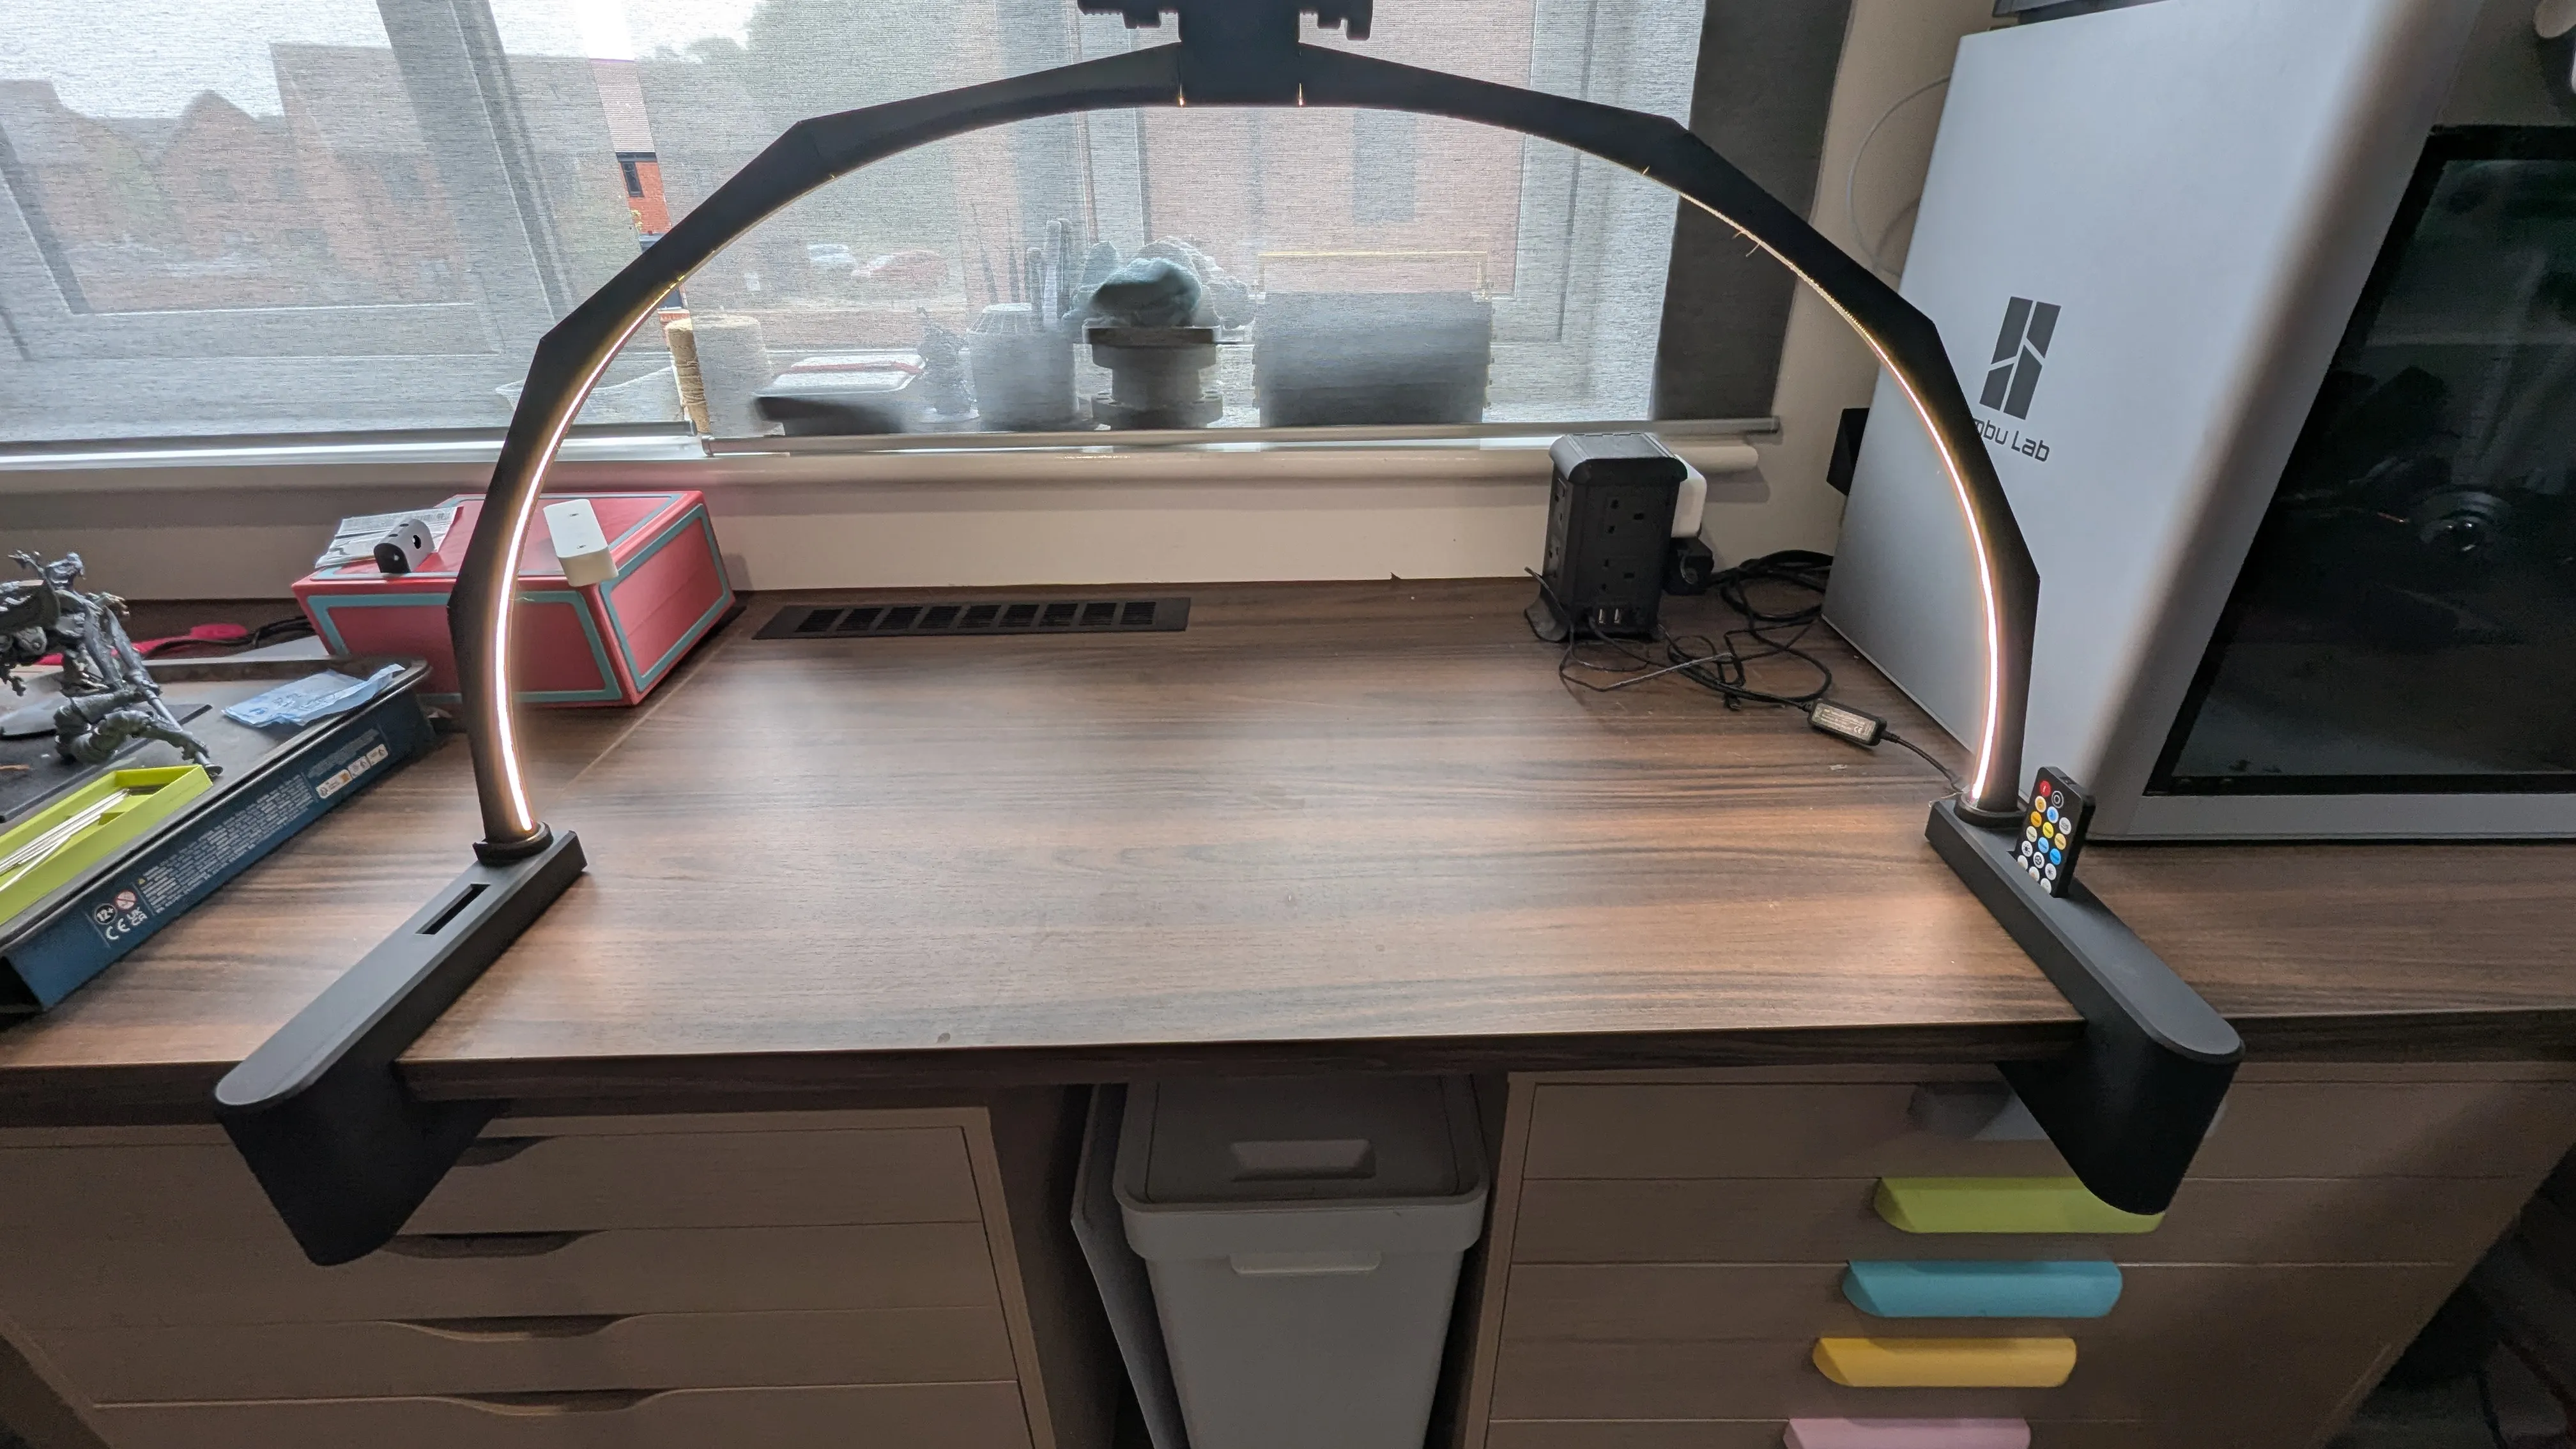
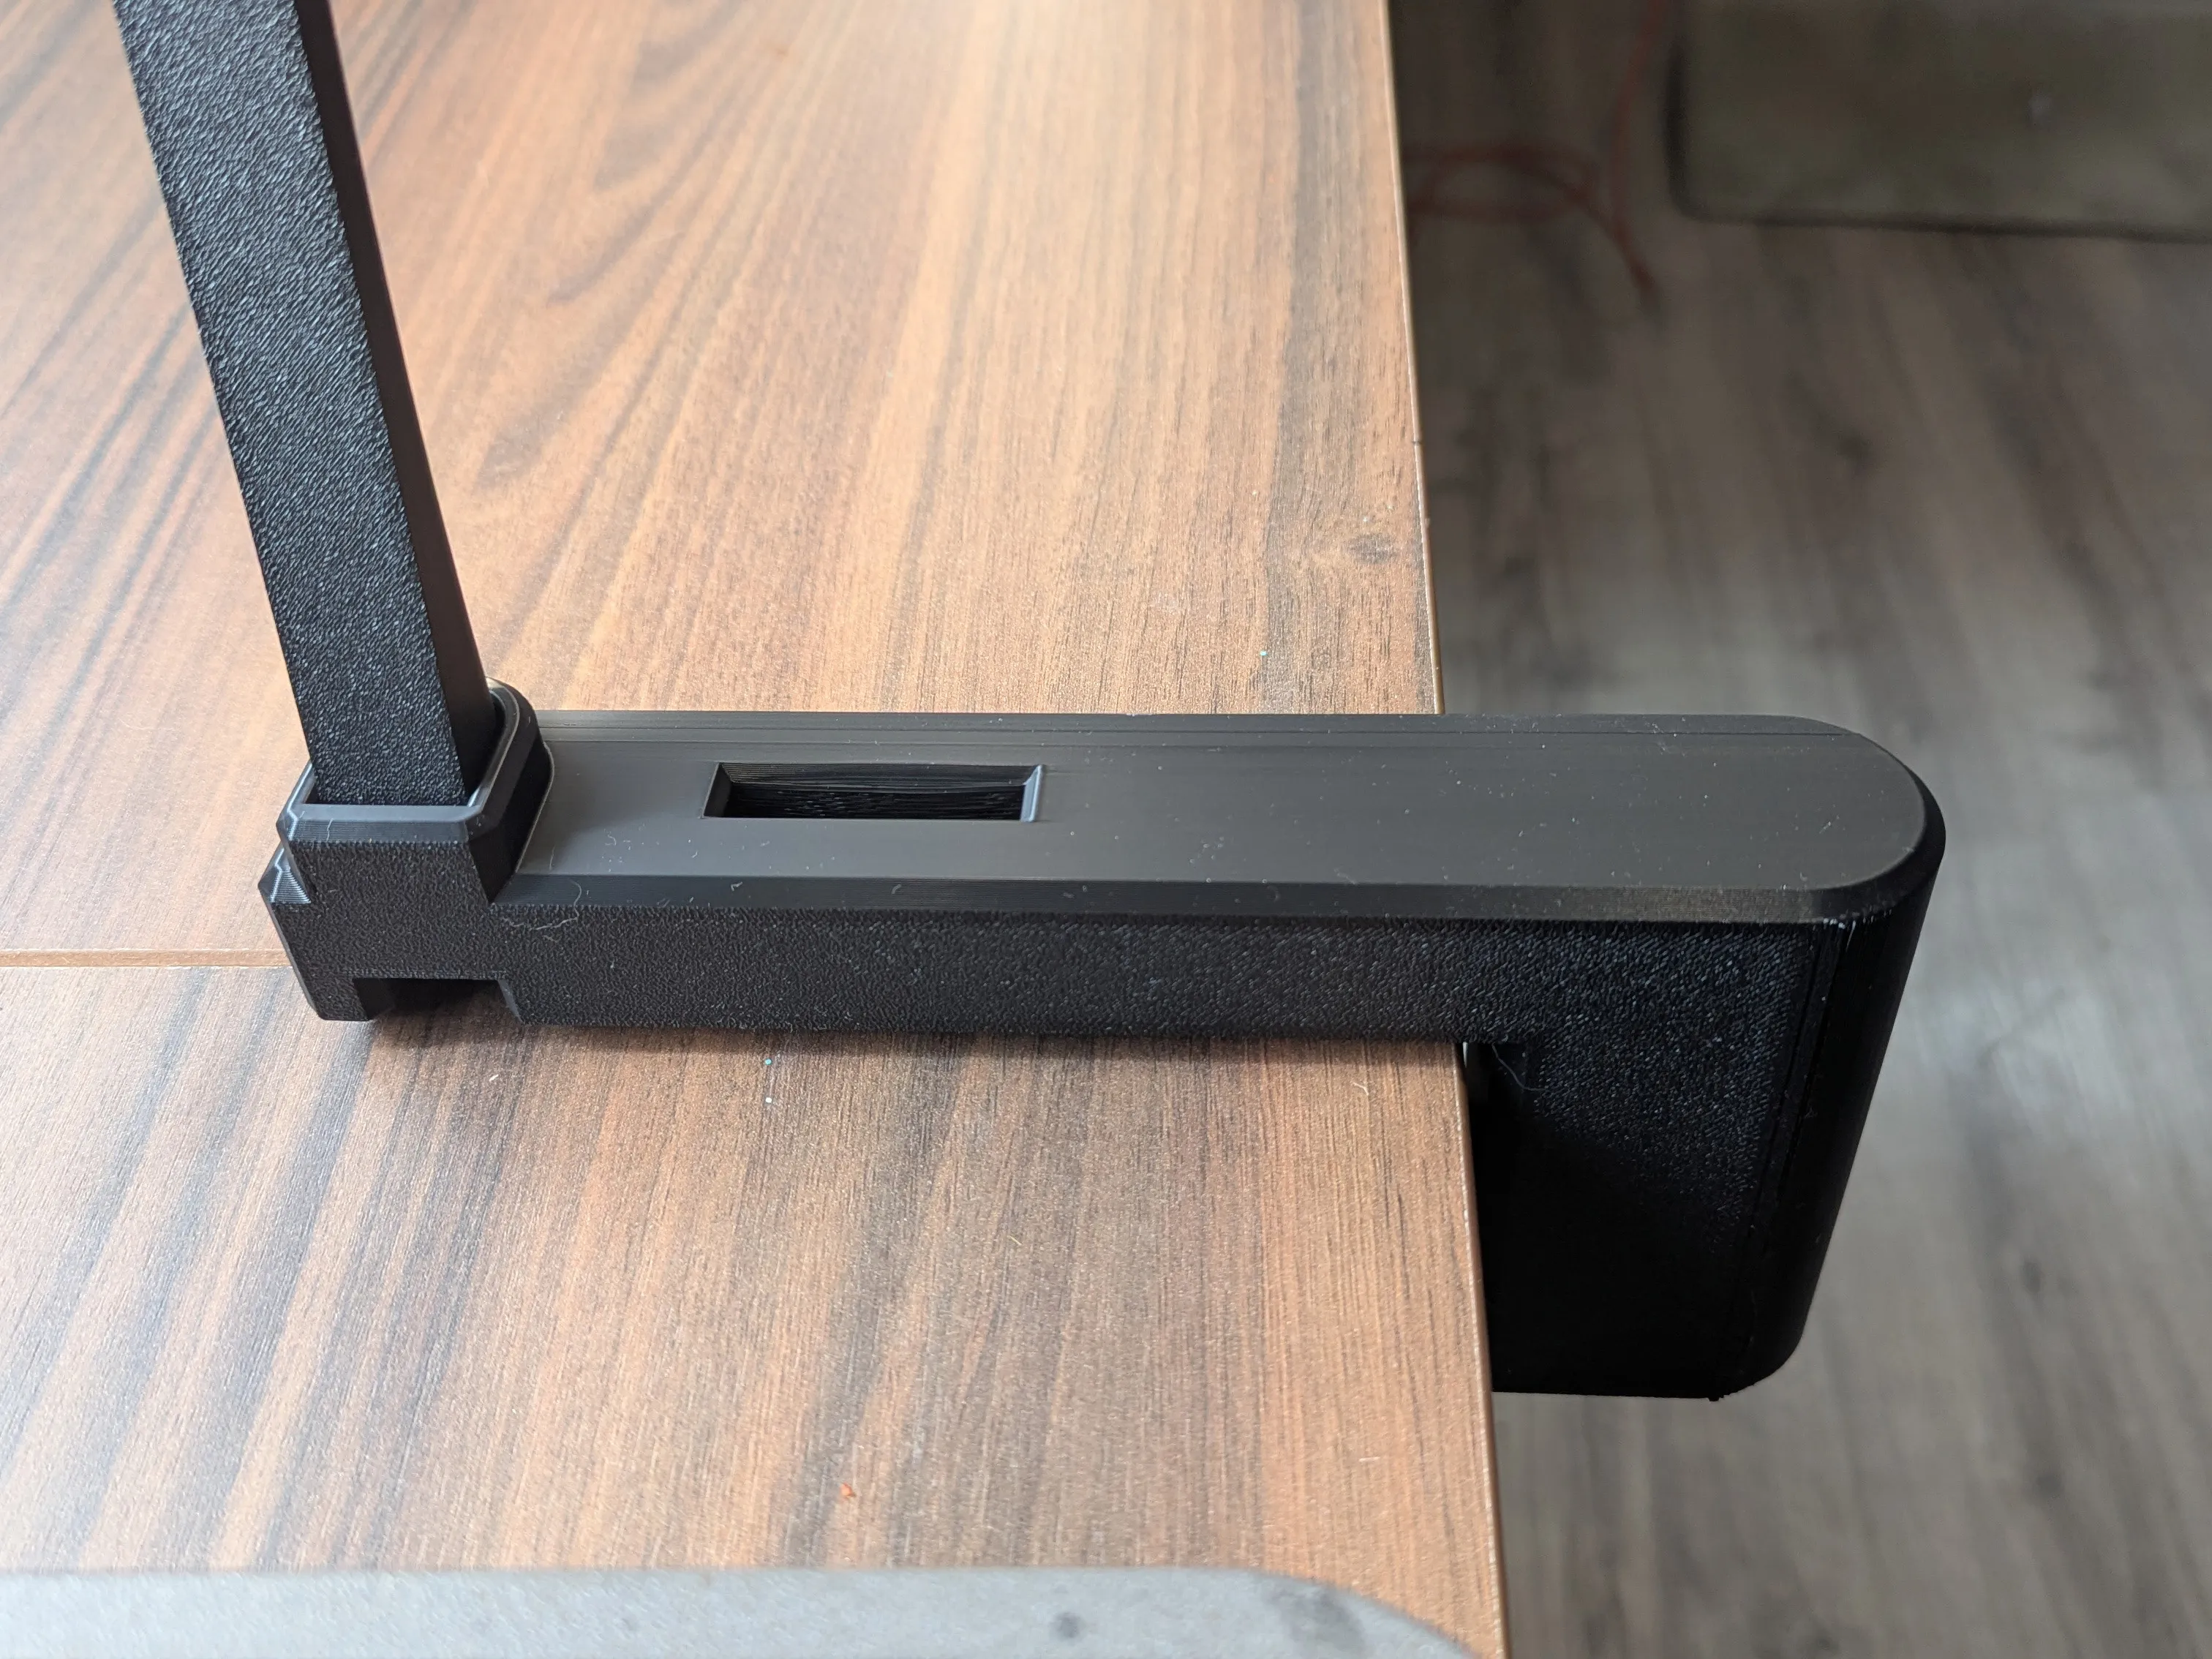
Desk Clamps
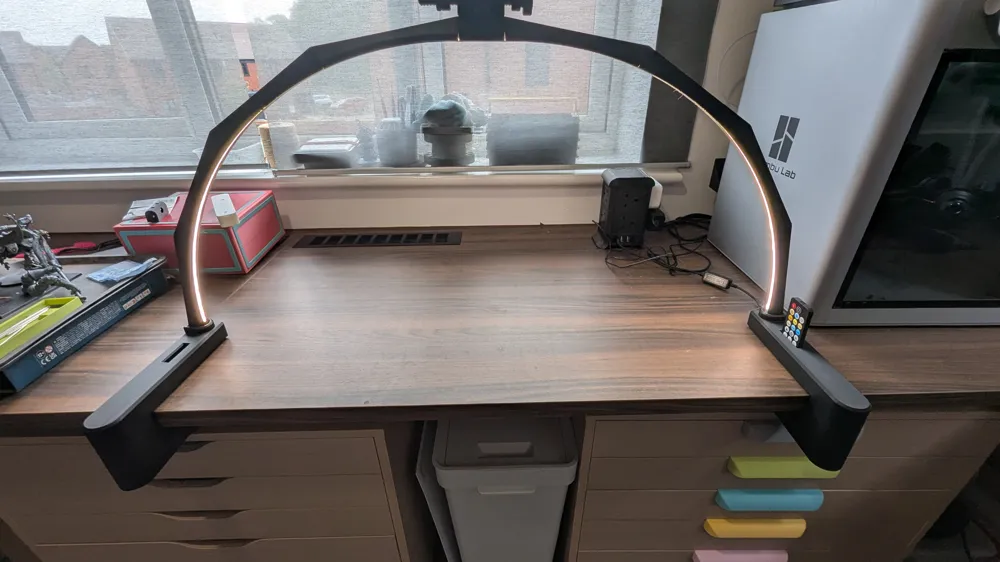
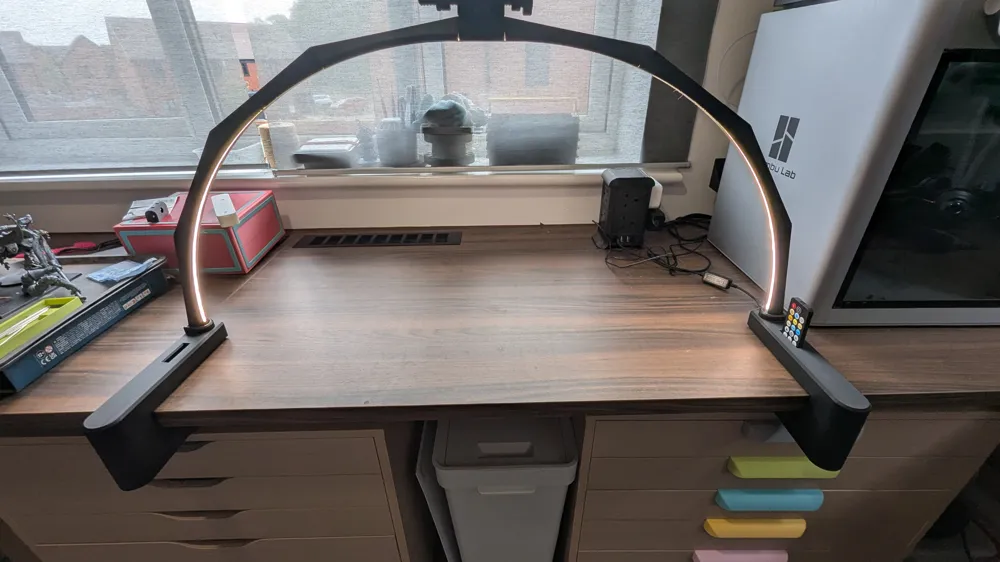
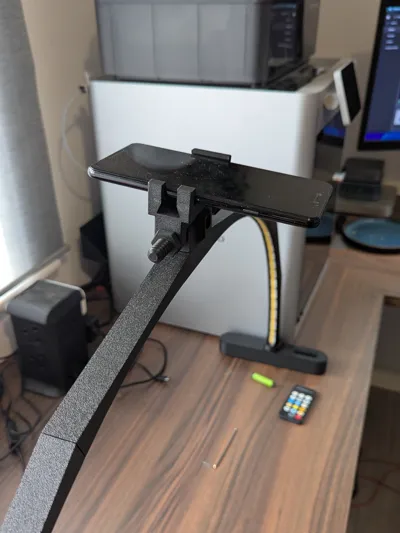
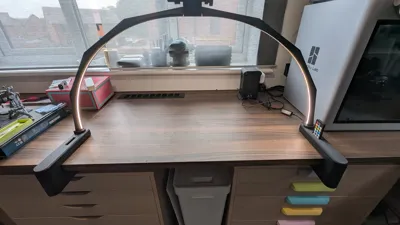
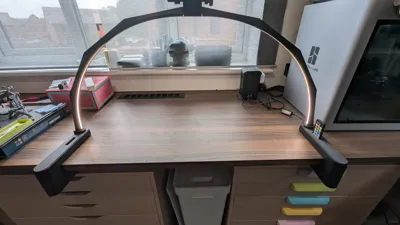
These replace the standard feed with a pair of clamps that lock the light bar to your desk or table. They can accommodate desks up to 2"/50mm thick, and need 150mm of clearance on the underside. It's strongly recommended you use these with the Camera Mounting Kit (see below).
Camera Mounting Kit
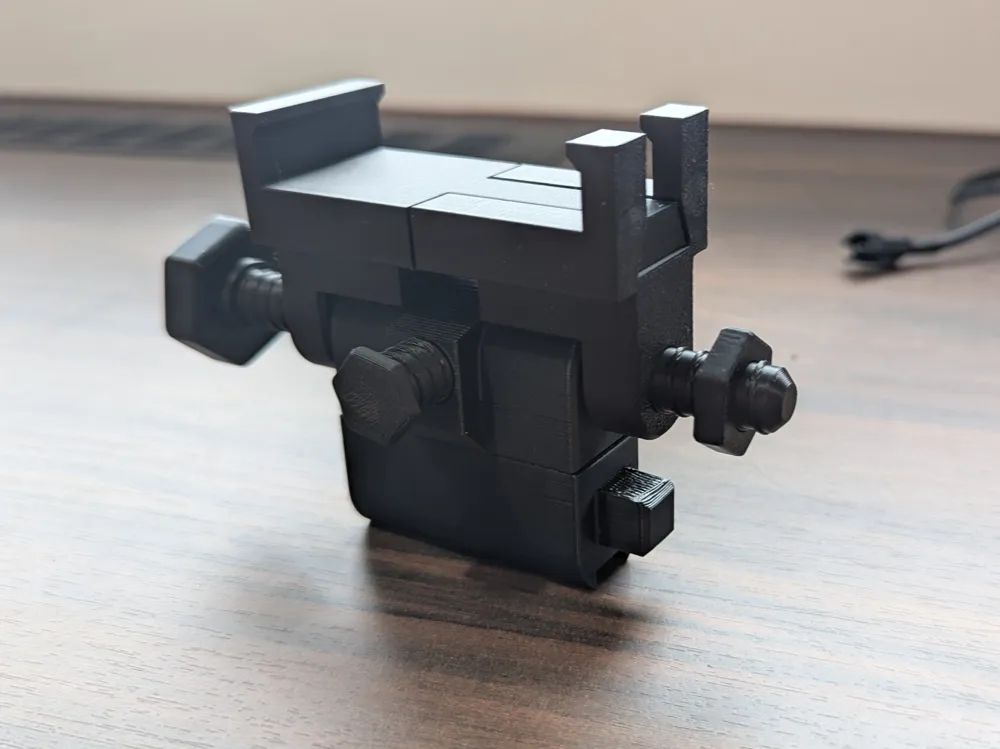
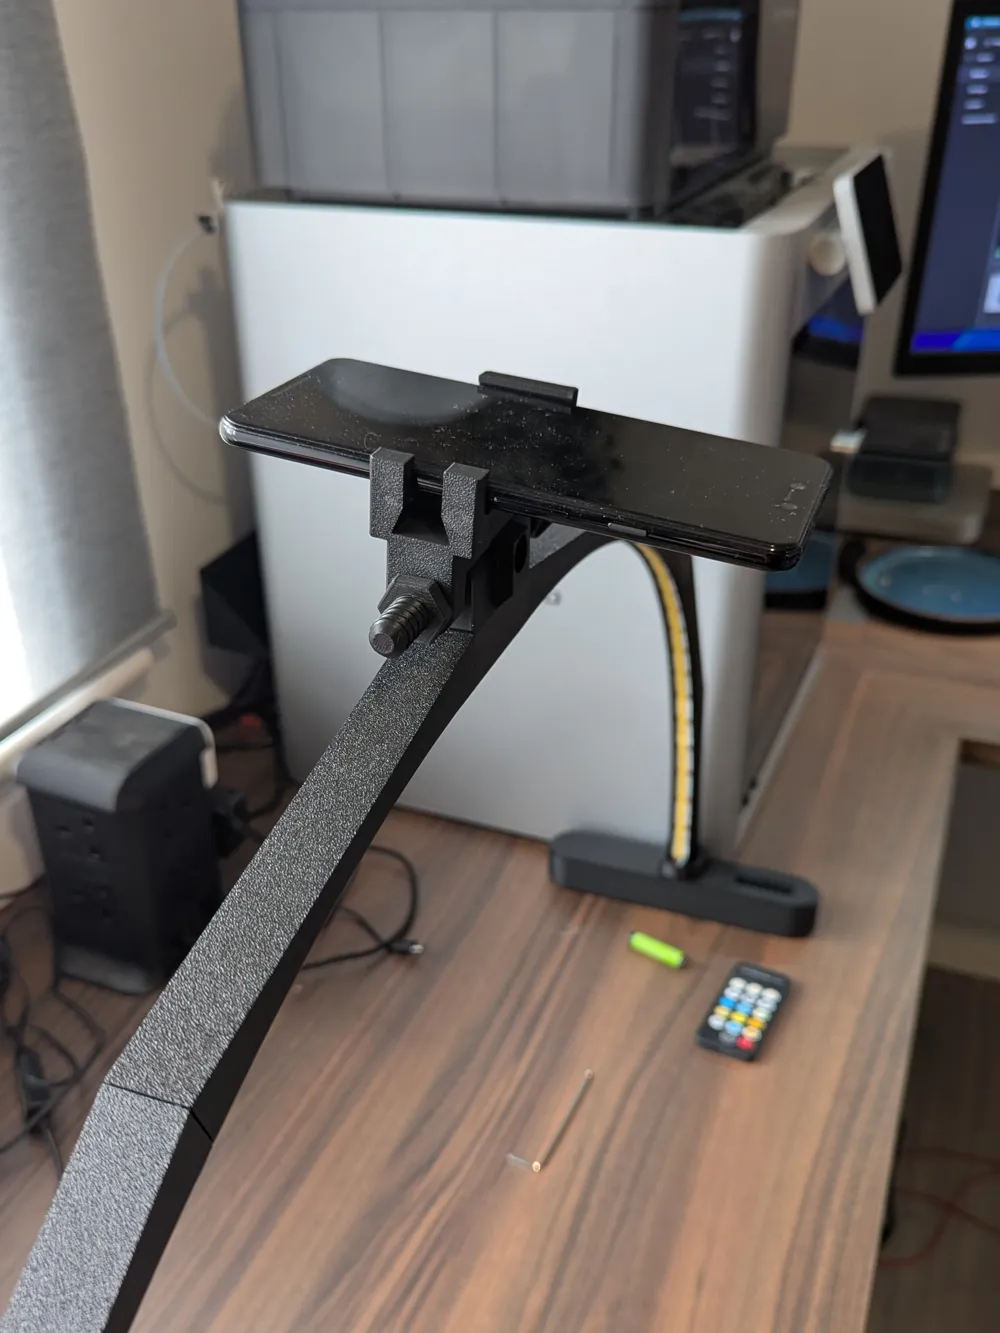
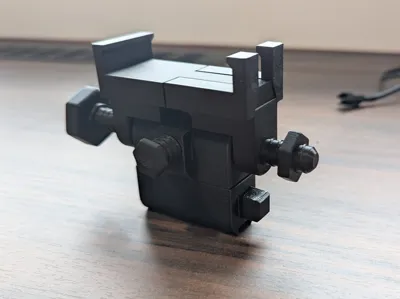
If you like filming or streaming your painting sessions, this add-on will be right up your street. This kit consists of a 50mm adaptor bar that goes in the middle of your arch, to which you can connect an adjustable camera mount. The mount can accommodate phones between 65mm and 85mm wide.
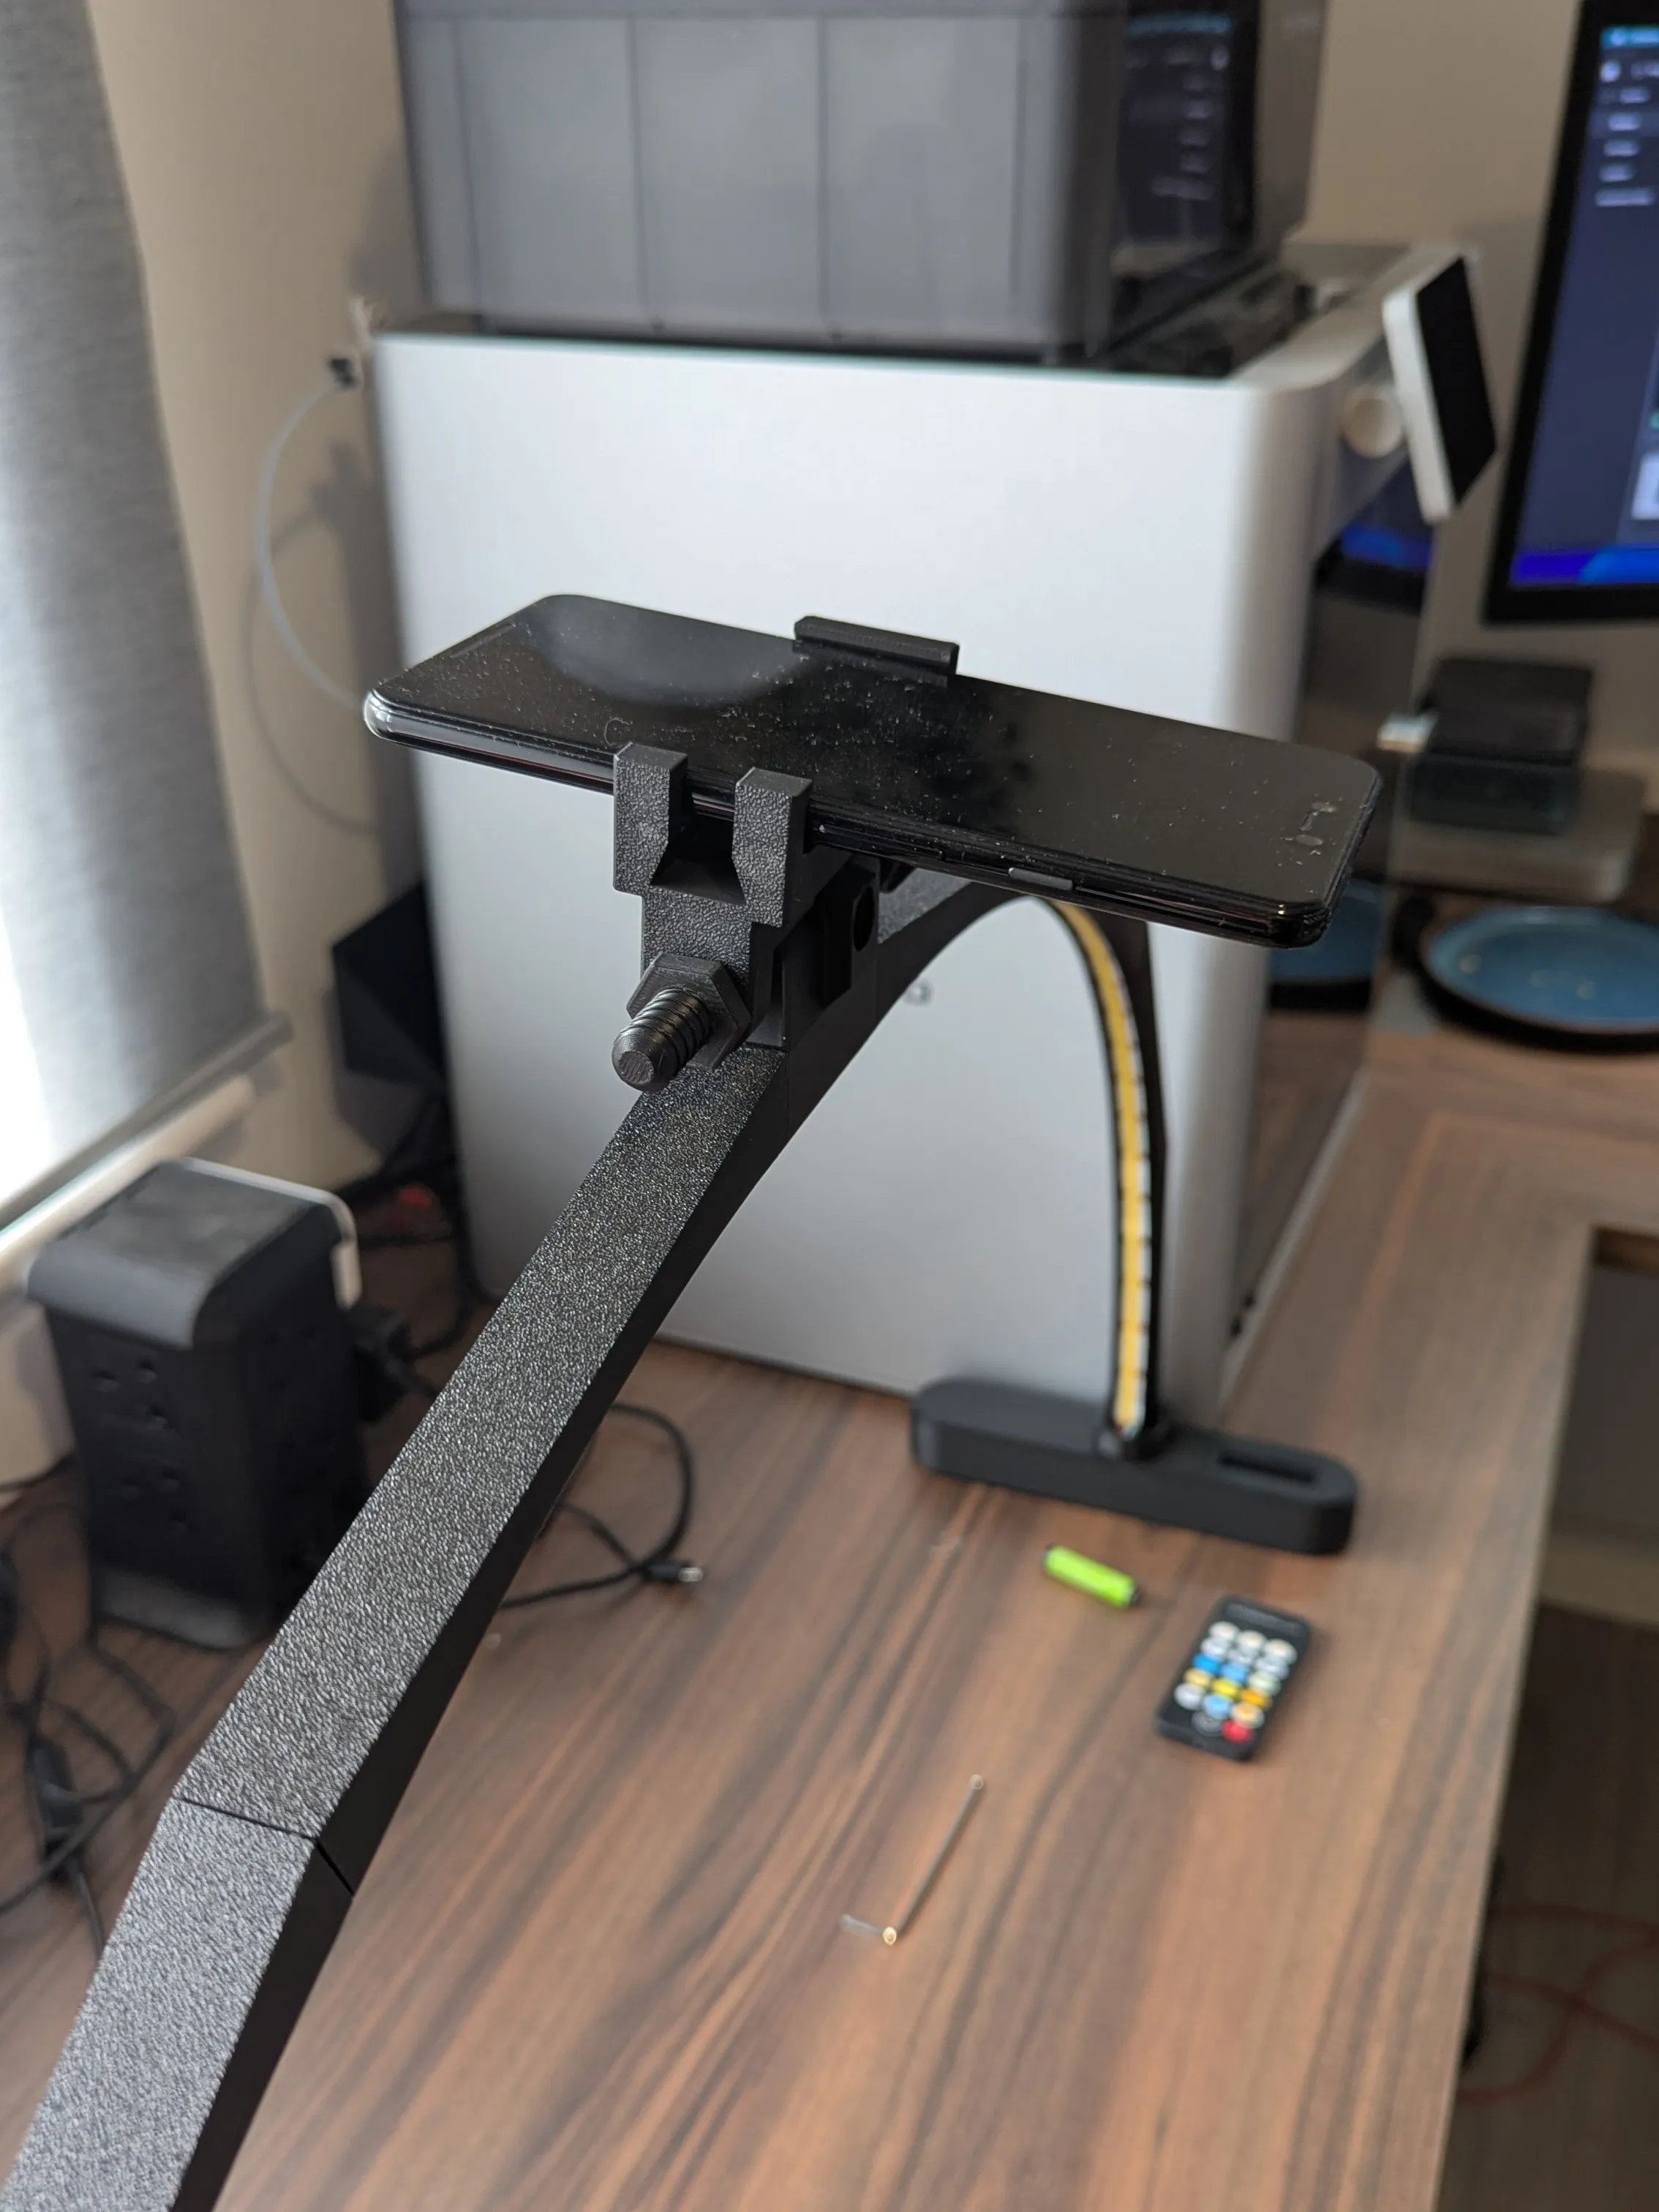
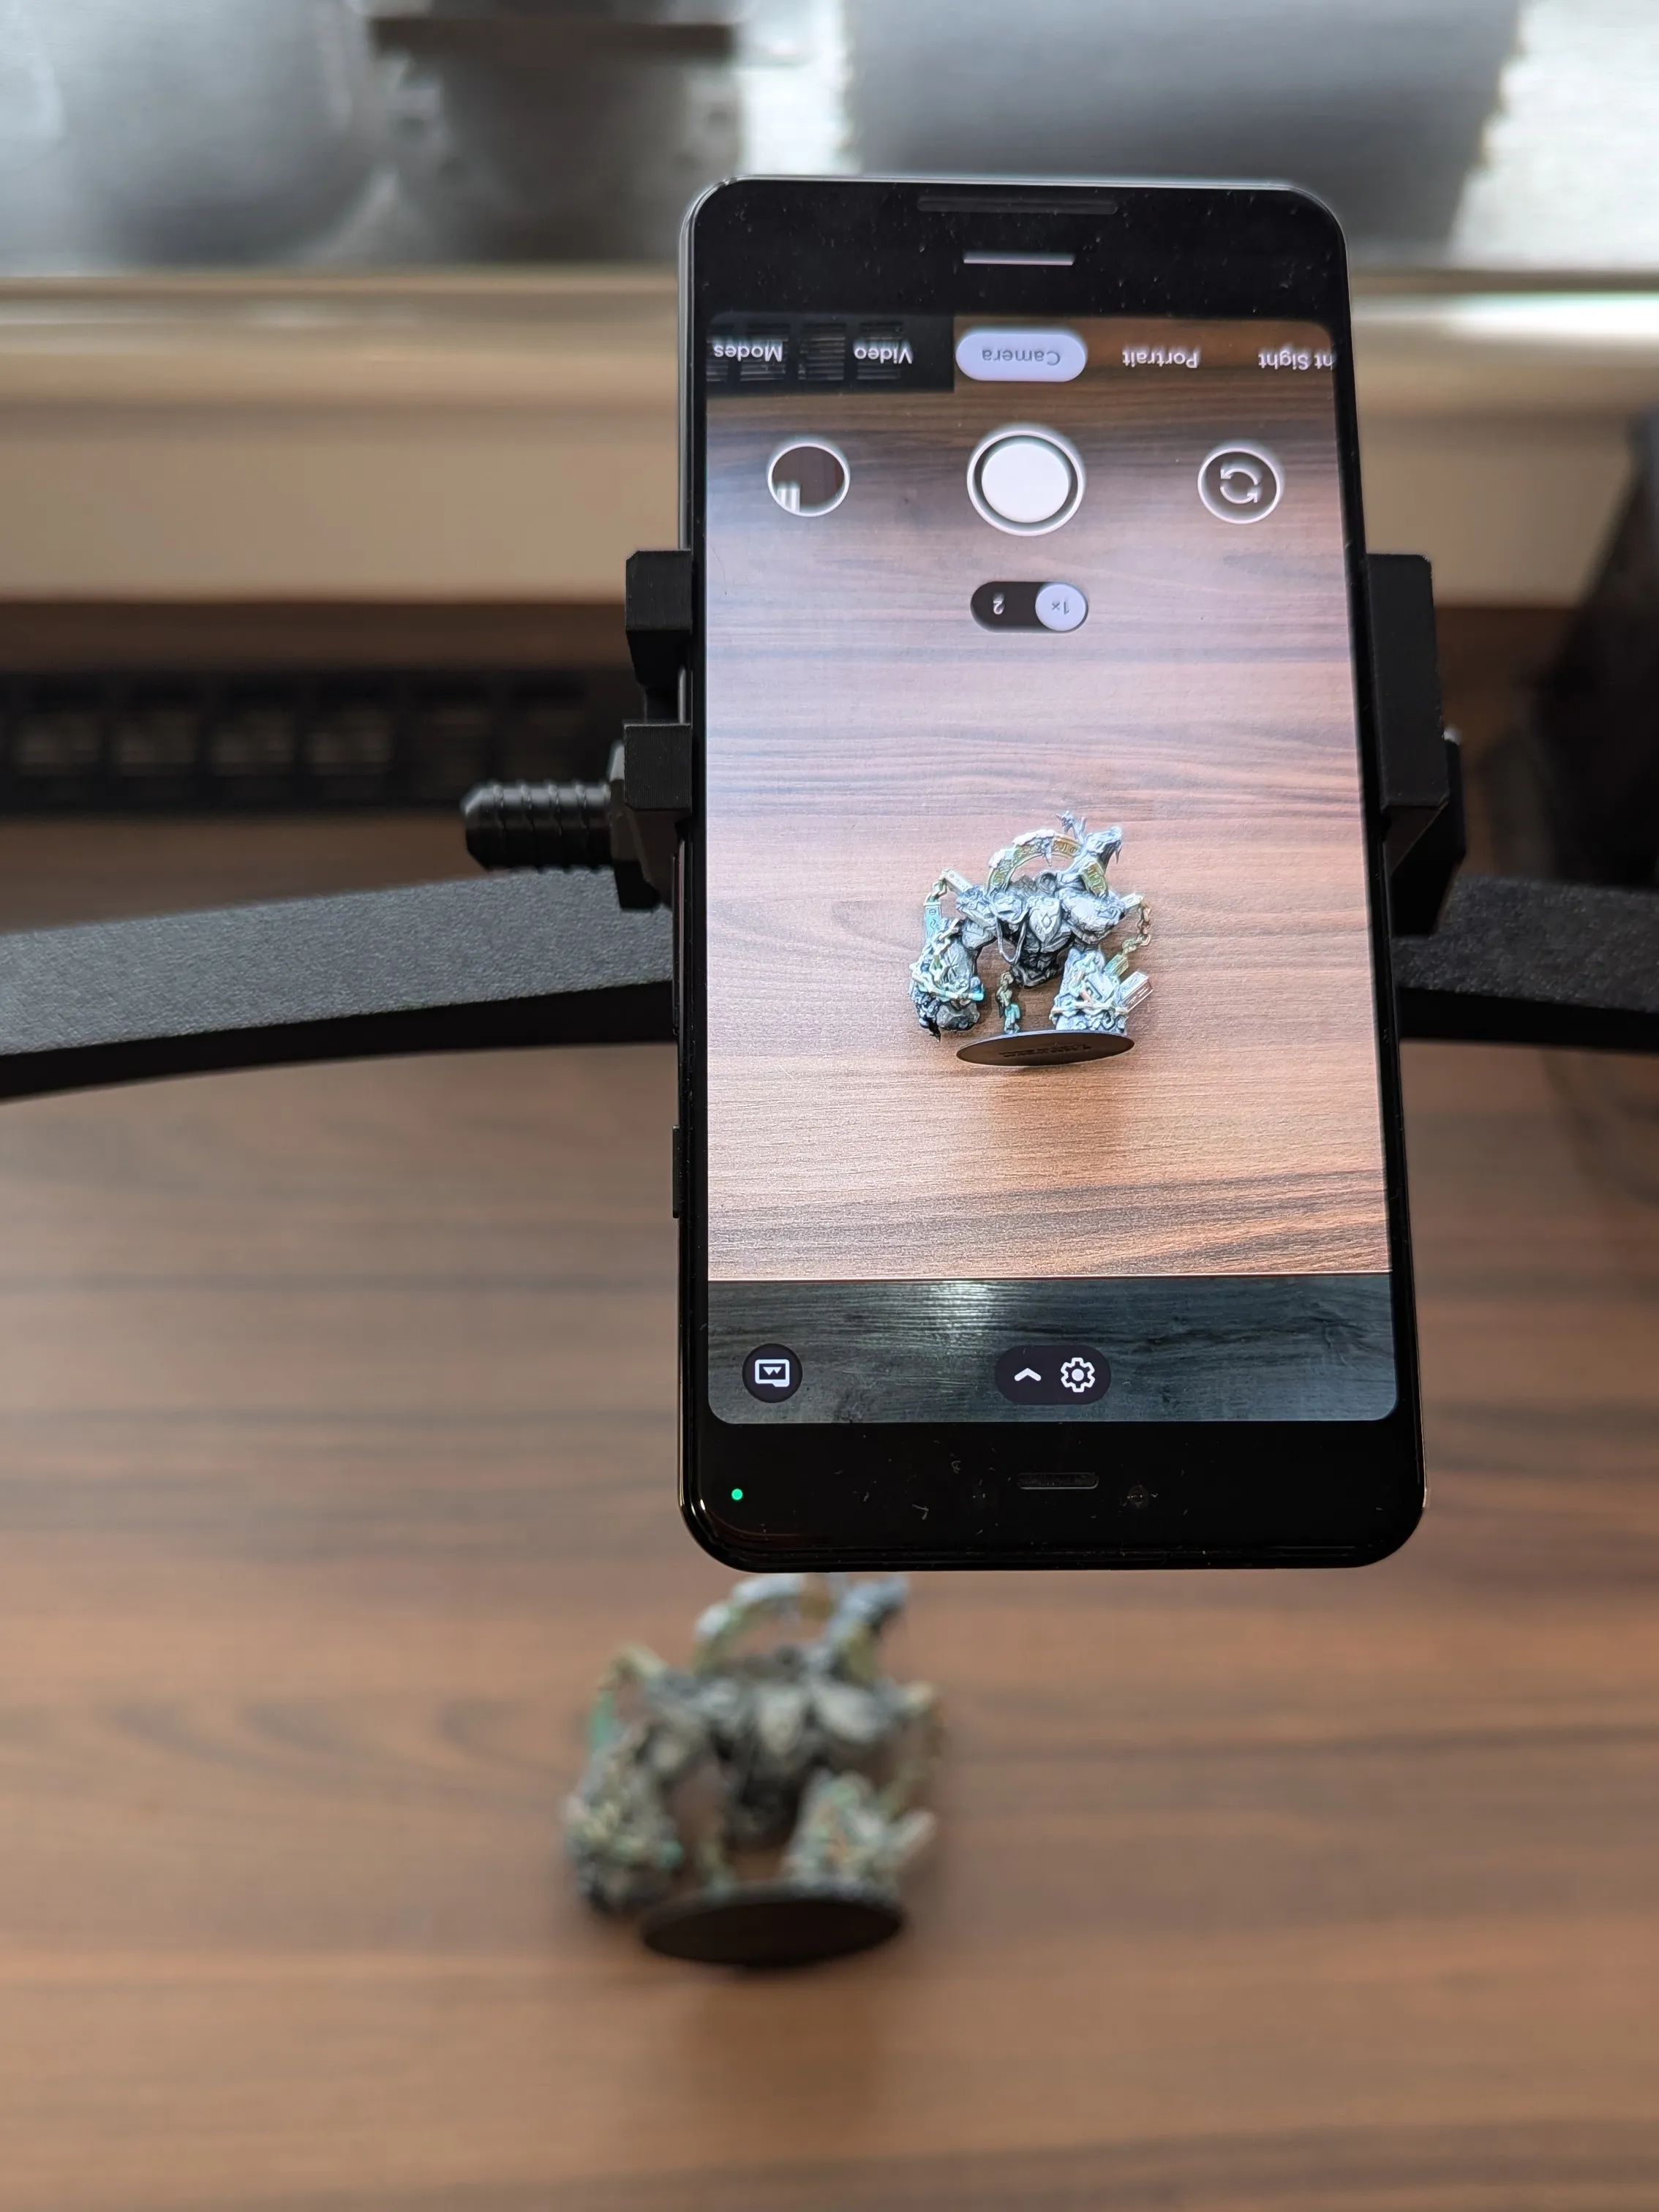
Assembly instructions:
Press the heat-inserts into the adaptor bar
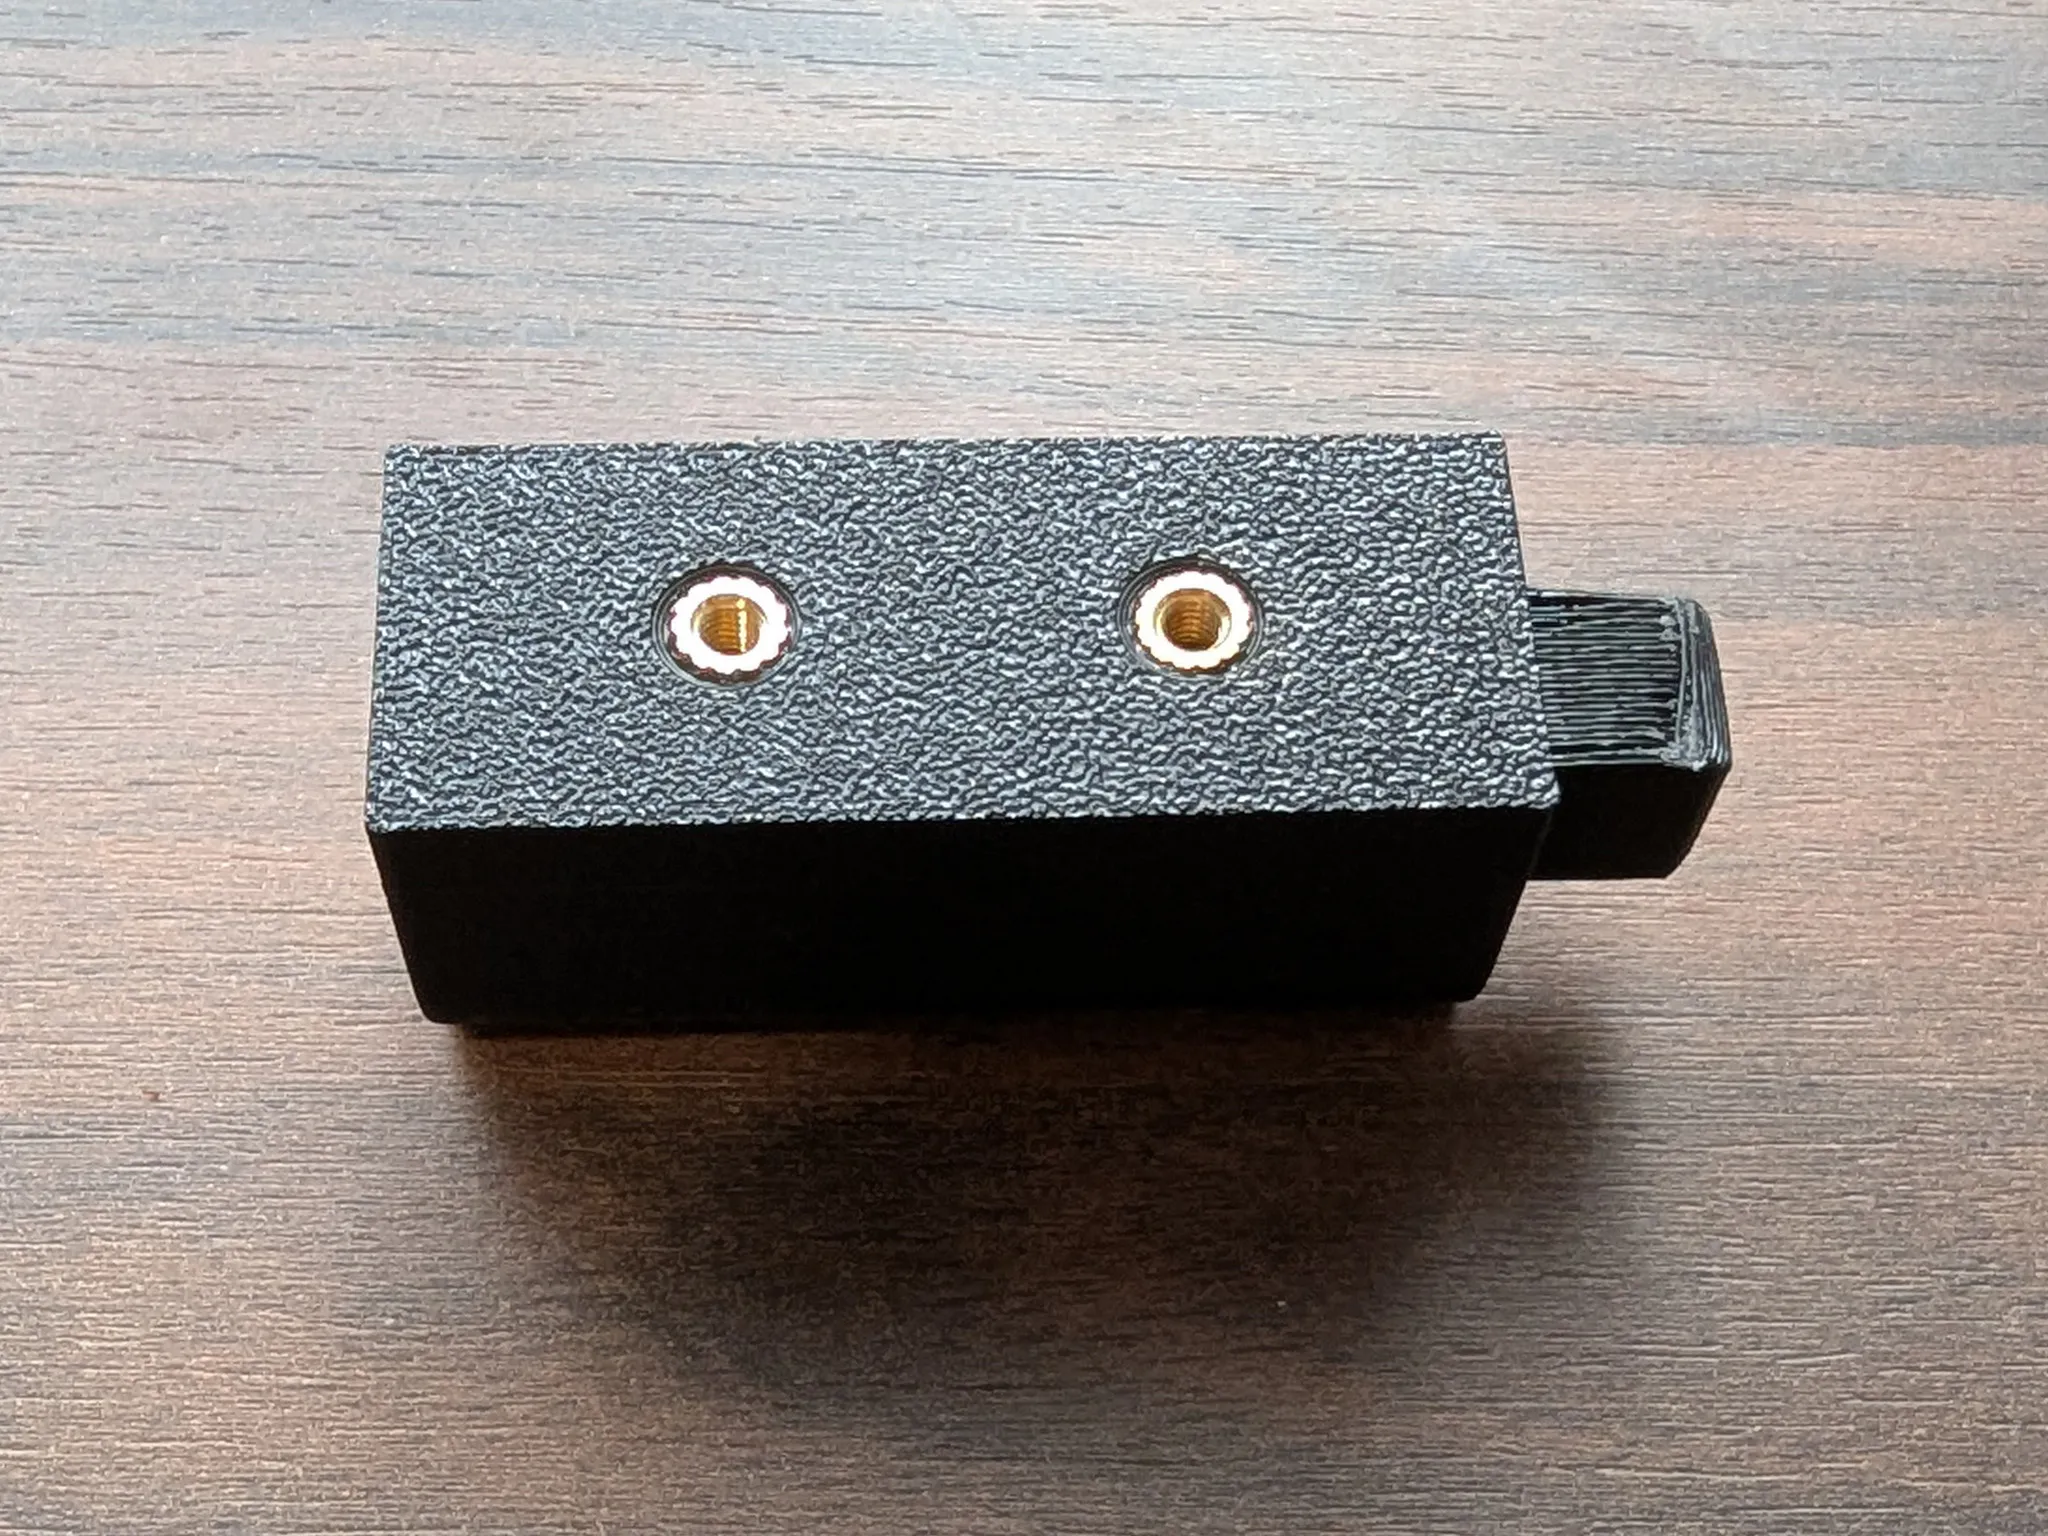
Use the two M3x8 bolts to fasten the bracket head to the adaptor bar
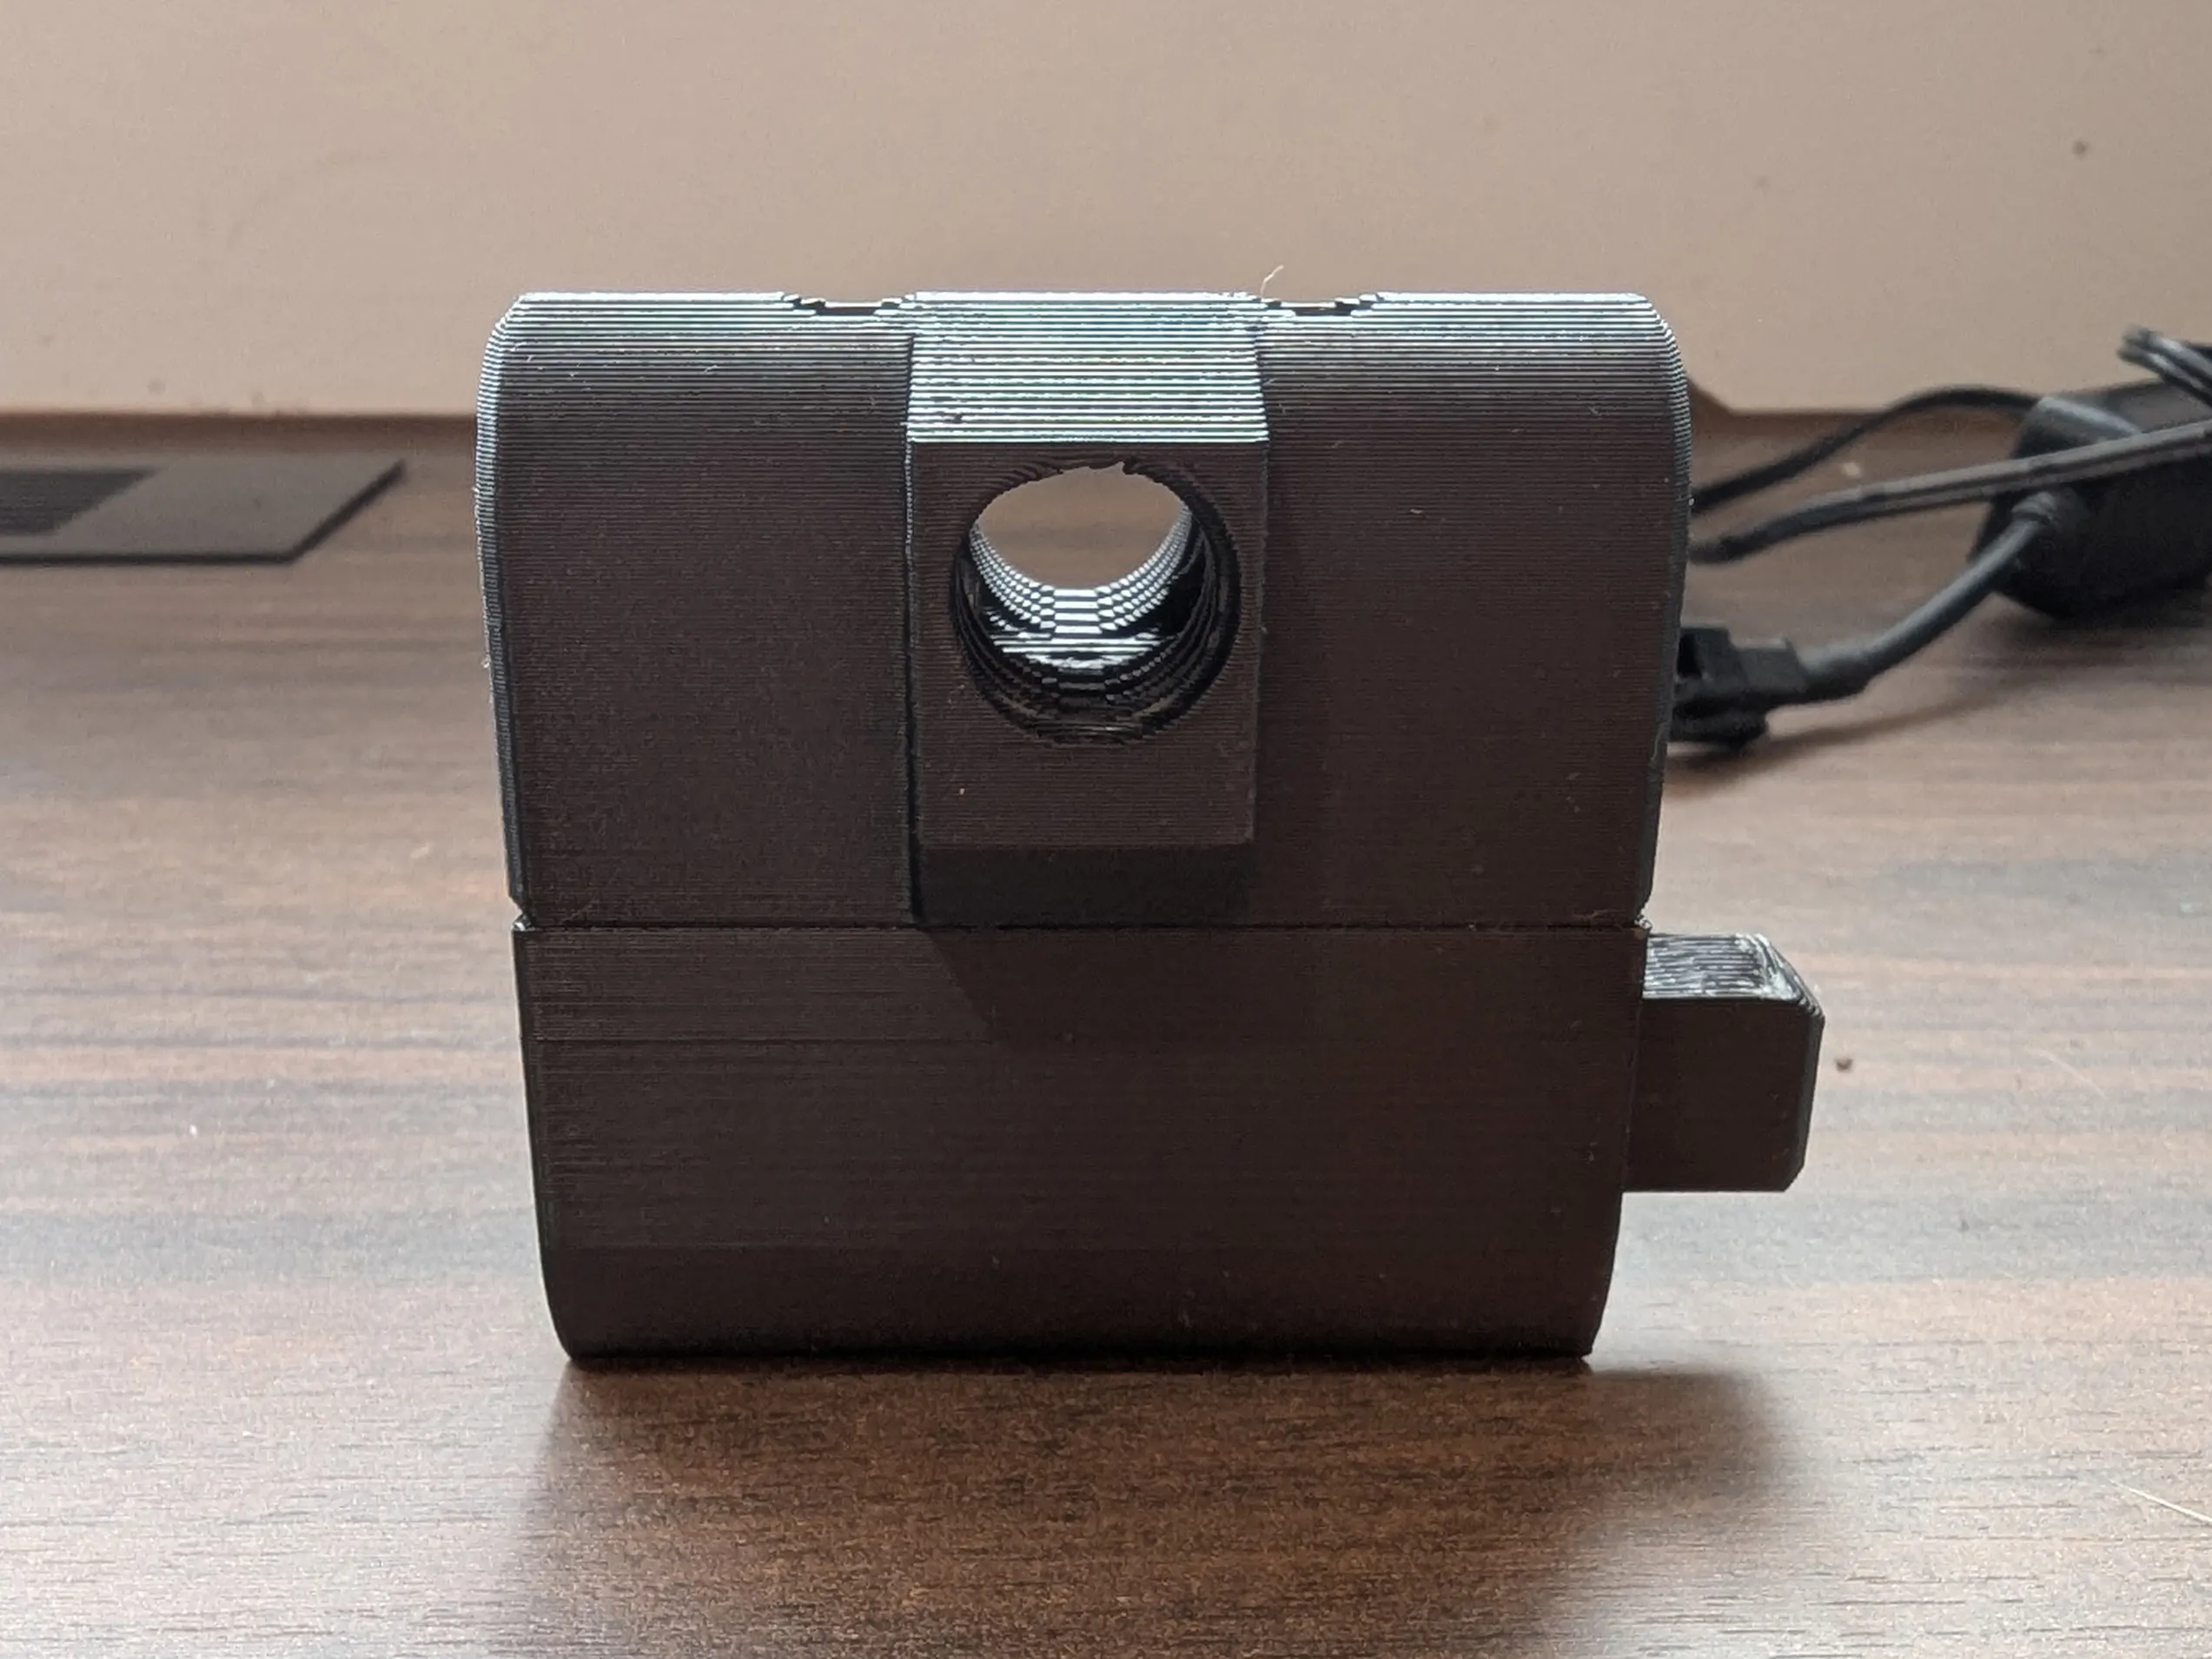
Slot clamp right into clamp left and place over the bracket head
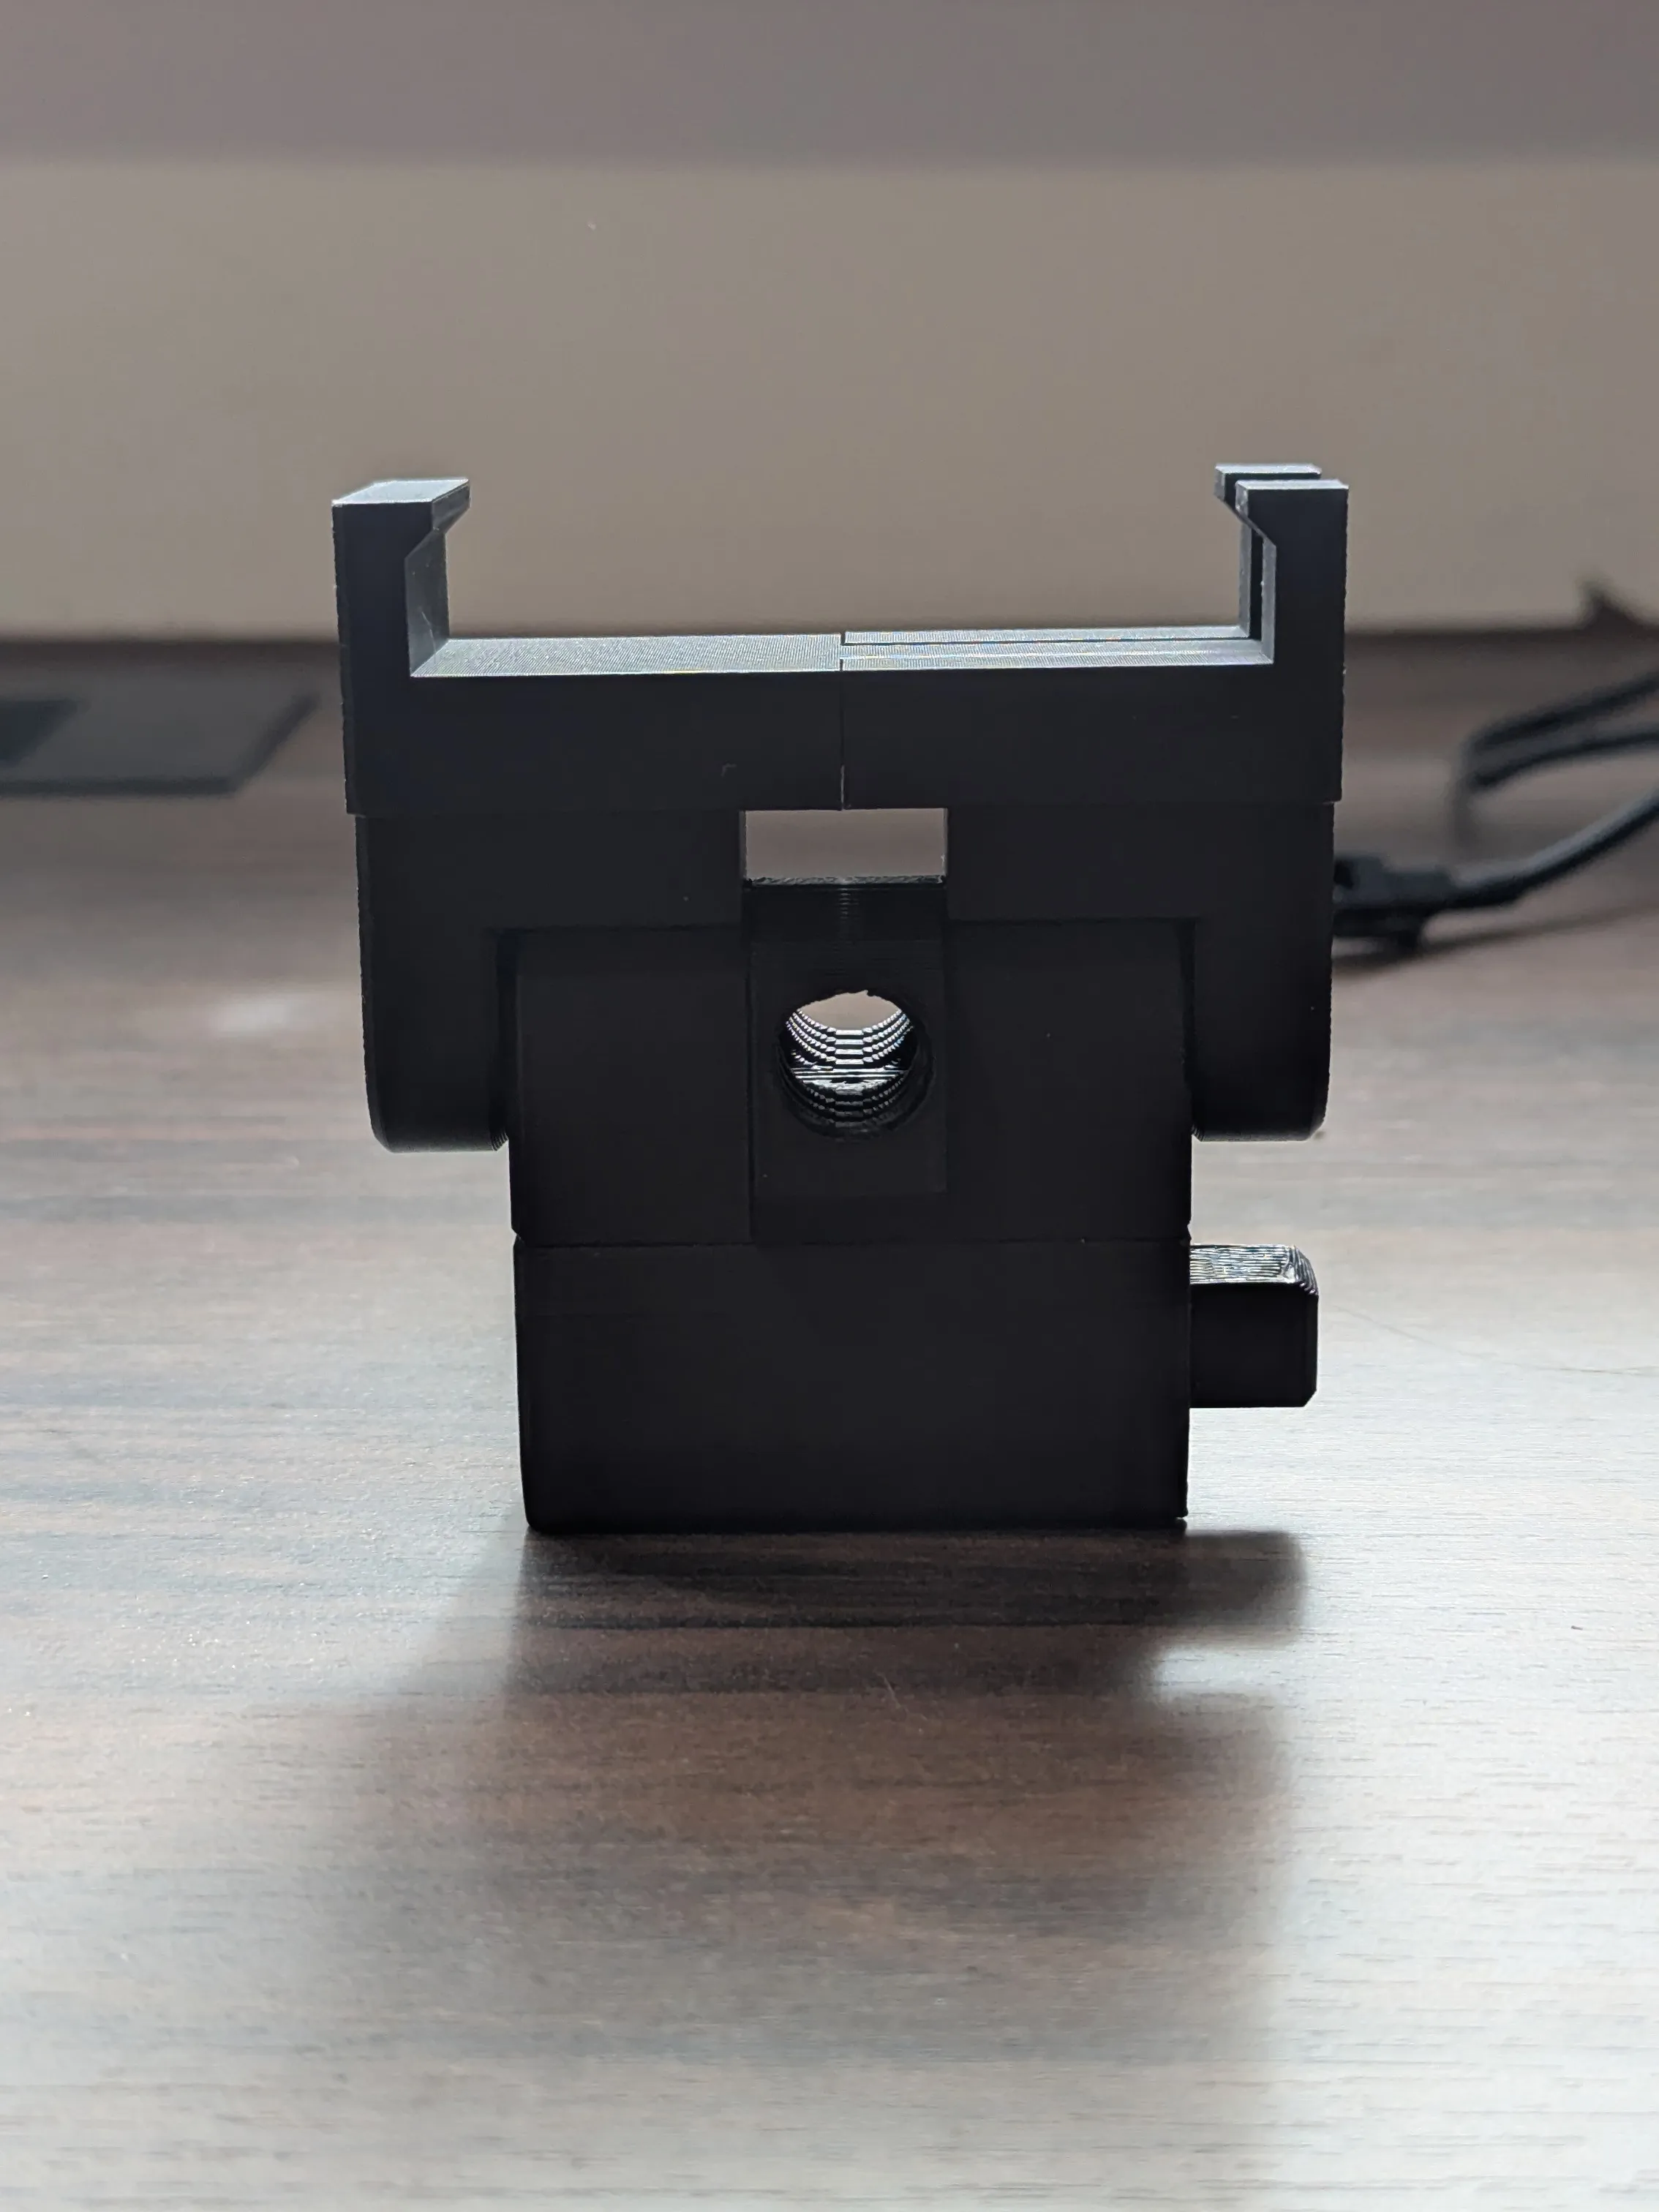
Slide the head screw in through clamp right and bracket head, and screw it into the clamp left side. This is how you'll tighten the clamp
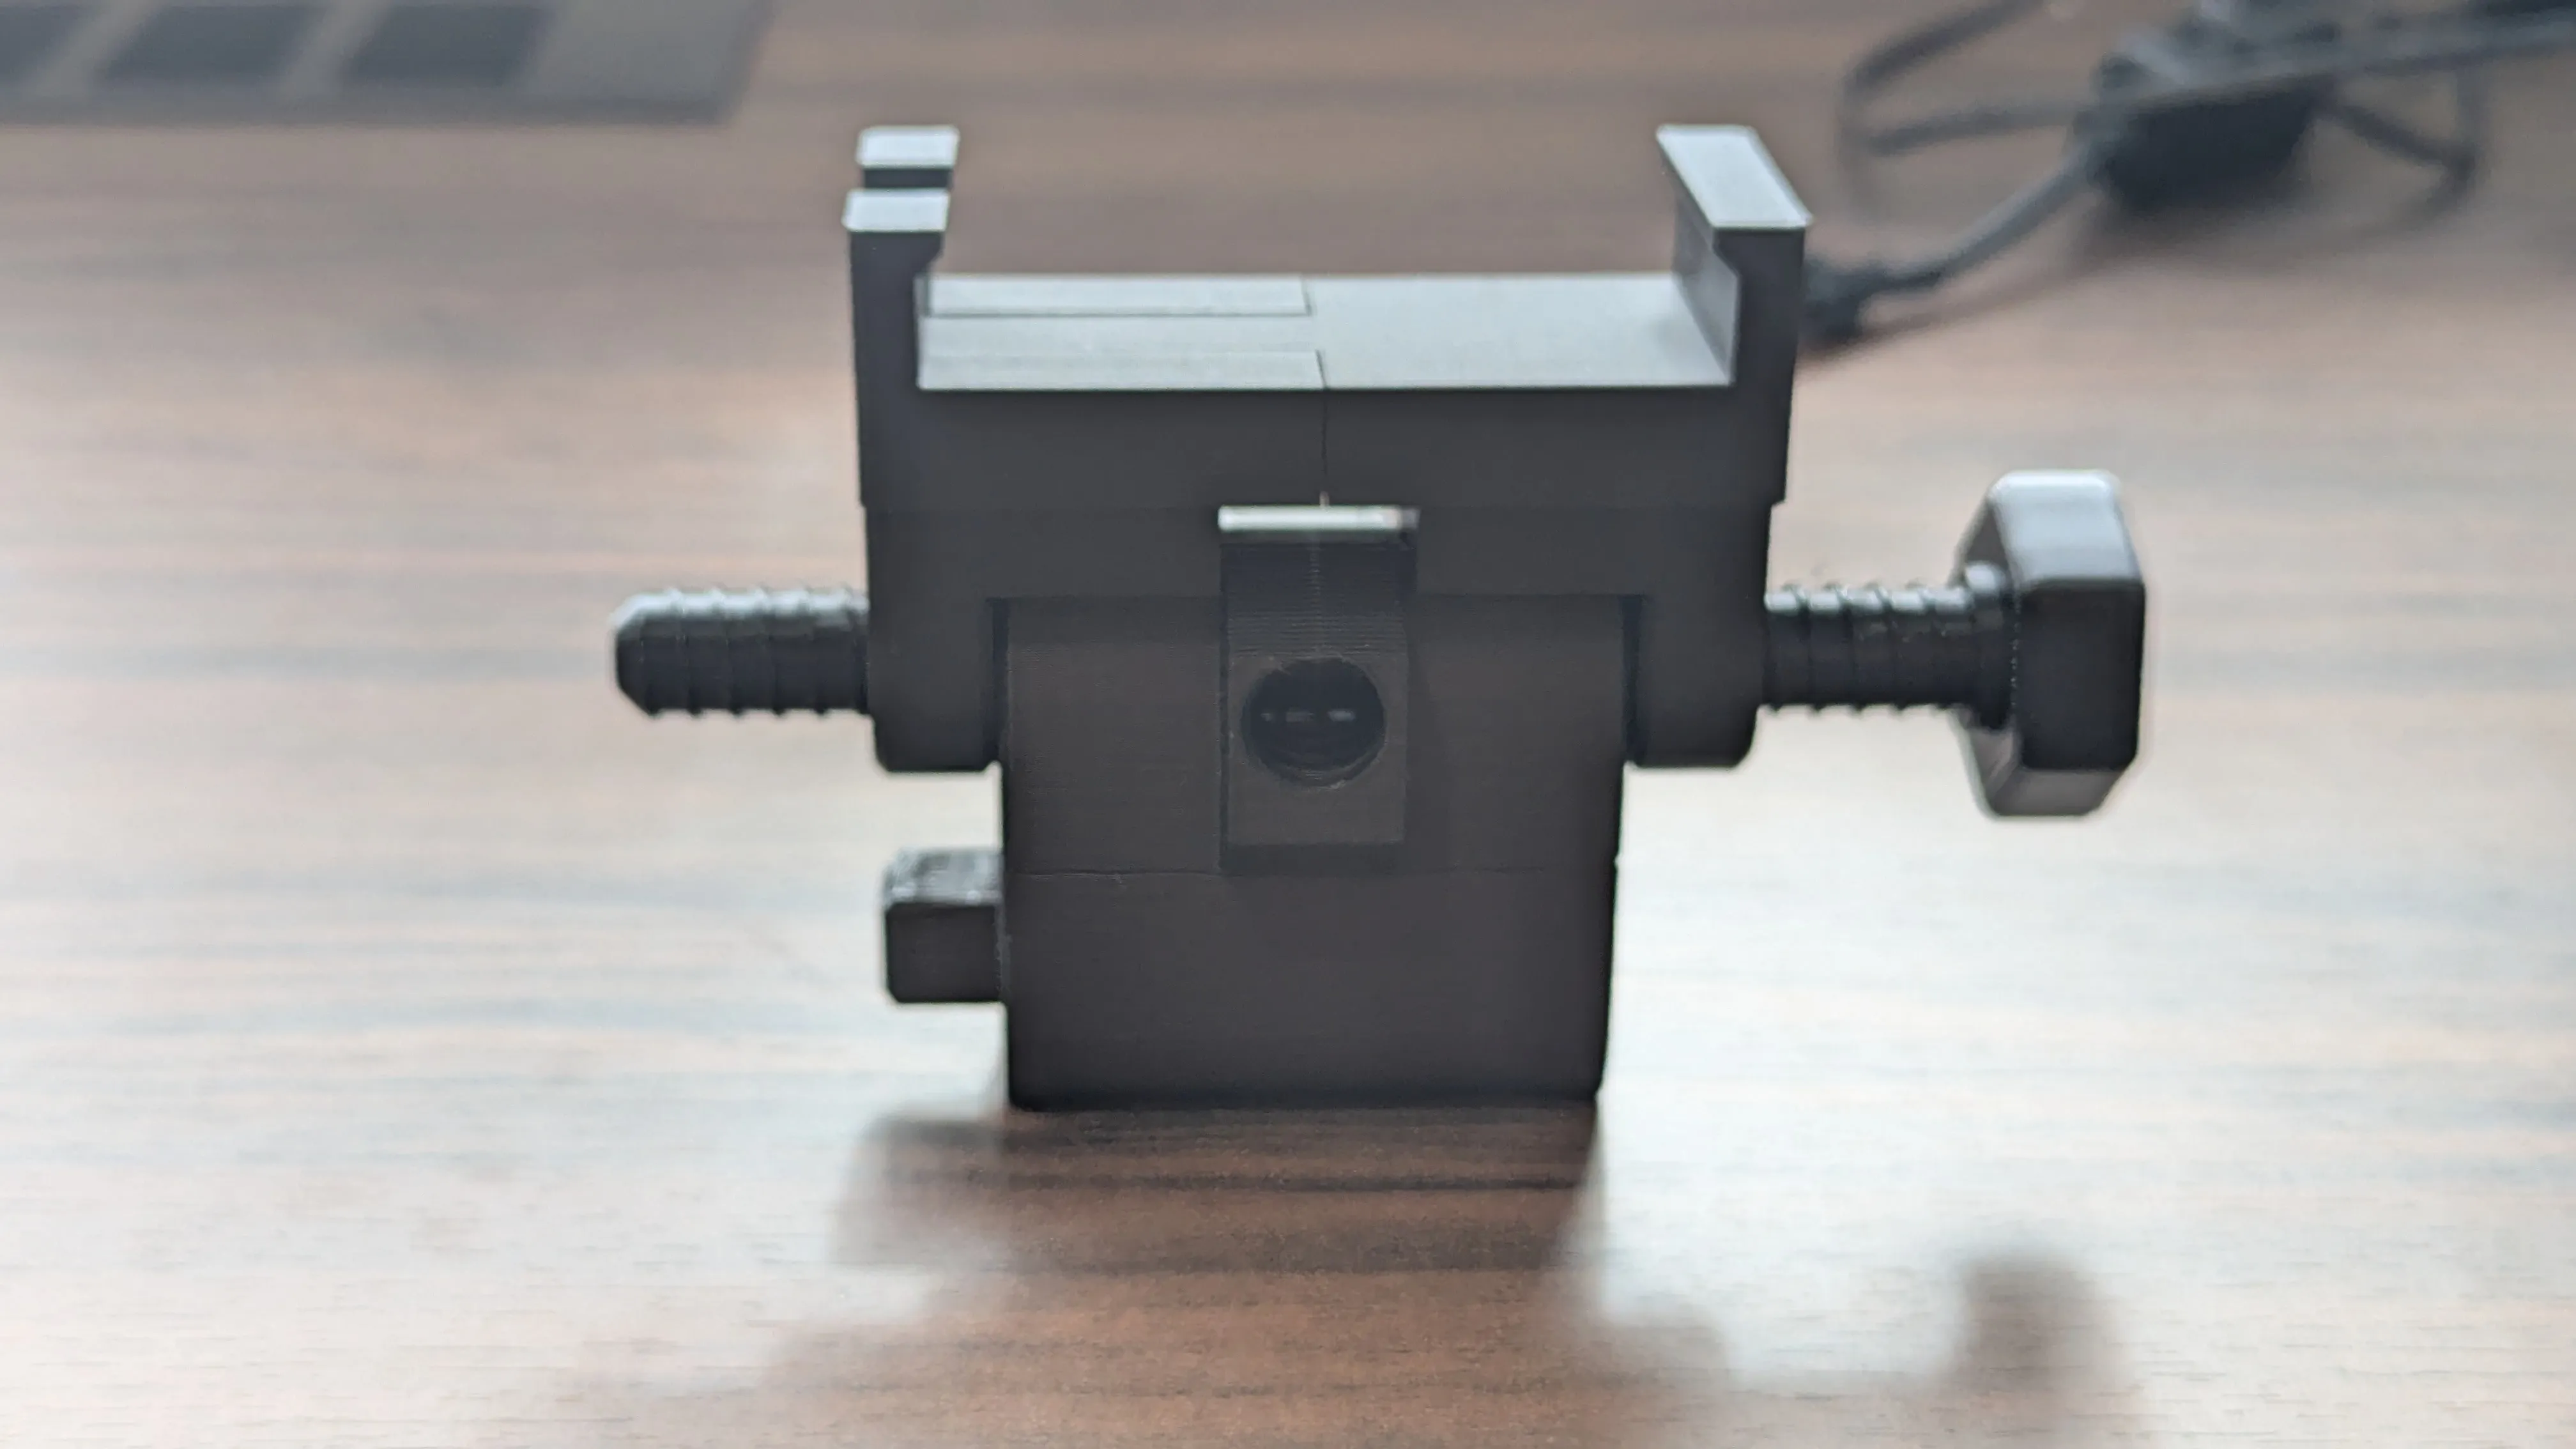
Screw the lock bolt into the back of the bracket head to fix the head screw in place
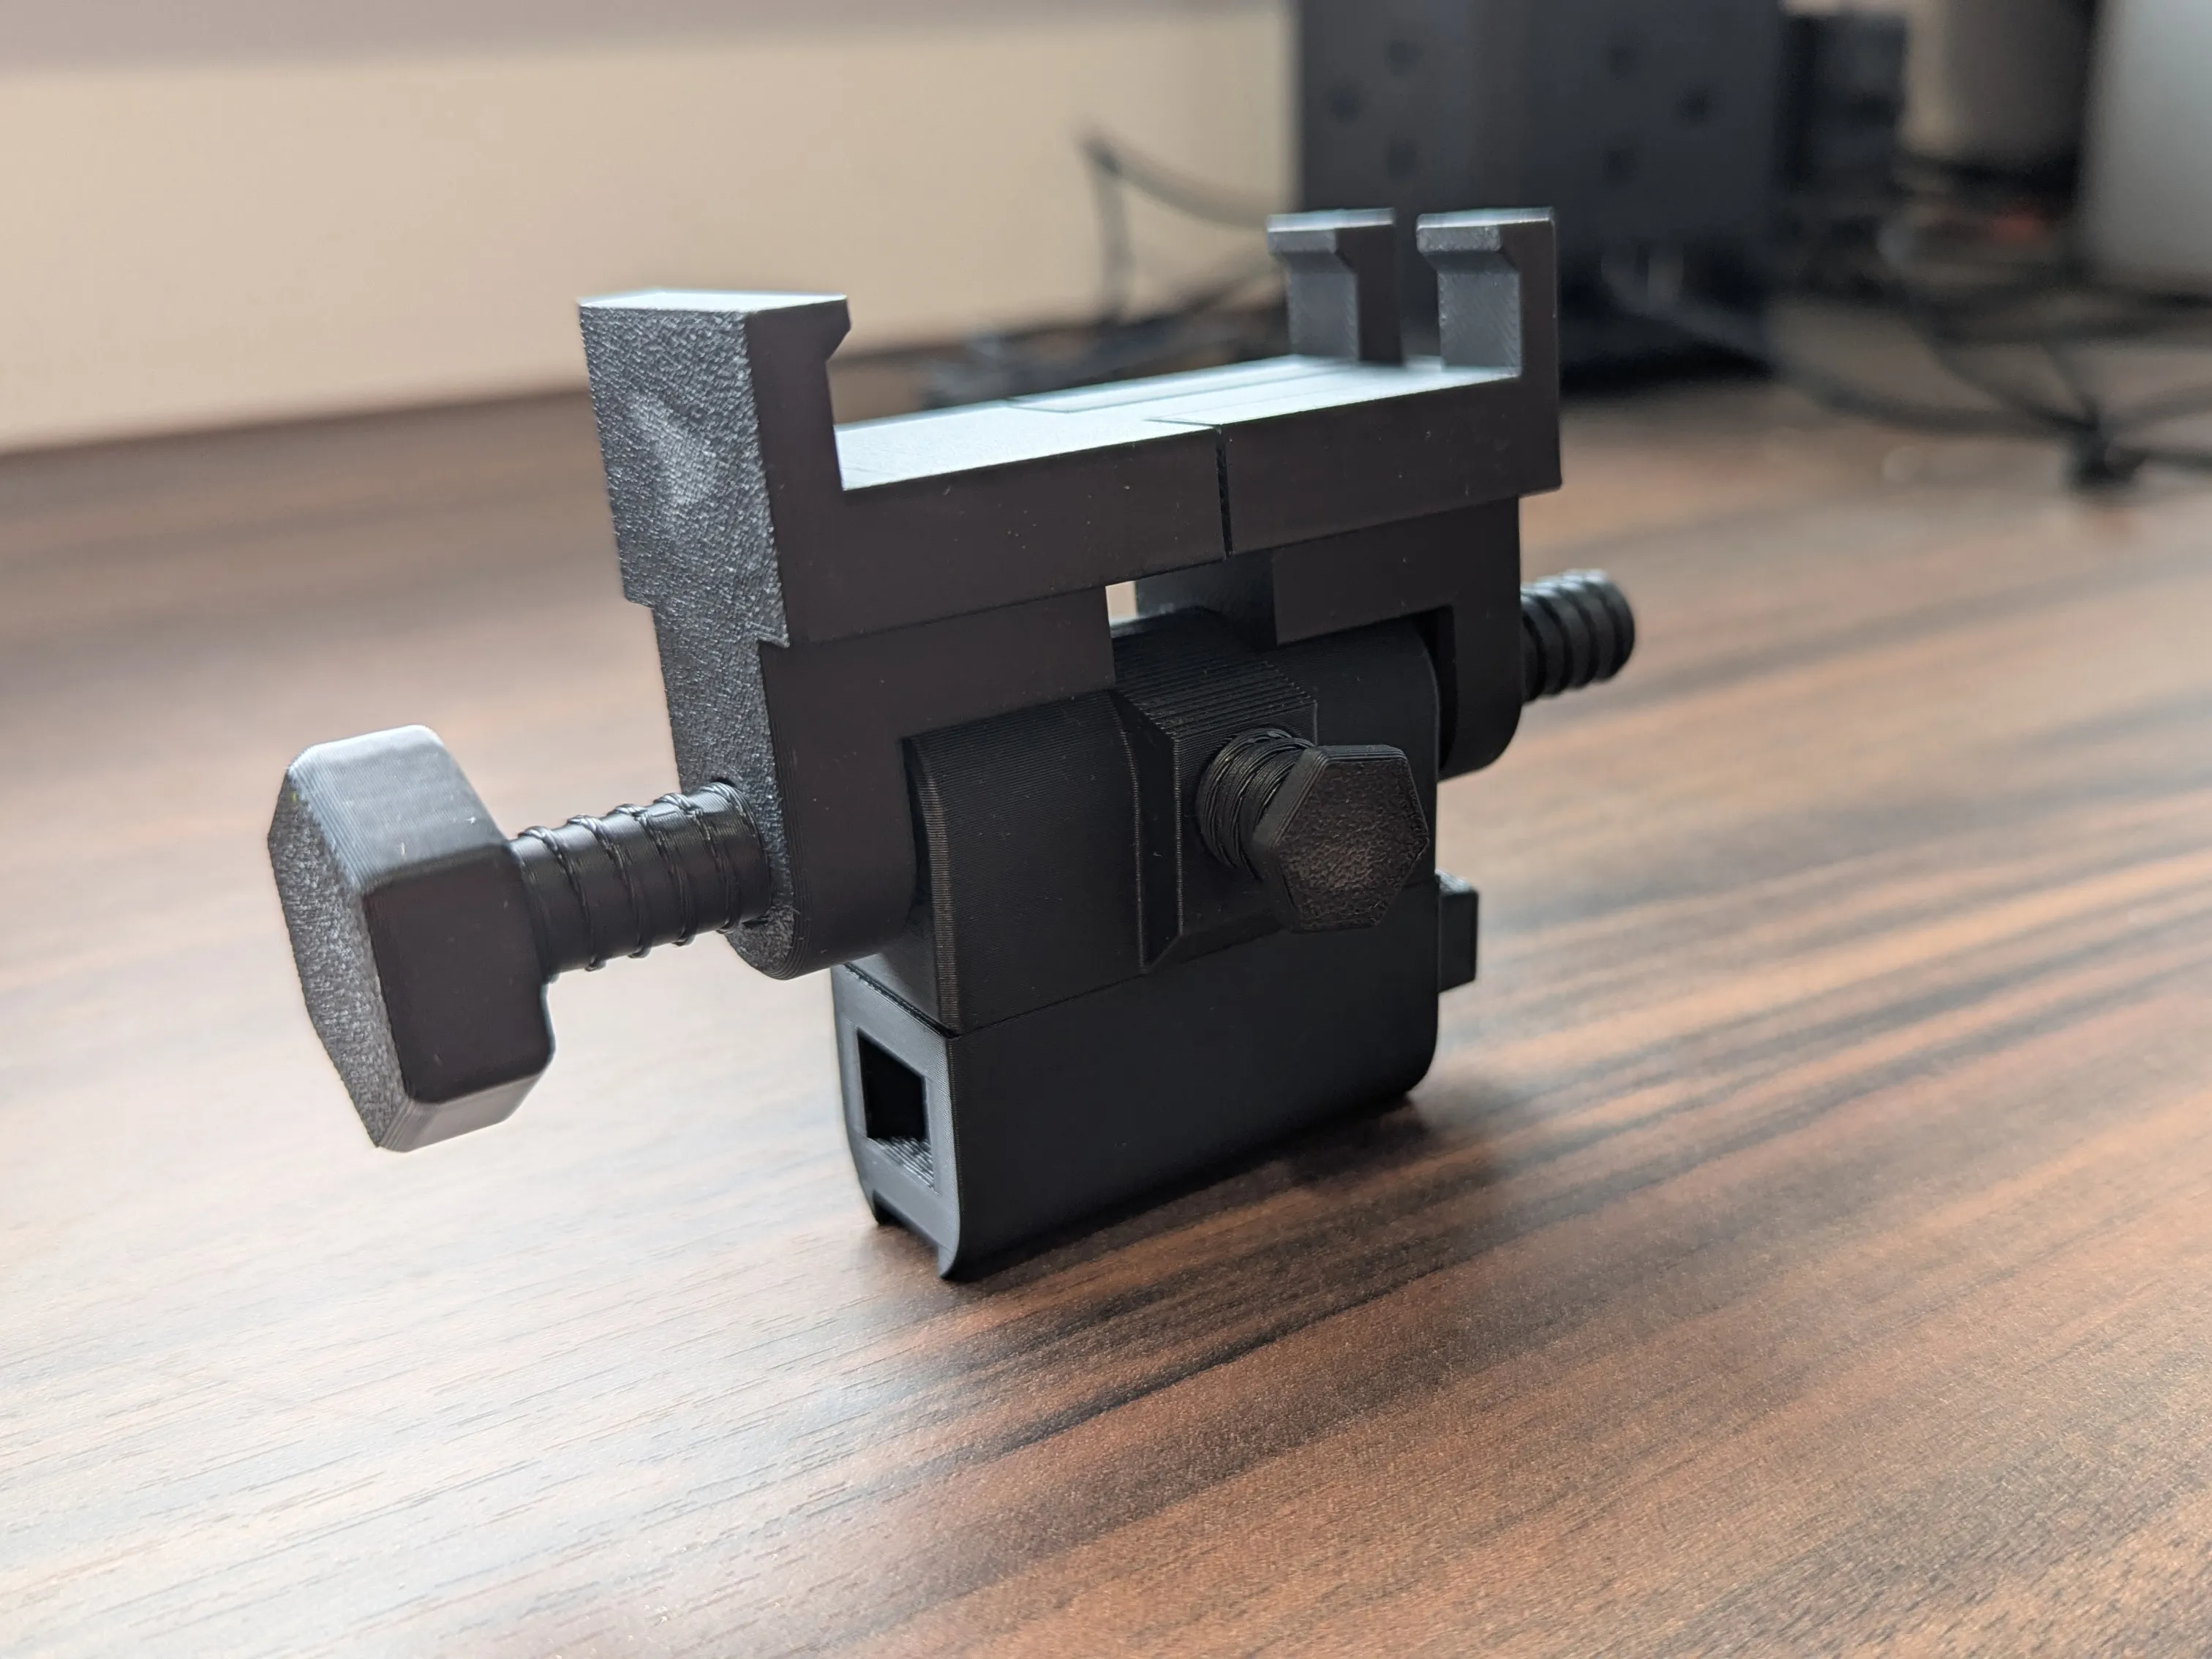
Use the locking nut to prevent the clamps from twisting
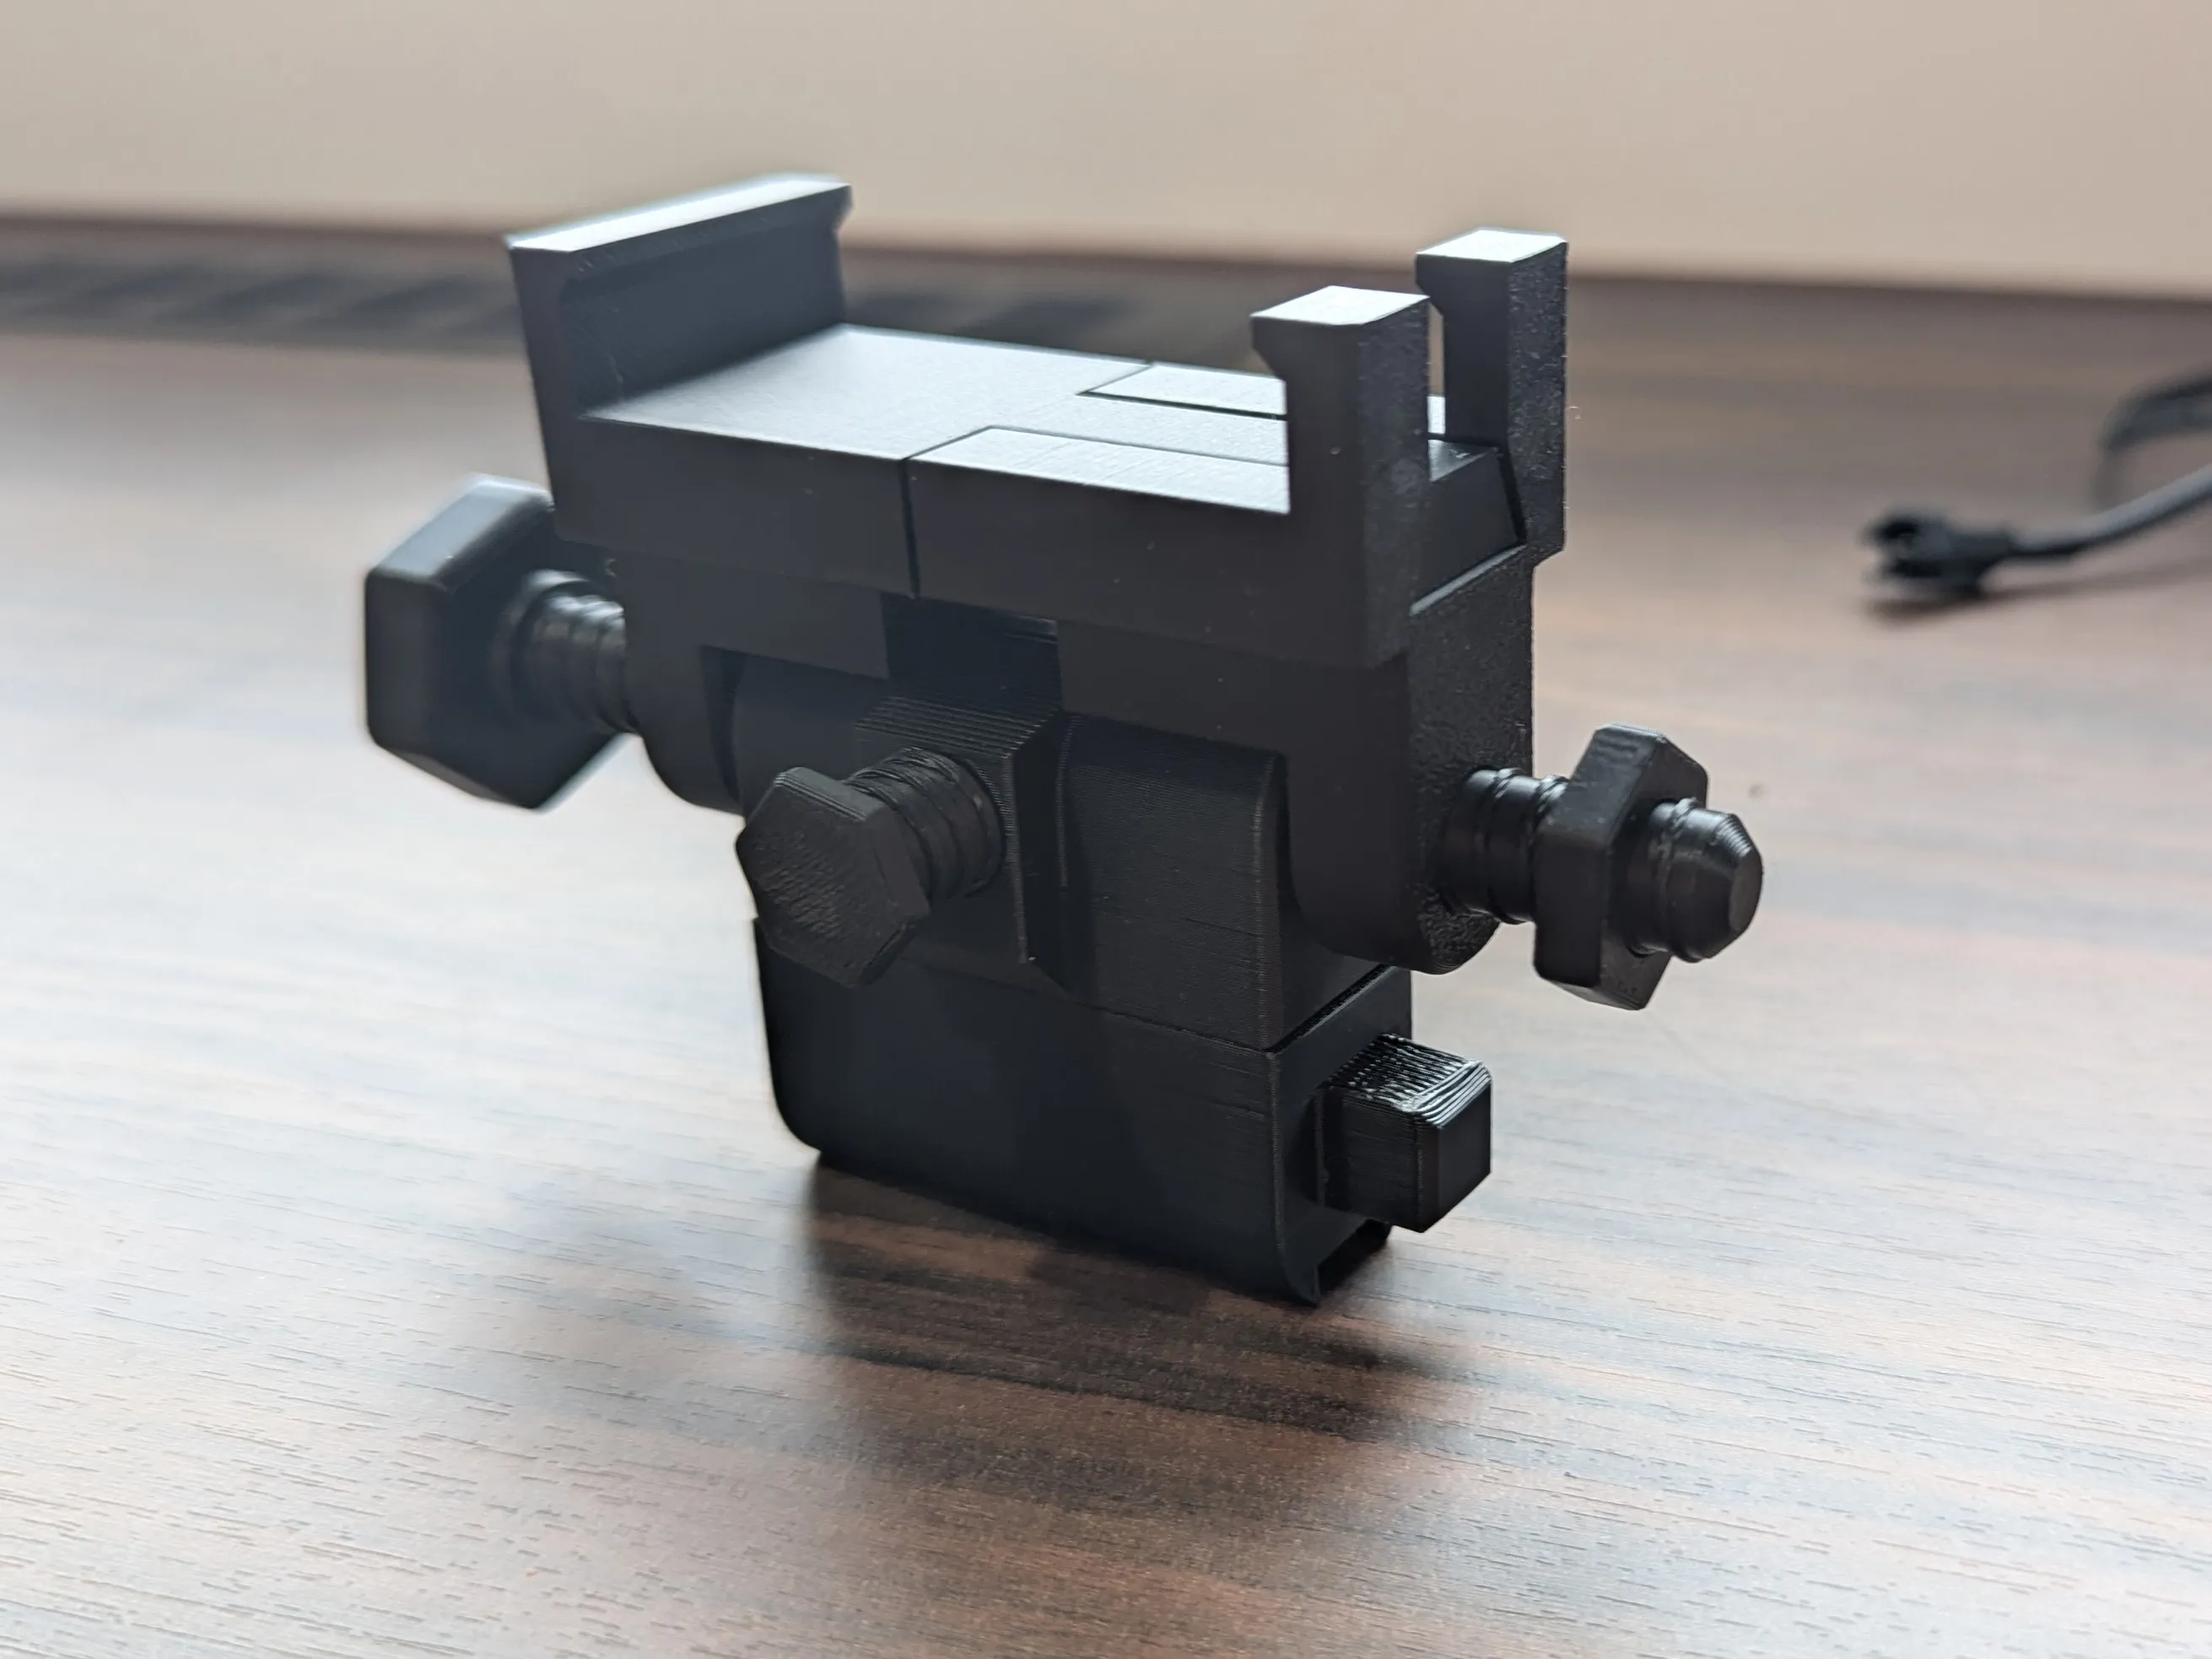
- Fit the adaptor bar to the middle of the lightbar
Check out my model collections:
- Miniature painting
- RPG Accessories
- Wargaming Accessories
- Pansartax DM System
- My Makerworld Contest Entries
Alternatively, buy me a Kofi

License

You shall not share, sub-license, sell, rent, host, transfer, or distribute in any way the digital or 3D printed versions of this object, nor any other derivative work of this object in its digital or physical format (including - but not limited to - remixes of this object, and hosting on other digital platforms). The objects may not be used without permission in any way whatsoever in which you charge money, or collect fees.


Comment & Rating (43)