Hidden Wall Safe with Picture Frame Cover


Print Profile(1)

Bill of Materials


- Drywall screws (3.9 x 41 mm) x 6: Can be any length, but I suggest 41 mm as a min. But it can not be thicker than 3.9 then the screw holes wont fit. And it should be countersink so it is flush with the wall and screw holes.
Description
Your next DIY project!
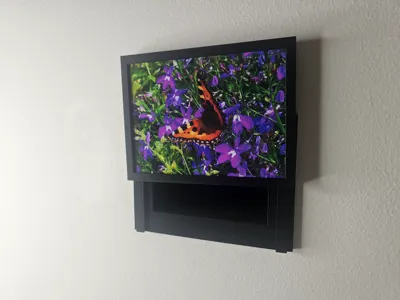
Keep your valuables hidden in plain sight with this DIY Hidden Wall Safe, cleverly disguised as a picture frame!
Boost Me (for free)
It takes a lot of time, and even more filament to test and design these models. So if you have the time to give me a small boost, it would be awesome!
Assembly instructions
If the video does not show up below, here is the link: https://youtube.com/shorts/UsFKT2uP24g
Description
Perfect for storing small items, emergency cash, or secret notes, this kit makes it easy to create a sleek and secure secret compartment in any drywall setup.
🔧 What’s Included:
- Measuring & Mounting Template Tool
- Built-in leveler shelf (place your leveler tool on top)
- Center cut-out + 4 guide screw holes for accurate placement and drilling
- Wall Mounting Frame
- Installed behind the drywall using your pre-marked screw points
- Provides strong support and ensures your main compartment stays secure
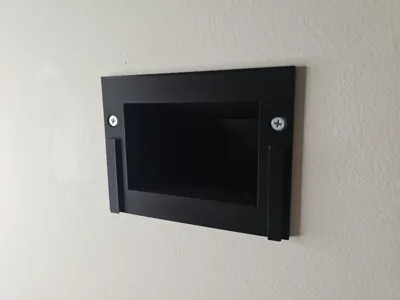
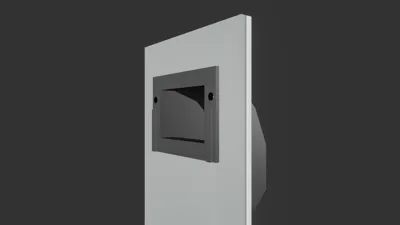
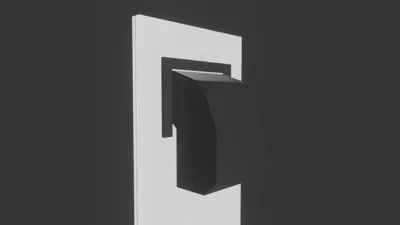
- Main Chamber Box
- Slides into the wall opening and screws into the mounting frame
- 2 pre-aligned side holes line up perfectly for secure attachment
- Picture Frame Cover
- Fits standard 136 x 102 mm photos
- Slides neatly over the chamber to completely hide the compartment
- Looks like an ordinary picture on the wall!
🔧 Installation Guide – Hidden Wall Safe with Picture Frame Cover
⚠️ Important: This model is designed for drywall only. Do not attempt to mount directly into drywall without using the included mounting frame, or the compartment will not hold securely. A mountin video will be avalable soon.
✅ You Will Need:
- A leveler (to place on the tool shelf)
- A screwdriver or drill
- A drywall saw or cutting tool
- A pencil for marking
- Your favorite 136x102 mm photo
- 6 x Dry Wall Screws (3.9 x 41 mm)
- Drywall should be at least 9.5 cm with clearance. This is the room between the dry walls or the thickness of the wall. Any less than that will not fit.
🧰 Step 1: Mark the Cutout with the Measuring Tool
- Take the Measuring & Mounting Tool.
- Place it flat on your wall where you want the hidden safe to be.
- Put your leveler tool on the small shelf to make sure it’s aligned correctly.
- Use a pencil to mark:
- The 4 screw holes (for later alignment).
- The large center hole (this is the area you’ll cut out).
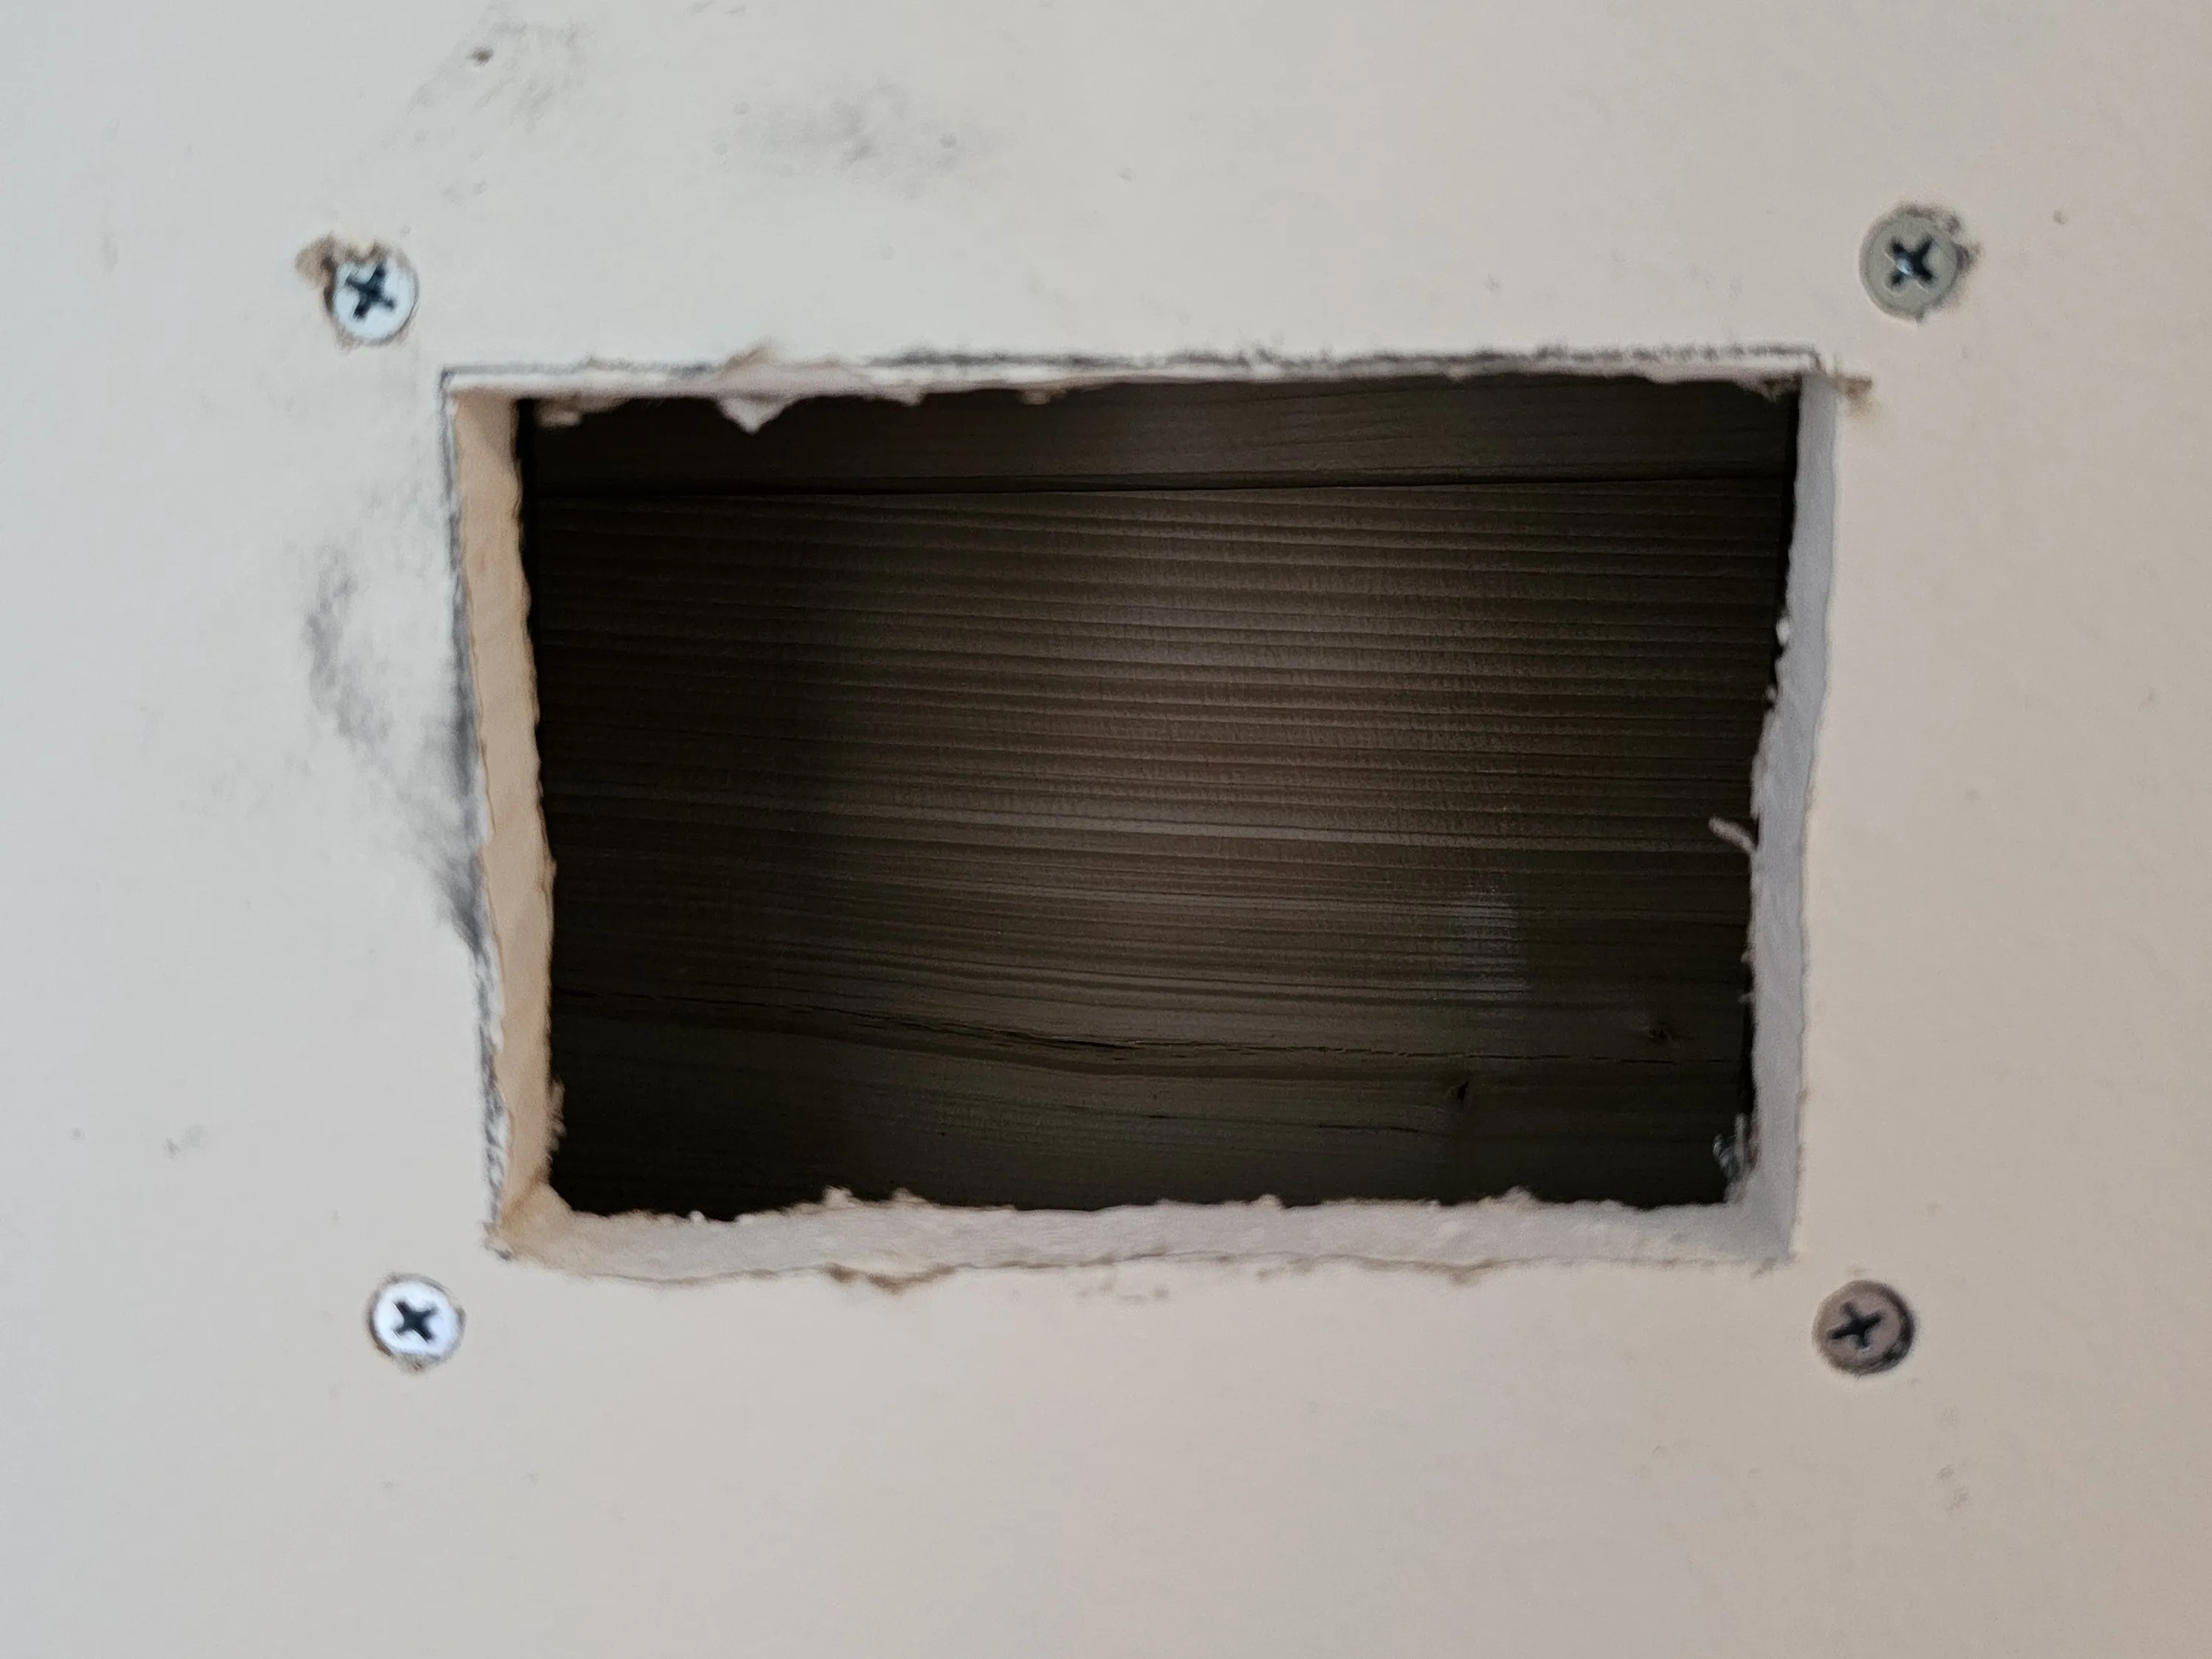
🪚 Step 2: Cut the Wall Opening
- Using a drywall saw or cutting knife, carefully cut out the center hole you marked.
- Be neat—this will determine how snugly the unit fits.
- IMPORTANT! The bottom part of the insert is a little tight! You will need to cut an extra 45-degree angle at the bottom of the cutout. The regular dry walls are 15 mm, you need to make sure the bottom part of the dry wall is not more than 7 mm. So, take a sharp knife and at a 45-degree angle, cut away half of the lower part of the cutout so the wall goes from 15 mm to 7 mm. Depending on the wall thickness, this can vary. But it is always the lower part that you will need to adjust for it to fit.
🔩 Step 3: Install the Mounting Frame
- Insert the Mounting Frame into the hole from the back side of the drywall.
- Align it so the 4 screw holes match up with the ones you marked earlier.
- Use 4 screws to fasten the mounting frame in place securely.
🧠 This hidden back frame gives your safe strength—it’s what allows you to screw into drywall without risk.

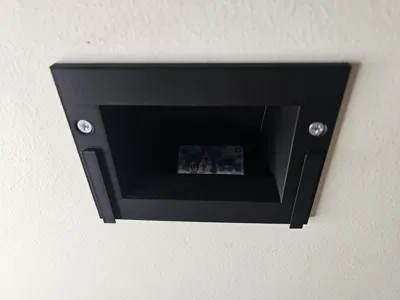
📦 Step 4: Insert the Main Chamber
- Slide the Main Container Box into the wall opening from the front.
- You’ll see 2 small pre-made holes on the sides.
- These should align perfectly with the screw holes on the mounting frame.
- Use 2 screws (one on each side) to fasten the chamber securely.

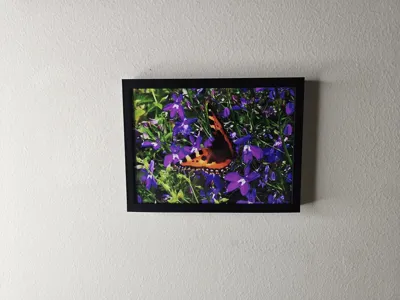
🖼️ Step 5: Add the Picture Frame
- Slide your favorite 136x102 mm photo into the included Picture Frame.
- Gently slide the frame onto the front of the chamber.
- It will cover the opening completely and hide your secret compartment.
⚠️ Important: The frame can be a little tight the first 2-3 times when you slide it on. You need to slide it perfect straight down, if you tilt it a little bit when you slide it, it can get stuck, but if that happens just give it nice hit from the bottom and try to slide it down one more time. And it should fit perfectly.
🎉 Done! Your hidden wall safe is now completely installed and looks like an ordinary photo on the wall—but behind it, a secret stash awaits.
License
You shall not share, sub-license, sell, rent, host, transfer, or distribute in any way the digital or 3D printed versions of this object, nor any other derivative work of this object in its digital or physical format (including - but not limited to - remixes of this object, and hosting on other digital platforms). The objects may not be used without permission in any way whatsoever in which you charge money, or collect fees.
Comment & Rating (4)