Kobalt 40V Battery Wall Mount
Kobalt 40V Battery Wall Mount


Print Profile(1)

Description
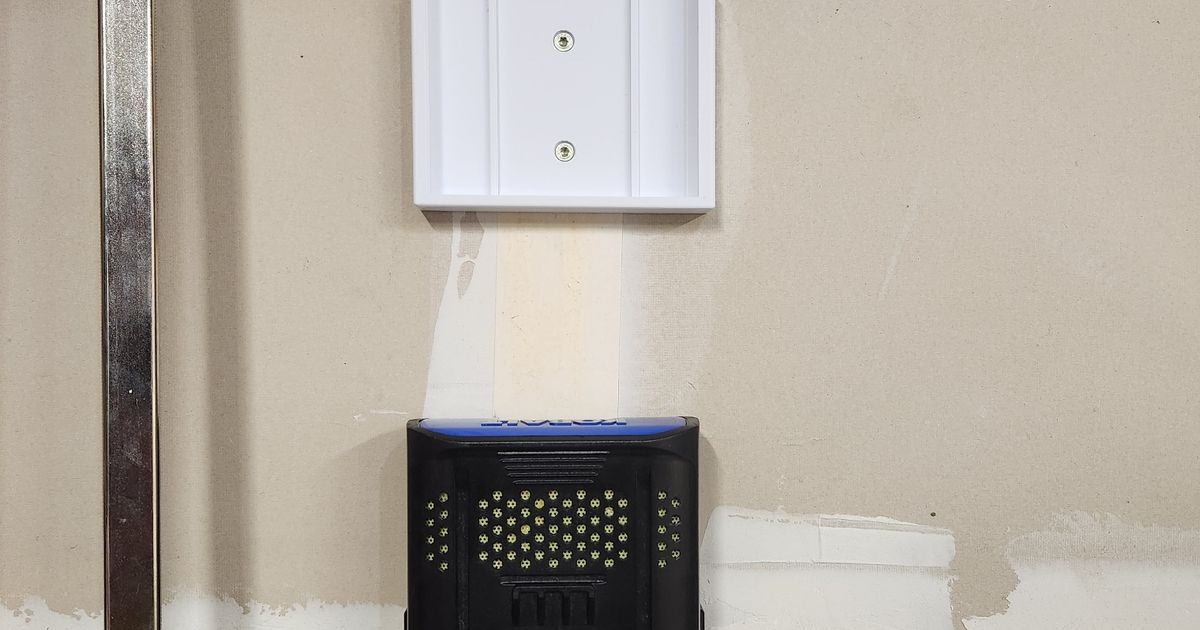
I needed to print some battery holder wall mounts to tidy up my shop. I found this model, unfortunately the accuracy was poor and once printed the batteries wouldn't fit. I made a small modification of removing 0.50mm from each rail via slicer in order for the batteries to slide in and out of the holder without resistance.
Materials Needed to Mount:
For mounting all you need is a #8 philips or torx screw, 1" or 1.5" should be all you need. Be sure not to over tighten or else the PETG will crack.
Mounting Orientation:
You should be able to mount these either vertically or horizontally. The part is stronger when mounted vertically.
Print Profile Notes:
Nozzle: Suggest 0.4mm nozzle for precision fit
Wall Loops: 4 wall loops on 0.4mm nozzle, 0.6mm nozzle not recommended due to decreased layer adhesion.
Layer Height: Suggest 0.16 or 0.20mm to maximize strength (0.2mm default)
Infill: 20% gyroid (can bump to 25% for more strength)
Brim: None on textured build plate. Consider brim for smooth PEI plate.
Batch Size: For optimum layer adhesion advise printing one part at a time to keep layers hot (2 parts tops). For large Batches reduce fan cooling. PETG performs worse if layers cool too much, and you risk a layer shift on bed-slingers like A1.
Material: PETG or ABS
Color: Any
Print Orientation: Print vertically as seen in .3mf file.
Supports: None!
3d Printers: Should be printable on any printer.
Filament amount required: 77g per holder