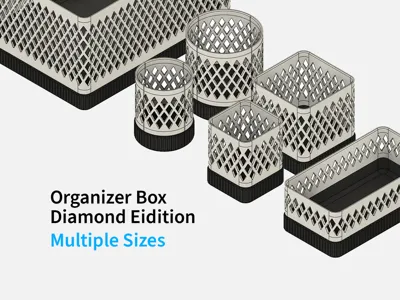
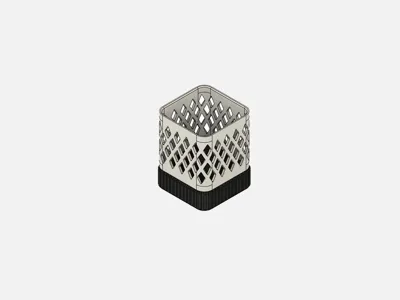
Organizer Box Diamond


Print Profile(6)


Description
This model was designed using coffee, filament, and questionable life choices.
If it earned a spot on your printer, it might deserve a 👍 Like too. 😄
Checkout my newest release:

Organizer Box Diamond Edition (Fully Parameterized) with Fusion 360 Source Files.
Use the available print profiles if you want to have a specific size, if you are more into tinkering fetch the Fusion 360 file and enjoy all the customizable parameters. The model is designed so that all punch holes are auto-calculated and evenly spaced. No need to fiddle around with manual settings, just define the basic parameters and watch the magic math 😊. Punchhole rows are auto-calculated and will center on the outer wall.
This is a continuation of my Organizer Box.
https://makerworld.com/en/models/103266
Significant Changes
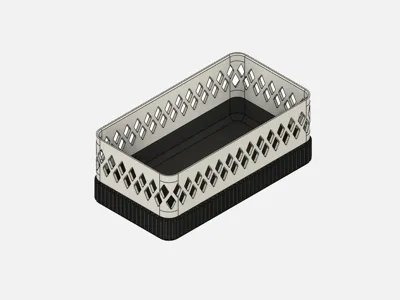
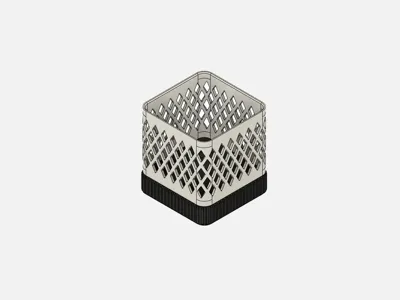
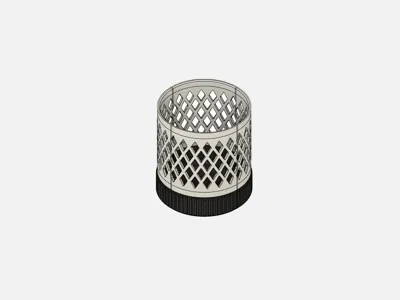
- Duo Color
- Base with Ribbons
- Diamond Shape Cutouts
- Reworked Fusion 360 Source Files
Design Decisions
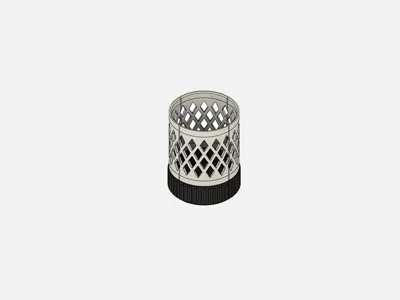
The diamond is a more unique pattern and is not seen that often like honeycomb or punch-hole. It is neatly stackable and also comes at 0 overhang requirements like a honeycomb pattern in contrast to punch holes. This makes the cutouts more clean when printing them. The second color and the additional pattern on the base, make the box more interesting to look at and touch. It feels more like something you would buy in a shop and not print in your basement 😅.
Be creative, mix and match colors, to suit your style!

Customizable Parameters:
- Height
- Width
- Length
- Wall thickness
- Border
- Cutout Width
- Cutout Spacing
- Corner Radius
- Base Size
- Ribbon Size
Customizing Tips:
This version is more resilient than the original one, but … If you try to create a round object, the transformation to sheet metal that is used to draw the pattern may fail. Don´t worry, fusion sometimes is unable to pick up the small area, you may need to correct the timeline here manually. I already wasted hours on this one, even though there is a tolerance and you cannot overtune the radius like in the last version. Just try again, sometimes it works 😅.
More Fusion 360 Parameterized Models
- Organizer Box
https://makerworld.com/en/models/103266 - Stackable Storage Bin
https://makerworld.com/en/models/114250 - Modern Vase 1
https://makerworld.com/en/models/108166 - Under Desk Drawer
https://makerworld.com/en/models/145324
I hope you enjoy the design! Please leave a comment or rating if you like it and share your feedback!
Follow me on Instagram for unregular updates 😅.
License
You shall not share, sub-license, sell, rent, host, transfer, or distribute in any way the digital or 3D printed versions of this object, nor any other derivative work of this object in its digital or physical format (including - but not limited to - remixes of this object, and hosting on other digital platforms). The objects may not be used without permission in any way whatsoever in which you charge money, or collect fees.
Comment & Rating (36)