
Iris box
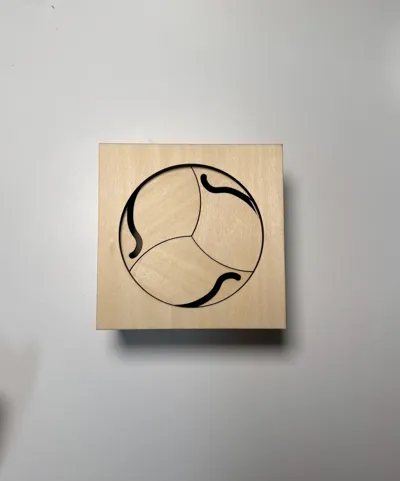
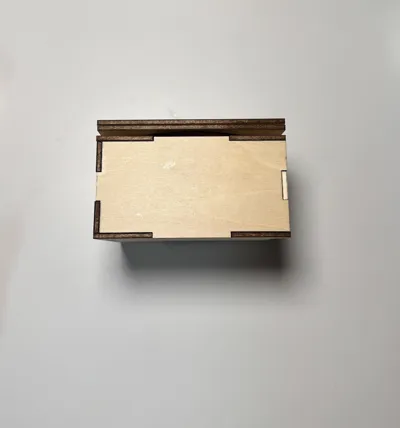
Print Profile(1)
Bill of Materials
- Palos conectores a x 3: diametro 3mm, altura 10mm
- Palos conectores b x 3: diámetro 3mm, altura 5,5mm
Description
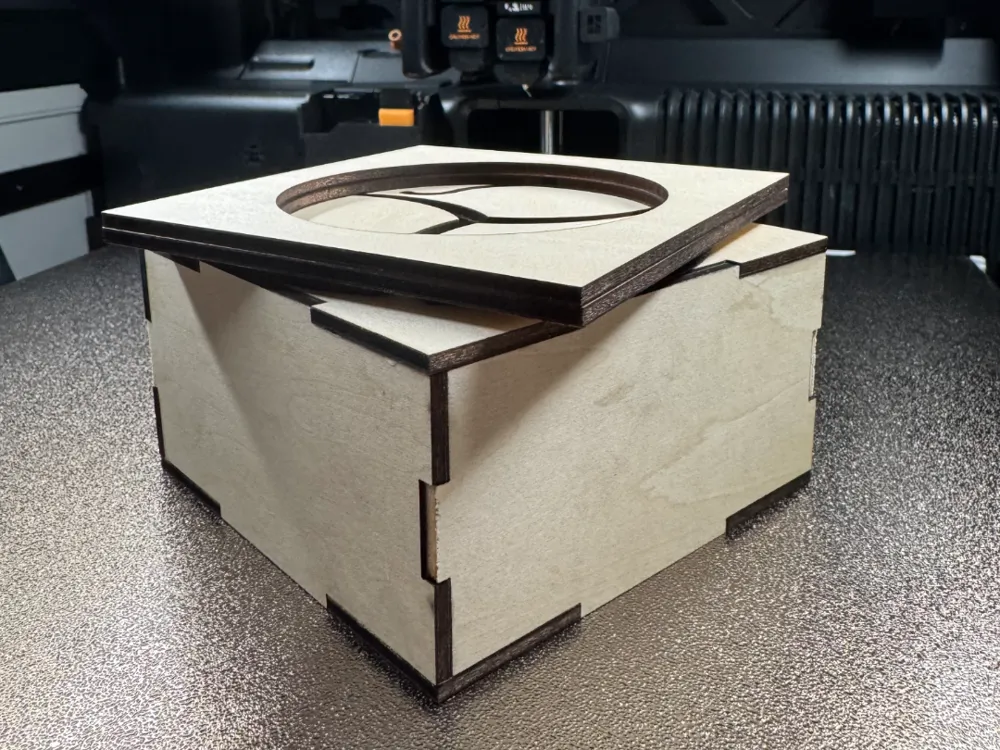

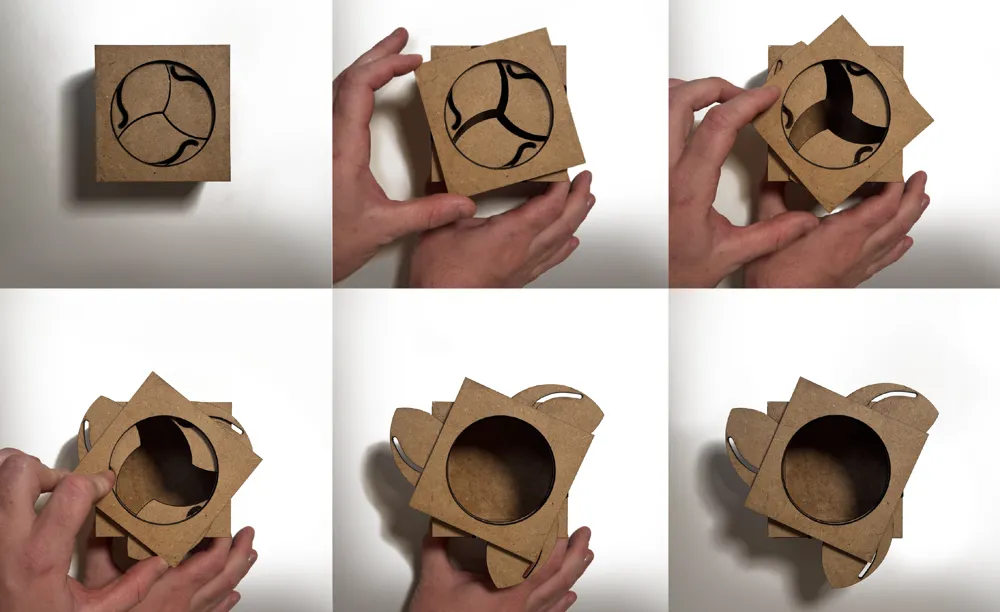
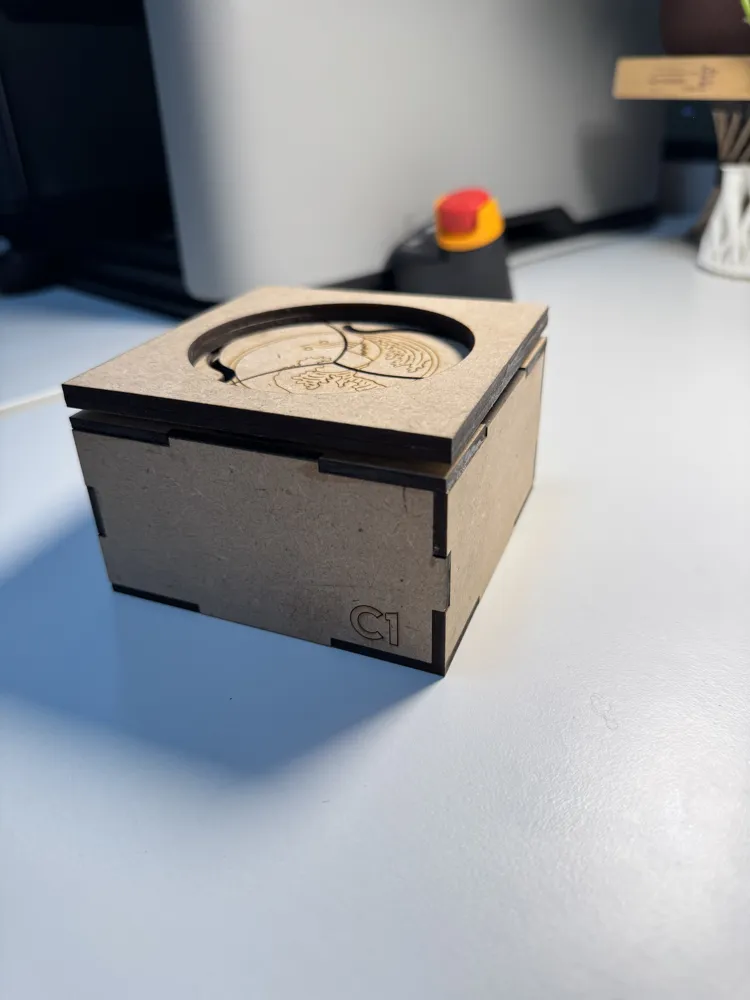
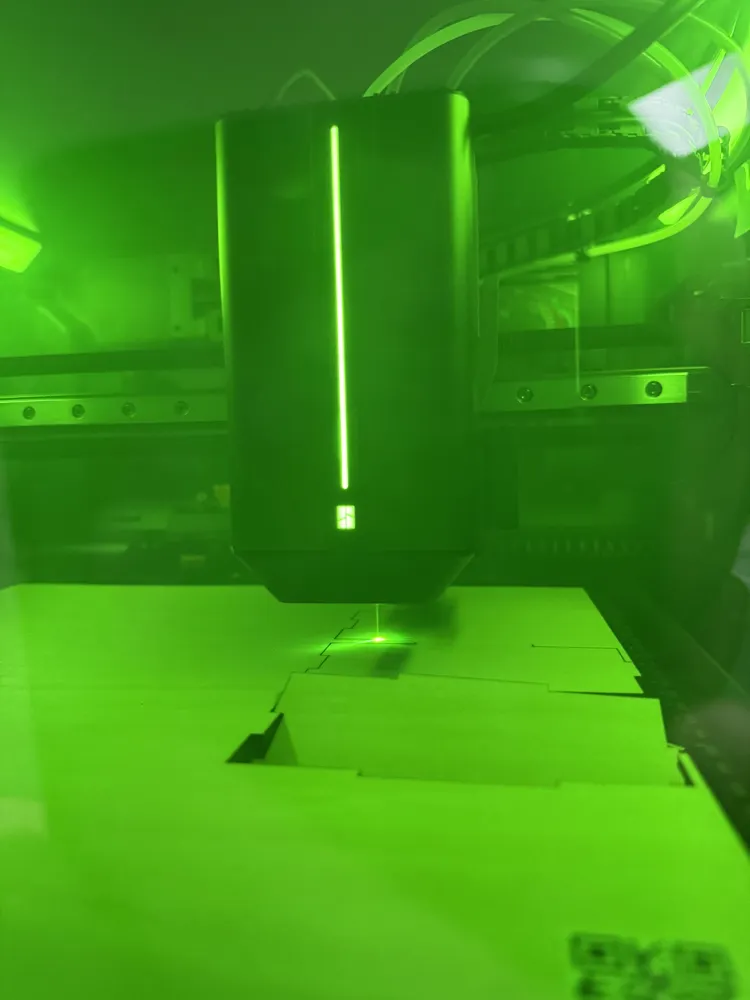
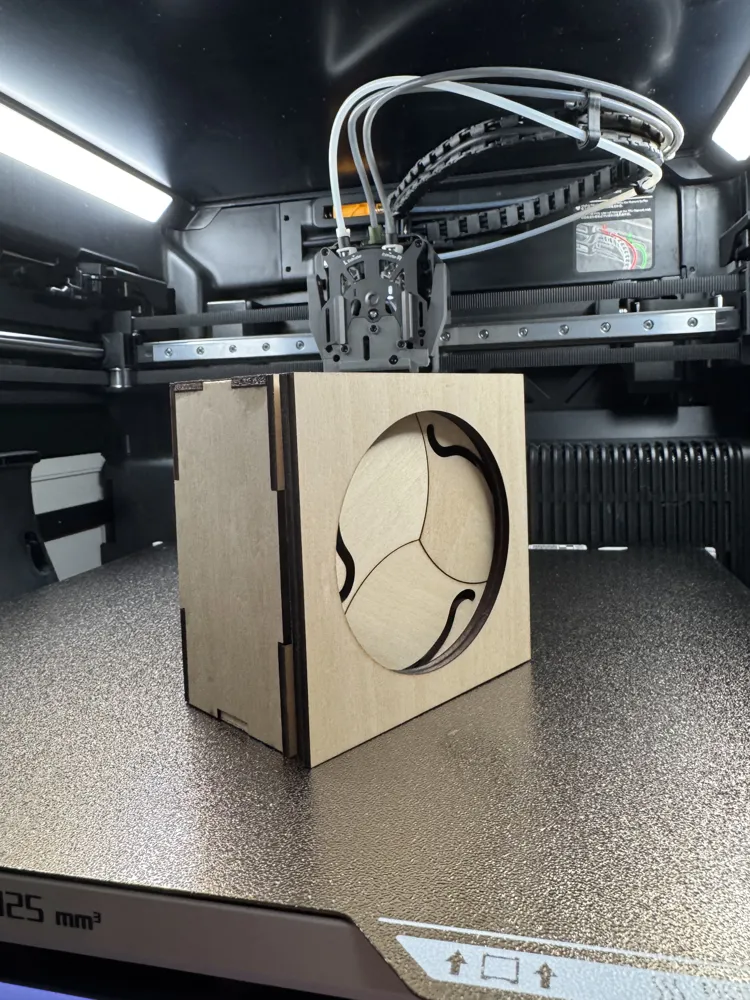
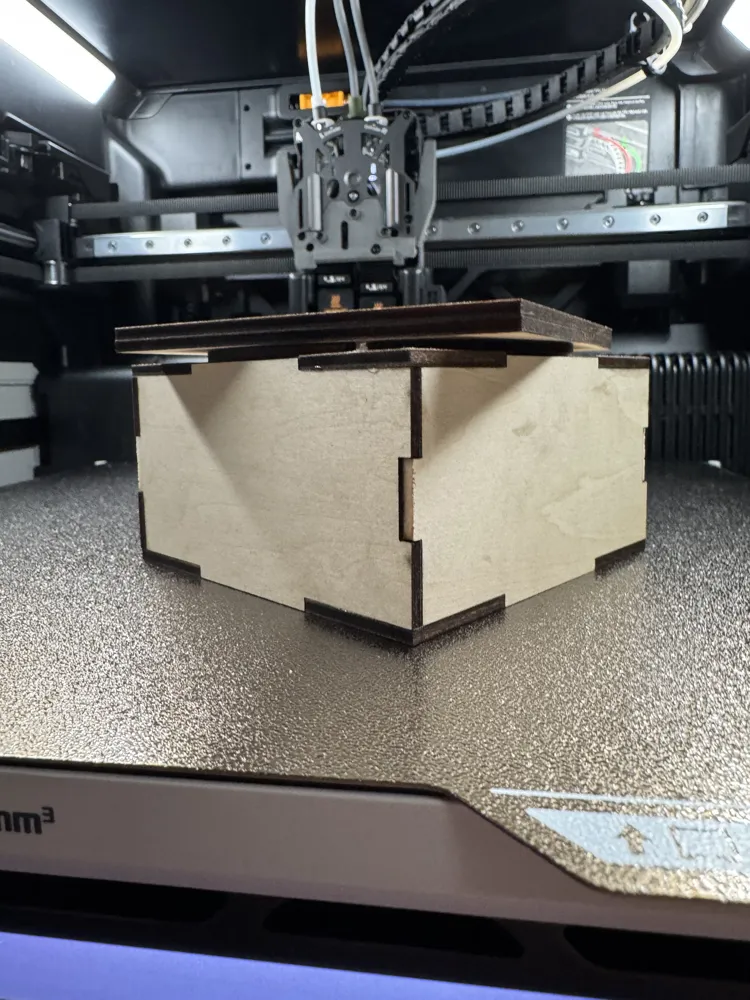
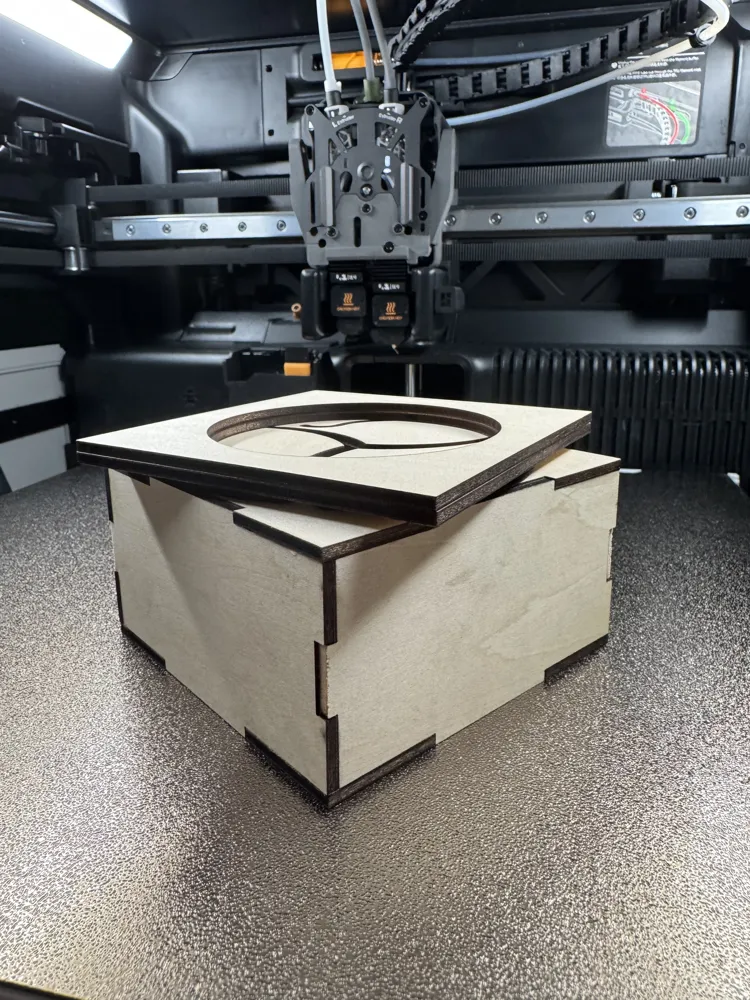
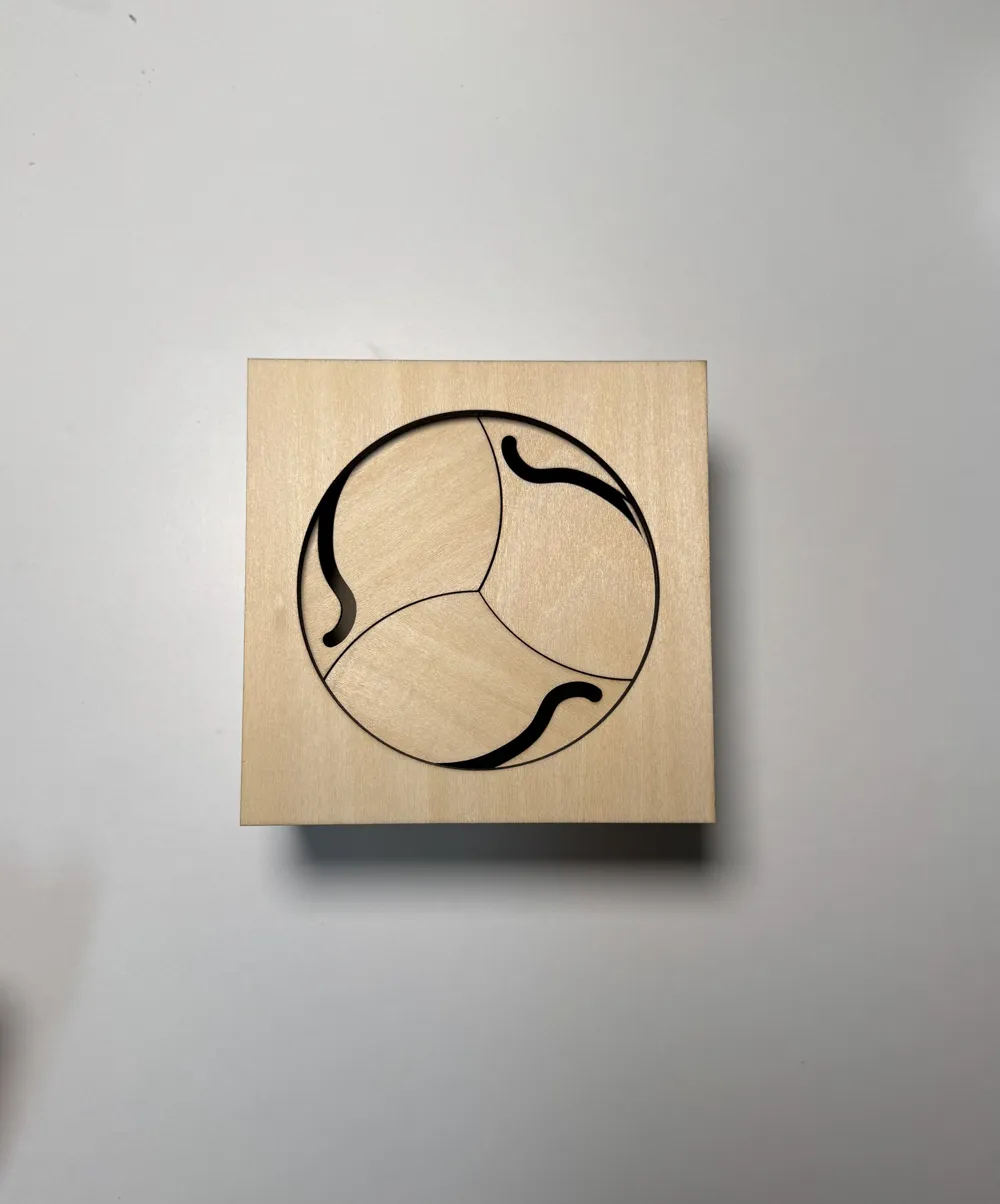
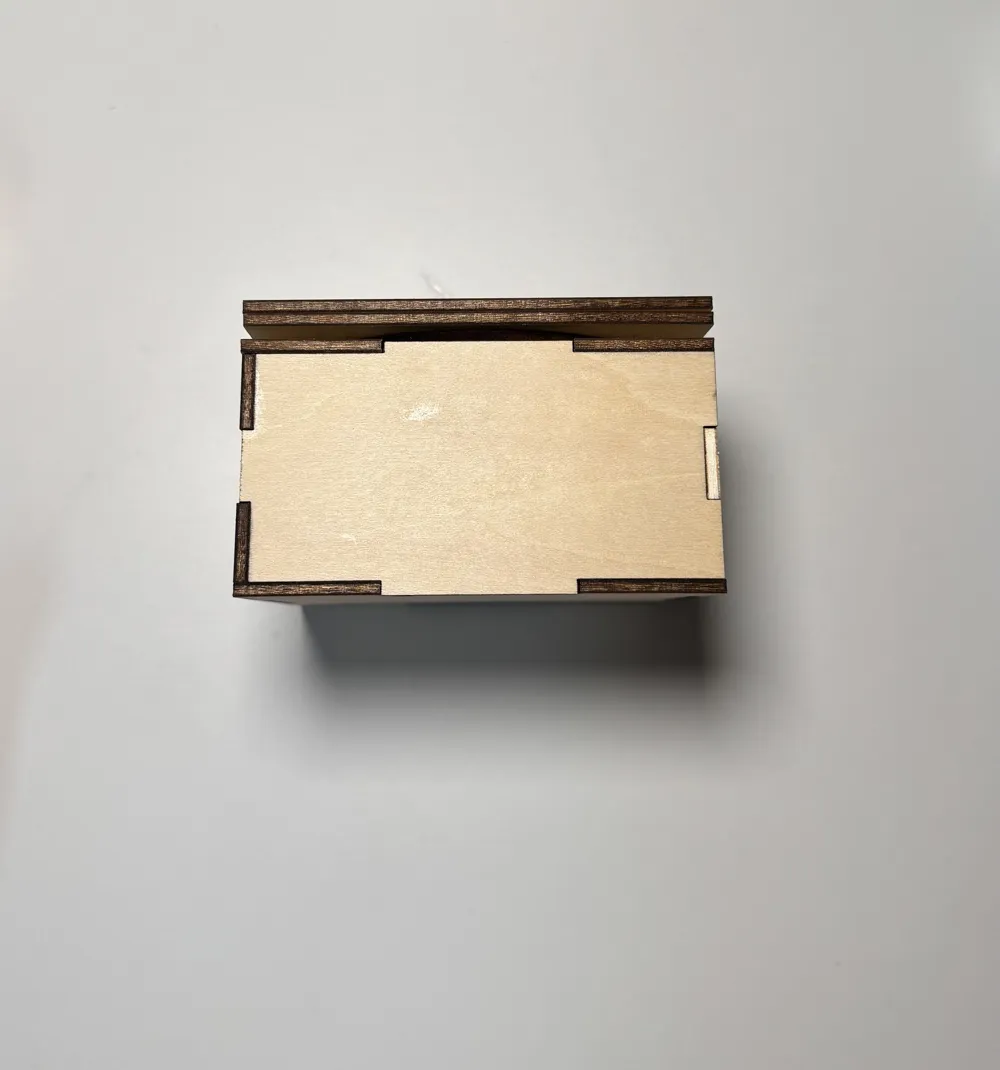
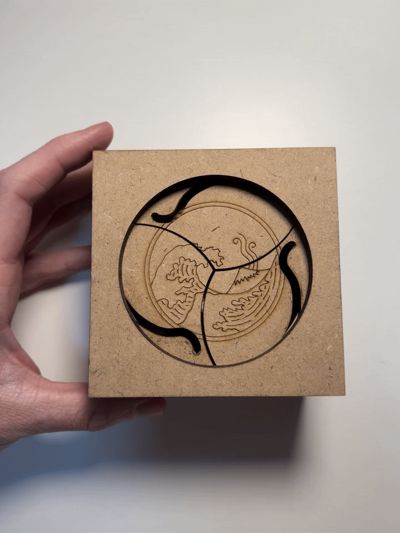
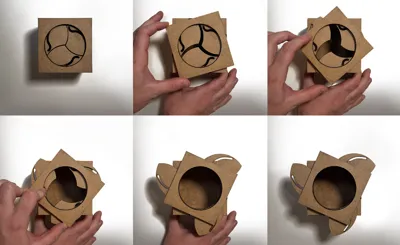
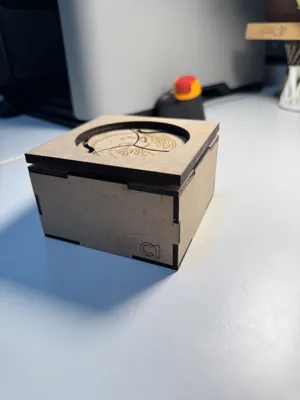
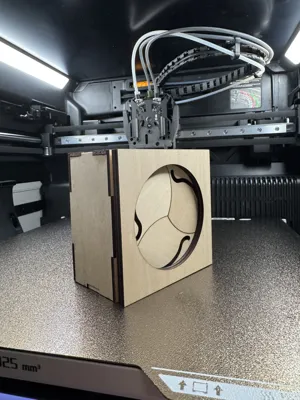
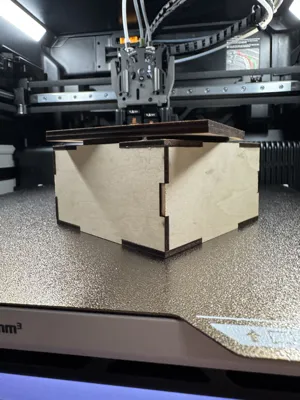
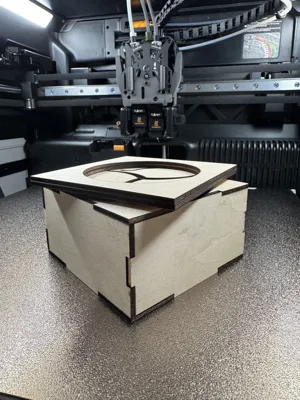
Laser-cut Iris box
Optimized for material efficiency!
I still need to write an assembly guide; the description field won't let me add more.
Boost Me (for free)
Thank you for your support! It helps a lot!!!
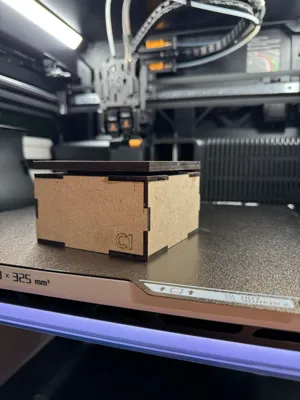
The only parts not cut are some 3mm diameter, 10mm high dowels, and others 5.5mm high, used to secure the top parts. These can be 3D printed!
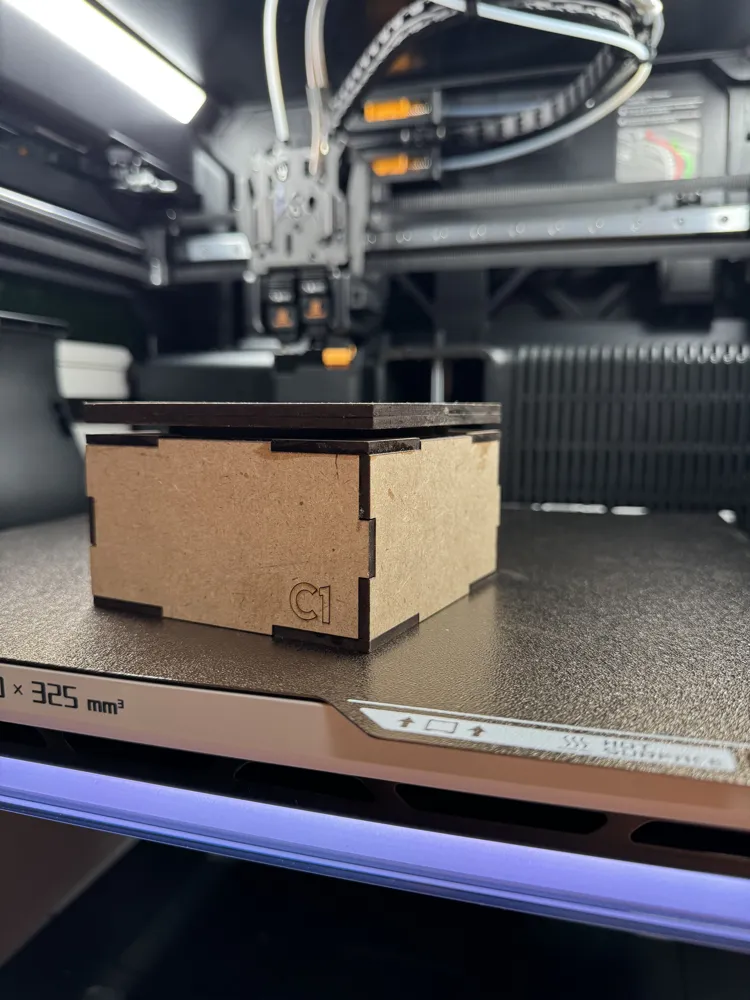
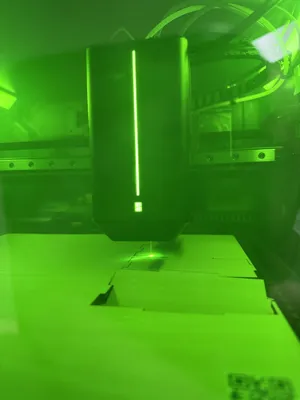
The box in the photos, made of MDF, was cut with a CO2 laser cutter as I haven't yet had time to complete this project with the h2d that arrived this week.
Assembly:
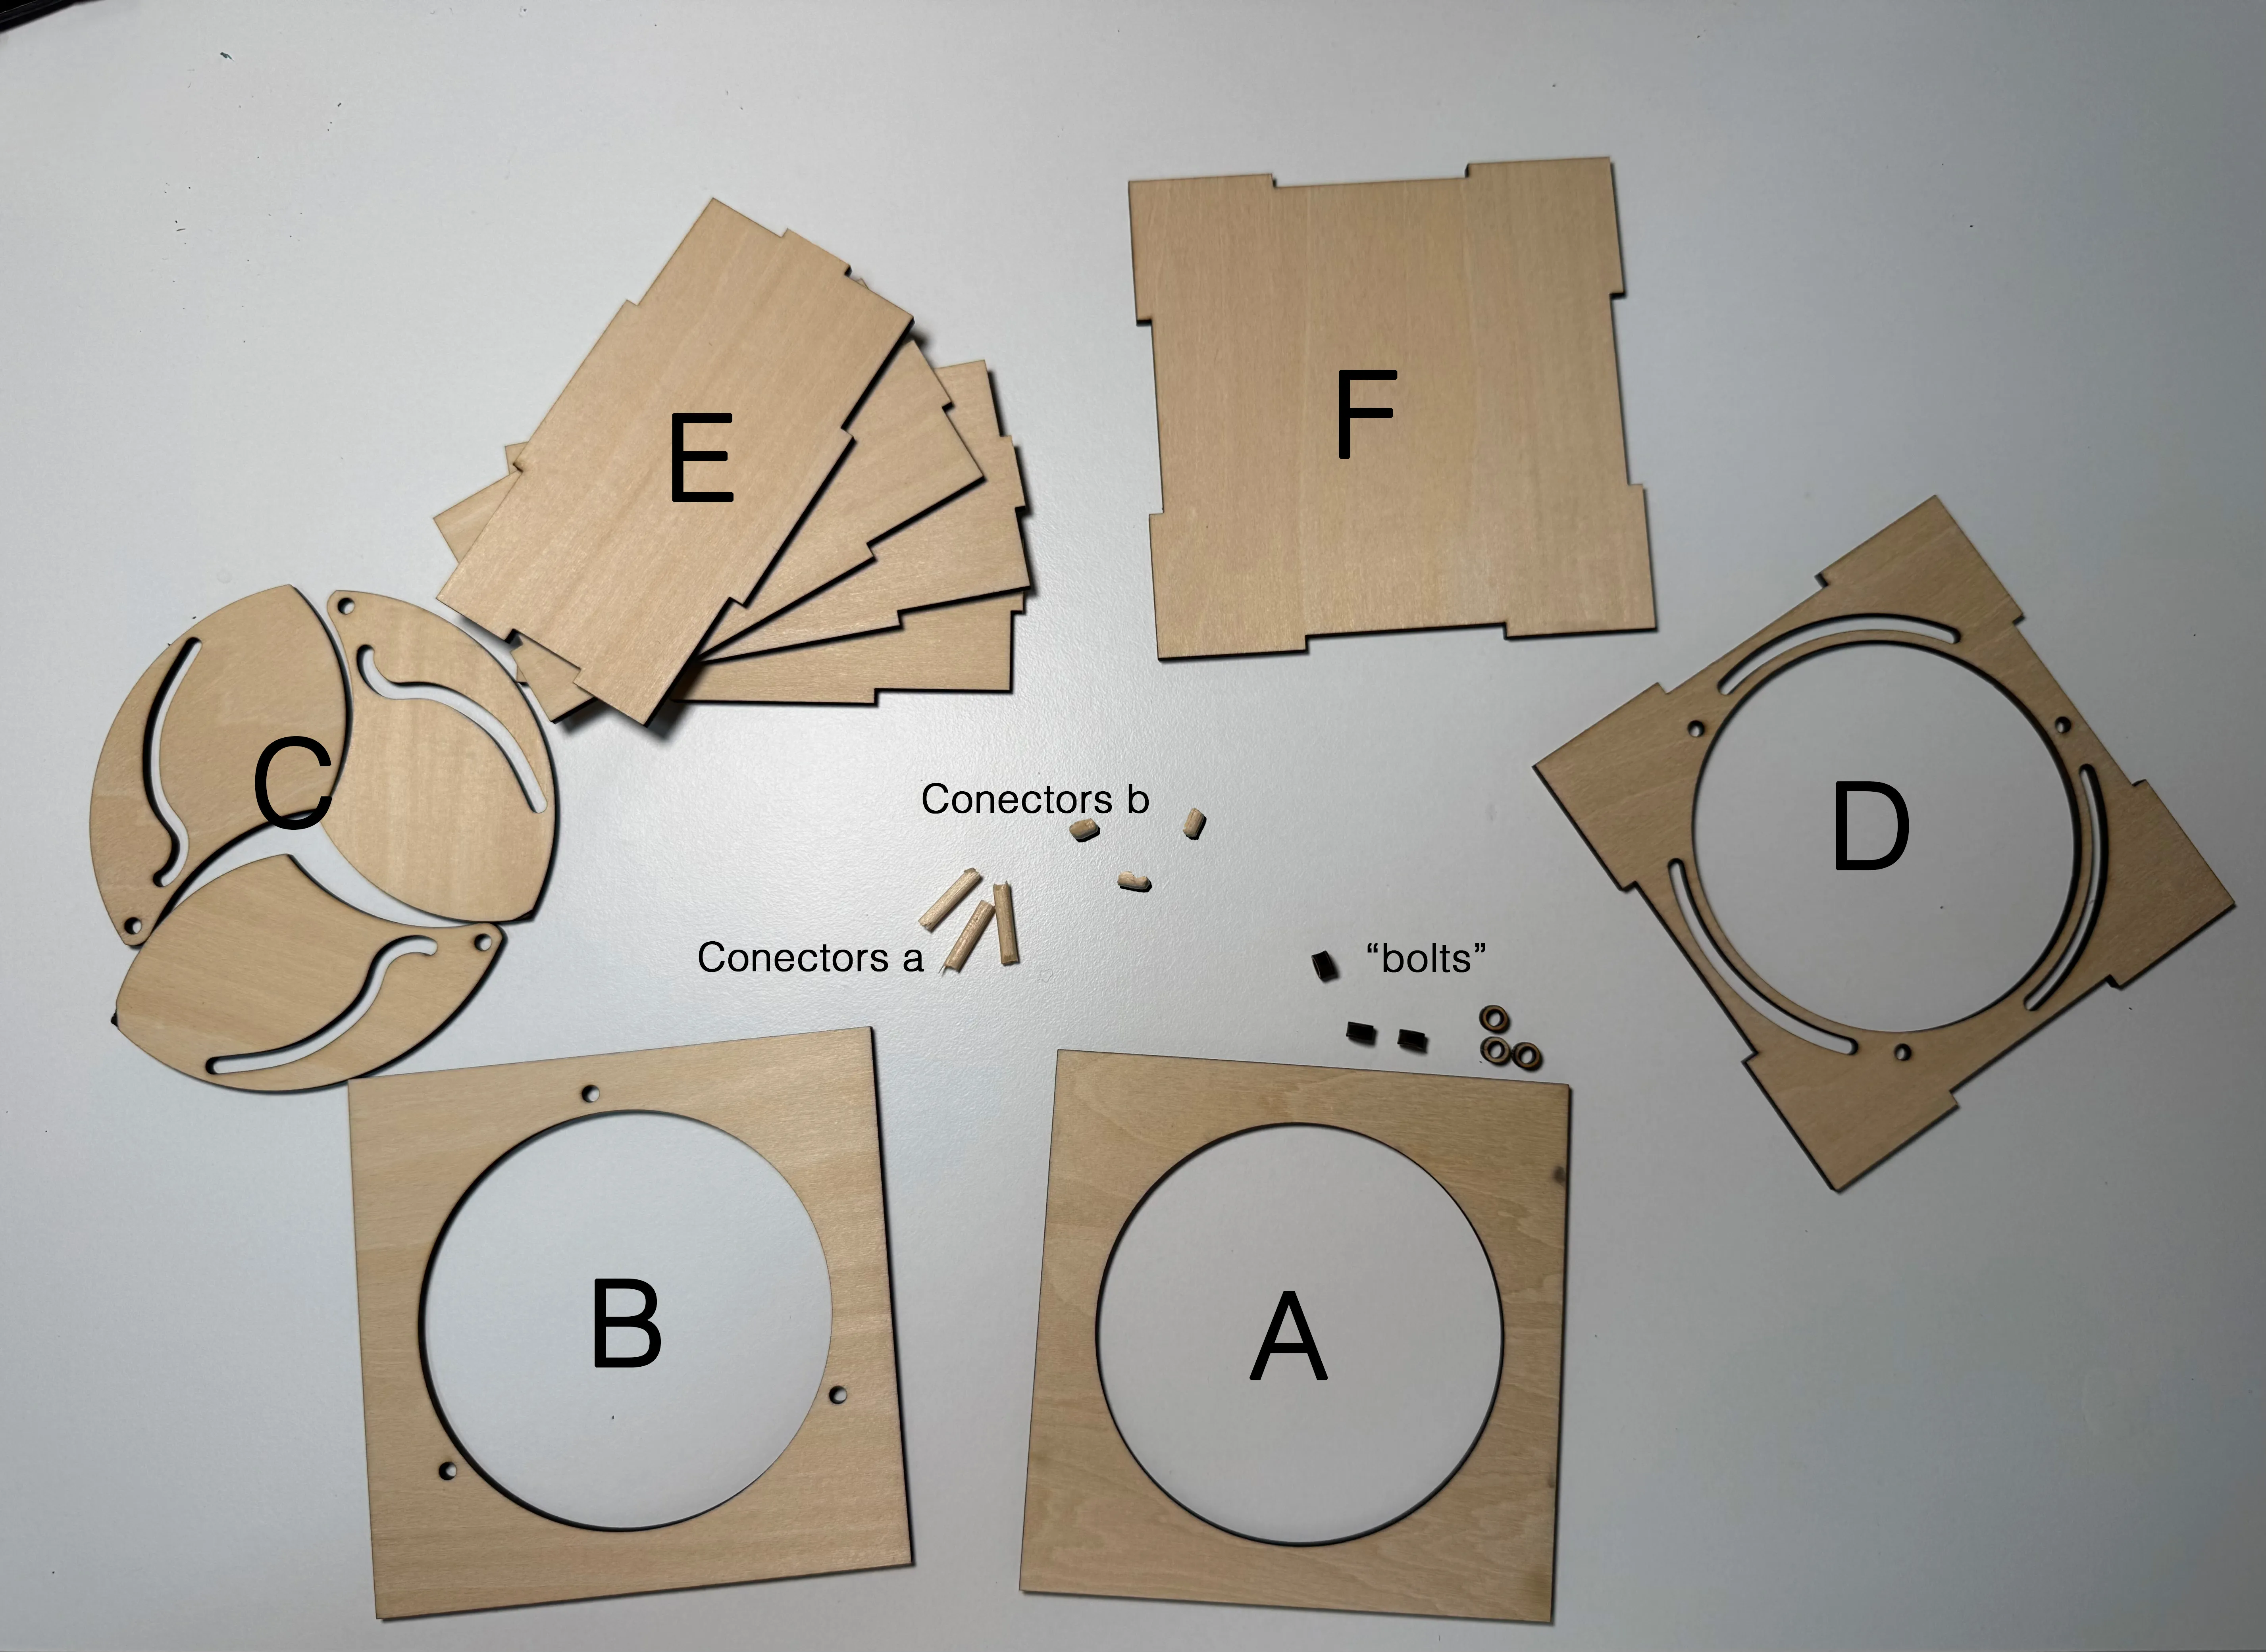
The pieces are ordered in layers from top to bottom. Note the orientation!!! A piece and its symmetrical counterpart are not interchangeable when rotated. The scorched side, as seen in the upper right corner of A, always faces the box interior.
STEP 1:
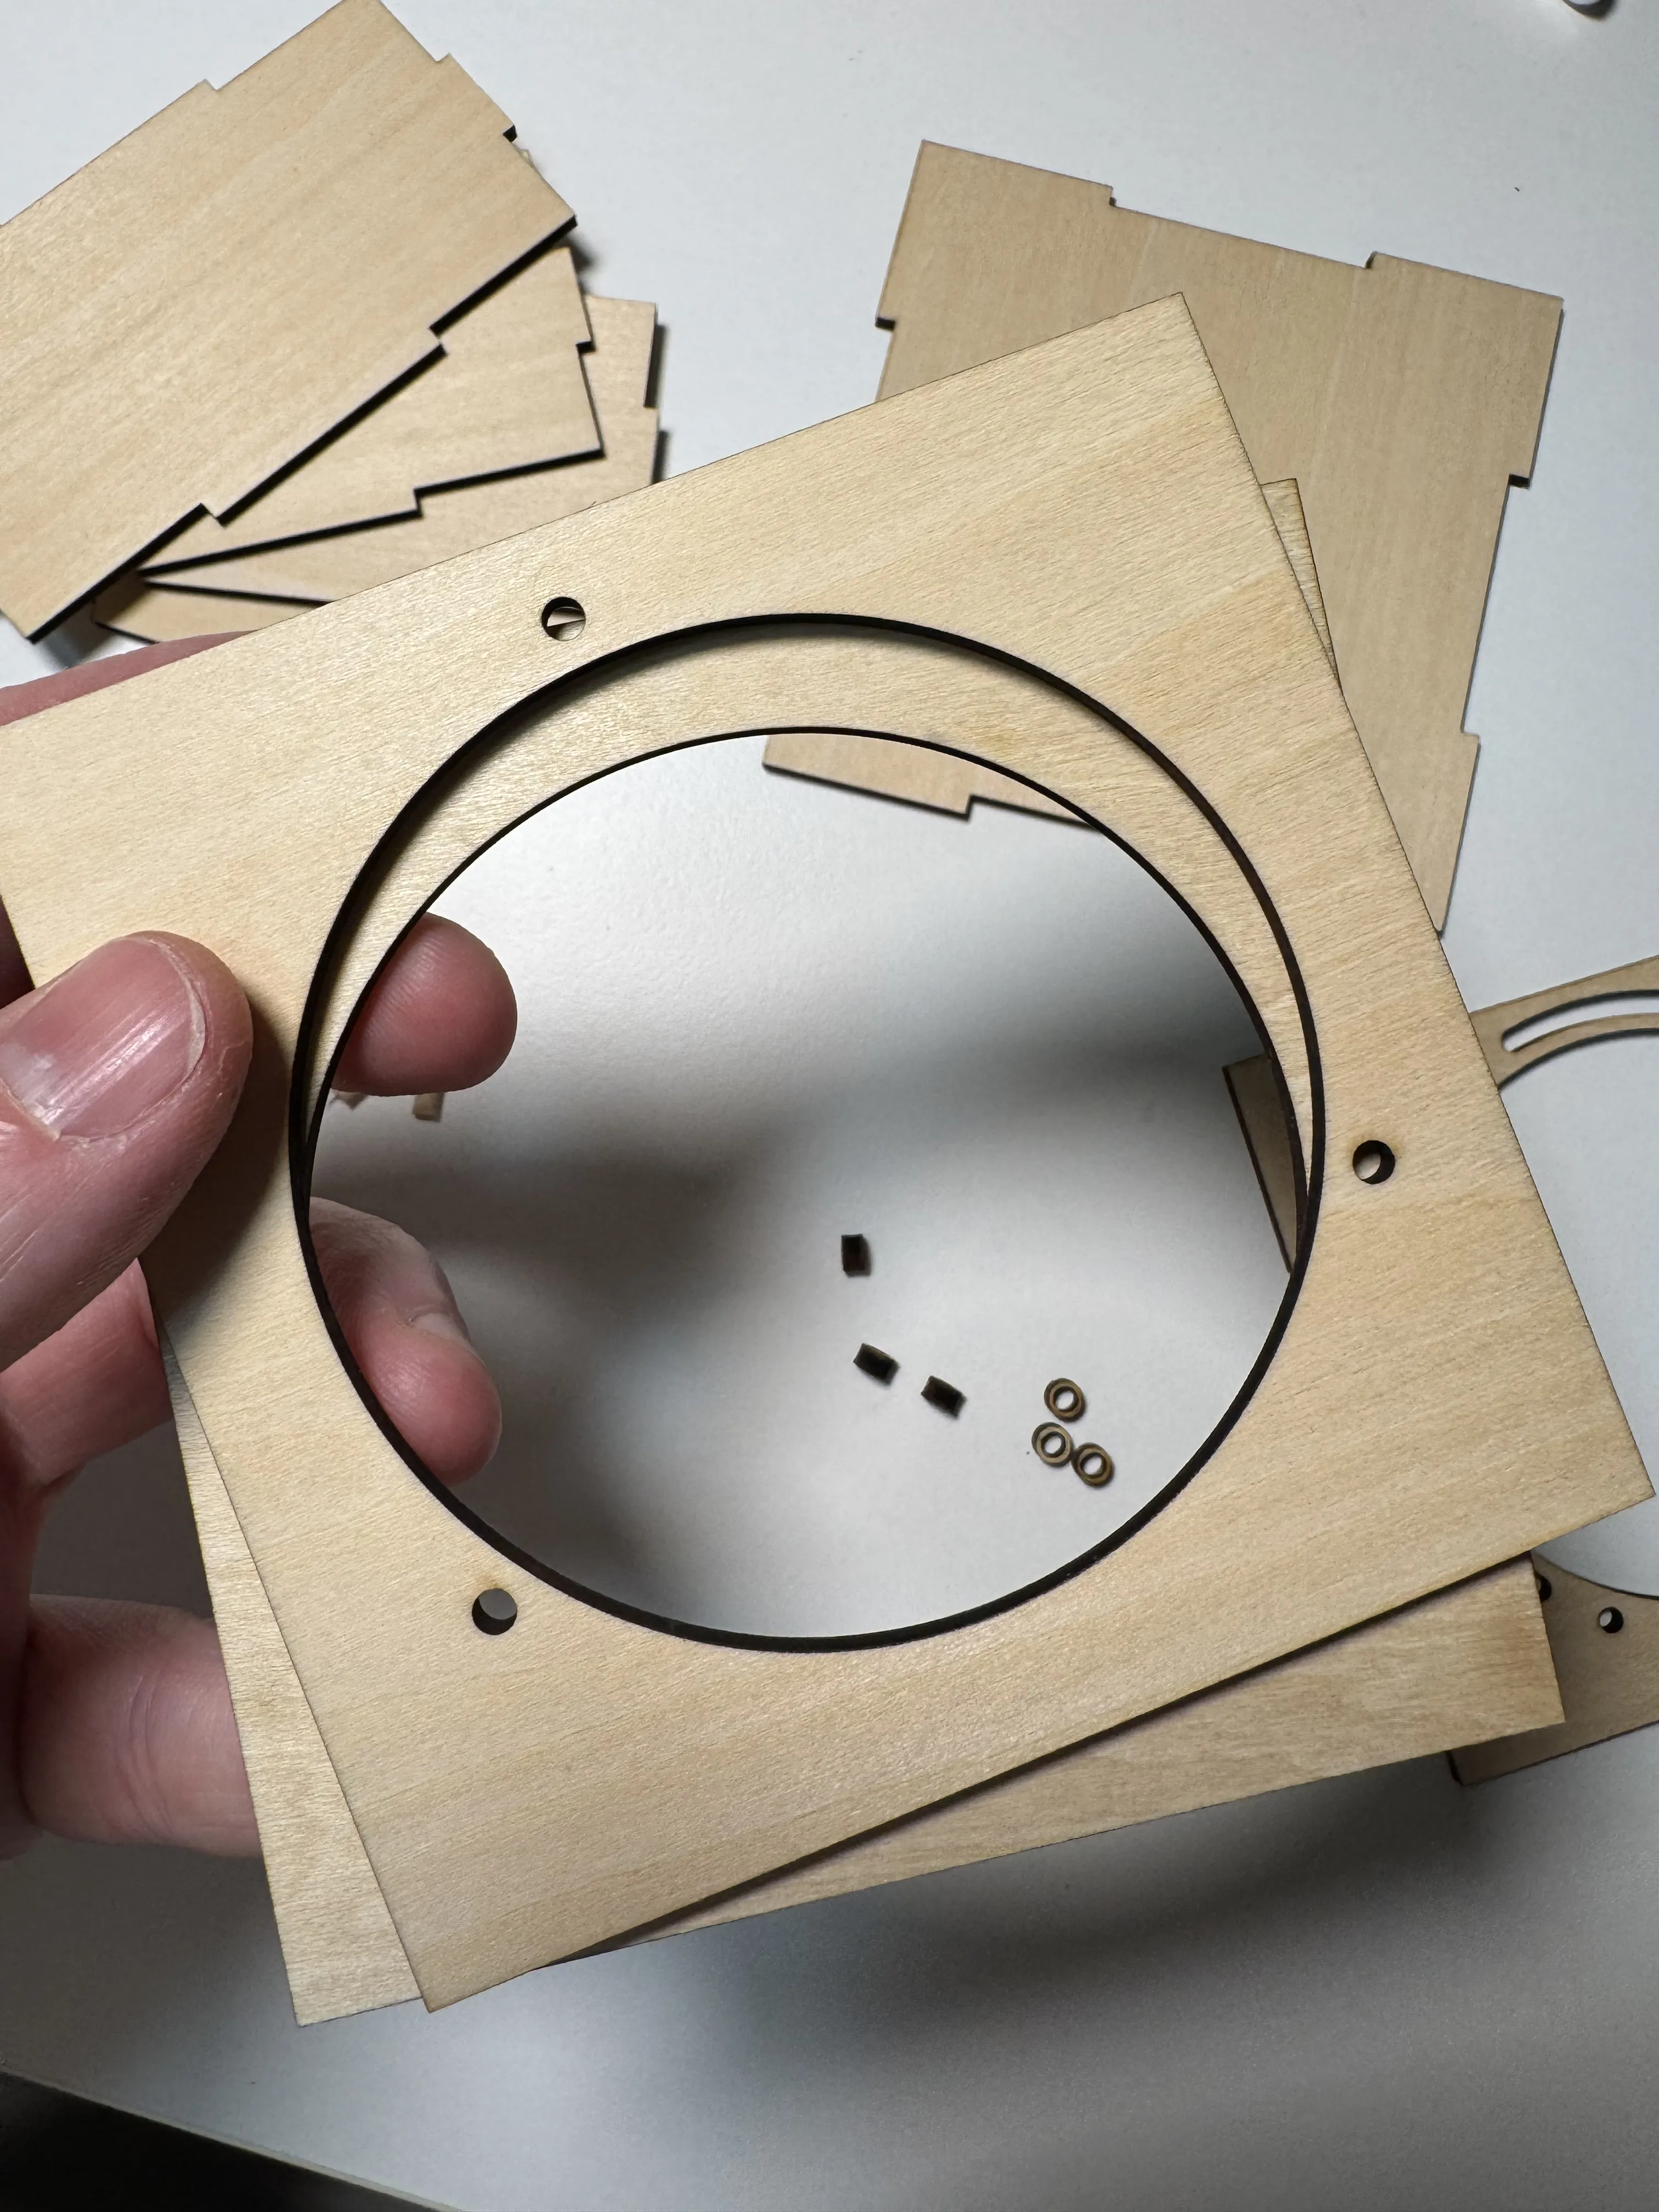
Begin by adhering parts A and B. Part A simply covers the gaps of the dowels in part B. A few drops of adhesive, and you're done! PAY ATTENTION to the orientation of part B; ensure the “dirty” sides of parts A and B face each other, with the clean sides facing upwards and outwards.
STEP 2:
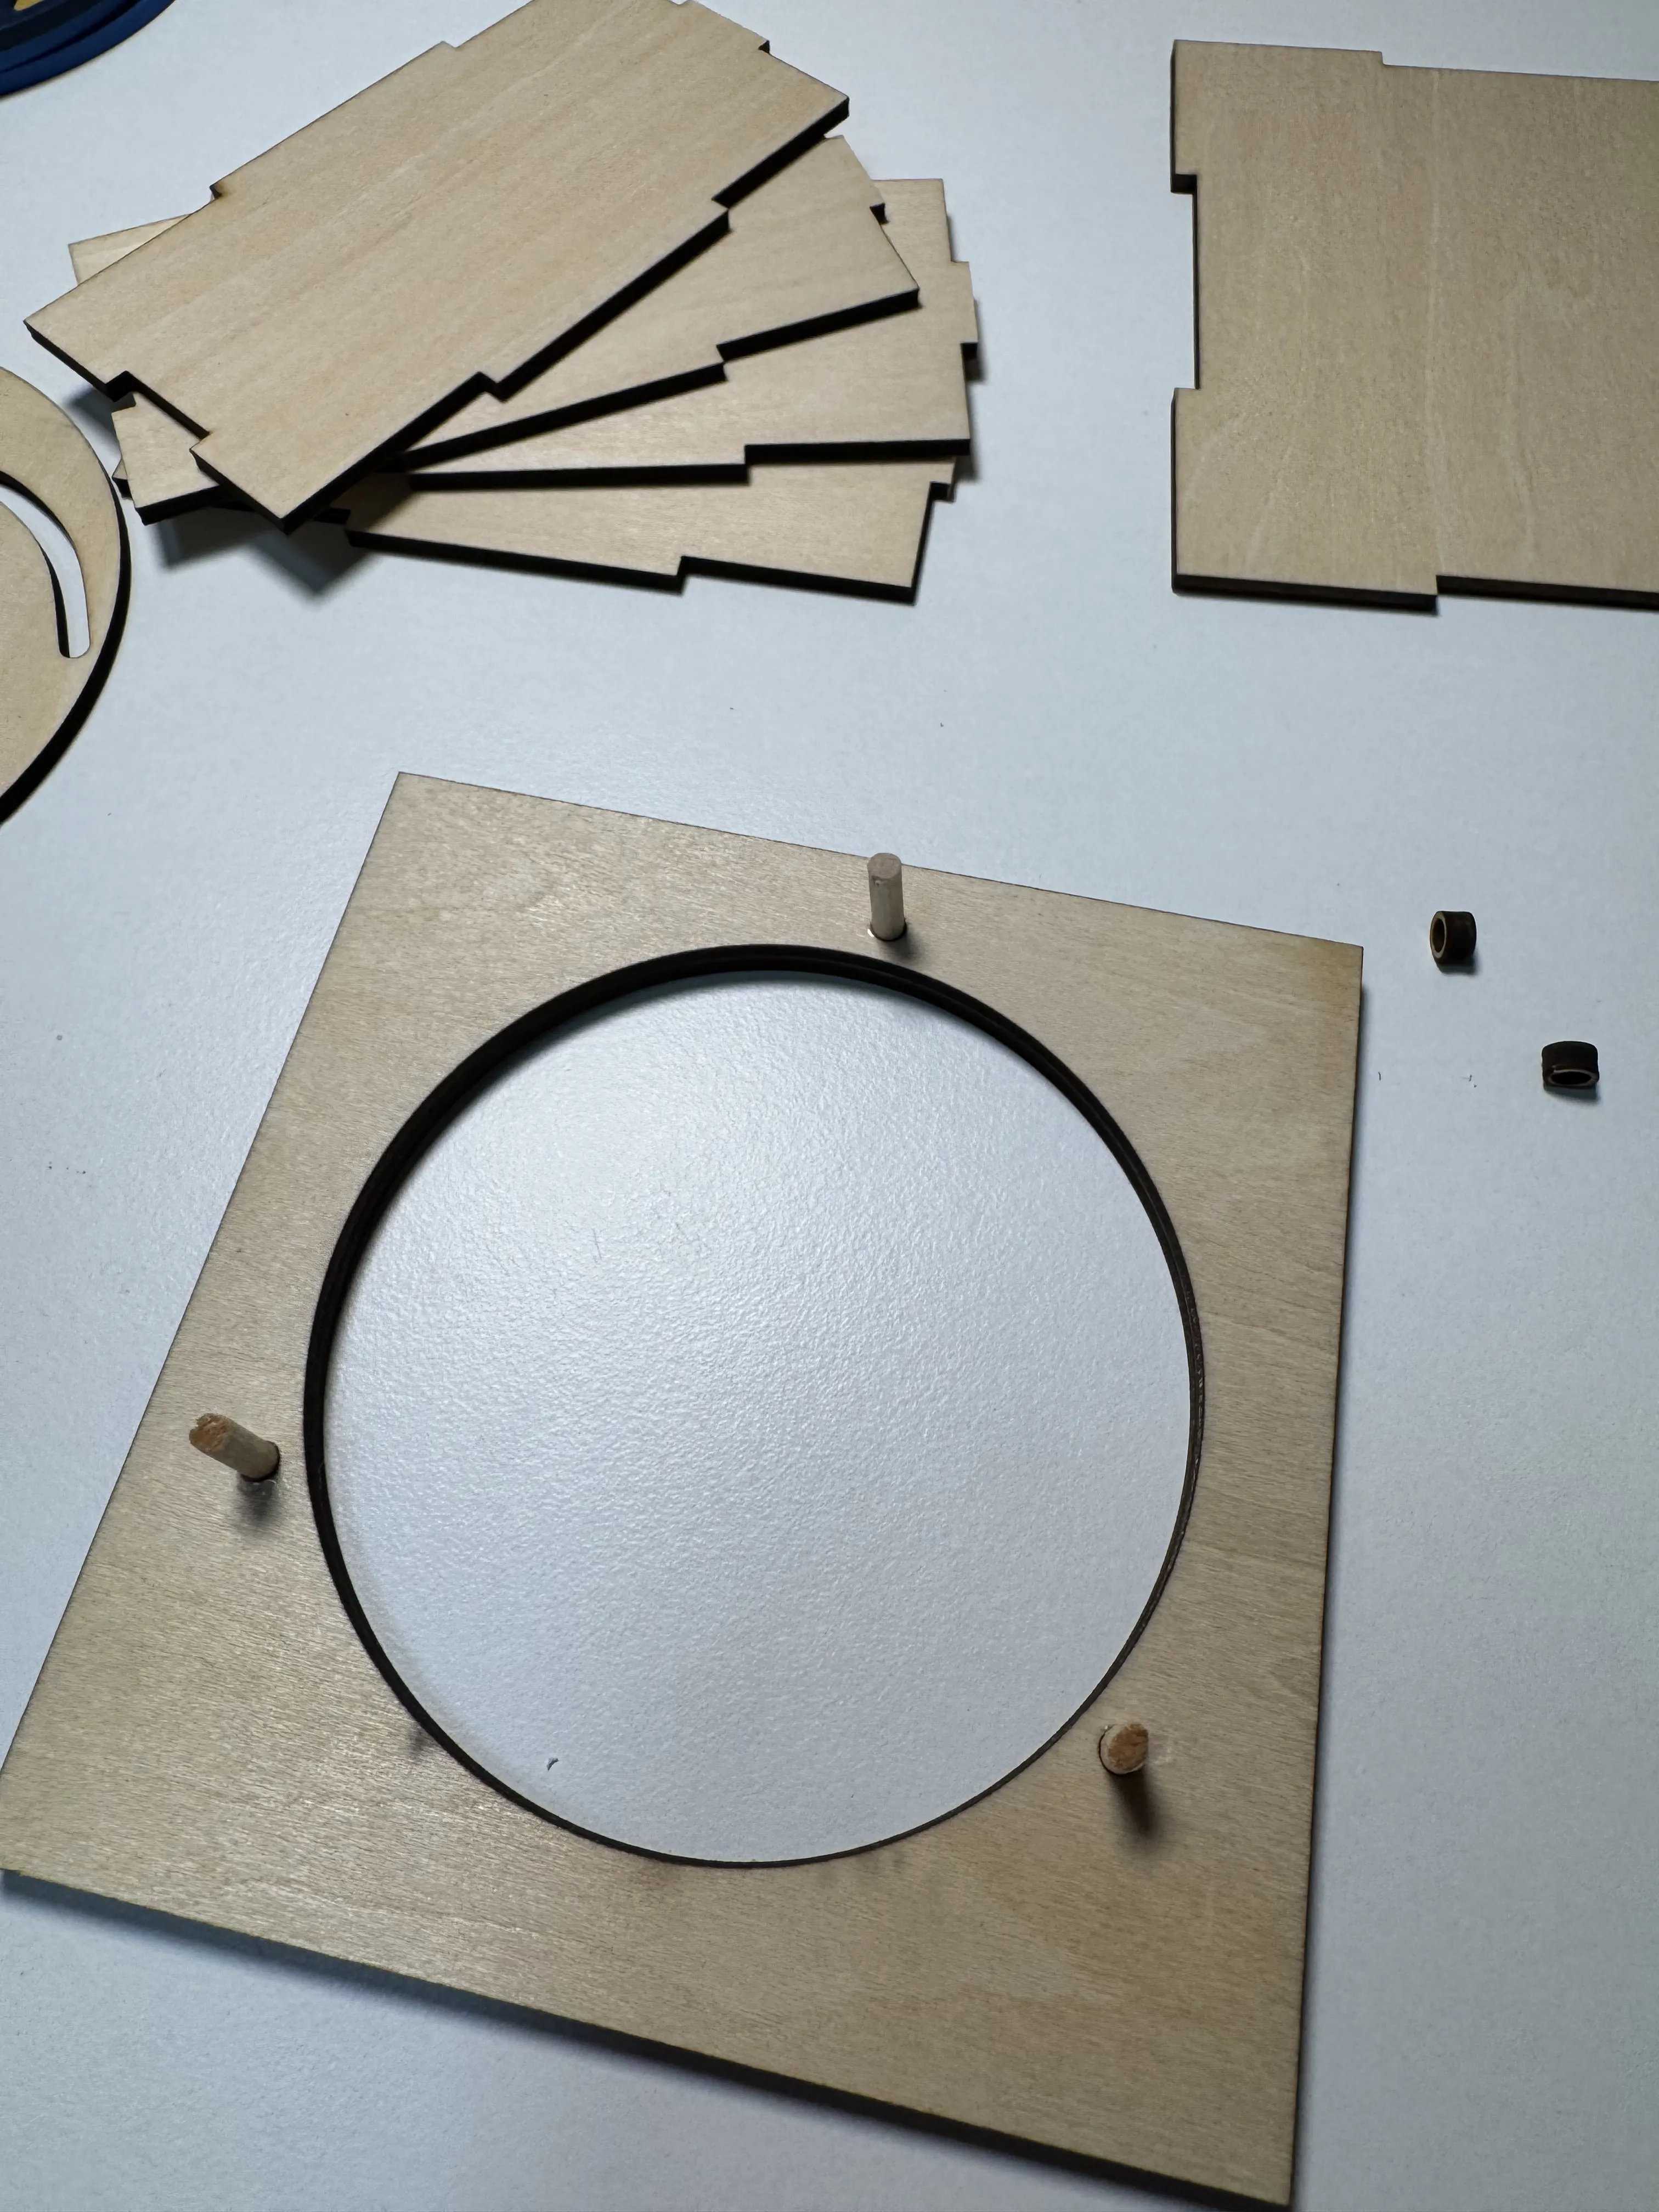
Attach connectors a to part b and remove excess adhesive to prevent the pieces from sticking together later. Set this assembly aside.
STEP 3:
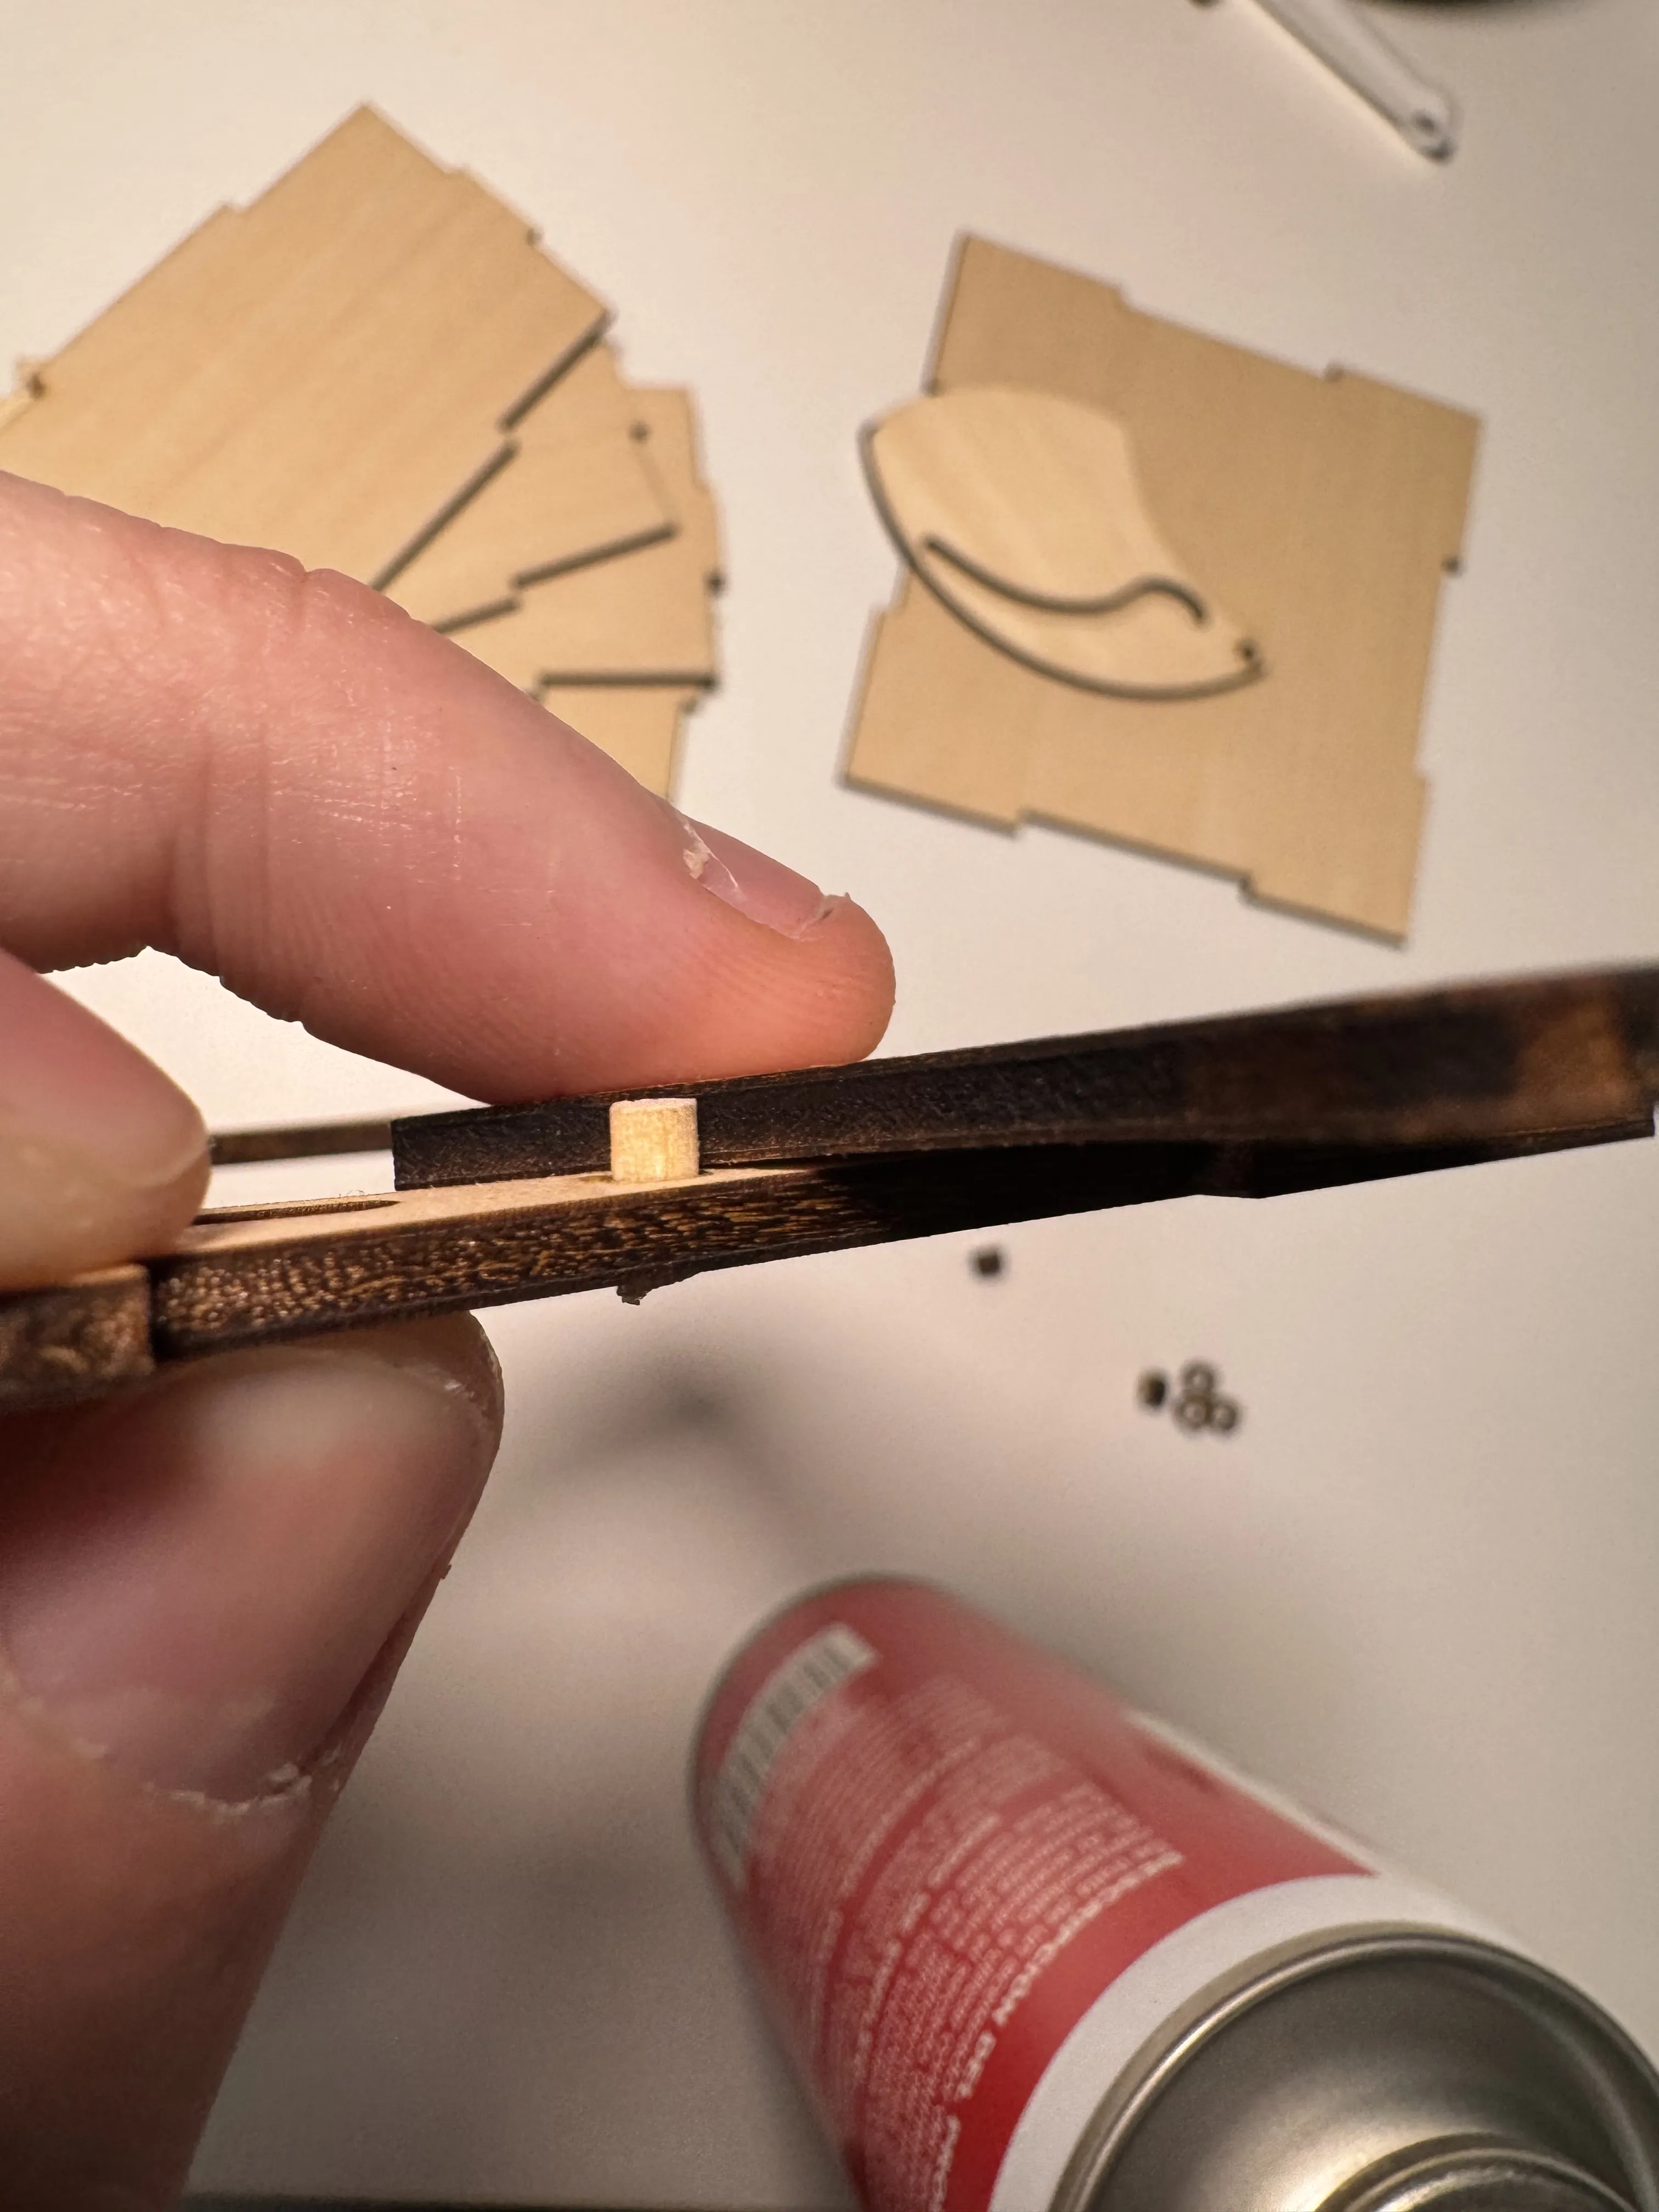
Attach connectors b to piece D. Ensure they do not exceed the height of piece C!!!
License

You shall not share, sub-license, sell, rent, host, transfer, or distribute in any way the digital or 3D printed versions of this object, nor any other derivative work of this object in its digital or physical format (including - but not limited to - remixes of this object, and hosting on other digital platforms). The objects may not be used without permission in any way whatsoever in which you charge money, or collect fees.


Comment & Rating (0)