Pastamatic Manual Handle


Print Profile(3)


Description
Update : 27/01/23
V2 of the handle parts
Had more time to play around with the joining of the 2 handle parts to make it a lot better and a lot stronger fitting. Tehe 2 parts now have a nodule that is on the 2 parts that you align up and just push together.
if you have any comments, improvements please let me know
………………………………………………………………………………………………………………………………………………………………………………………………………………………….
So i got bored after quitting my job. while job hunting i wanted to do some modeling in fusion but had no idea's then, it came to me that the pastamatic spool winder only had a drill option.
Now I know most people have a drill but for those that dont, heres the manual version!!
This has gone thru several iterations before getting to this stage and it still aint perfect.
For my first try and a few hrs experience that i have had doing fusion it aint half bad.
Info:
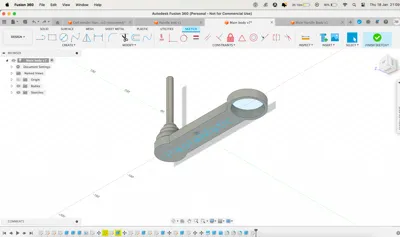
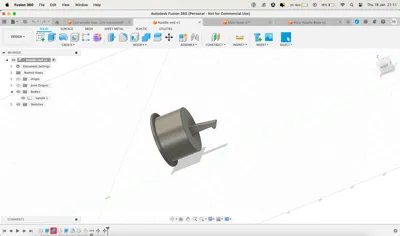
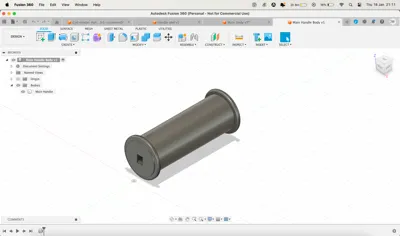
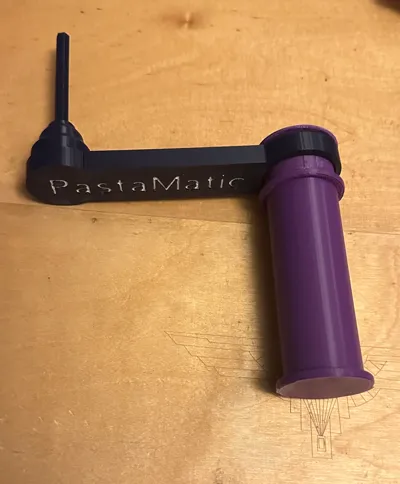
The Body is seprate to the hex bit part so you can colour them differently if you want.
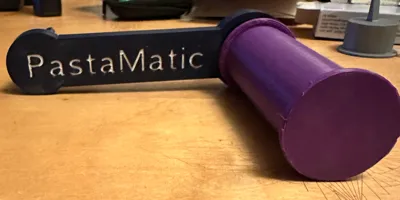
The handle is split into 2 so again you can colour them sperate and make it funky.
There is lettering on the arm part, when looking at the plate flip so you are looking from the bottom and you should see it.
Use tree supports @ 35 threshold angle to support the cantileaver part of the second handle.
This was printed on an X1C 0.16 profile with a 0.4 nozzle.
infill density was set to 15% and seems to hold up well - this is entirely up to you what you set it to.
Comment & Rating (20)