
Water Element Stacking Coaster / Wall Art
Print Profile(1)


Description
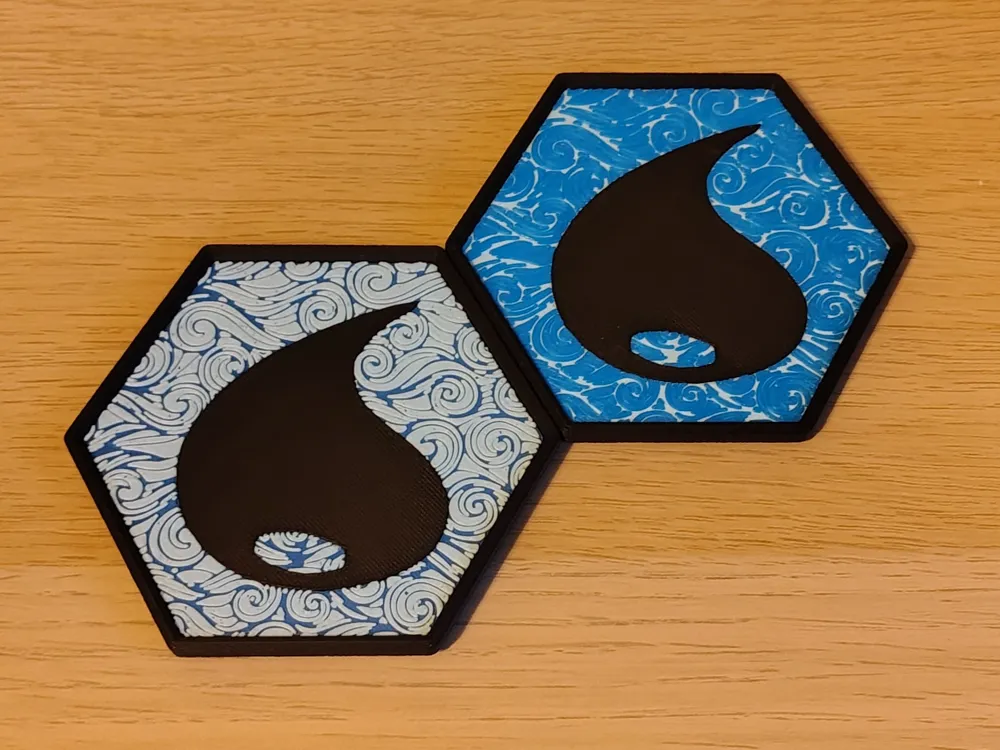
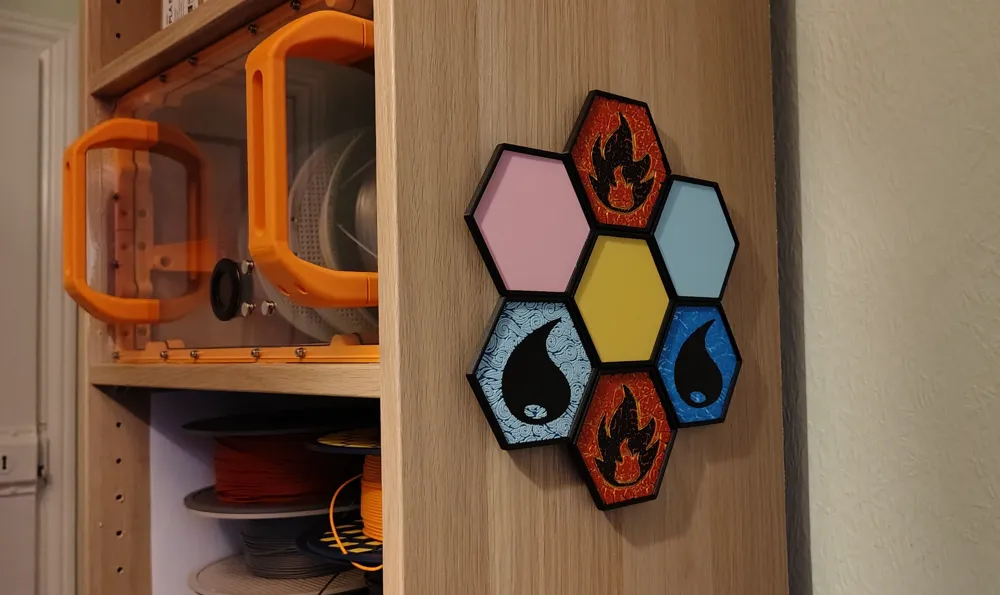
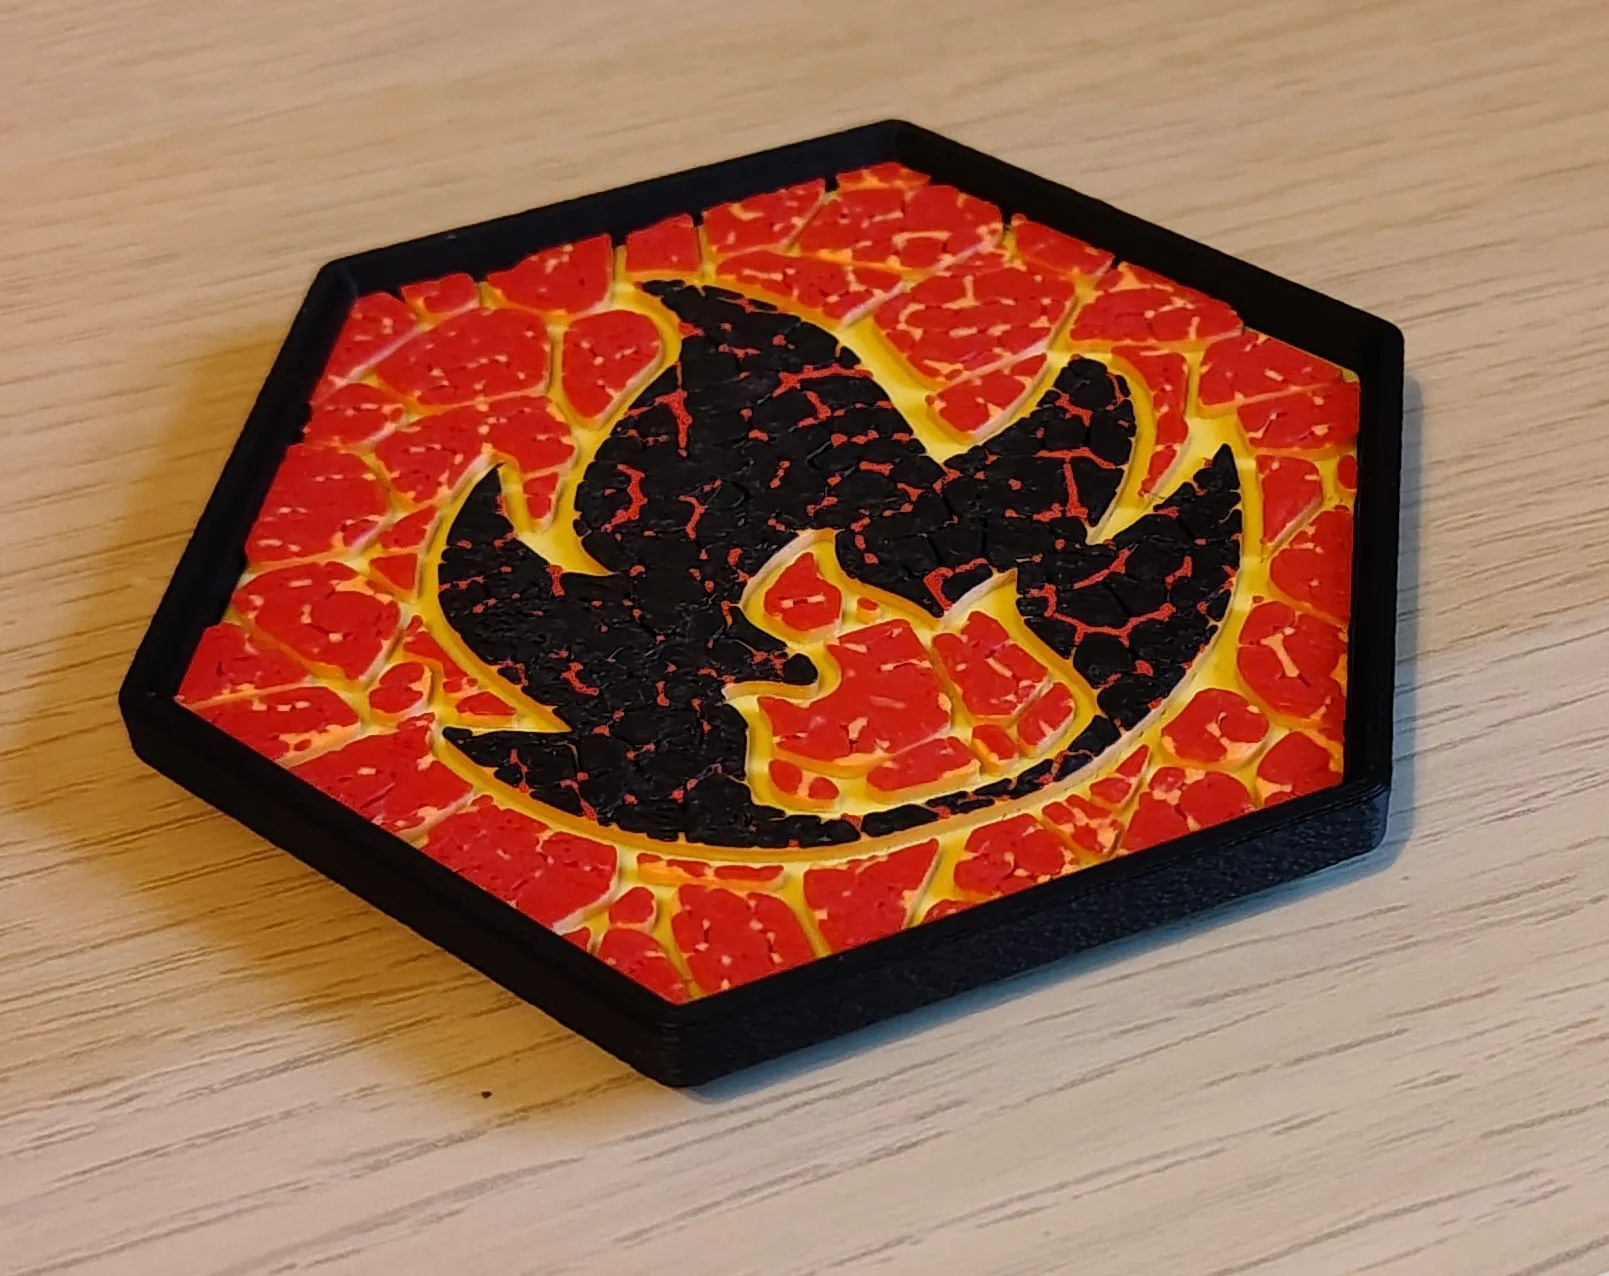
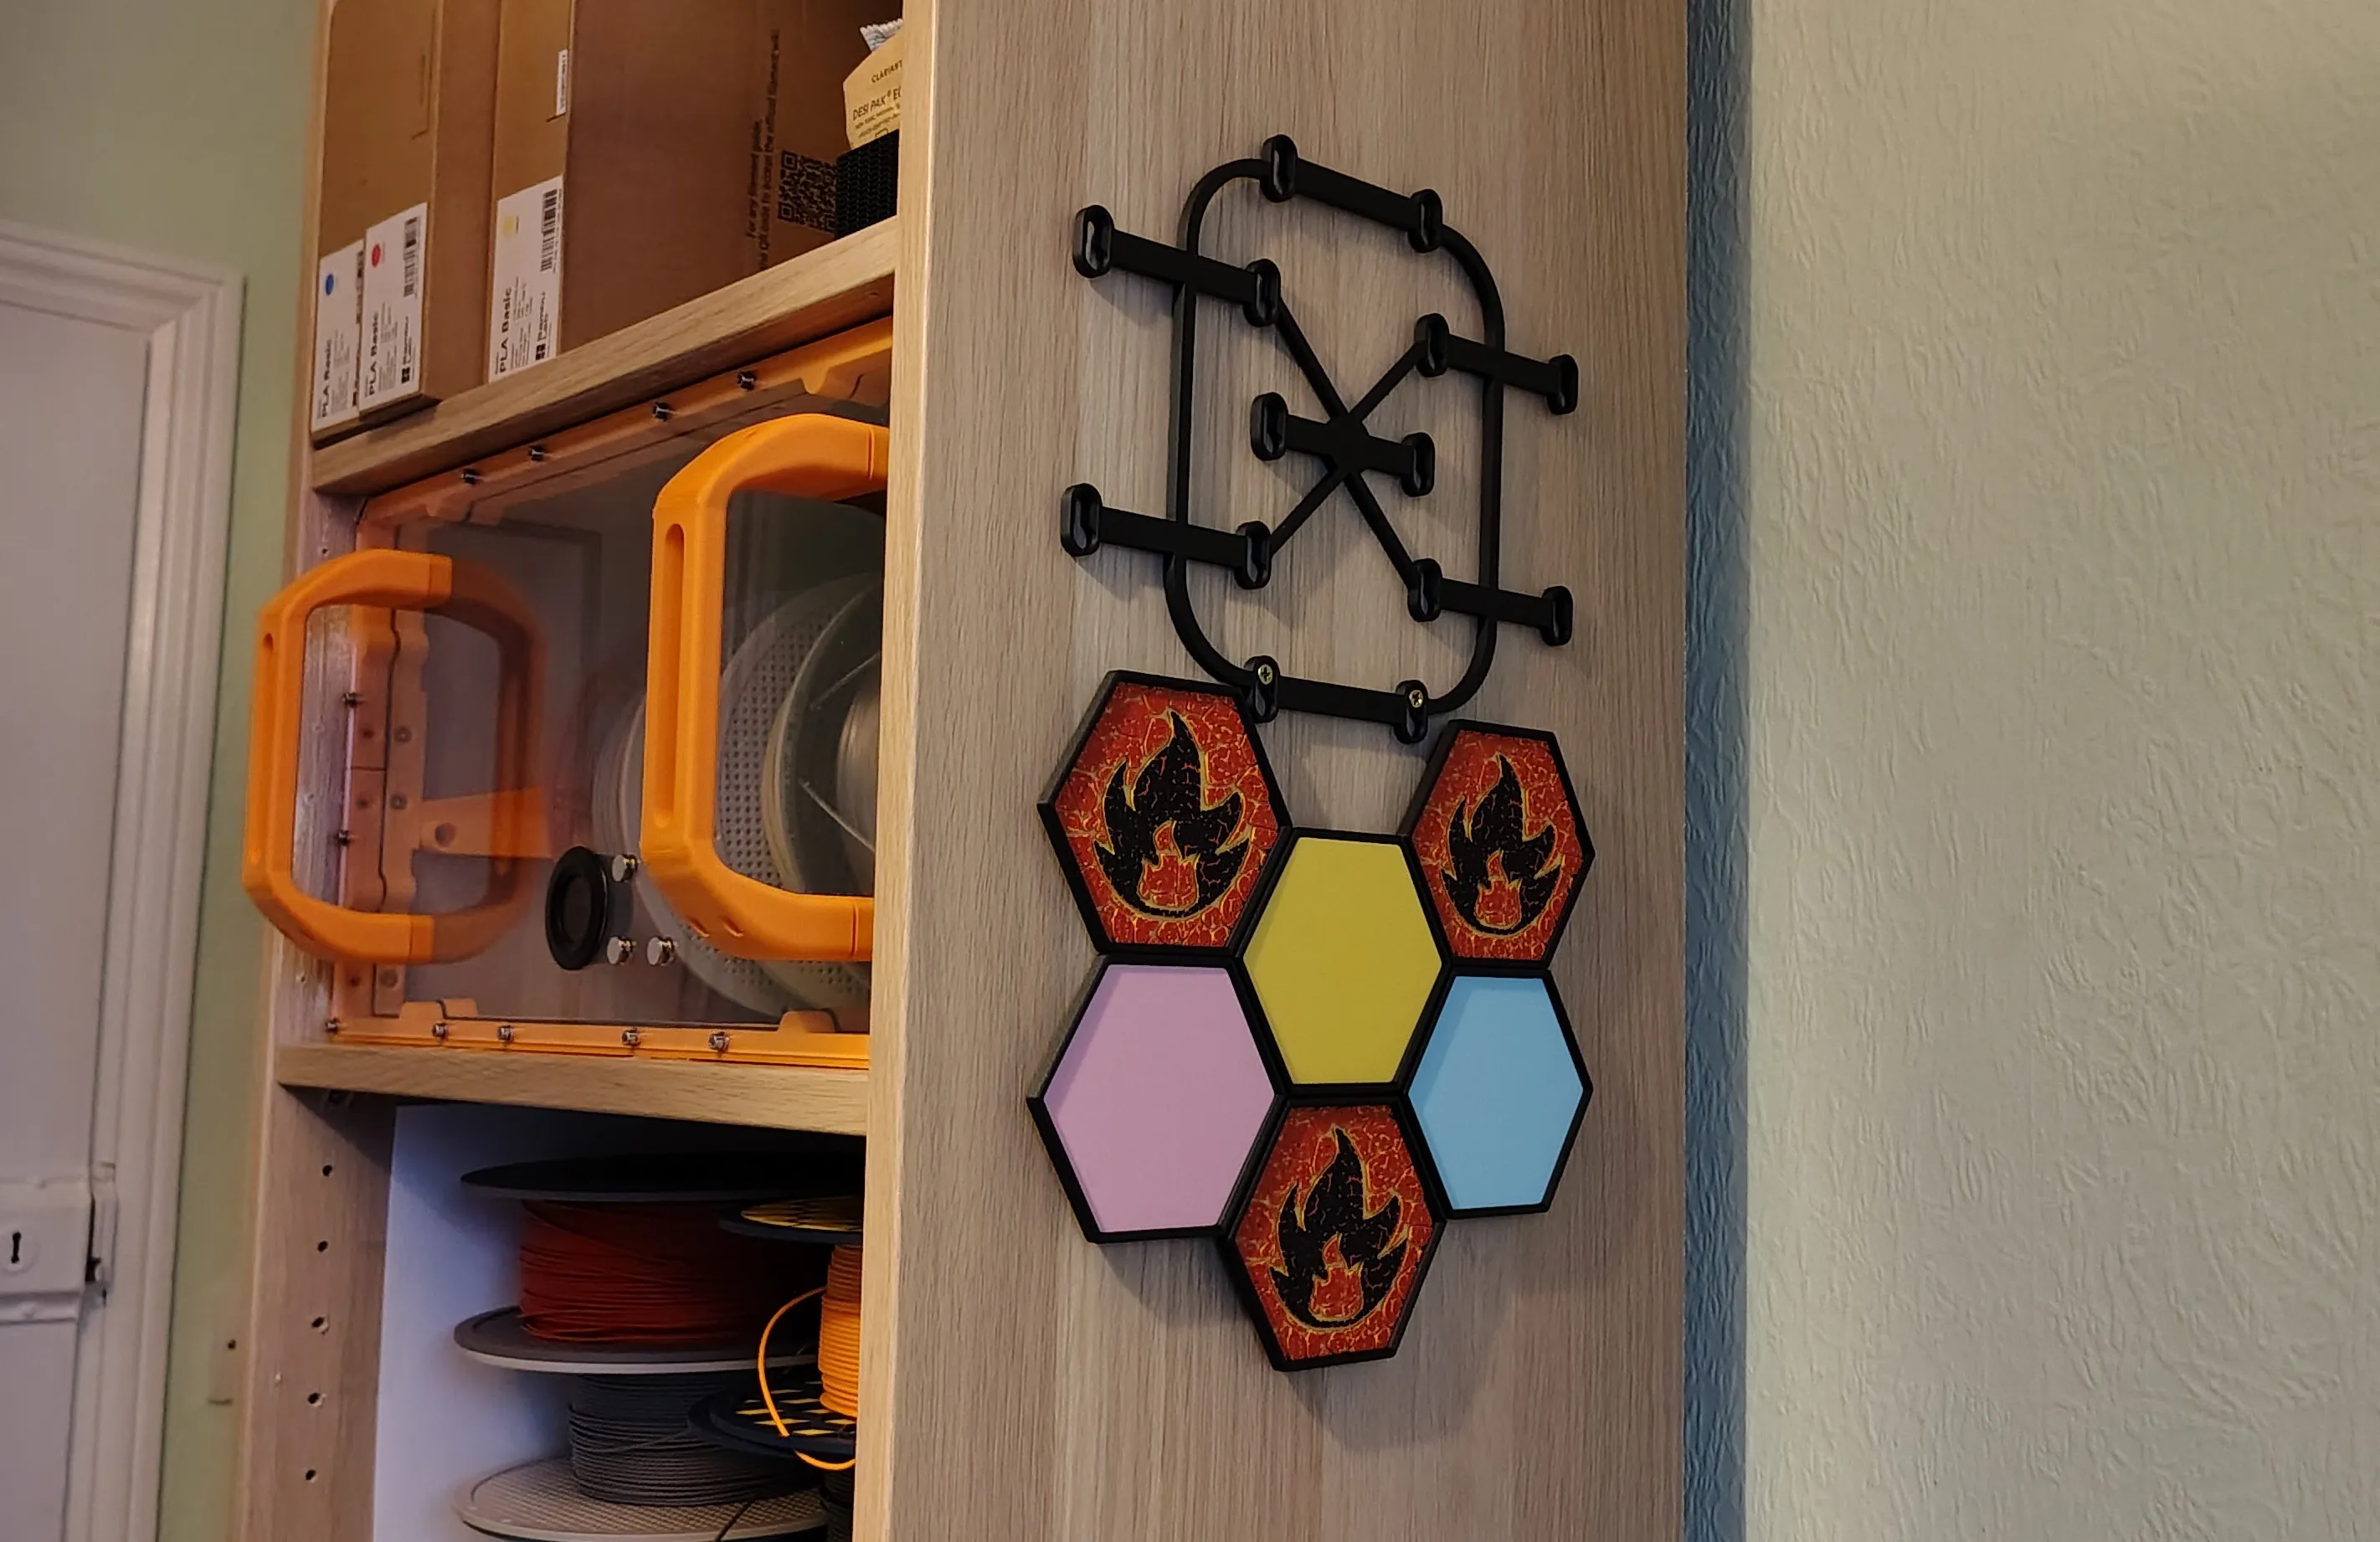
Stackable coasters that can easily be mounted to a wall as an art piece using the integrated screw slots. Based on the Pokemon water energy on a wavy sea. Follow me as I make all of the other elements, next up Grass. The waves look great in Bambu Matte filaments, see below for the ones I used.
Boost Me (for free)
Let me know if you like the design, then I can make all the elements.
Other Element
GRASS - COMING SOON
Features
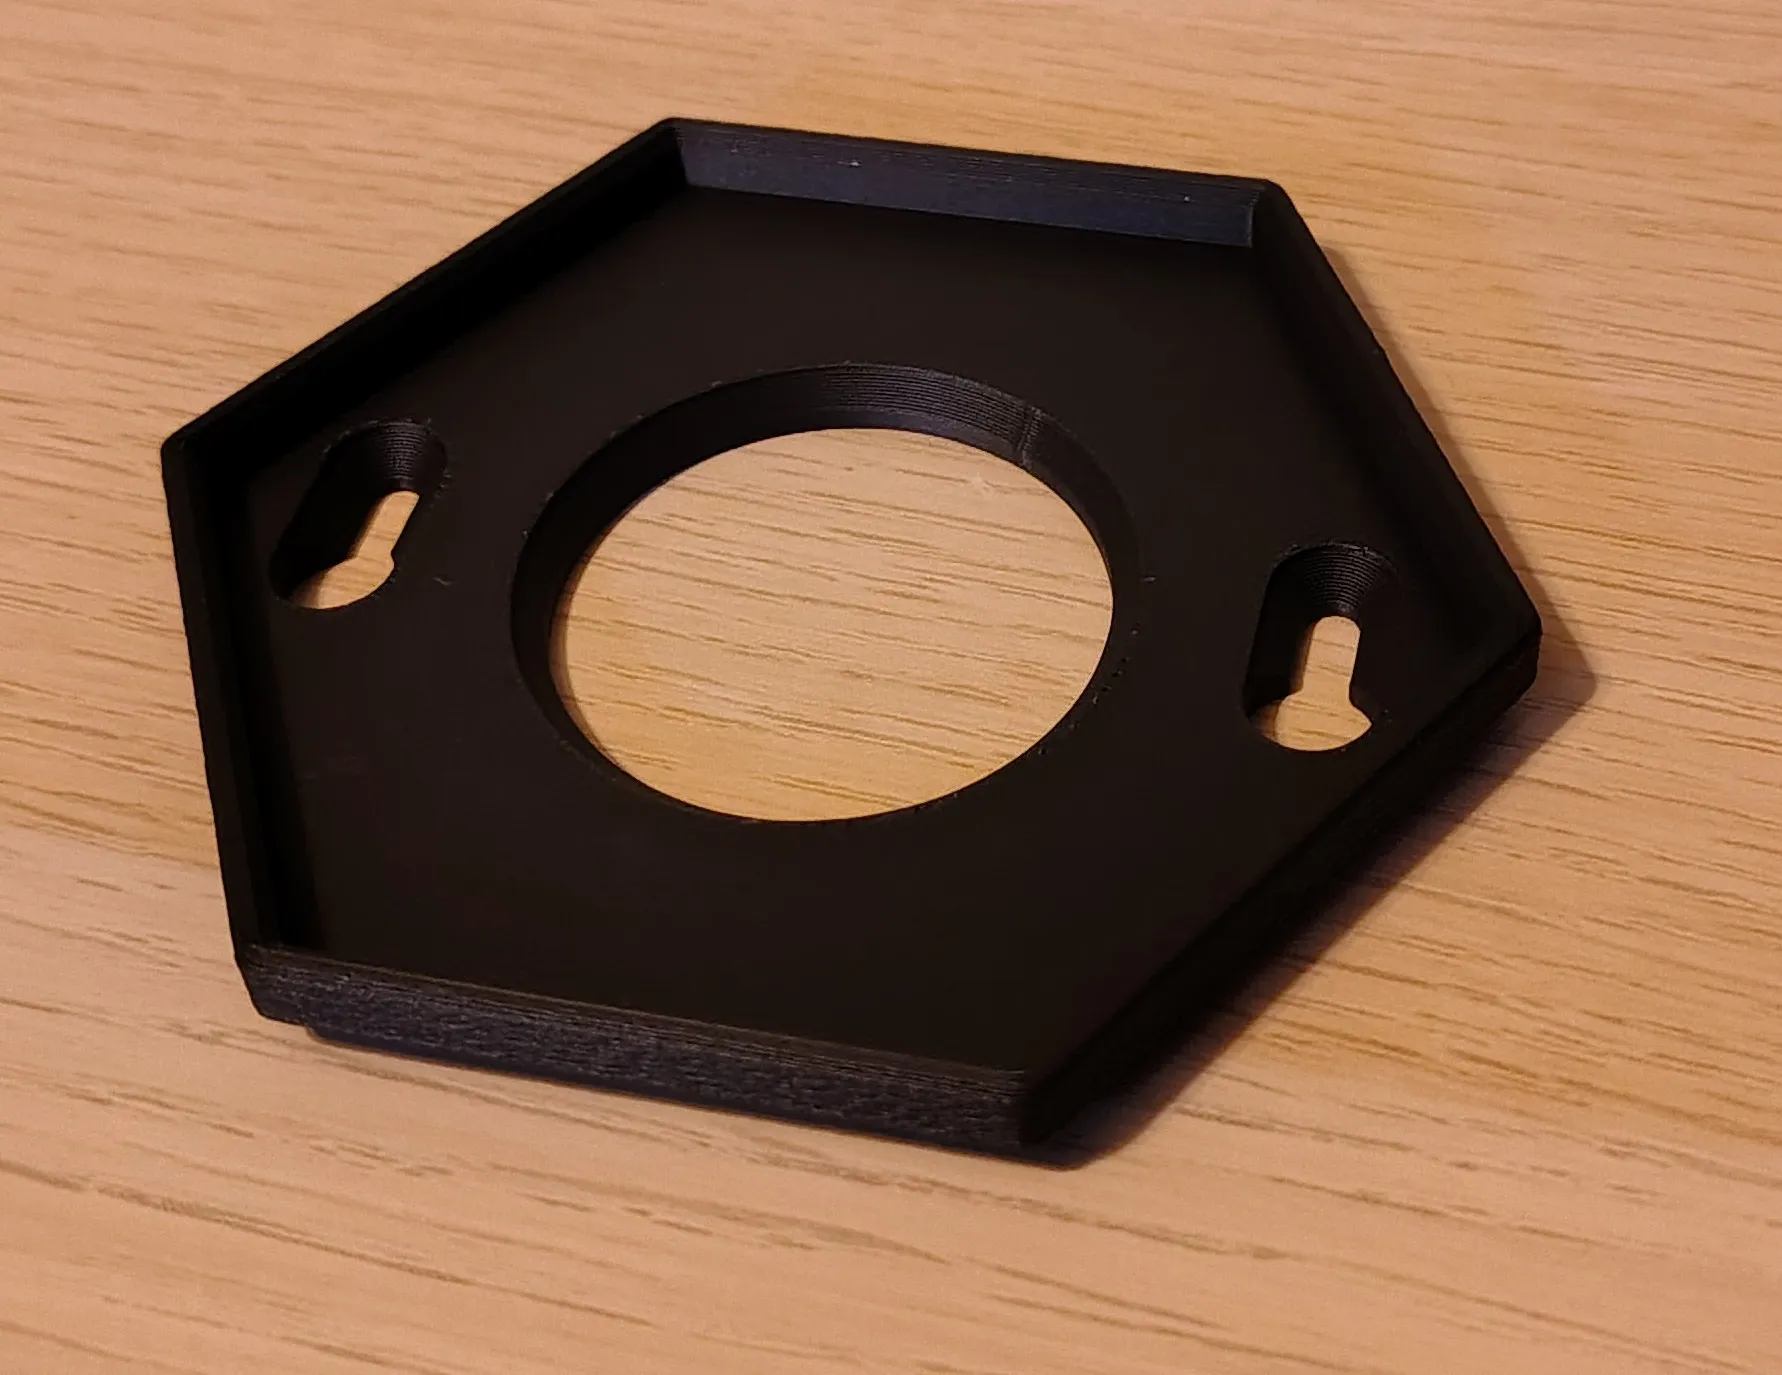
Universal mounting system
My universal mounting system lets you mount any artwork, to be used as either a coaster or wall art. Any artwork that is hexagon shaped, 80mm edge to edge, 2.5mm thick, can be placed into the mount. The mount has slots to hang from two 3.5mm screws. The artwork is usually loose, use glue for a permeant bond, or something like double sided tape if you want to swap artwork.
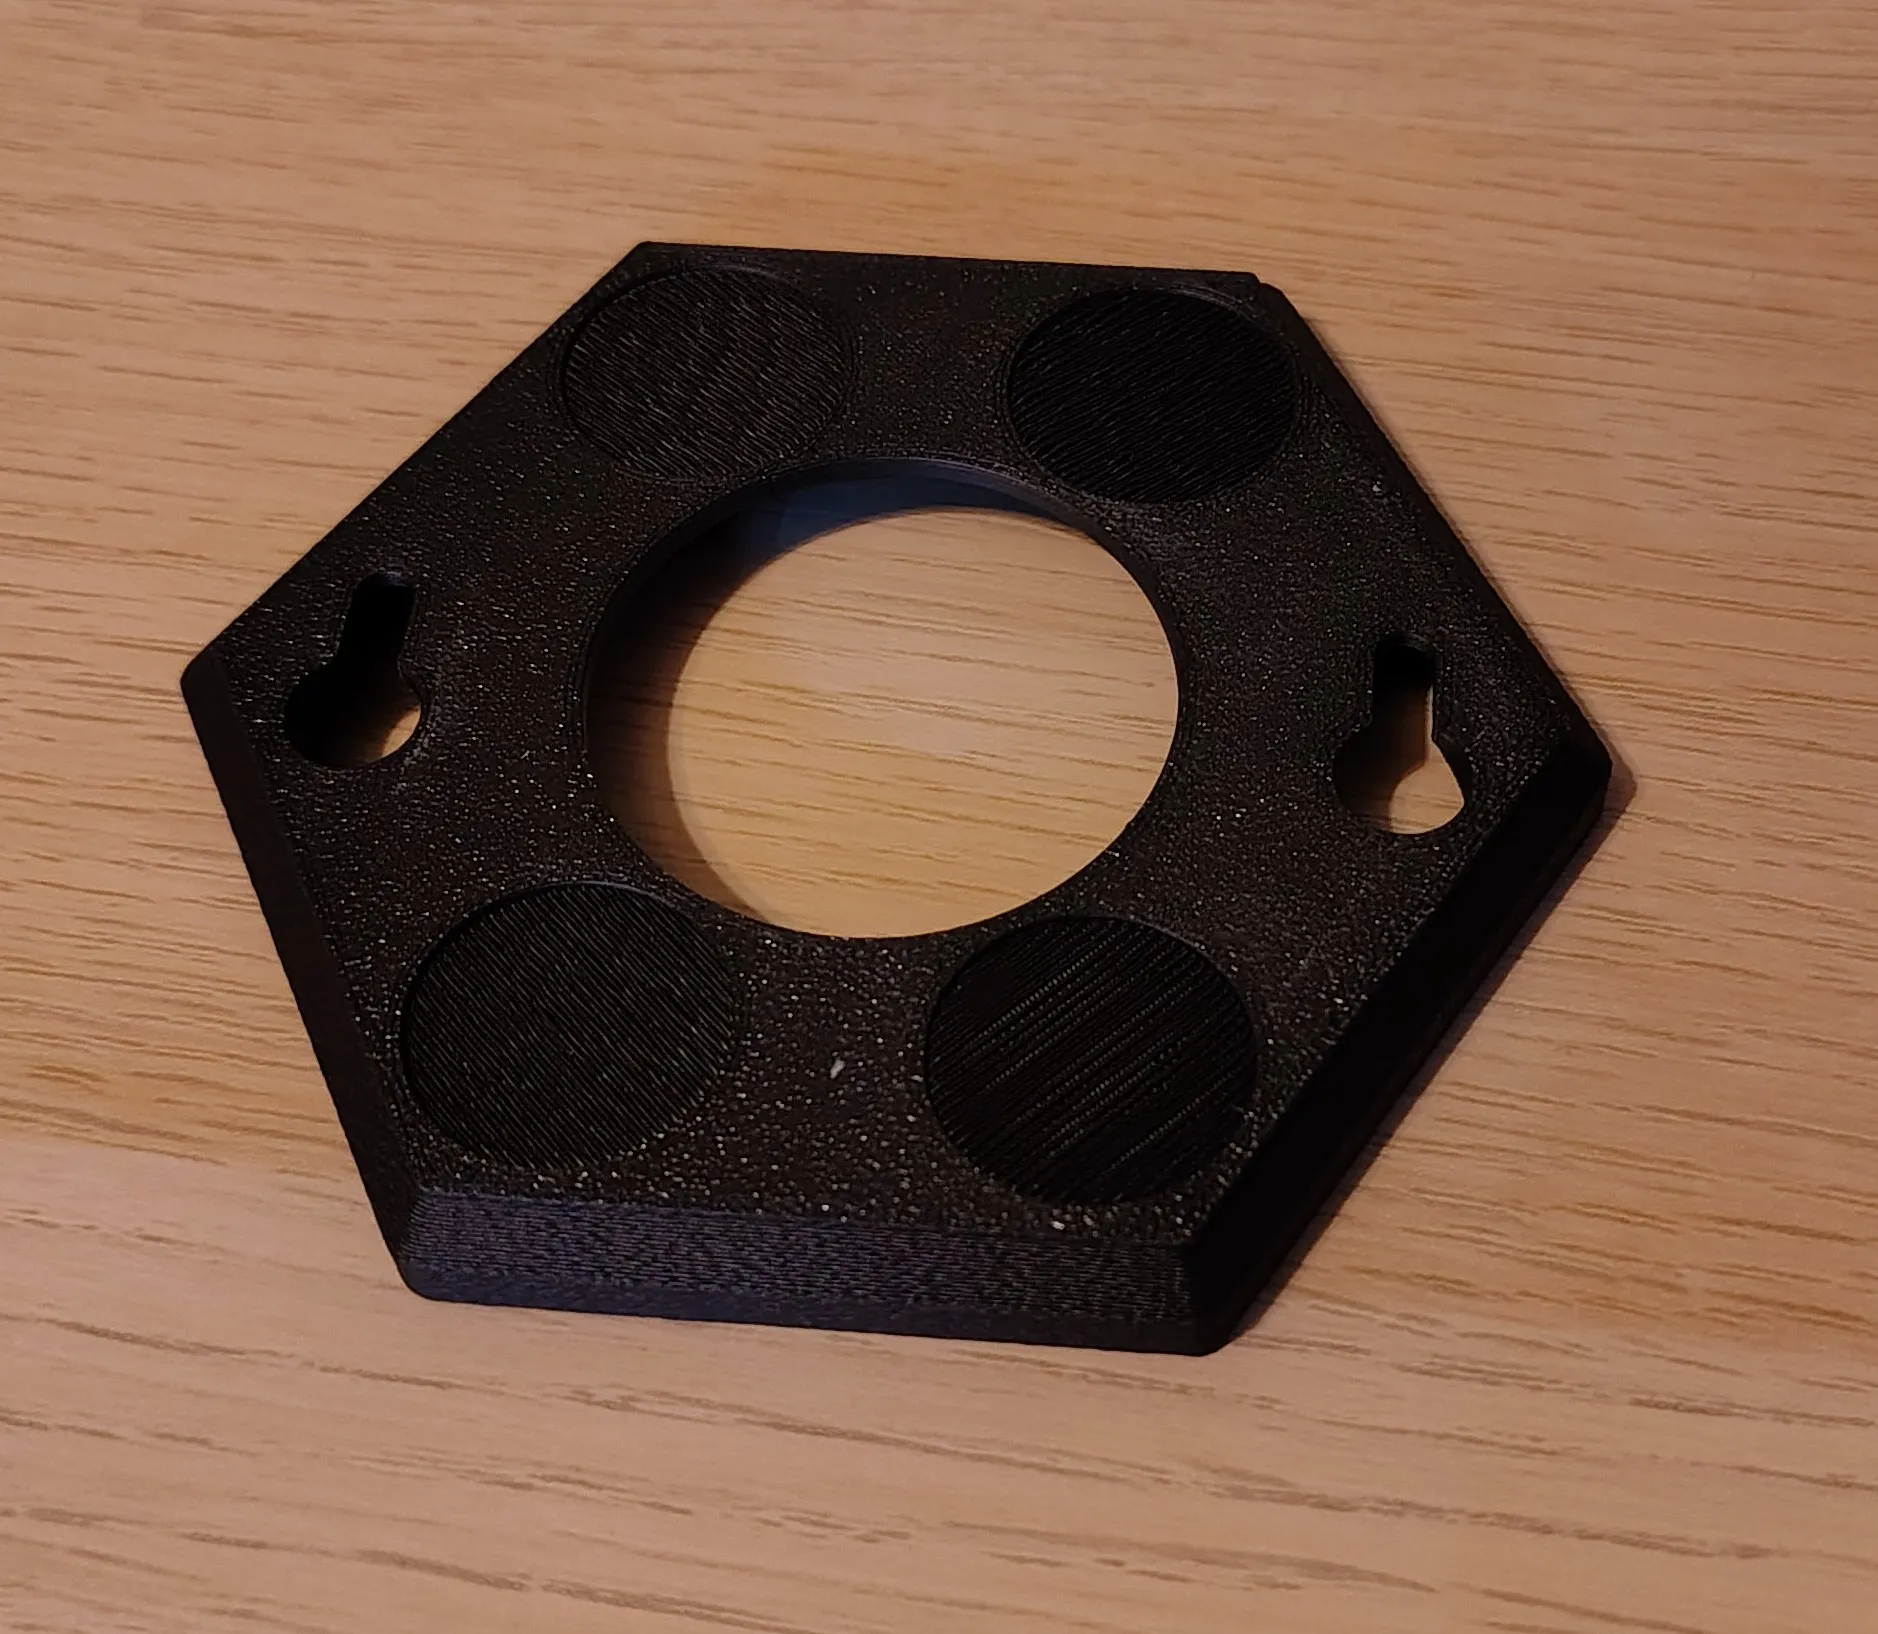
Optional TPU feet
The back comes with spaces to mount 4 TPU feet. These are included in the print profiles but if you want to make your own then they are 20mm diameter and 1mm thick (the cut out is 0.6mm deep). I don't find that you need these but they could help to protect the wall.
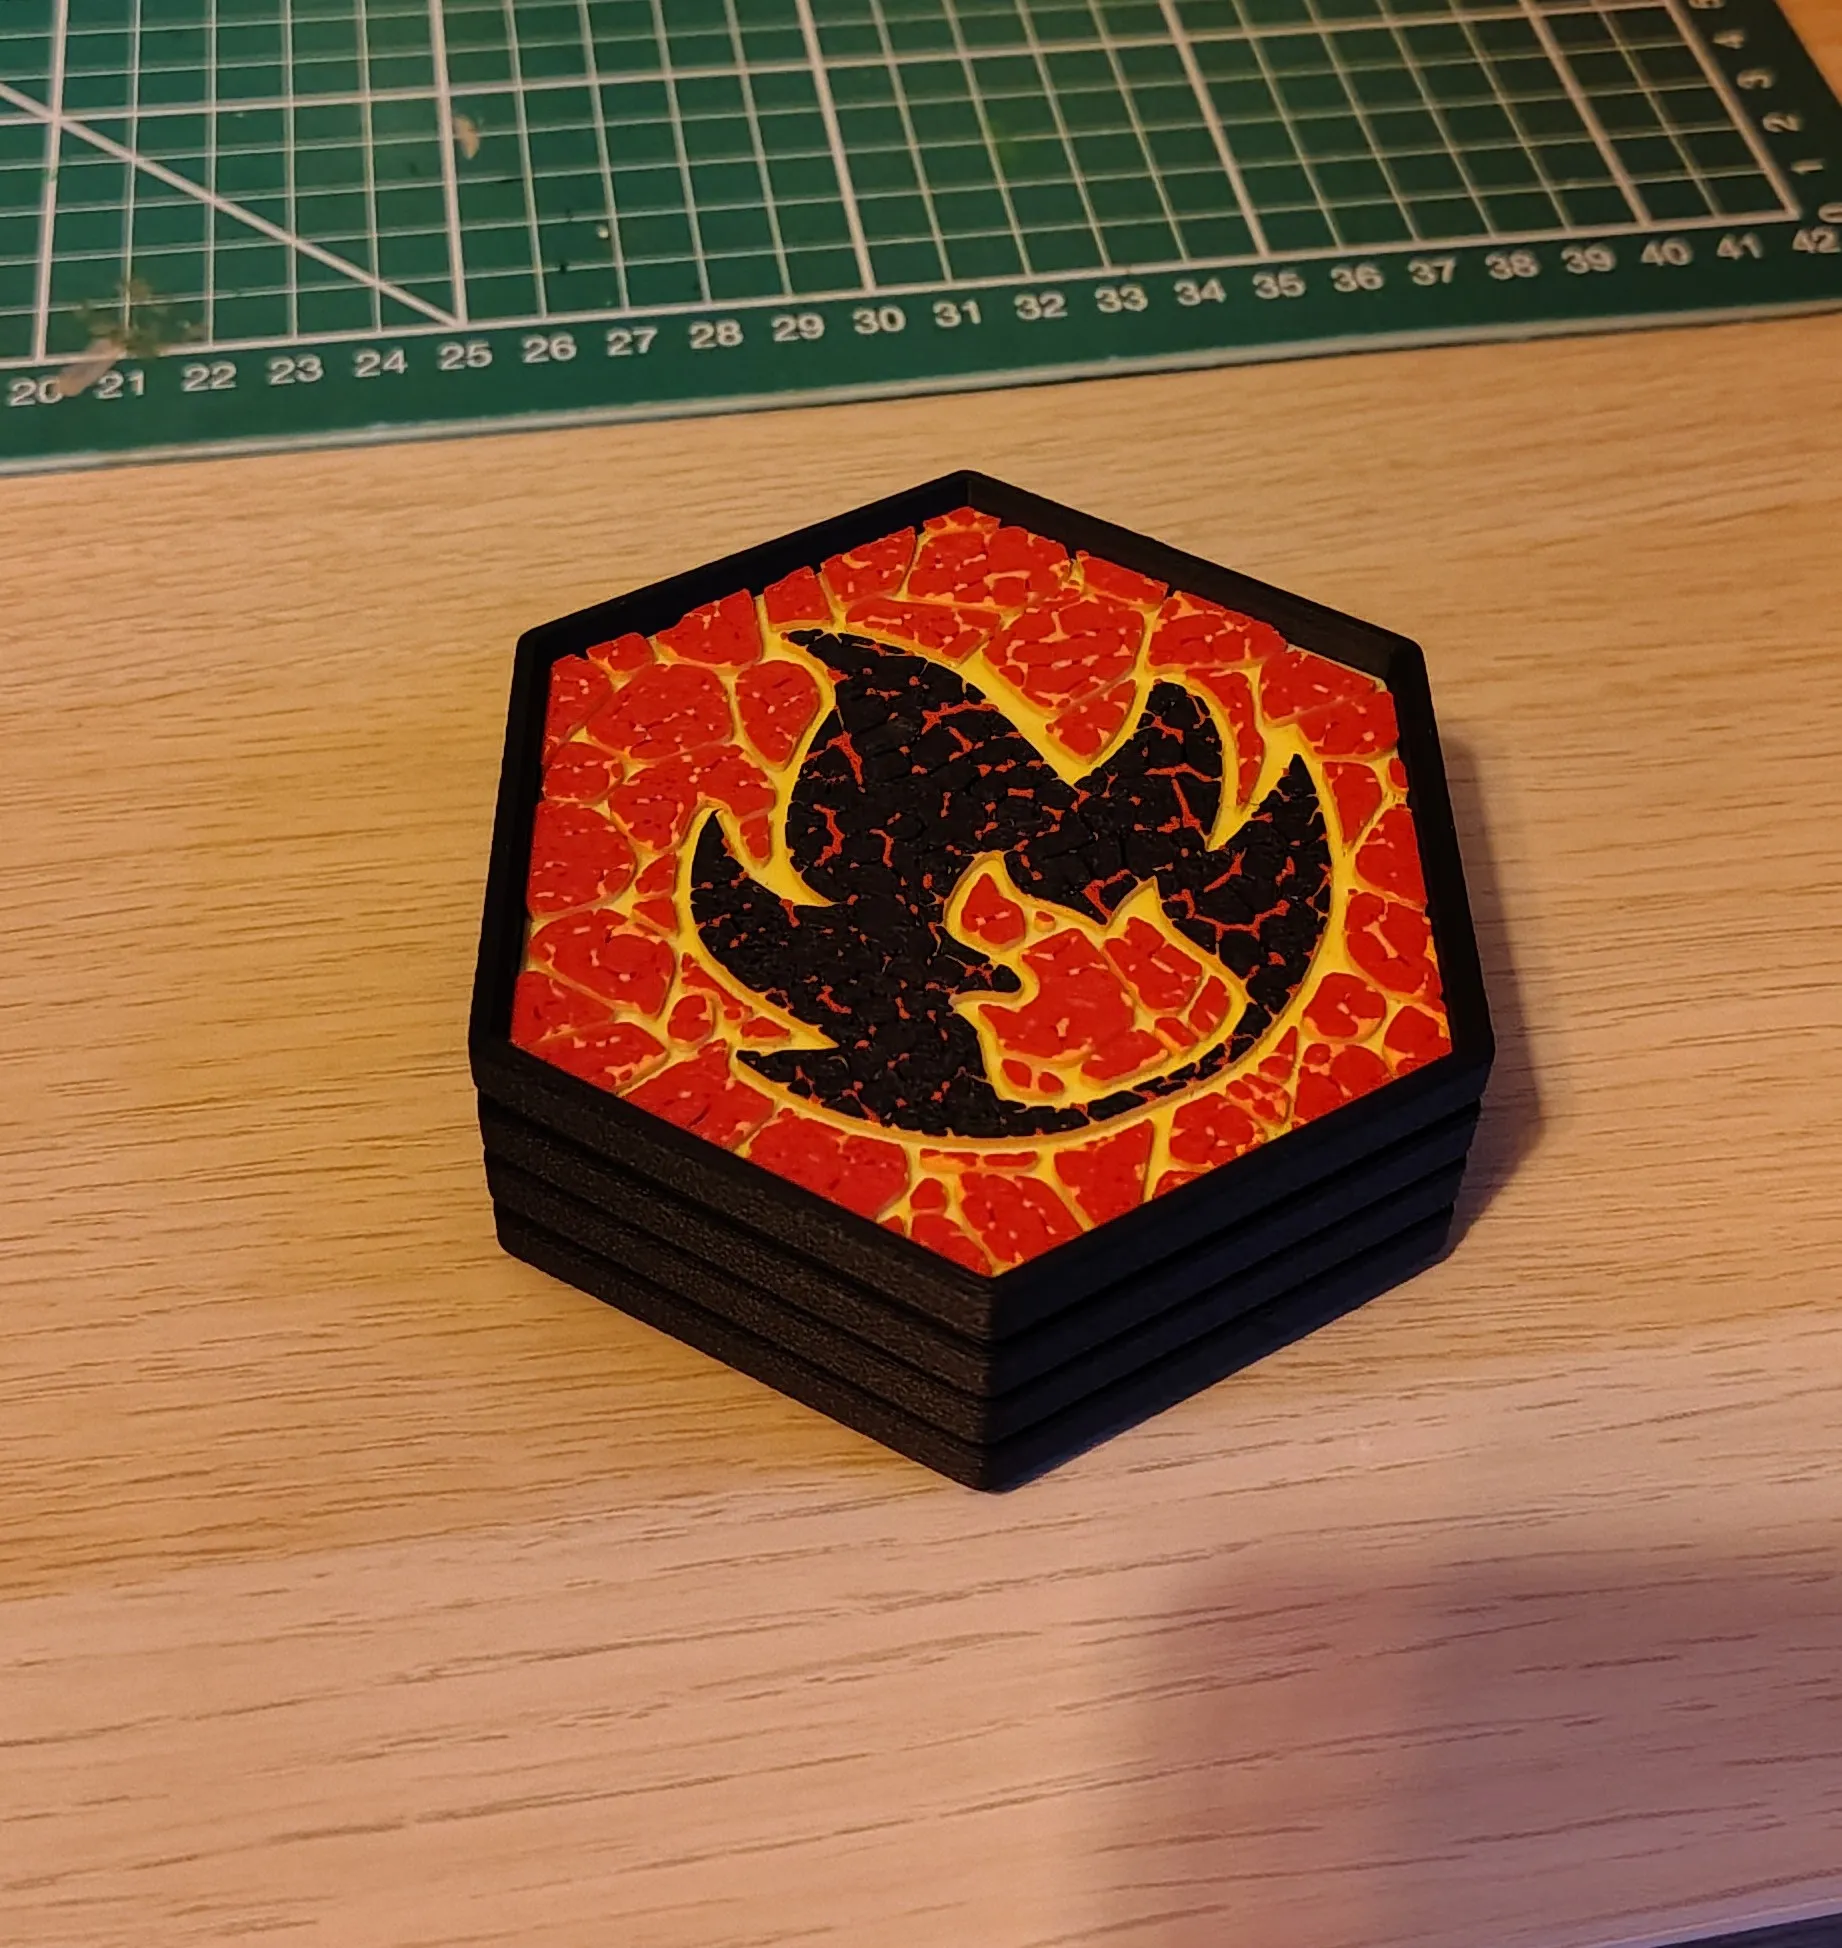
Stackable
The coasters will stack securely inside each other.
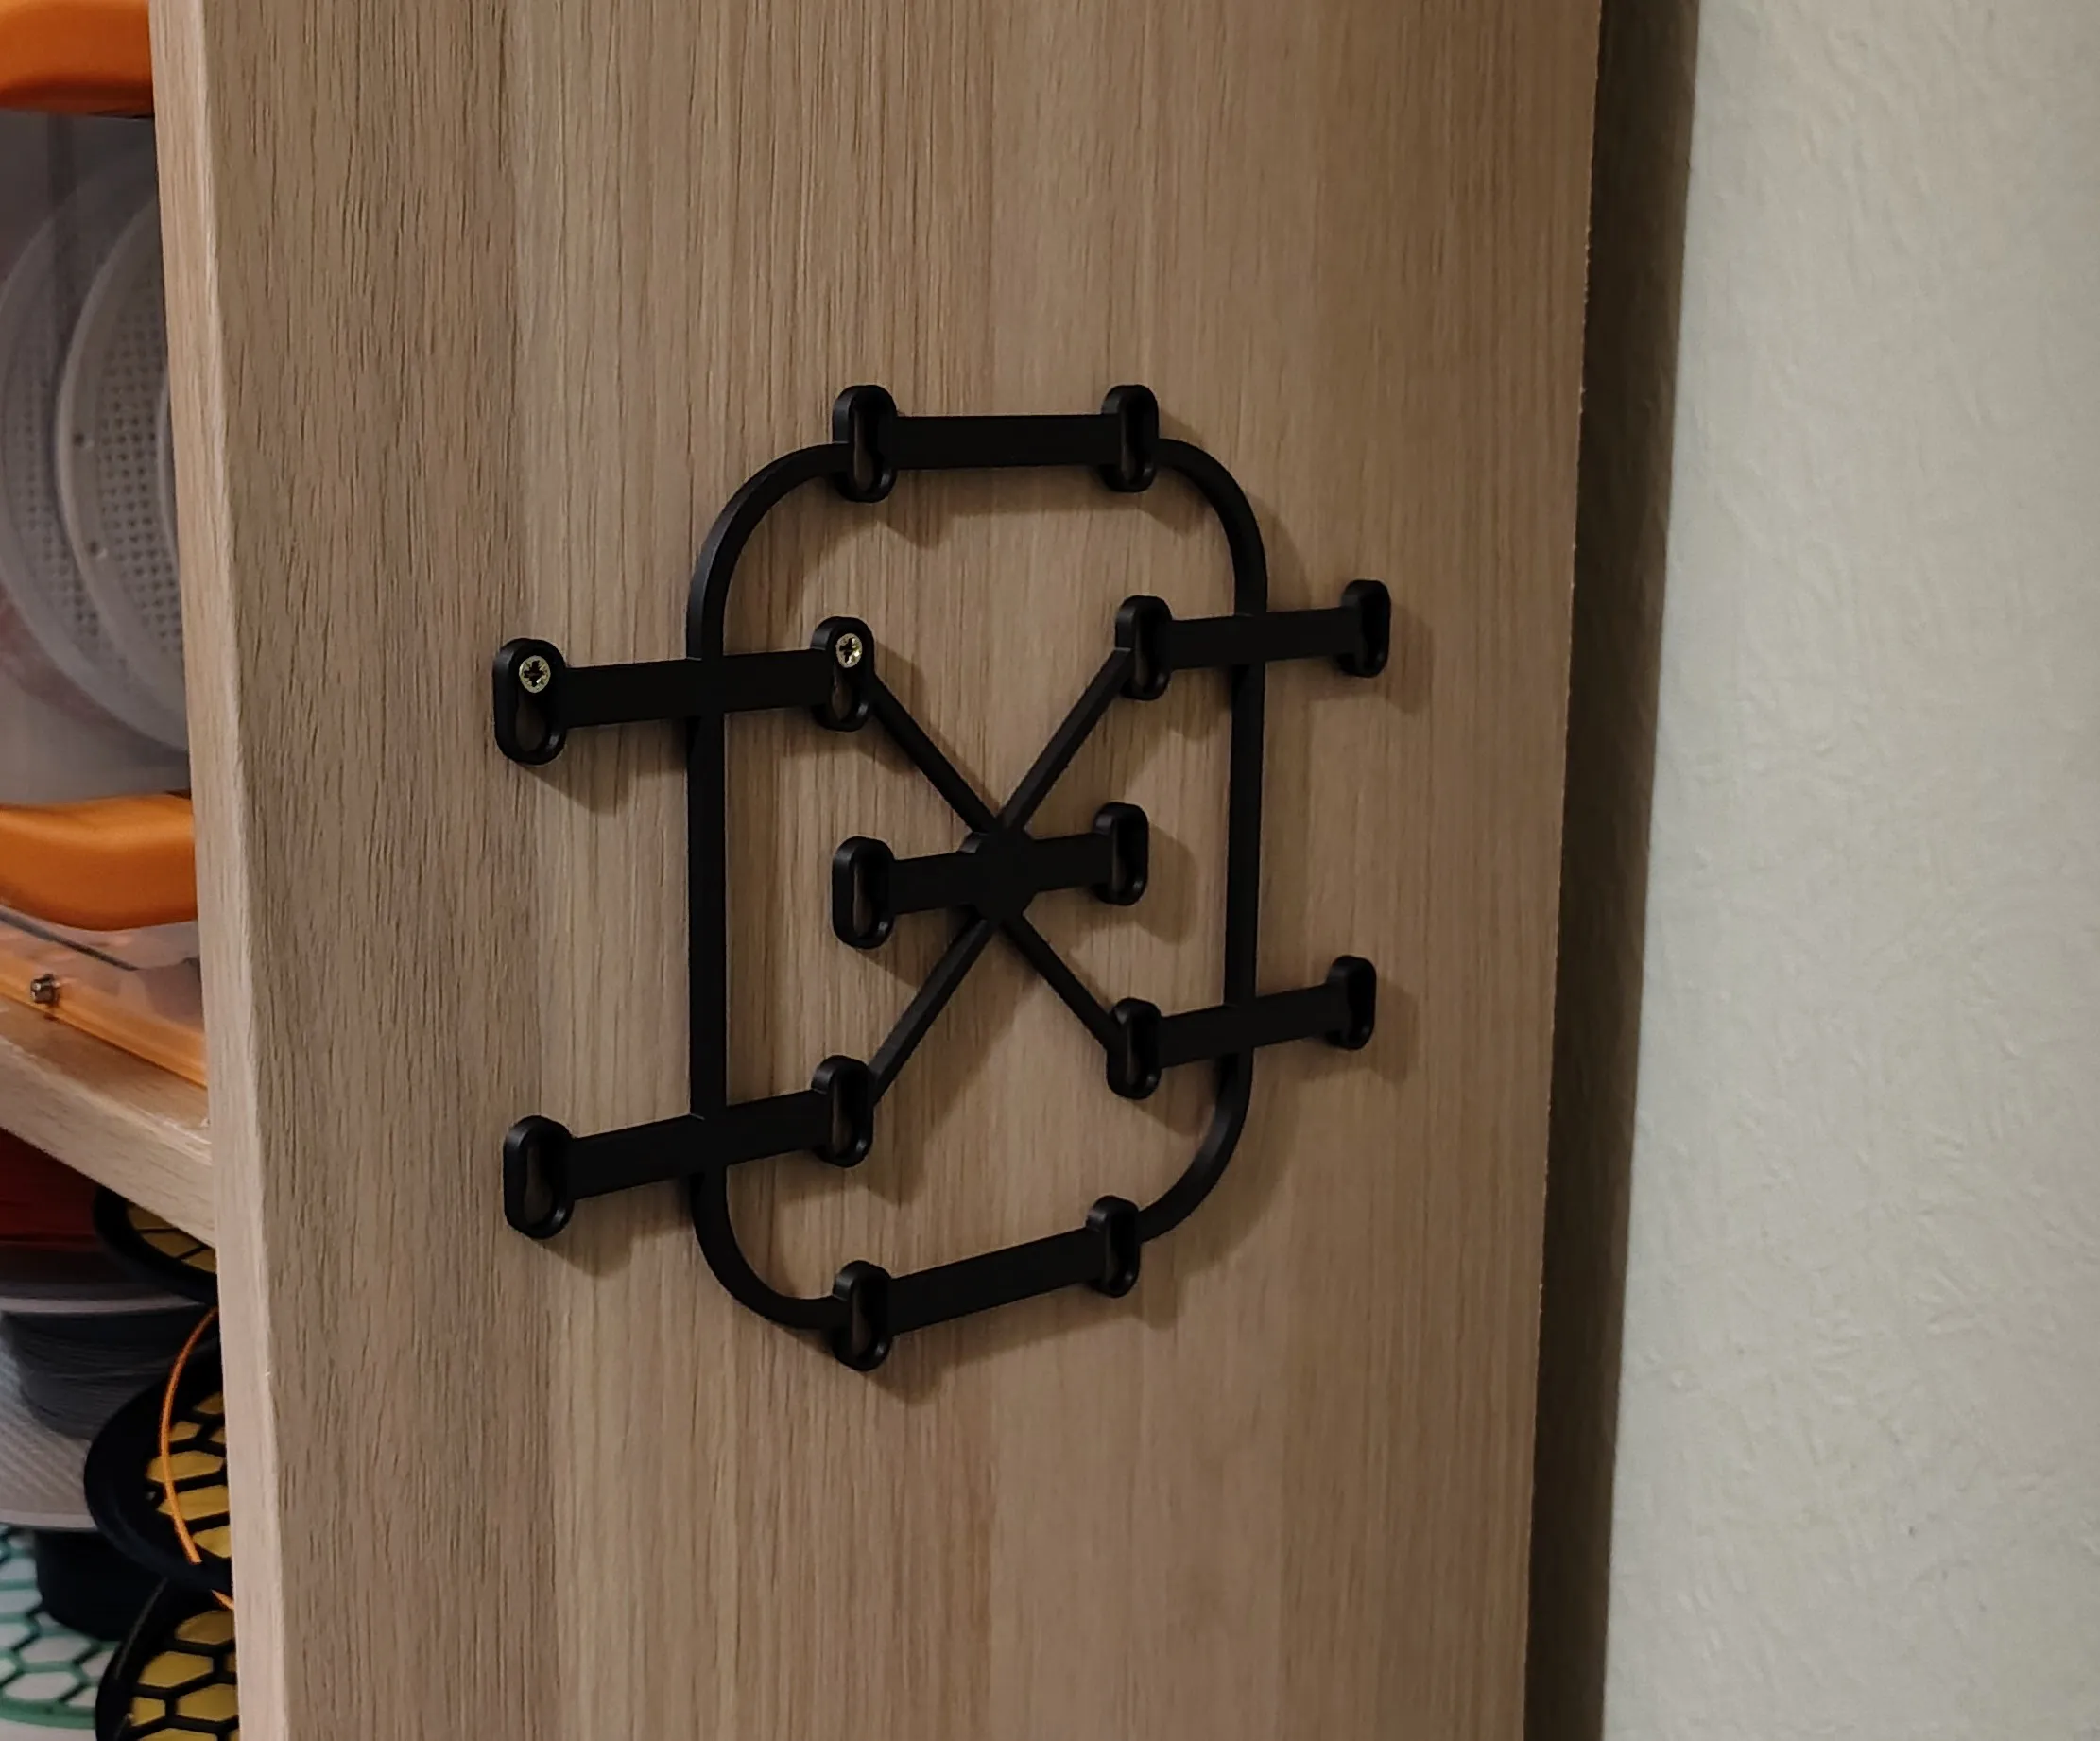
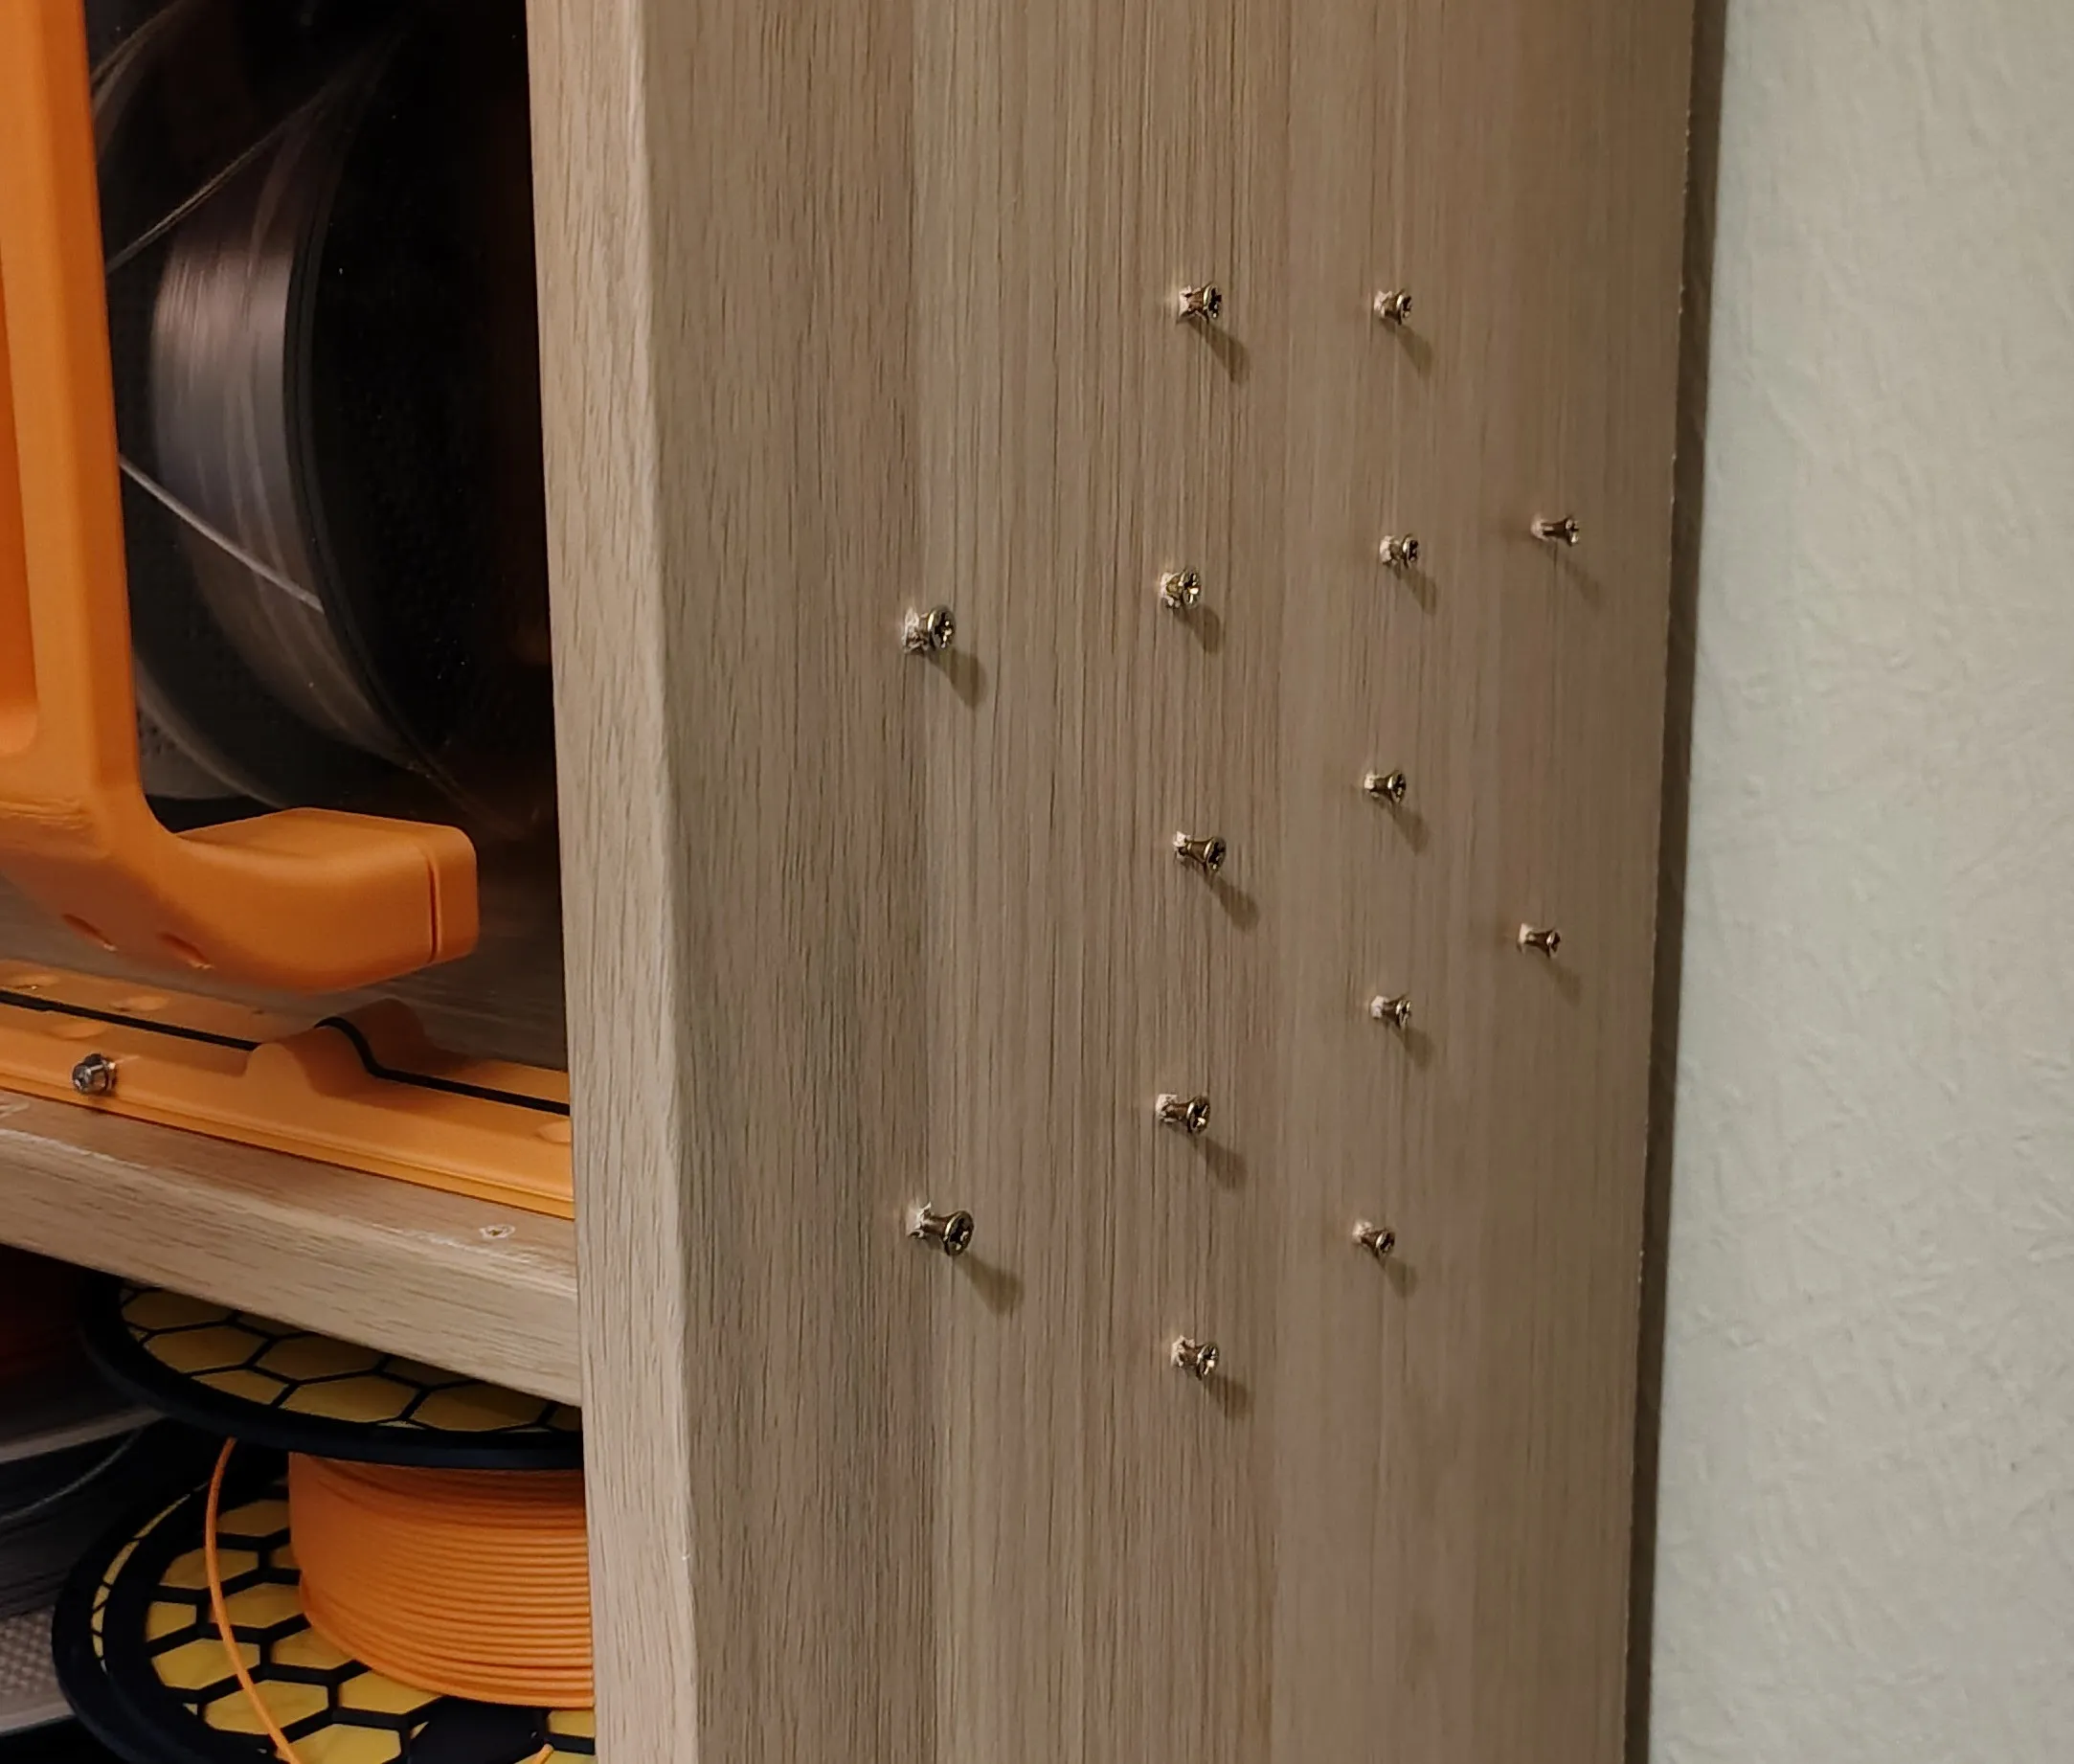
Wall Mount hole Jig
I have included jig that can be used to place holes for wall mounting.
- Find a spot on the wall for your first hex.
- Use the centre hole pair to mark the holes on the wall. (you can use a spirit level on top of the jig)
- Drill out the holes and add screws, don't drive the screws all the way in.
- Hang the jig on the two screws.
- Adjust the screws so that they secure the jig but you can still slide it off.
- Use the other holes on the jig to mark out other holes around the first. This will result in perfect alignment every time.
Get in touch
I am happy to support any issues you may have with any of my models. Let me know if you have any ideas for improvements, or you would like any changes.
License

You shall not share, sub-license, sell, rent, host, transfer, or distribute in any way the digital or 3D printed versions of this object, nor any other derivative work of this object in its digital or physical format (including - but not limited to - remixes of this object, and hosting on other digital platforms). The objects may not be used without permission in any way whatsoever in which you charge money, or collect fees.


Comment & Rating (0)