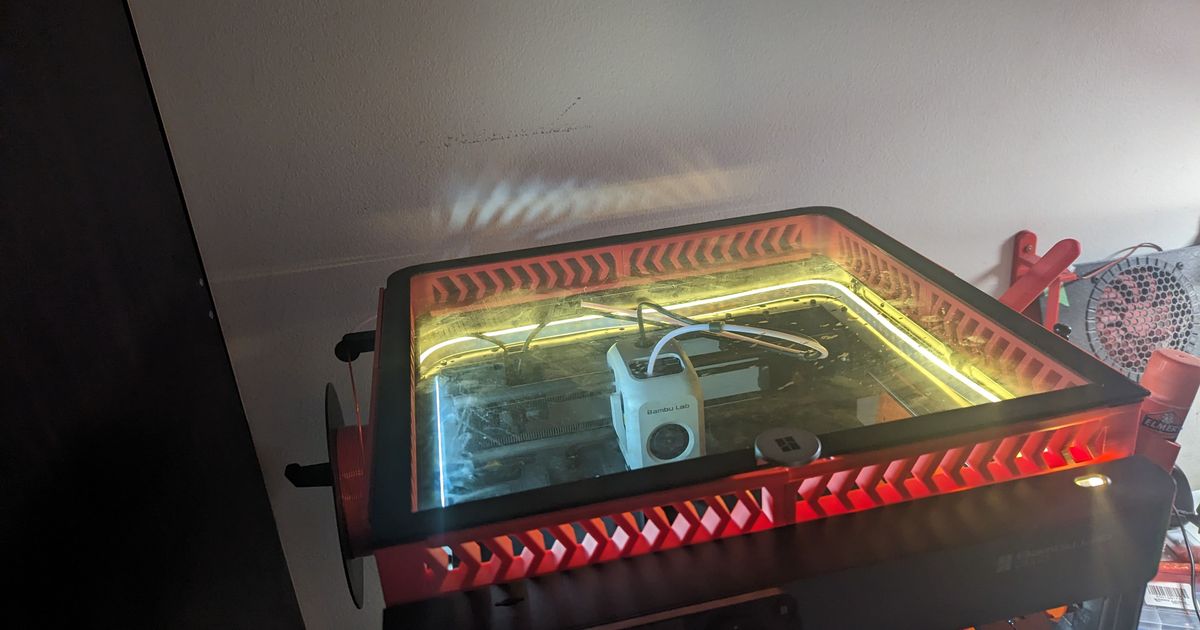
Bambu P1P Glass Top Enclouse
Bambu P1P Glass Top Enclouse


Print Profile(1)

Description
A new low profile version #2 incoming soon with better LED placement and more versatile printing with customization options coming very soon
Slider version now live and available Test prints have been successful and are now good to go. If you encounter any issues please let me know!
- still working on the minor accessories to match the sliding version as it was a complete model rebuild to accommodate them into the old/previous model (will be released in the corresponding folder here)
- Adapting a backplate mechanism to help secure it onto the P1P as they don't have a stable way to attach to the top
- Testing of 2812B LED strips with a BT 5v usb adapter and connectors or seperate power supply unsure of which will work best
- adapting the Backer into a more robust case enclosure (near future design)
Print File Options: (both will fit together)
Note: These will effect the top slotting for LED width, the interior walls will also be different but they will all connect together and not compromise the outside fit/look
Narrow:
- (N) has a 12mm Top Interior Clearance - Available Now
Wide:
- (W) has a 16mm Top Interior Clearance - Available Now (LED portions are coming ASAP)
- (W) v3_2 had wider LED channels then the v3_1 to allow extra light into the channel
Material used:
PETG or higher is recommended if printing higher temp materials
Standard: 360g +/-
Sliding: 425g +/-
Backer: 210g +/-
Settings:
Recommended:
- 0.2mm layer heights,
- 3 walls,
- 10-15% gyroid infill,
- 4 T/B layers,
- 75mm/s outside layer speed for better appearance
- Same as original but with an added LED channel, LED diffuser and LED top cap to add into the P1P frame.
- Works with the X1C glass top and you'll just need to get the TPU pads from the original file!
- Added back channel hole for the X1 series as well to make it compatible with both units
After print:
There are x6-7 0.4x0.8mm interior supports on the bottom to support the sliders during printing.
- Gently apply pressure from the inside back along the bottom of sliders.
- You'll hear several pops as they are broken free
- Use a small screwdriver or tweezers to apply gentle pressure pushing on the ends to help loosen the slides if they are being difficult
- There is an internal locking mechanism in the bottom but there is top and bottom clearance to allow it to slide.
- Slide the pieces together and install onto your machine!
Other pieces are coming soon and will be updated in the respective folders once completed
Associated Files:
Top bracket for Glass or Enclosure: