
10" Rack using 2020 Aluminum Extrusions

Print Profile(1)

Description
Inspiration:
I was inspired after seeing one of Jeff Geerling's videos about mini 10" racks, which led me to the project page he has setup for this here:
https://mini-rack.jeffgeerling.com/
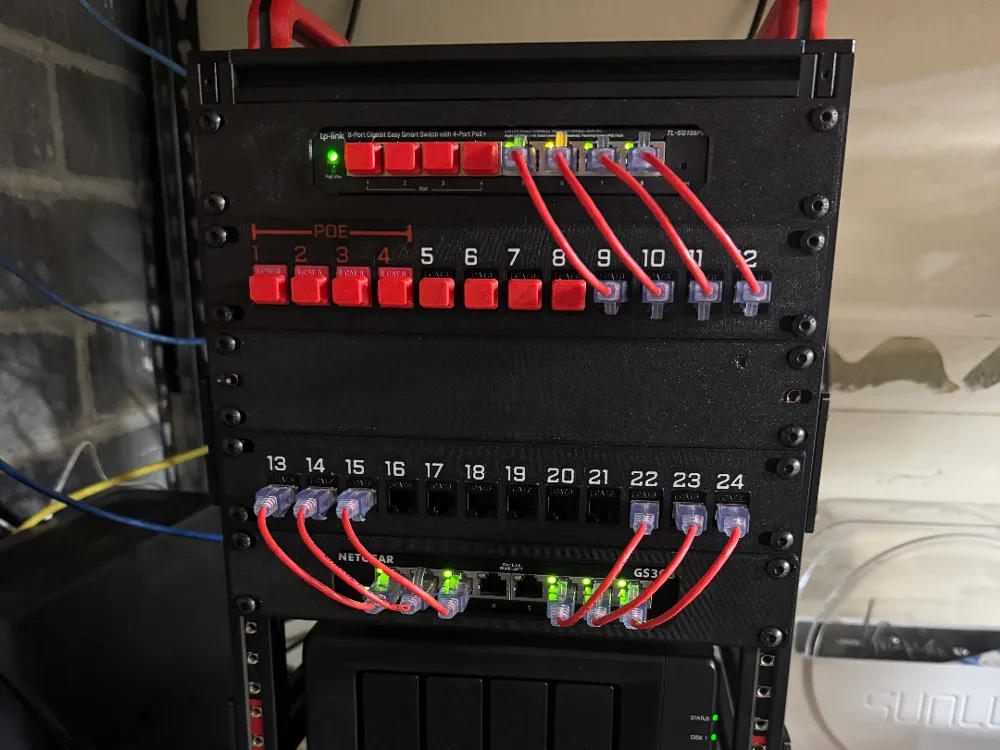
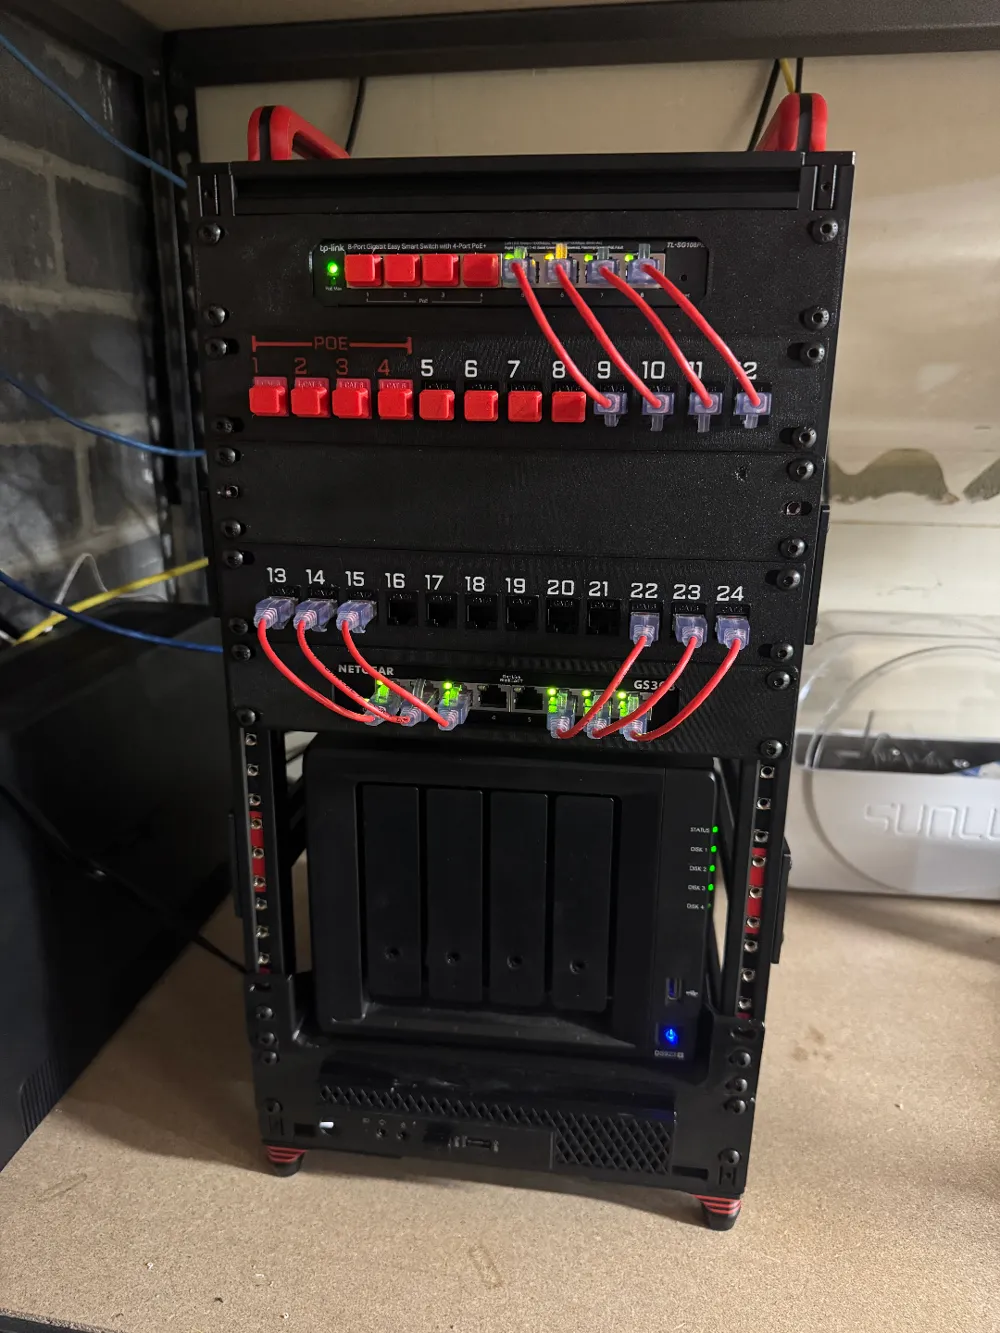
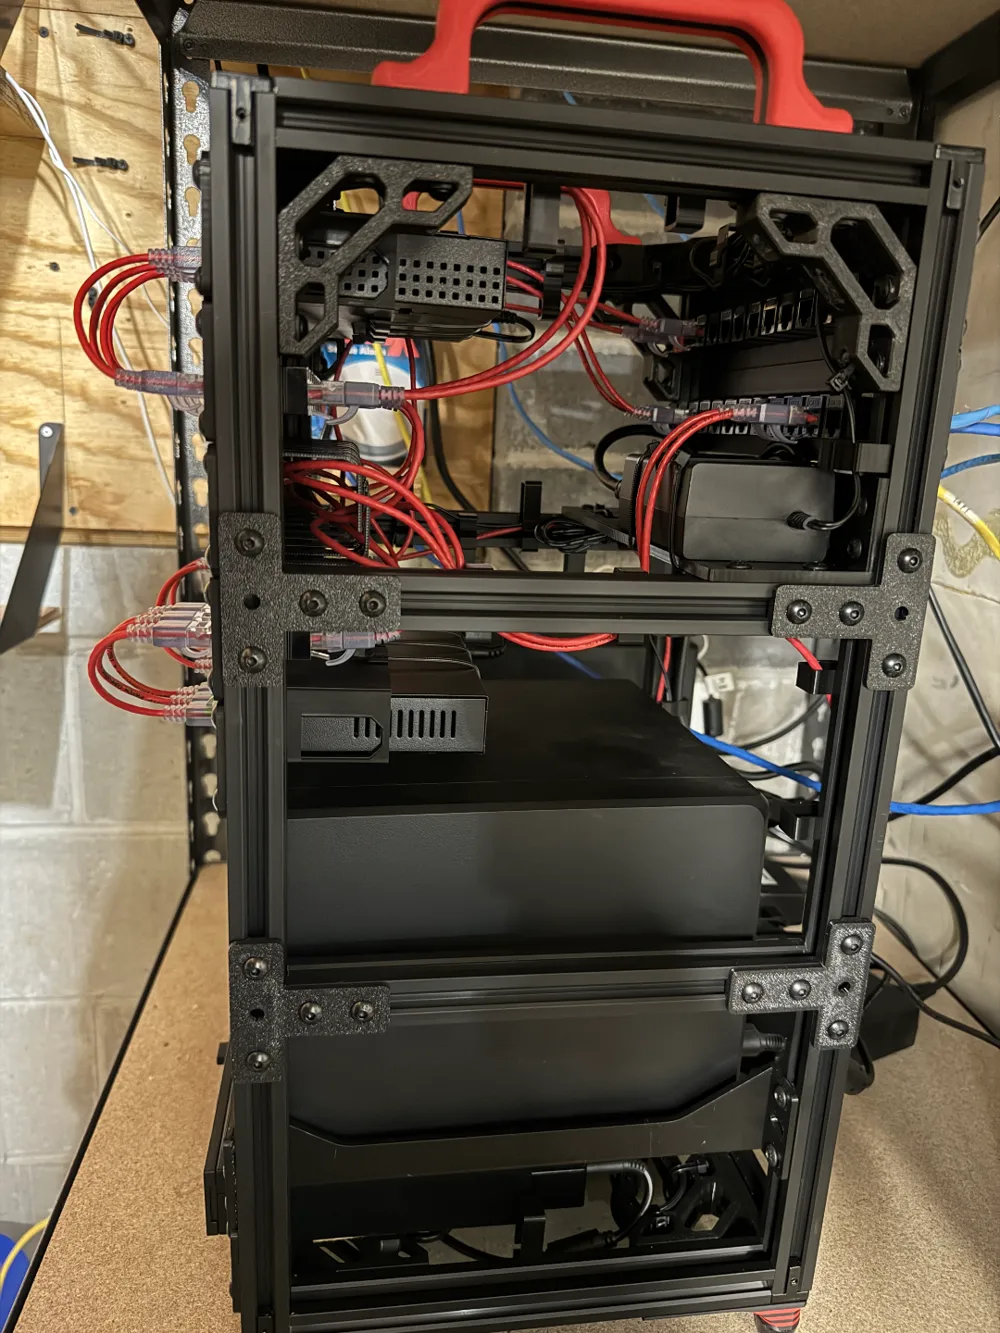
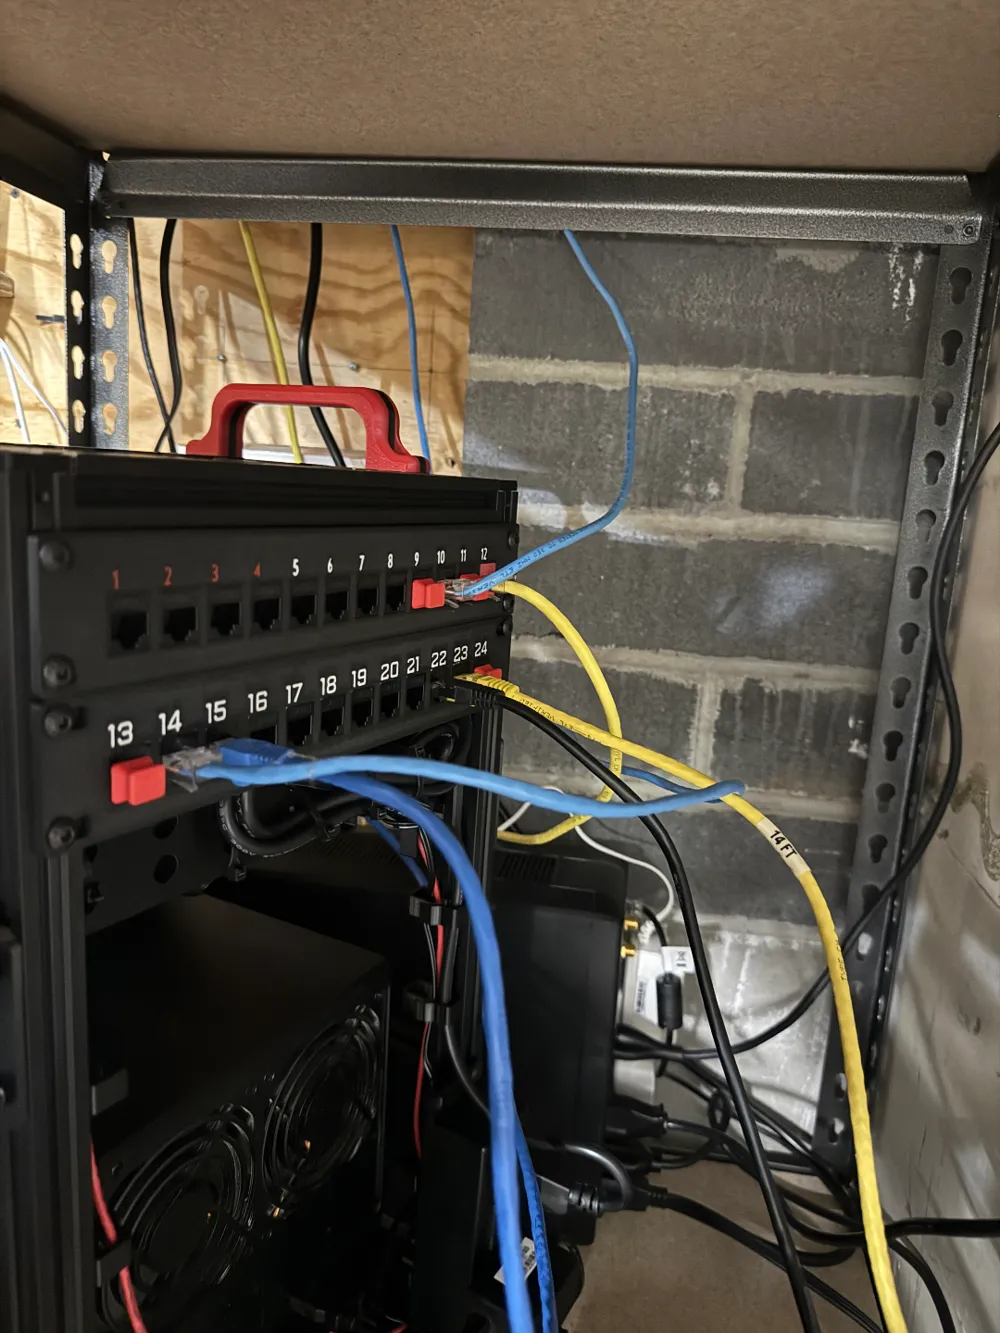
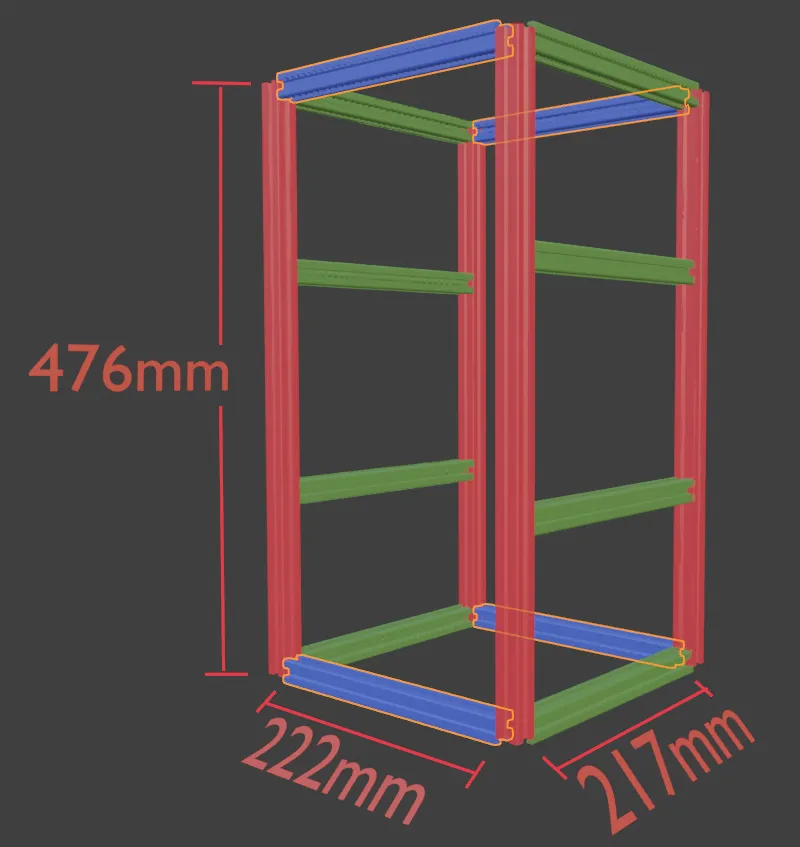
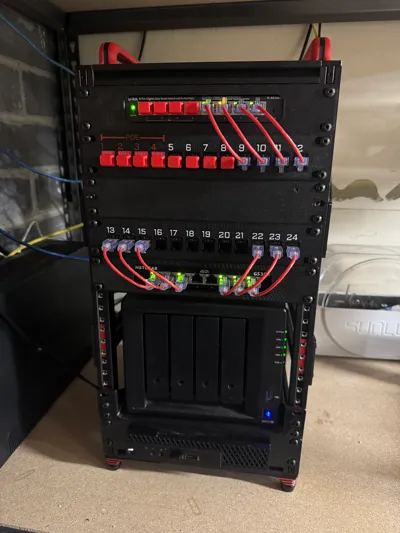
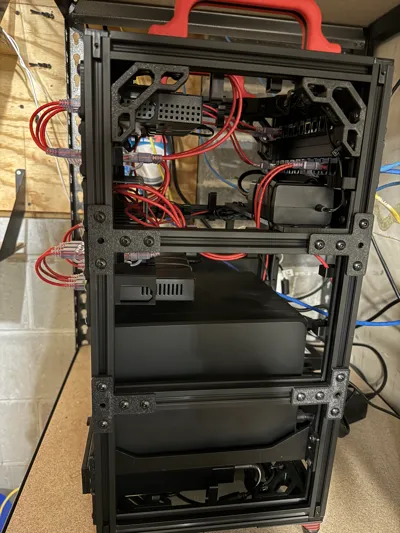
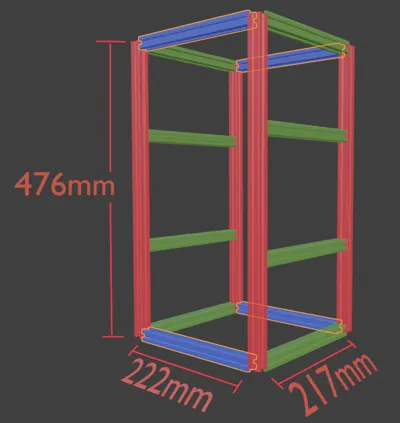
This is my self designed 10" mini rack. I used 2020 Aluminum Extrusions, M5 bolts/t-nuts, 3-way corner connectors, and 3D printed pieces to assemble. The last picture shows the dimensions that the Aluminum extrusions need to be cut to in order to make a 10U rack. You can add or subtract “U”s by adding or subtracting 44.5mm off the longest extrusion pictured.
Hardware used:
(below are Amazon affiliate links that give me a small commission, which is greatly appreciated if used):
2020 Aluminum Extrusions (3,660mm need without the cross braces. 4,528mm needed with cross braces):
M5 Bolts and T-Nuts (I used most of this kit except for the M5x14mm bolts):
3-Way Connectors (this piece was crucial in the basic construction of the frame. Ensure the connections with two prongs go into the longest/vertical extrusion. The flat piece would be facing the ground/ceiling.):
M5 Anti-vibration feet:
M5x10x7 heat-set inserts (these are used in the feet pieces to attach the anti-vibration feet):
Ethernet cables used:
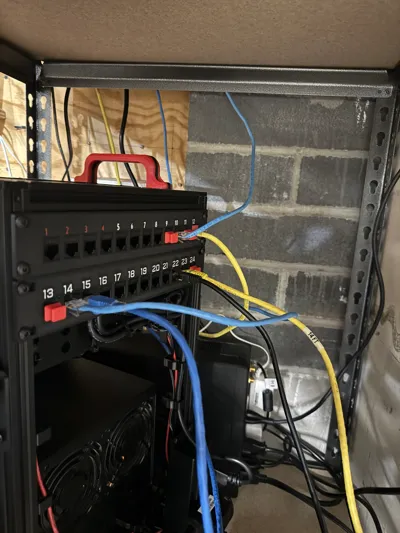
4 port power strip (I drilled the mounting holes larger, and mounted to the rear of the rack):
Base Rack Frame:
This page that you're on has the print profile/files for the components I designed to make the rack itself. I used a couple of other models created by other people linked below.
2020 Extrusion 1U T-Nut Holders (I designed these but forgot to include them in this print profile). You will need 2 for each U, one on each side. Also, nothing stopping you from putting them on the rear also, but I did not. I recommend printing in alternating colors to easily identify where each U starts and ends:
https://makerworld.com/en/models/1080346#profileId-1071983
Strong corner brackets (I placed 4 on the inside of both the top and bottom. Also 4 more on the sides at the top to ensure nothing comes apart when carrying with the handles.):
https://makerworld.com/en/models/694515#profileId-623362
These cable management clips are pretty good. I remixed them and made them better (in my opinion), however the model doesn't allow remixes, so I can't share these clips I used:
https://makerworld.com/en/models/638270#profileId-563834
Ethernet port dust covers for ports not in use currently:
https://makerworld.com/en/models/768313#profileId-703806
Things that populate my rack pictured:
My remixed patch panel (Two on the front, and two on the back):
https://makerworld.com/en/models/1080303#profileId-1071931
TP-Link TL-SG108PE mount:
https://makerworld.com/en/models/1081262#profileId-1073026
NetGear GS308 Mount:
https://makerworld.com/en/models/1081245#profileId-1073007
Dell Optiplex Micro mount:
https://makerworld.com/en/models/1081252#profileId-1073015
1U Blank, with rear cable management (used between the patch panels to tidy the cables):
https://makerworld.com/en/models/1081233#profileId-1072997
Conclusion:
I'm happy to answer any questions you may have on this. I encourage you to build mounts for devices you have in your lab, and share with the community!
Boost Me (for free)
Designing and documenting all of this was quite a bit of work, and I'd greatly appreciate you giving my model/s a boost if you have any! (multiple if you're feeling generous)
License

You shall not share, sub-license, sell, rent, host, transfer, or distribute in any way the digital or 3D printed versions of this object, nor any other derivative work of this object in its digital or physical format (including - but not limited to - remixes of this object, and hosting on other digital platforms). The objects may not be used without permission in any way whatsoever in which you charge money, or collect fees.


Comment & Rating (26)