
Bambu A1 / A1 Mini Accessory / Tool Case

Print Profile(3)


Bill of Materials
Description
Boost Me (for free)
If you like my model, I would appreciate it if you could click on
Bambu A1 / A1 Mini Accessory / Tool Case
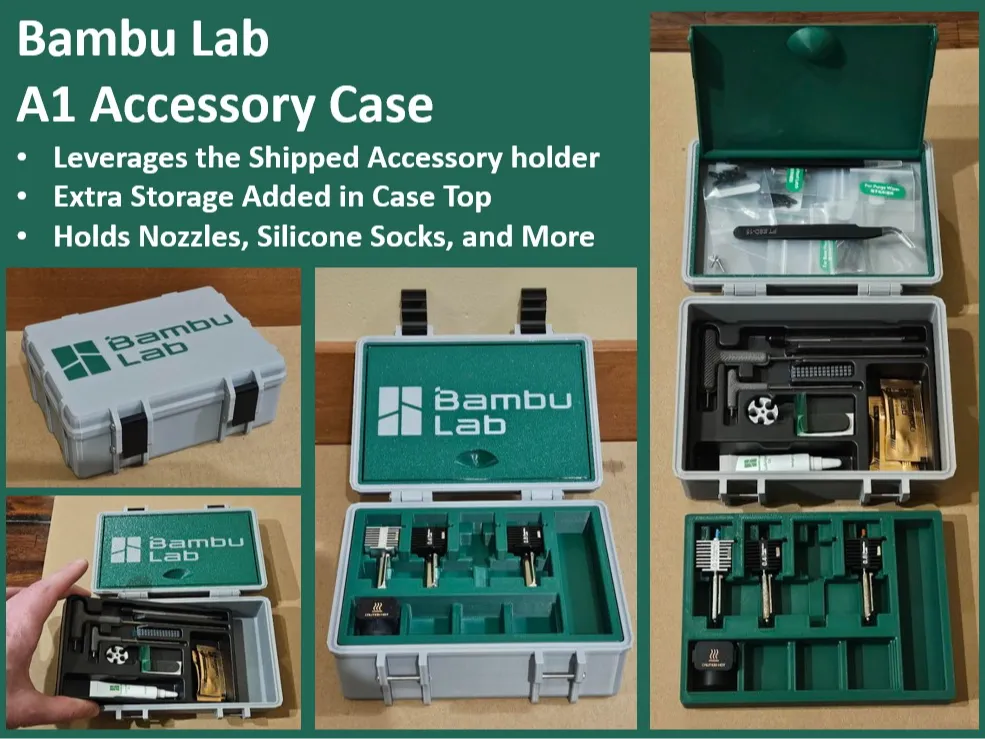
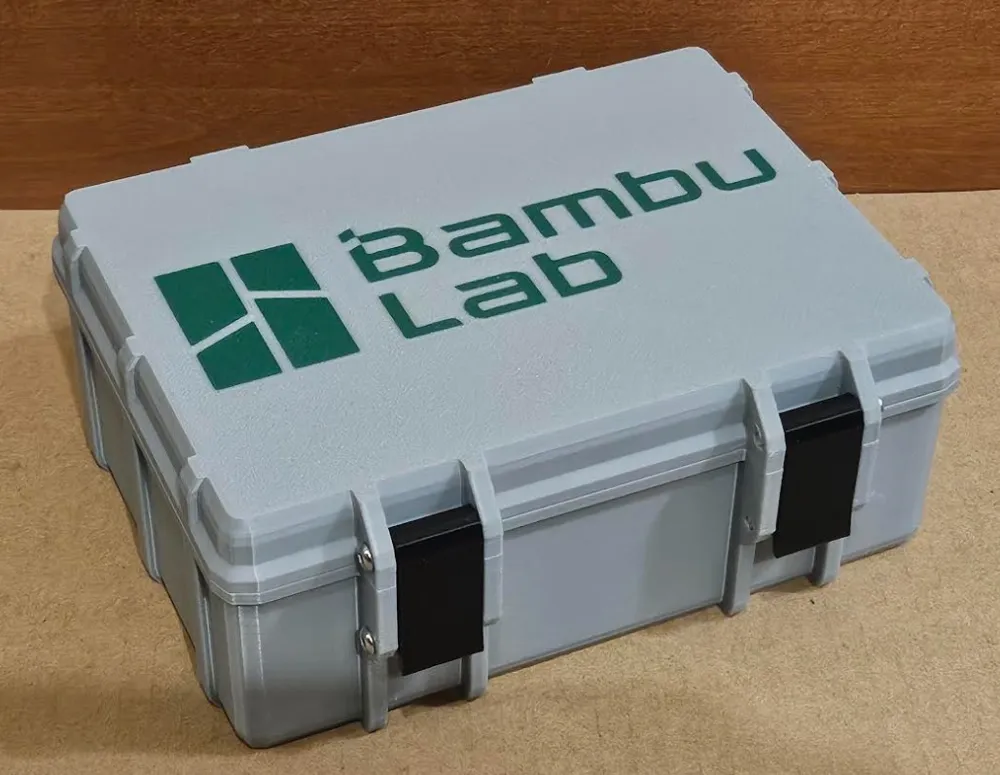
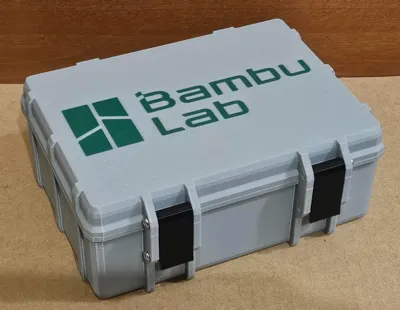
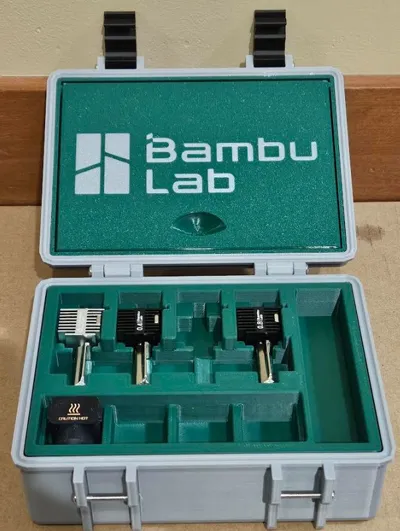
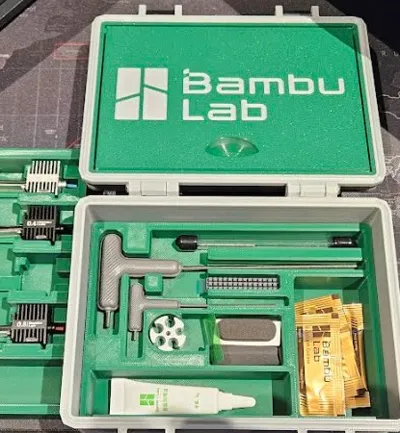
I couldn't find exactly what I wanted in a accessory case for my Bambu Lab A1 3D Printed, so of course I just wasted 2 days created my own… My wife's not happy :-)
Anyway here's the details/features….
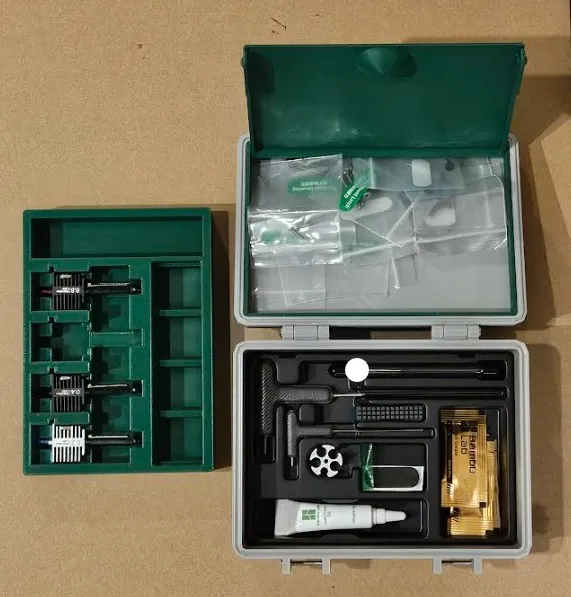
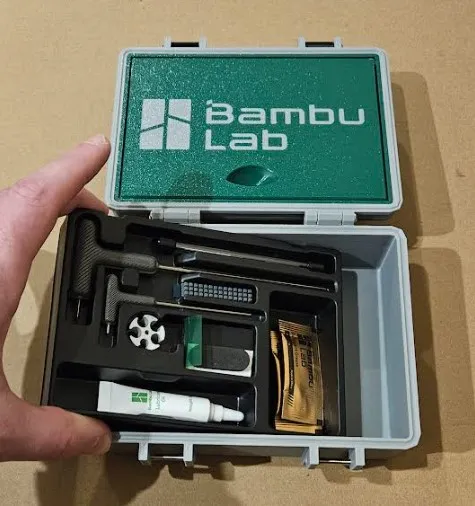
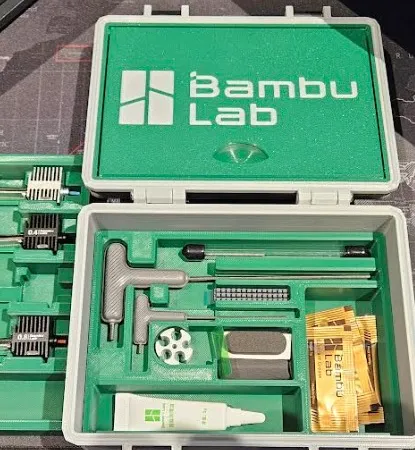
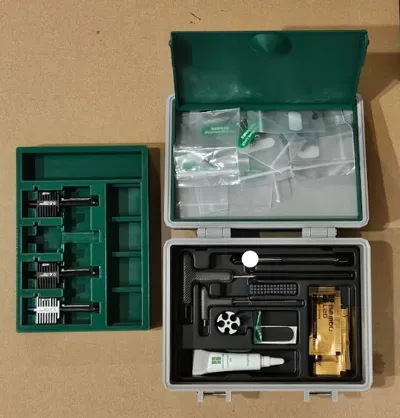
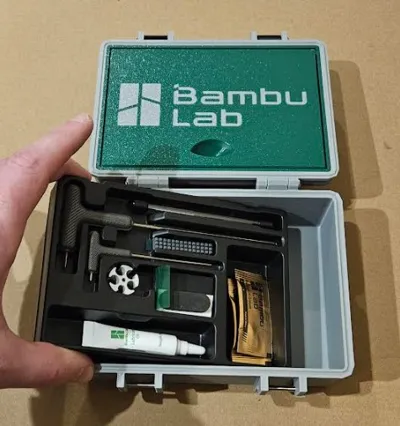
- I wanted a case that used the existing accessory container that came with the printer. AKA: The plastic that holds the Alan wrenches, lubrication, and spare parts (Why print something that already works?)
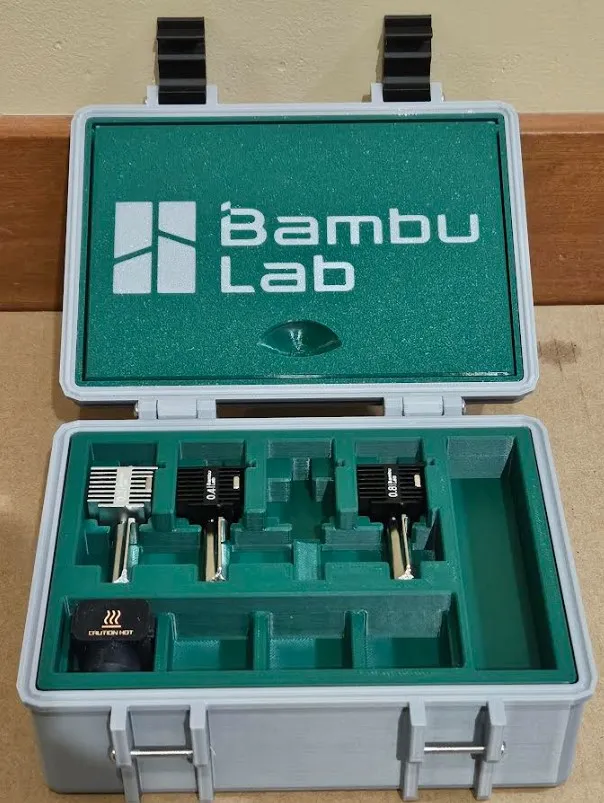
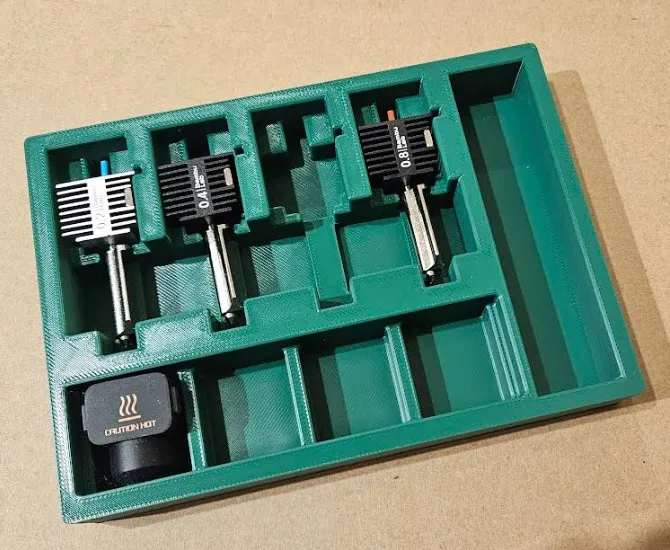
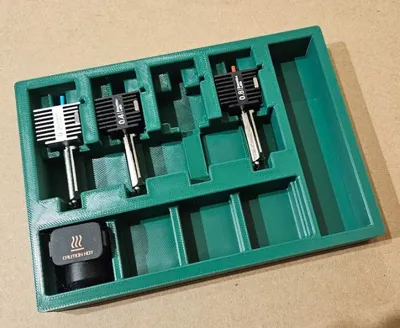
NOTE: The latest print profiles have an optional 6th plate that is a replacement for a lost or damaged accessory container that shipped with the printers. - I wanted to be able to easily retrieve the nozzles and silicone socks, so there is plenty of room to get your fingers in and remove the nozzles and silicone socks from the case.
- I wanted to leverage the “normally wasted” space in the top of the case for storage.
- Of course, the case must leverage my “Super Customizable Rugged Box in OpenSCAD” model that I used for EVERYTHING case/box related! :-)
This model is extremely versatile and I use it to create all kinds of containers! It's awesome (but that's my personal opinion)!!
Printing
I've published 3 different print profiles… All Of these can be printed in any material you want!
- AMS version with the Bambu Logo on it
- A Non-AMS version with no logo
- The nozzle storage blank. If you don't like the insert I created to store the nozzles, you can use the blank to create you own (NOTE: If you make something you think is better, please publish it as a print profile! Others might like it better also. I know it's hard to believe, but I'm not prefect…. Just ask my wife!!)
- NEW: The 6th plate is Optional. If your printer came with the molded tool container you can use it as is (as mentioned above, it is meant to fit in the case). However, If you lost it, threw it away, of never got it, you can print the 6th plate which is a close replica of that container.
Supports
There is one tree support that you will need to remove from the top storage cover.
NOTE: there are also a few tree supports remnants by the top cover latches. These do not need to be removed if you don't want to. the cutout is there so the top cove storage latches flex in the strong direction, not with the layer lines.
Assembly
Needed Components
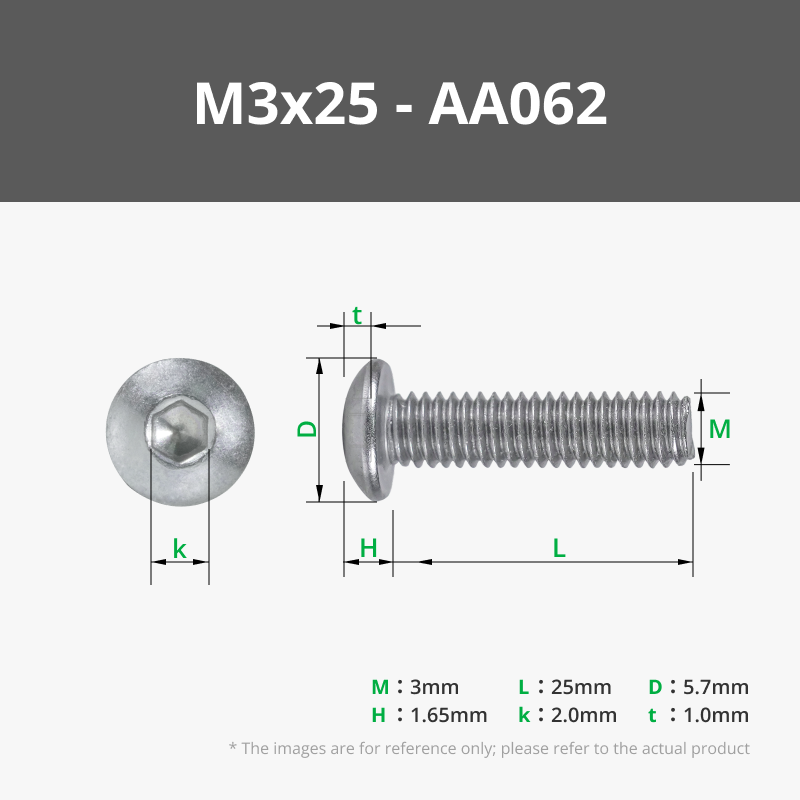
- You will need 6 - M3 x 25mm screws
- Super glue or Epoxy (I know most of you won't like this, but sometimes it's just the best tool for the job). You'll need this to glue in the top storage cover.
Putting it Together
- I recommend gluing the top storage cover in first. It's probably easier to do on a flat surface. Simply add glue around the inside top edges and insert the top storage cover.
- You will need to use the screws to assemble the hinges and latches.
Change Log
2025-02-18: Added a printable replacement for the thin plastic tool container that ships with the current version of the A1 and A1 Mini printers. If you lost, threw away, or never had the thin plastic tool container, you can print the optional 6th plate in the print profiles.
NOTE: If anyone wants to make small changes to the Inserts, I've also uploaded both of the STEP files. Feel free to modify publish them as print profiles for others to use!
License

You shall not share, sub-license, sell, rent, host, transfer, or distribute in any way the digital or 3D printed versions of this object, nor any other derivative work of this object in its digital or physical format (including - but not limited to - remixes of this object, and hosting on other digital platforms). The objects may not be used without permission in any way whatsoever in which you charge money, or collect fees.


Comment & Rating (258)