
Retro Ball Controller
Print Profile(3)


Description
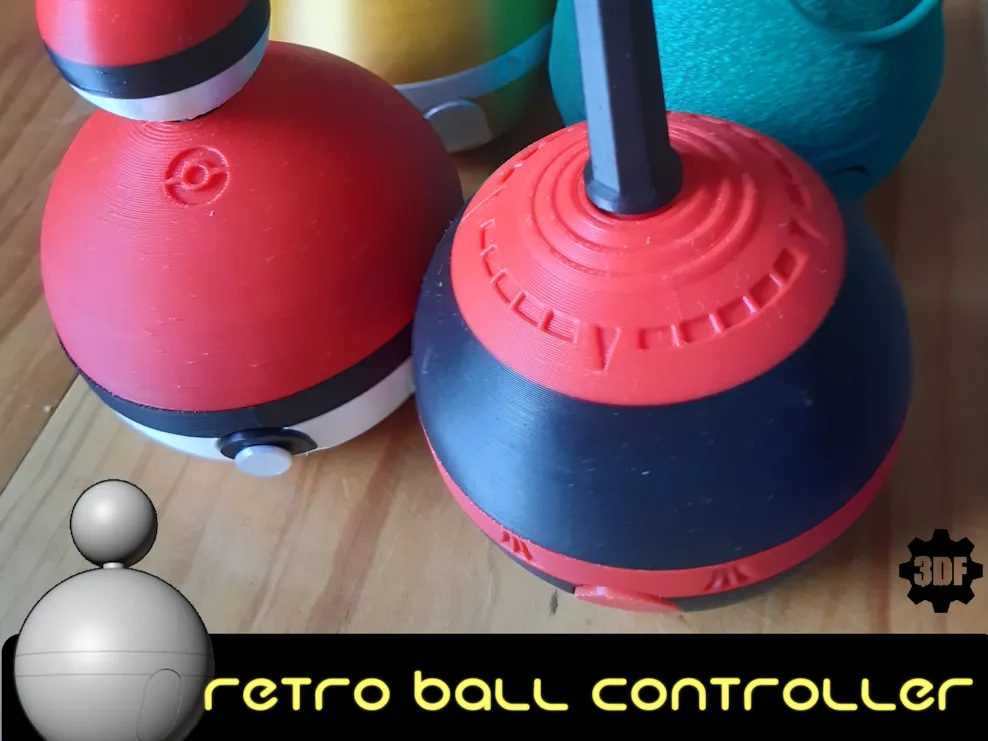
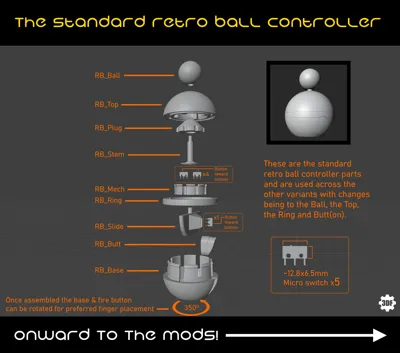
So I started off thinking I would have a go at the Konix Speedking which I knew would be tricky being rounded and with the underside button placement. But then I went off course and made this, which shares some simularities and is ultimately kind of a stepping stone to the Konix controller... Eventually.
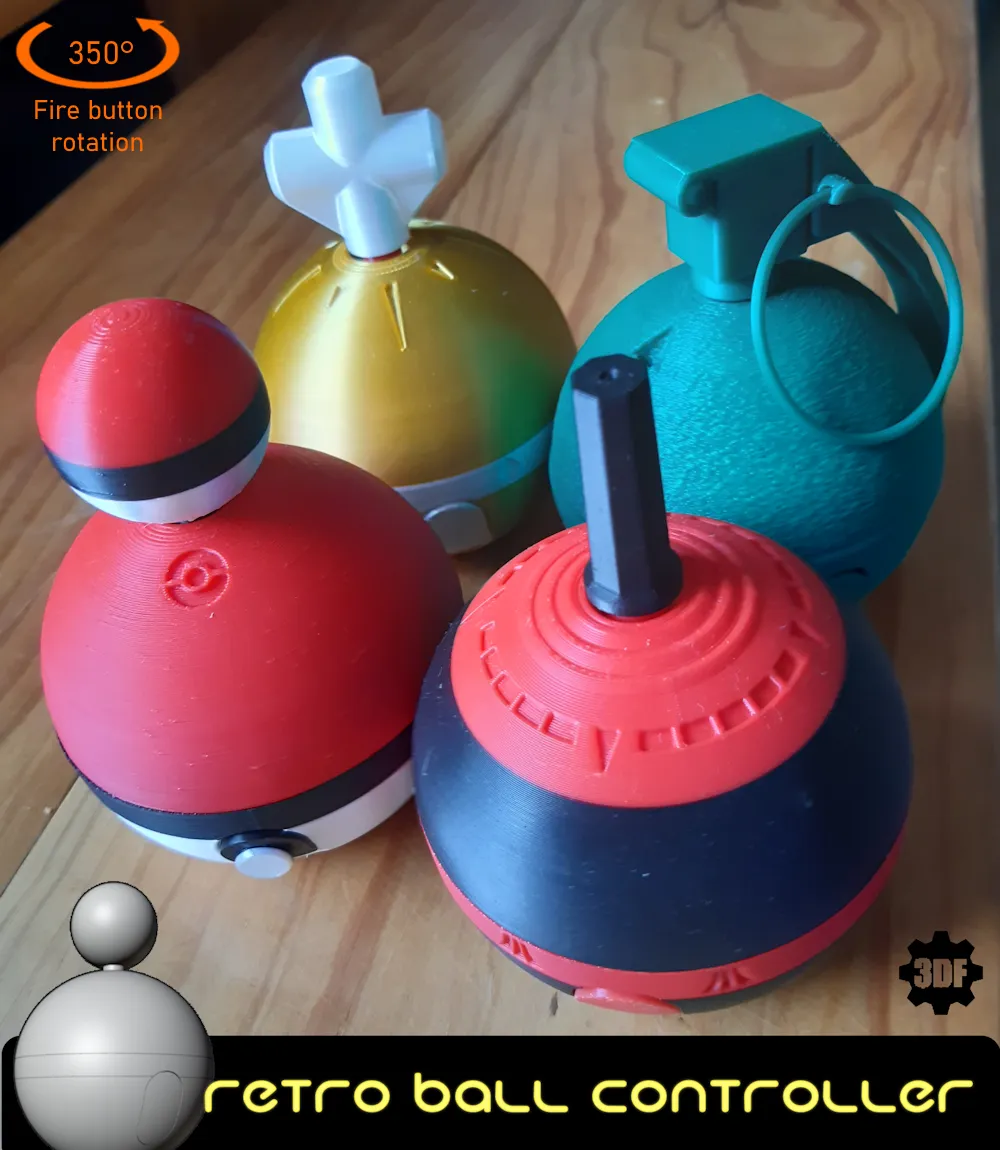
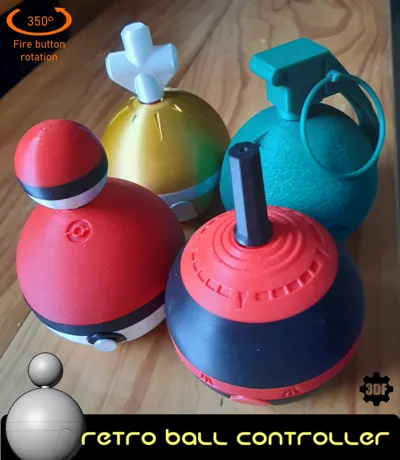
Because it's a round ball, no matter the mods you choose, you can rotate the fire button to be located pretty much anywhere around the base so you can use whatever finger is most comfy.
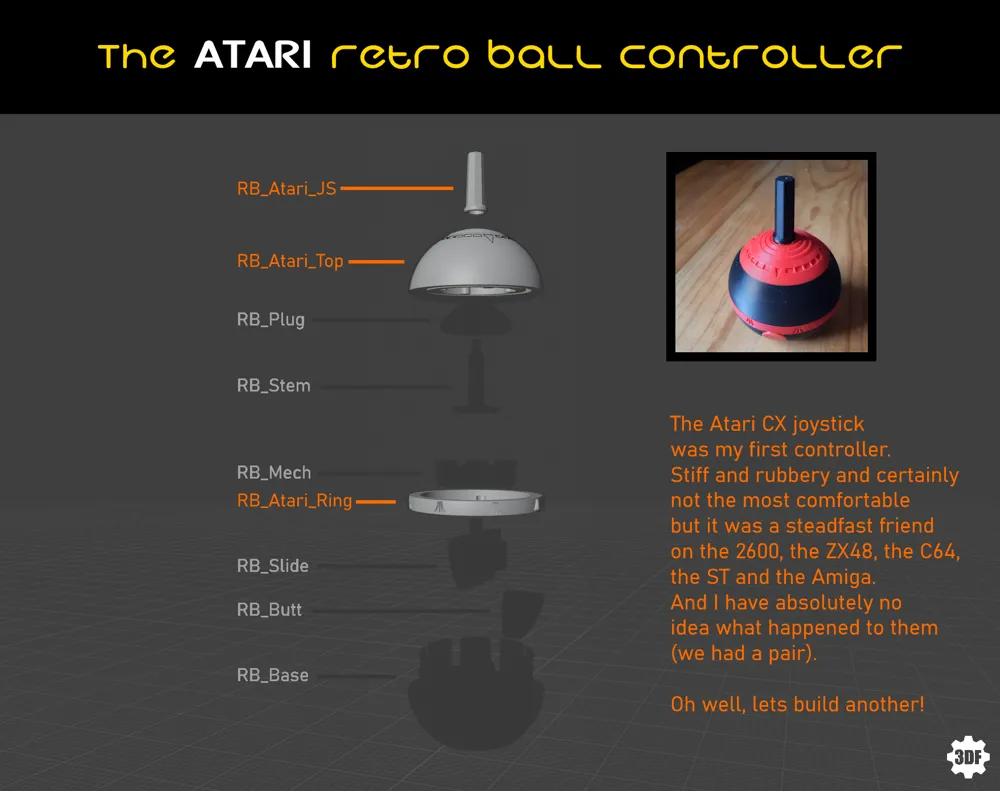
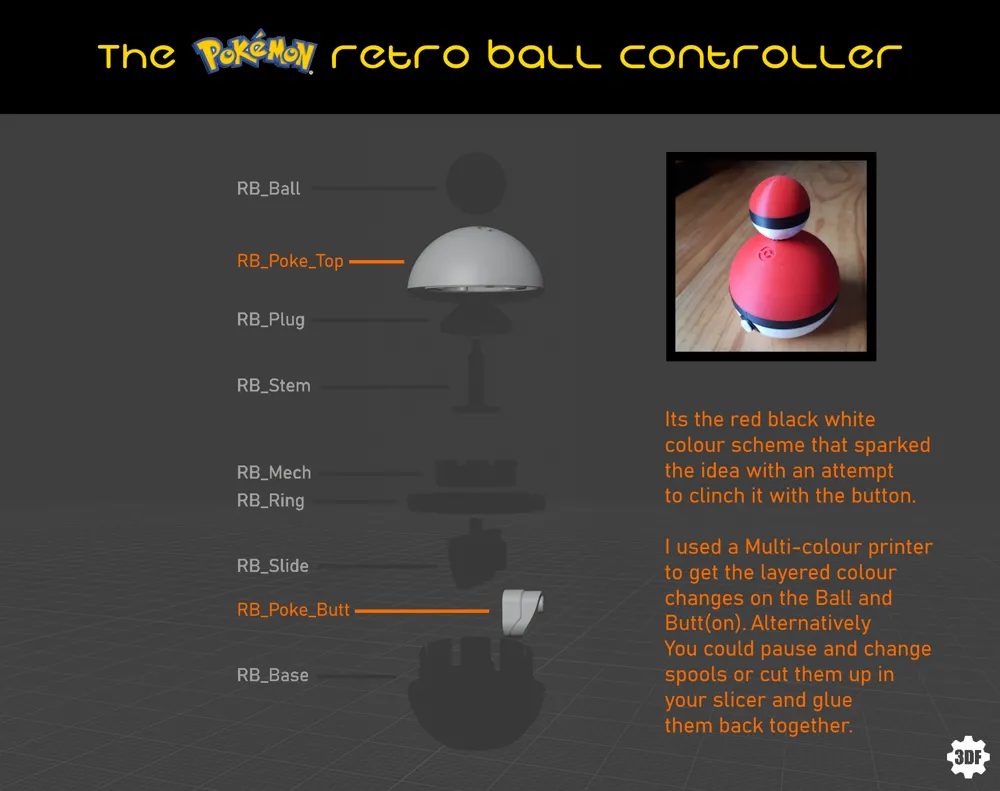
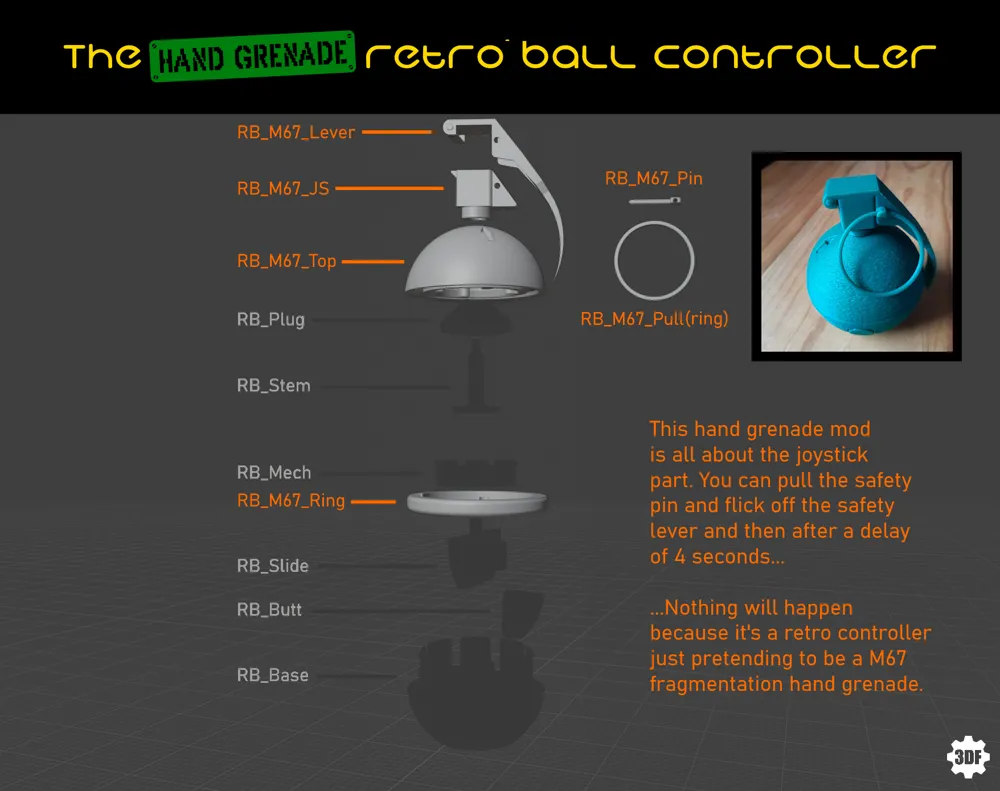
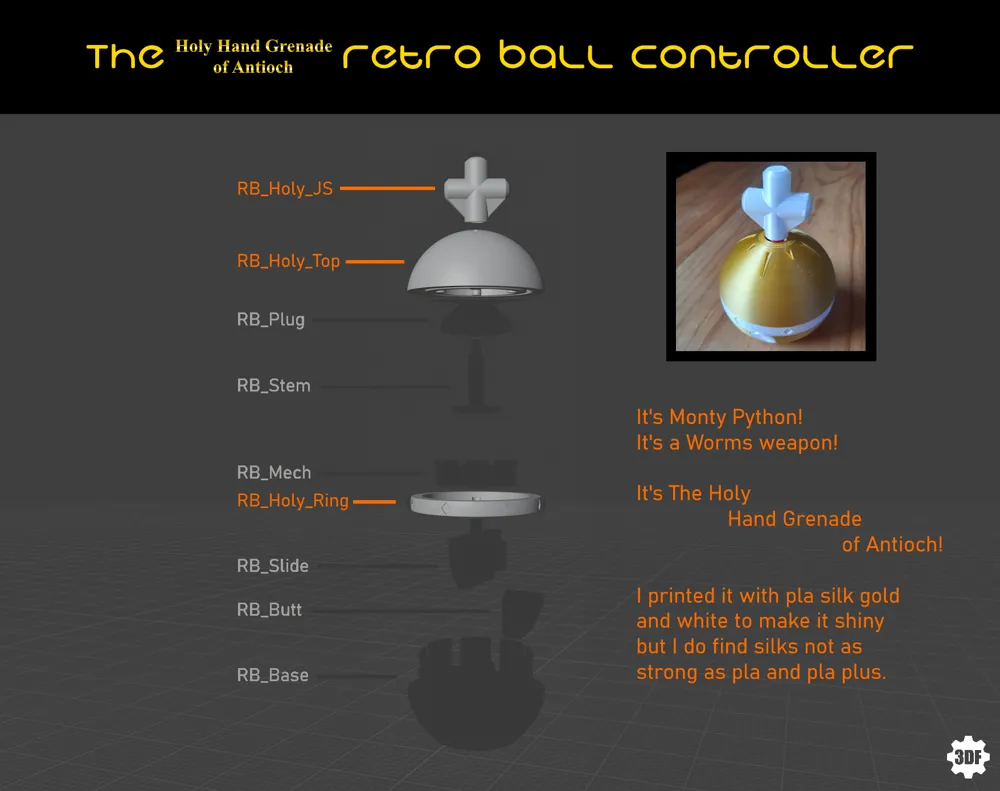
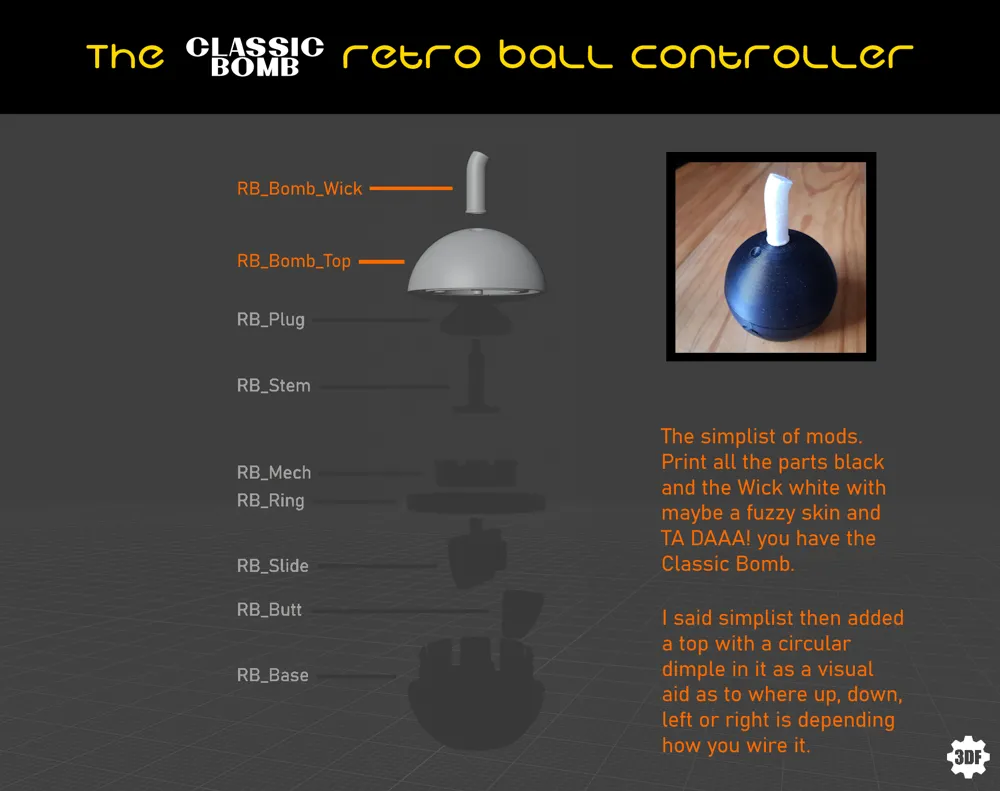
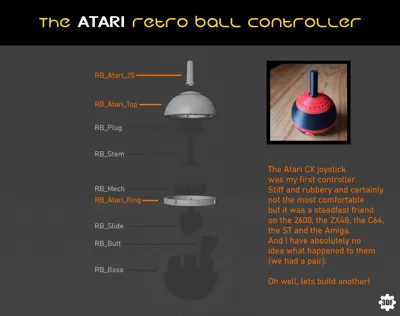
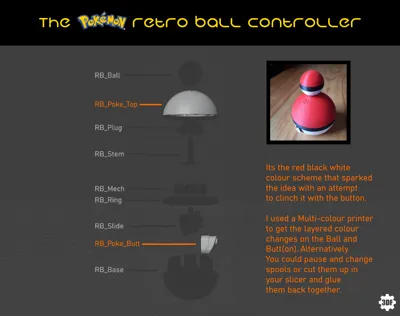
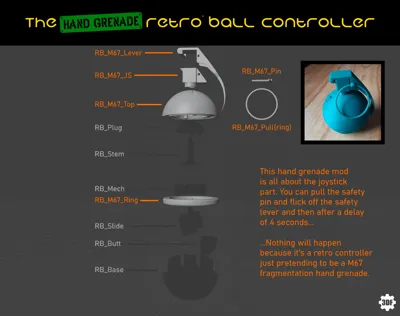
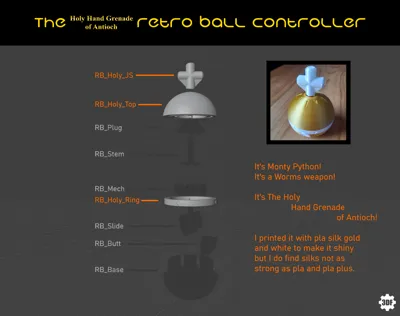
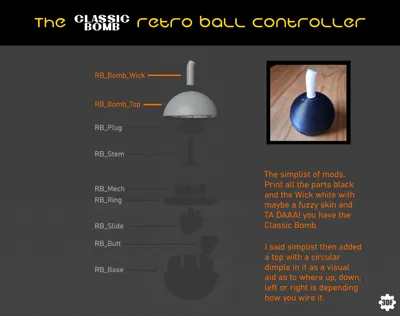
Apart from the smooth top (rb_top) that comes as standard, all the other tops have some kind of marking so you can orientate them and know where your directions are.
If it looks like it needs a brim, it needs a brim. So the ball tops, the joysticks (_JS), definitely the M67 Lever and probably the pin & pull because of the small amount of bed contact.
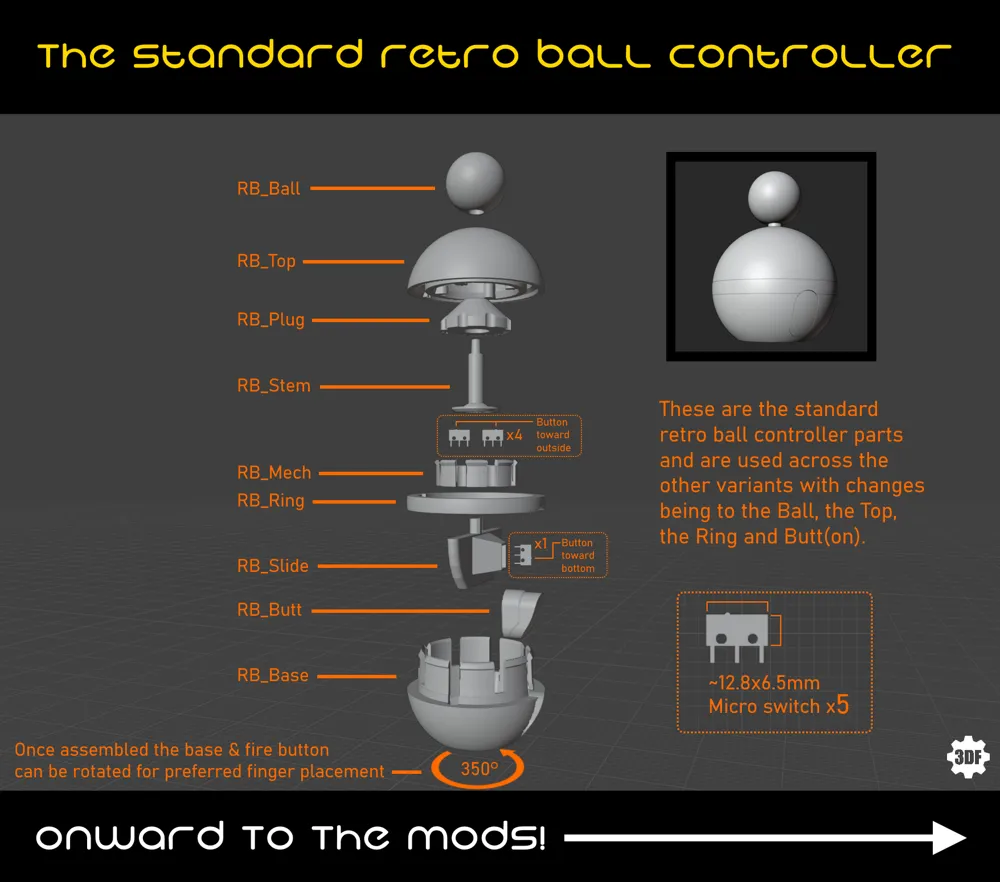
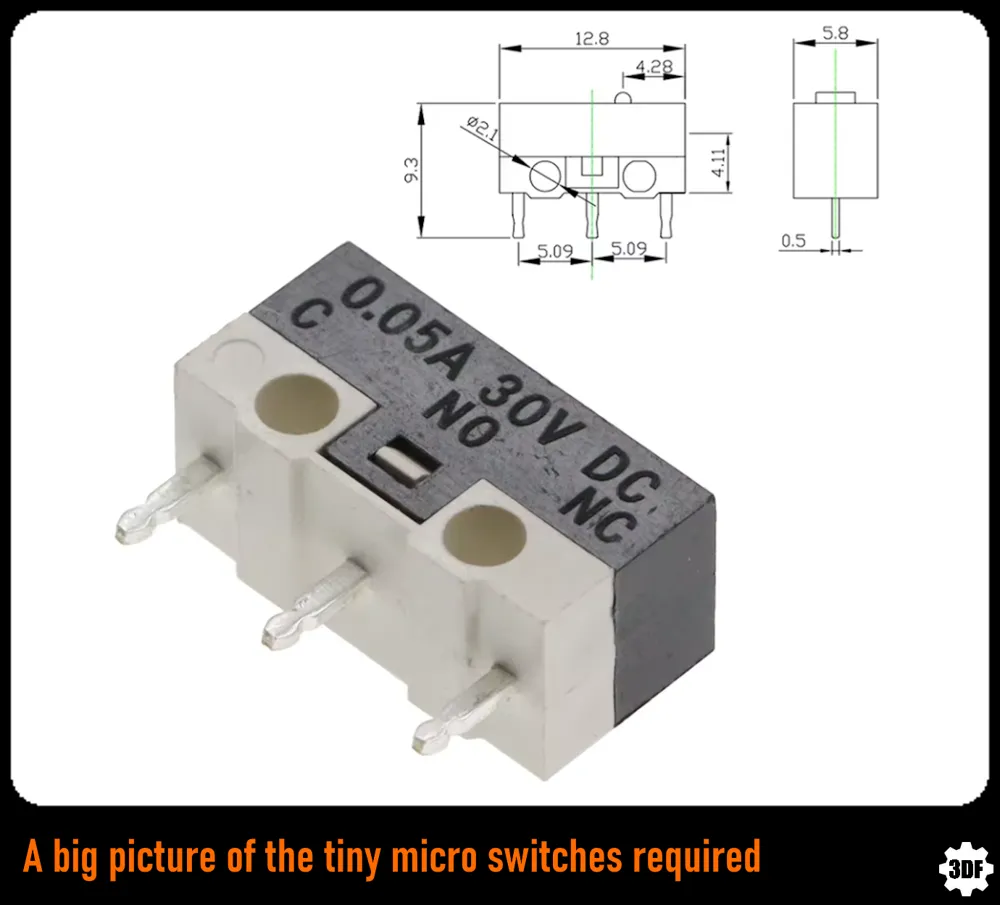
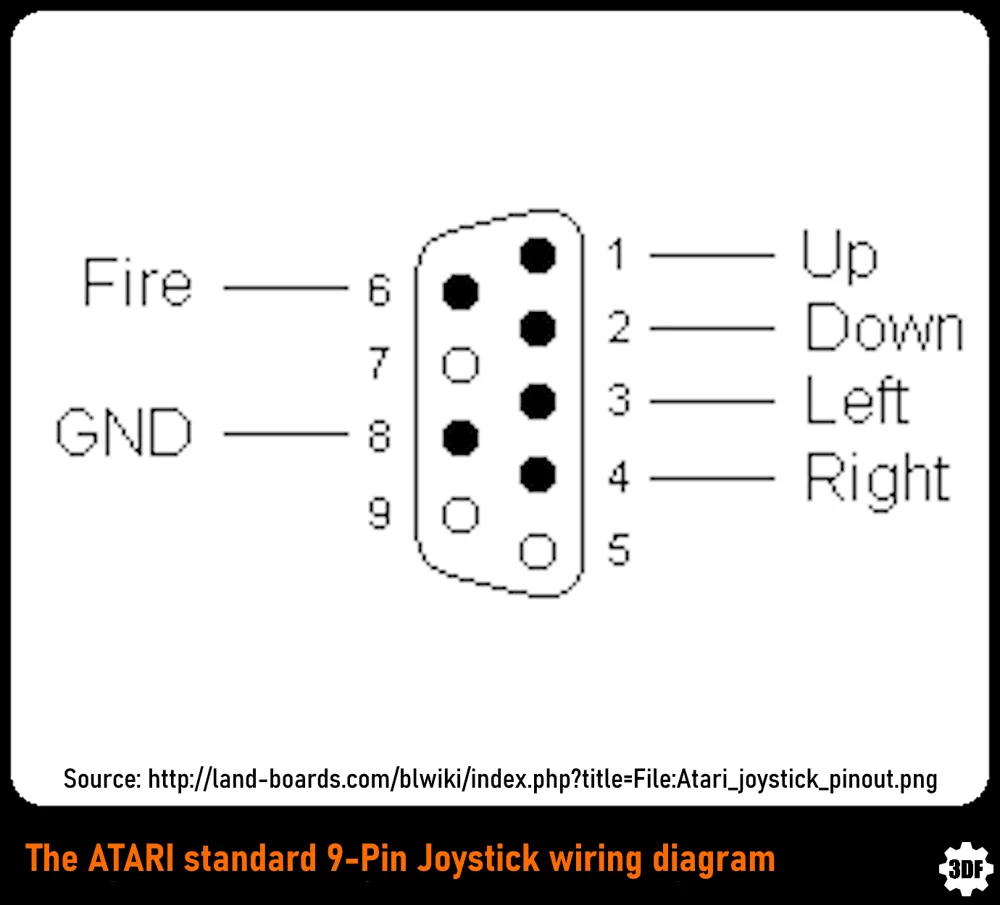
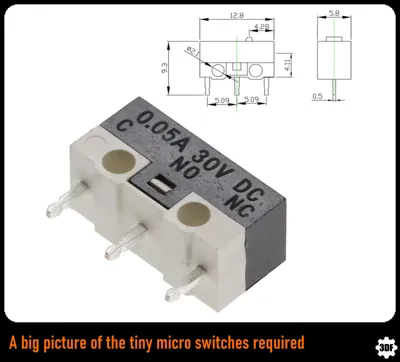
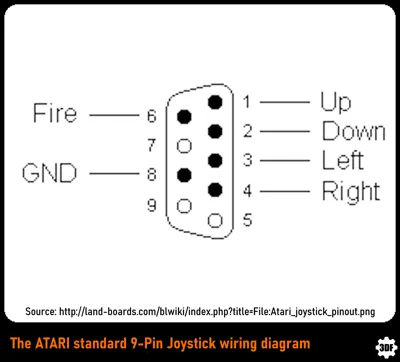
This project requires 5 of those tiny microswitchs (pic 008) and I would wire it up to a 9 pin D plug using some 6 core cable following the diagram (pic 009), then you can plug it into your C64, ZX, 2600, ST, Amiga and fire away! Nothing stopping you putting a RP2040 in, but it's kinda wasted with just one button.
Happy blasting & let all your (rotating) base are belong to us!
PATREON & PATREON SHOP.
https://www.patreon.com/3DFreeman
Thank you for your continued support!
License



Comment & Rating (0)