
EMT Conduit Stand: for Modular STEM Wind Tunnel


Print Profile(1)

Bill of Materials


Description
Introduction
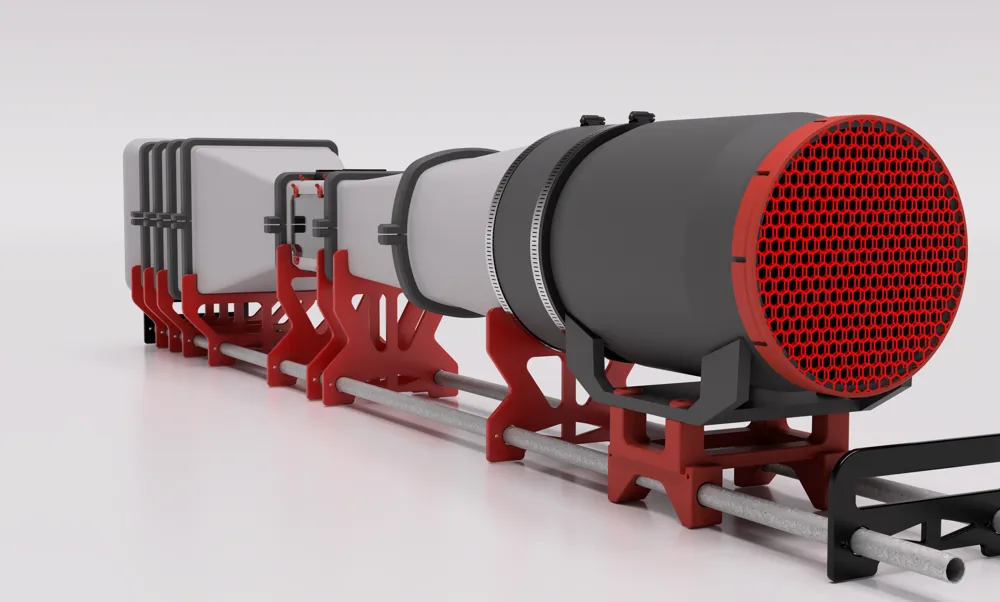
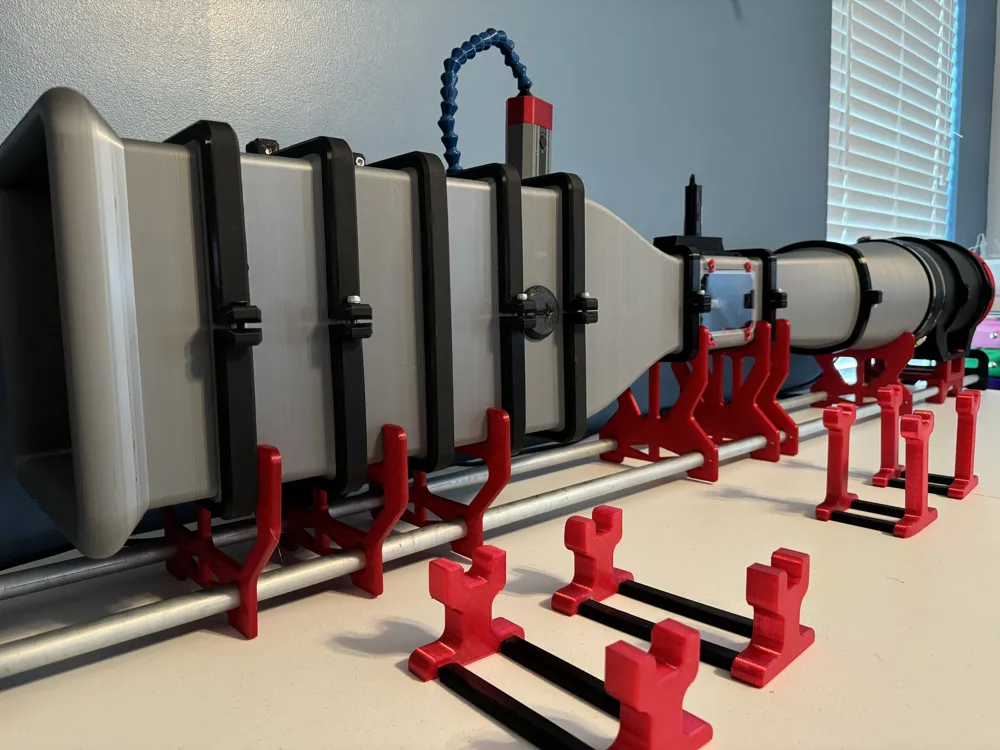
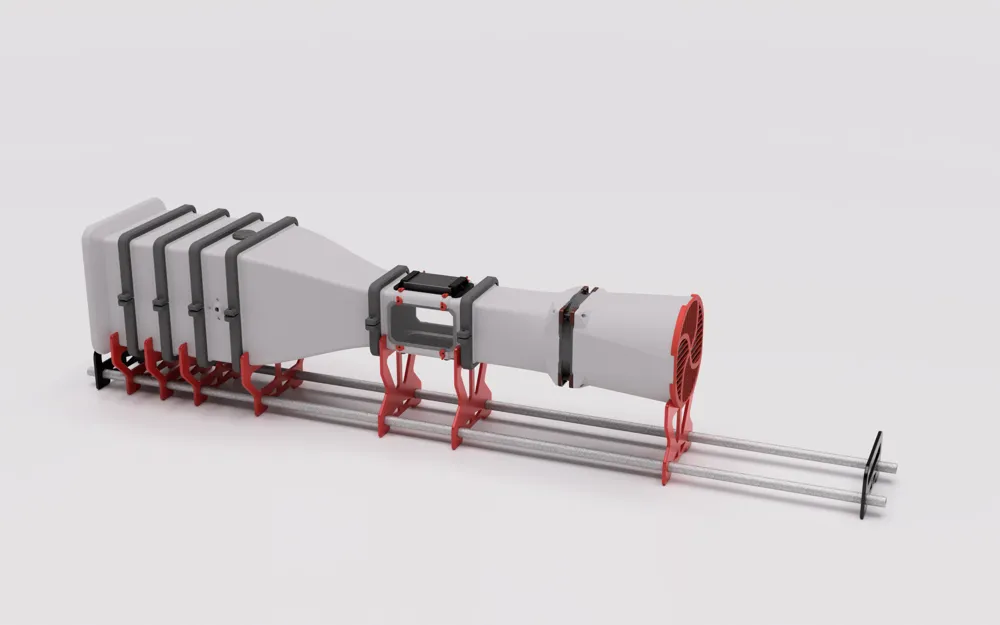
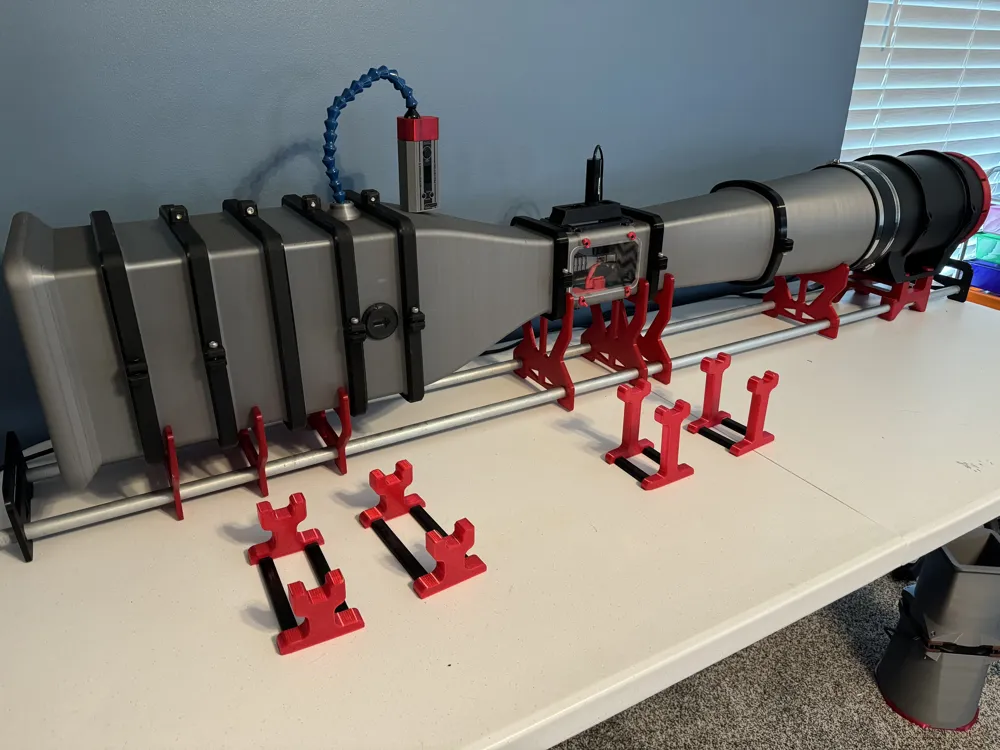
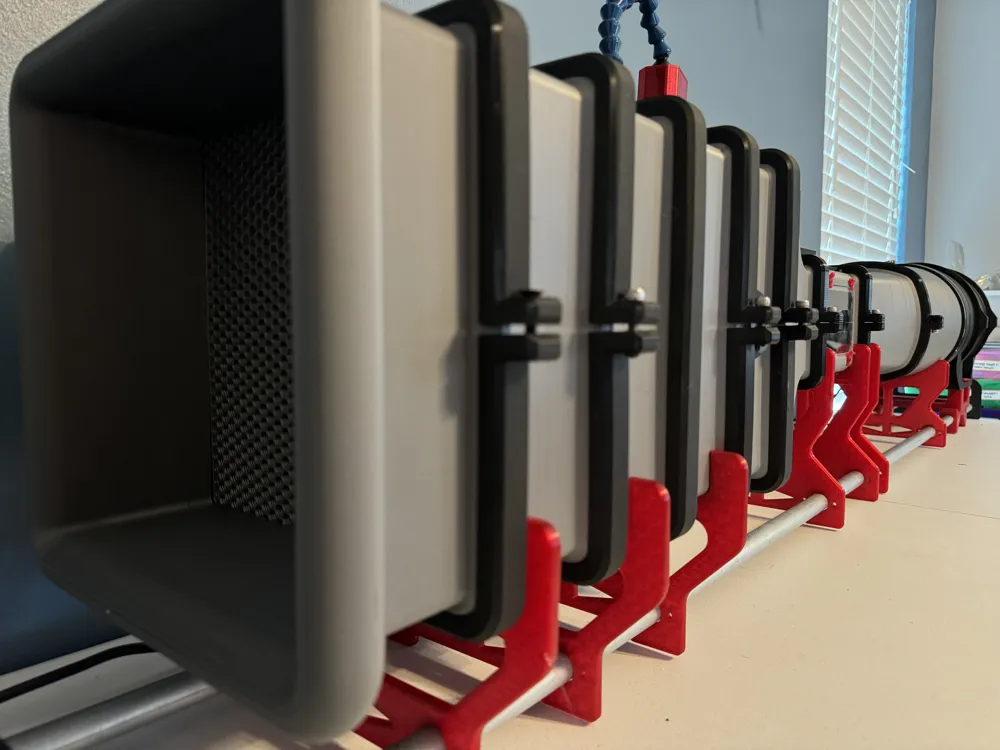
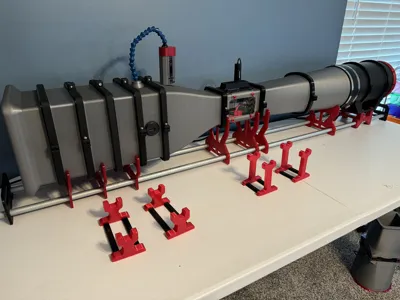
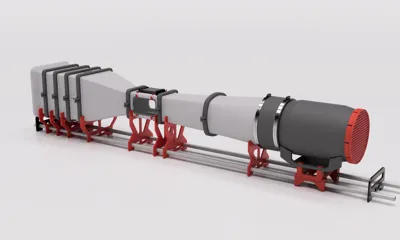
This is an alternate approach for supporting the Modular Wind Tunnel for STEM Education on a tabletop.
The default stand included with the main tunnel uses discrete printed feet. While these are simple, fully printable designs, they can be a bit finicky and a significantly nicer solution is provided here utilizing a few parts from the hardware store.
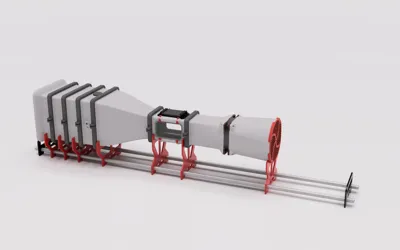
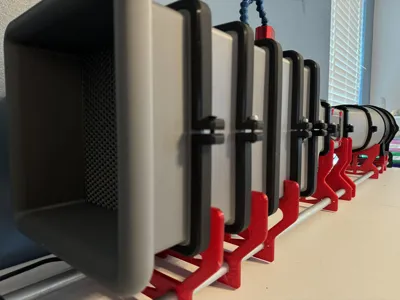
Here, the concept employed by the RepRack modular storage system for filament spools and shelving in order to cradle all of the various components of the wind tunnel on a single “rack” constructed from rigid, ½"-nominal EMT galvanized conduit available very inexpensively ($7 for 10 ft) from big-box home stores or a local electrical supply.
Materials and Parts
- 2 pieces ½" trade-size EMT conduit, 5 ft length (or 6 ft length to accommodate the upgrade diffuser and larger fan).
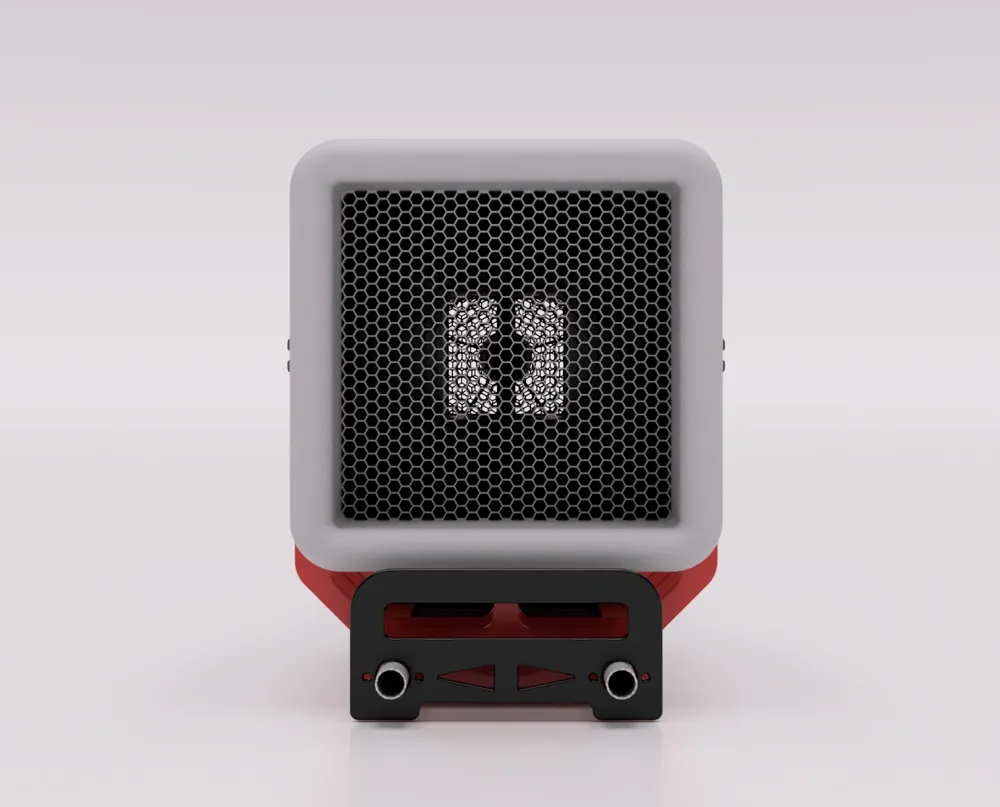
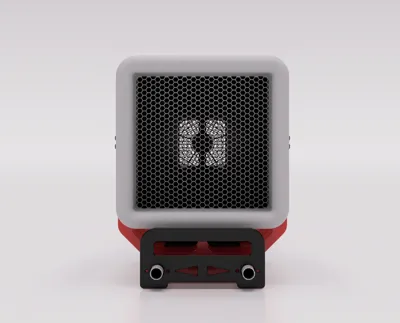
- 2 end pieces with handles
- 2-4 support cradles for upstream ducting
- 2 test section cradles
- 1 diffuser cradle for the standard tunnel config
If you are using the upgraded diffuser and 8-in duct fan option, replace the last item above with these:
- 2 diffuser cradles (1 upstream and 1 downstream)
- 2 fan feet
Fabrication / Assembly Instructions
As for RepRack itself, the cradles provided here can be either 3D printed (use STLs) or laser-cut from acrylic, ABS, or plywood sheet (use SVGs).
3D Printing
PETG is recommended, as is a large nozzle (0.6 or 0.8 mm) for strength. Refer to RepRack's description for more detailed instructions. As for printed brackets on the RepRack system, printed cradles here can be anchored in their appropriate positions along the EMT conduit directly using #6x3/4" threadforming screws.
Laser Cutting
Refer to RepRack's description for detailed instructions. Alternatively, you can simply order a full set of the cradles in acrylic from SendCutSend using this preconfigured shopping cart.
Because the set-screw retention features won't be present in a 2D cut part, laser-cut cradles must be anchored to the EMT using 3D printed blocks – those available from the main RepRack system are fully compatible with these cradles.
Assembly
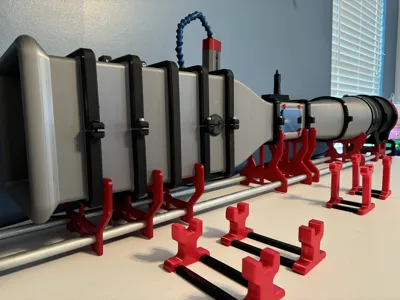
To assemble the entire cradle, it is handy to arrange the pieces into position and tighten their #6 thread-forming screws with the assembly held in position upside down on top of the assembled tunnel as below:
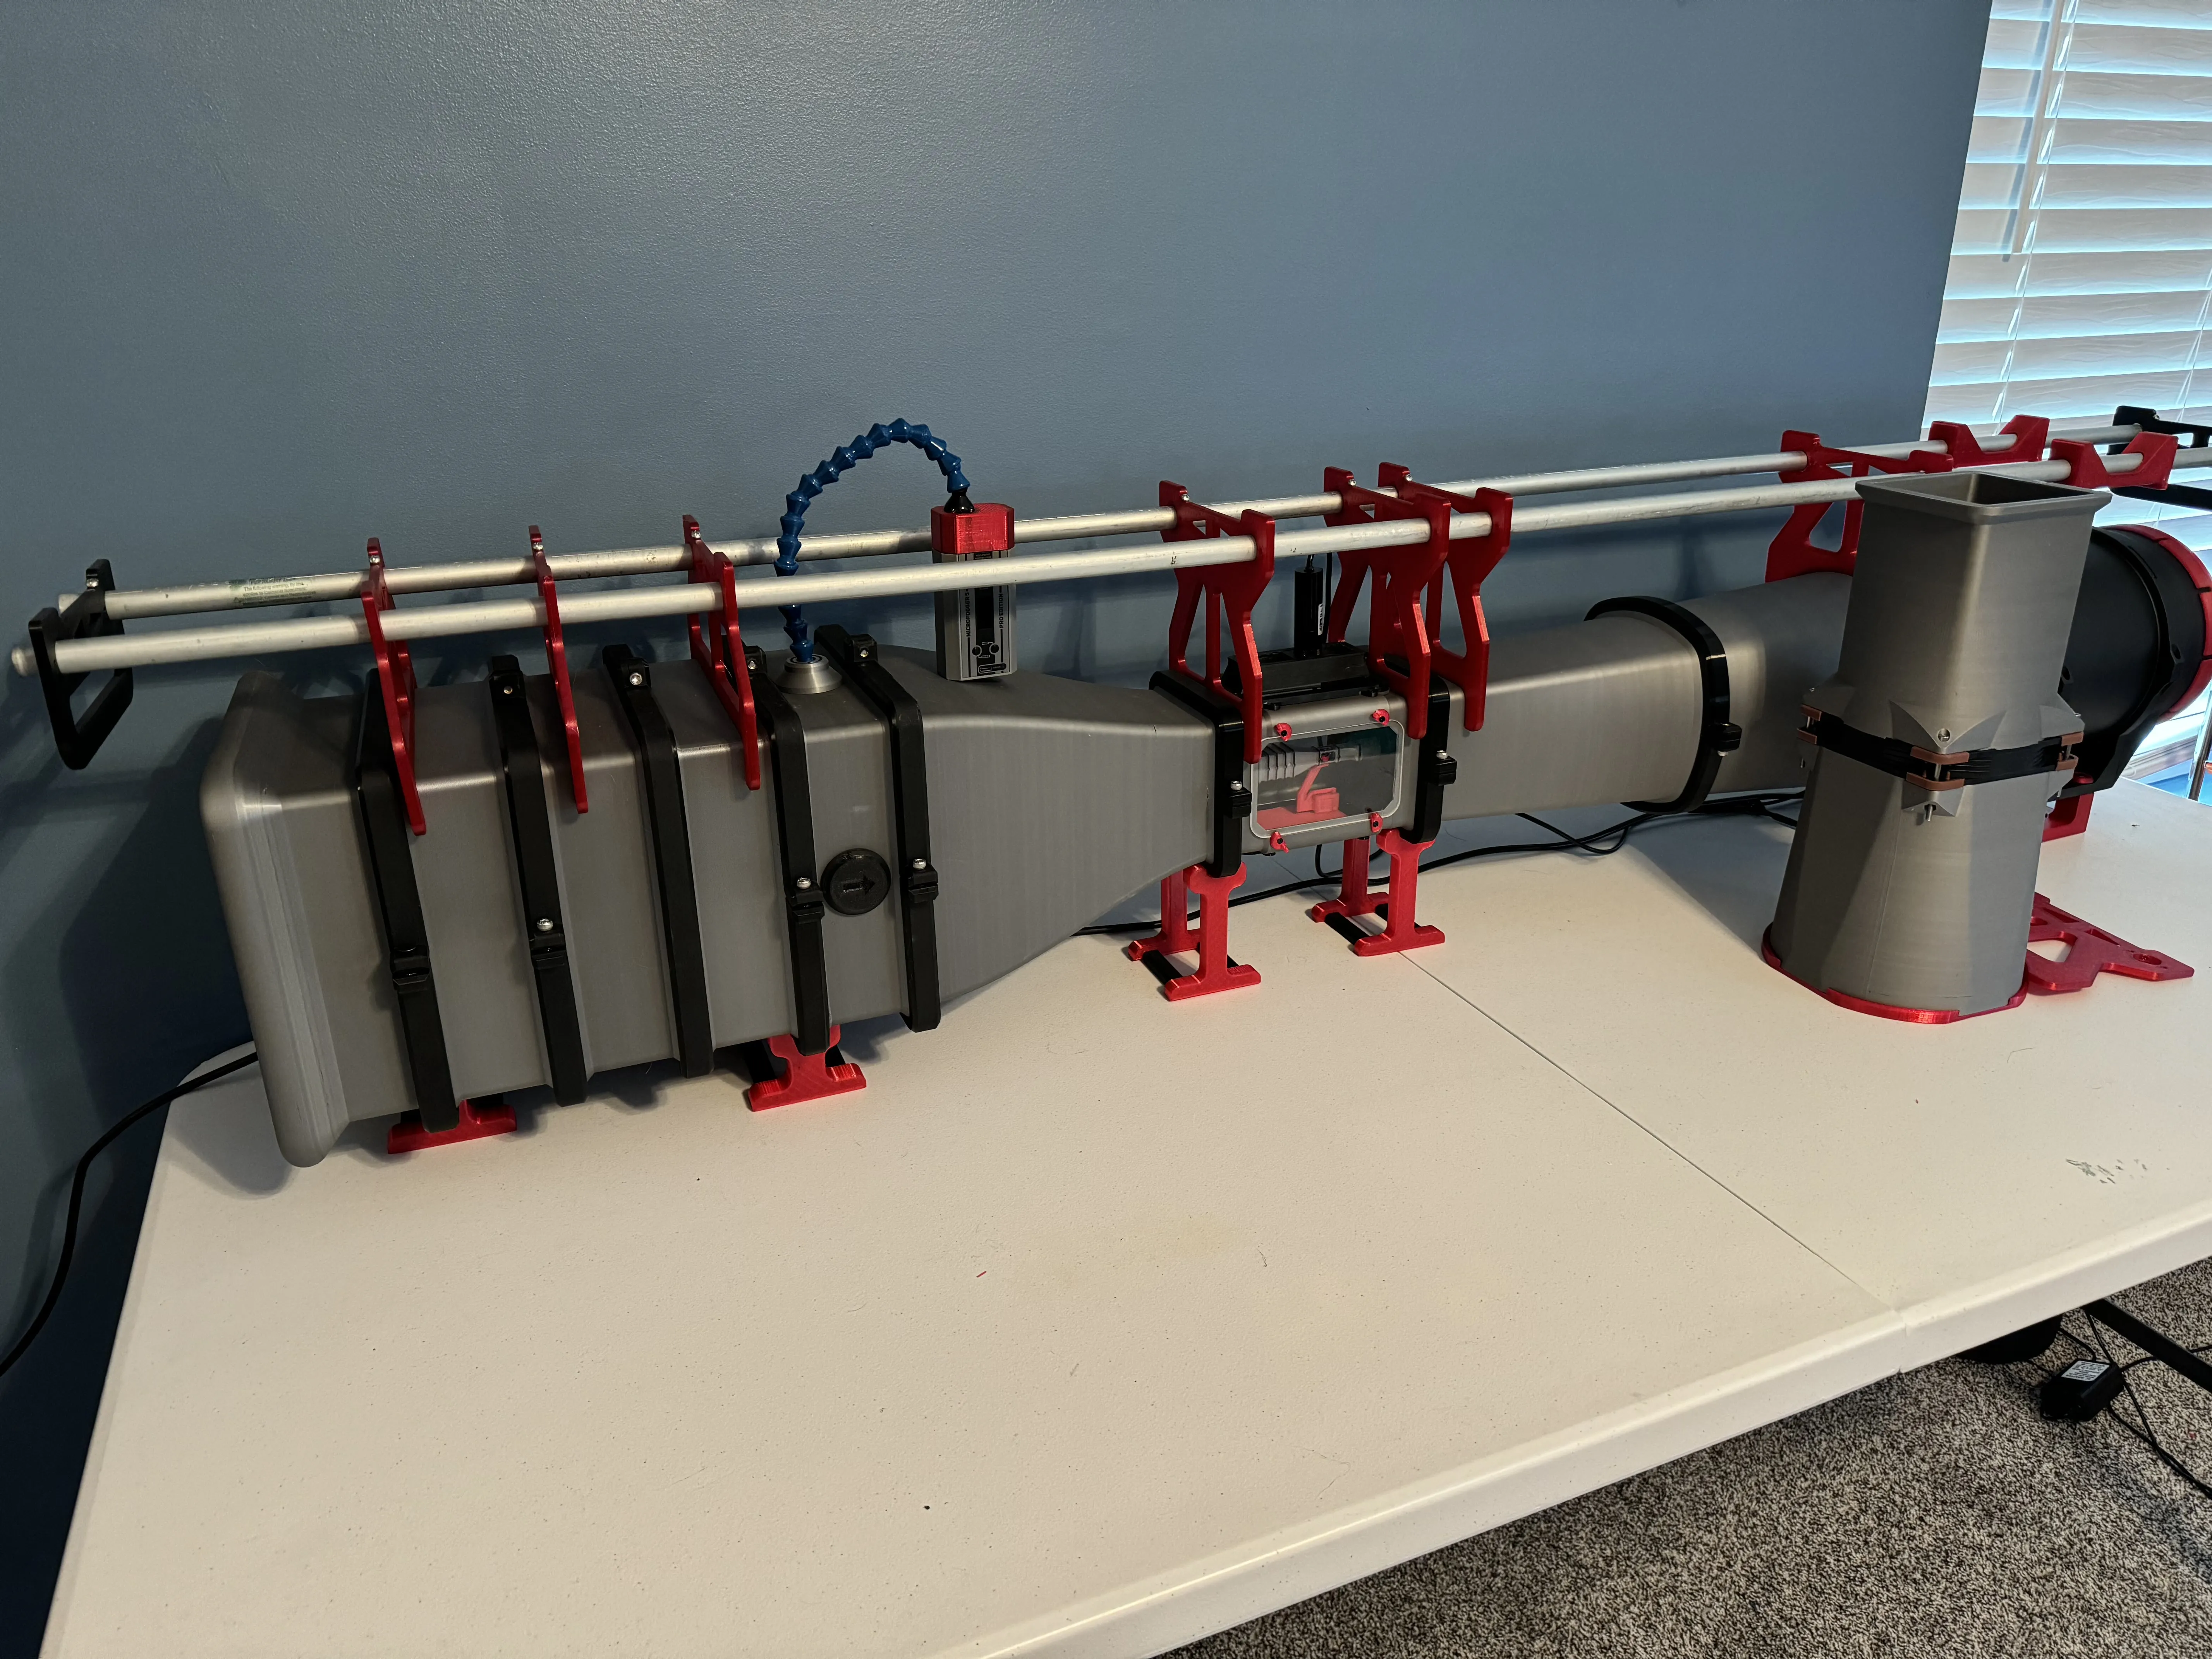
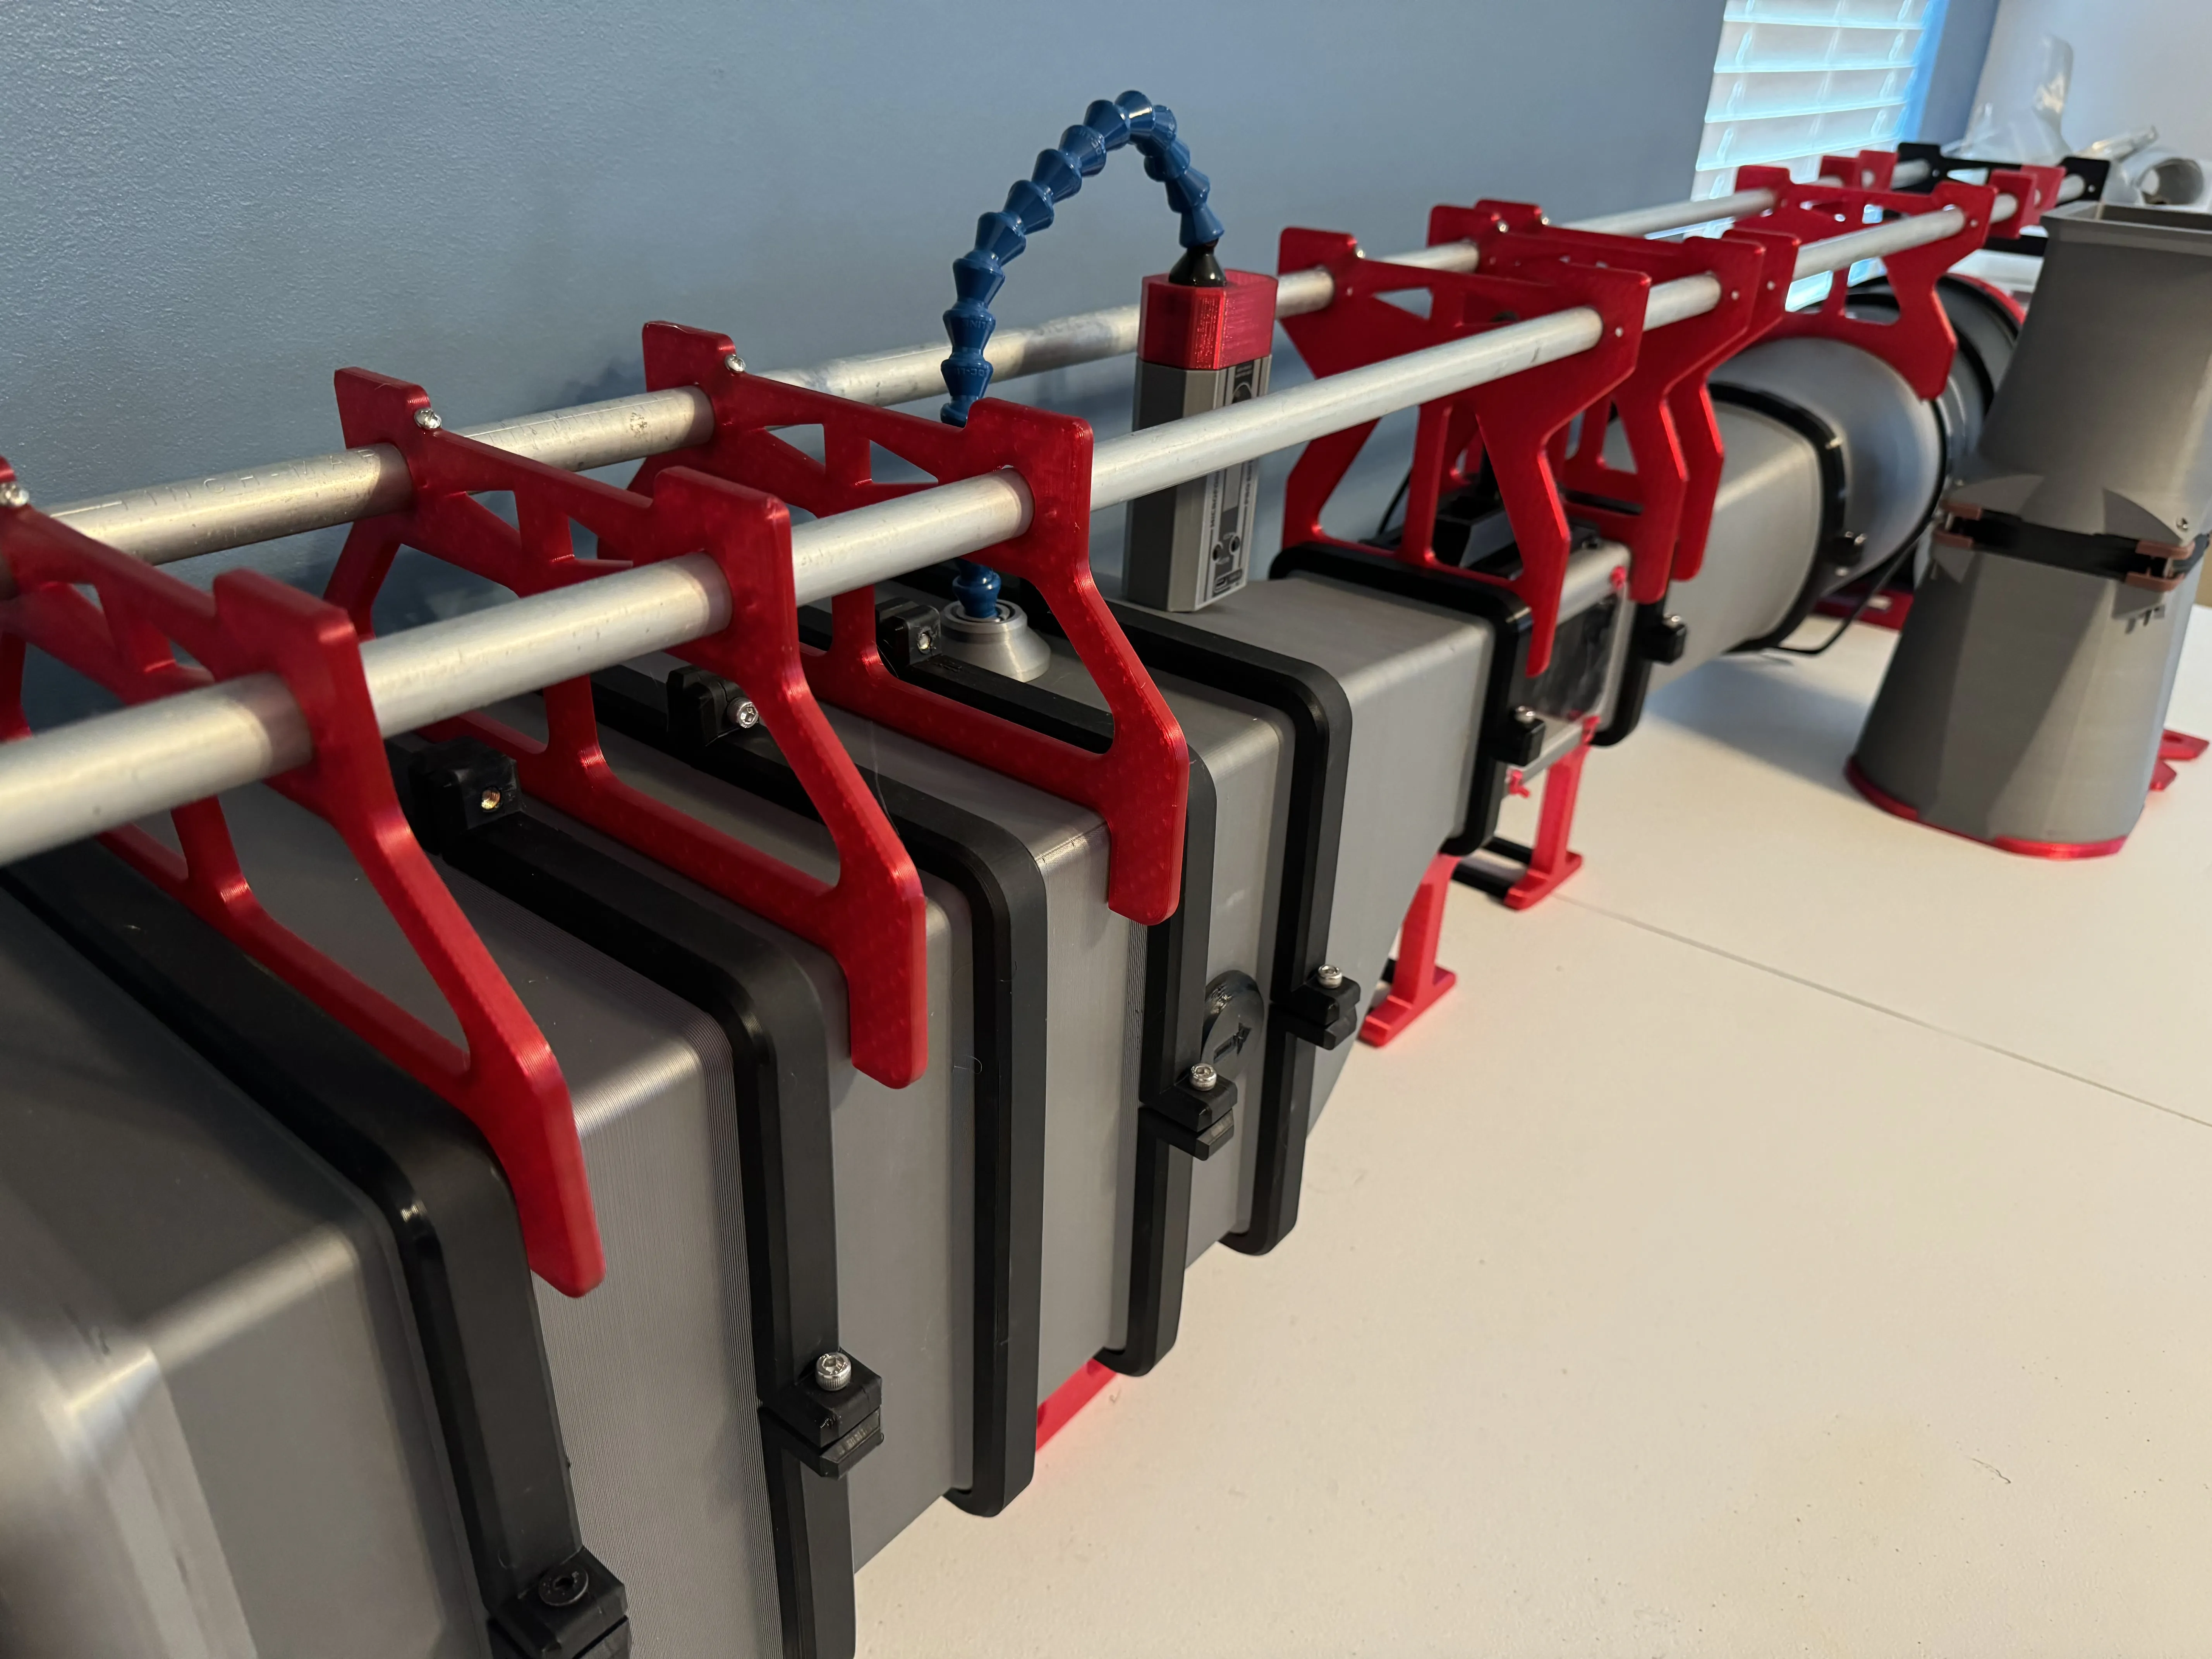
License



Comment & Rating (5)