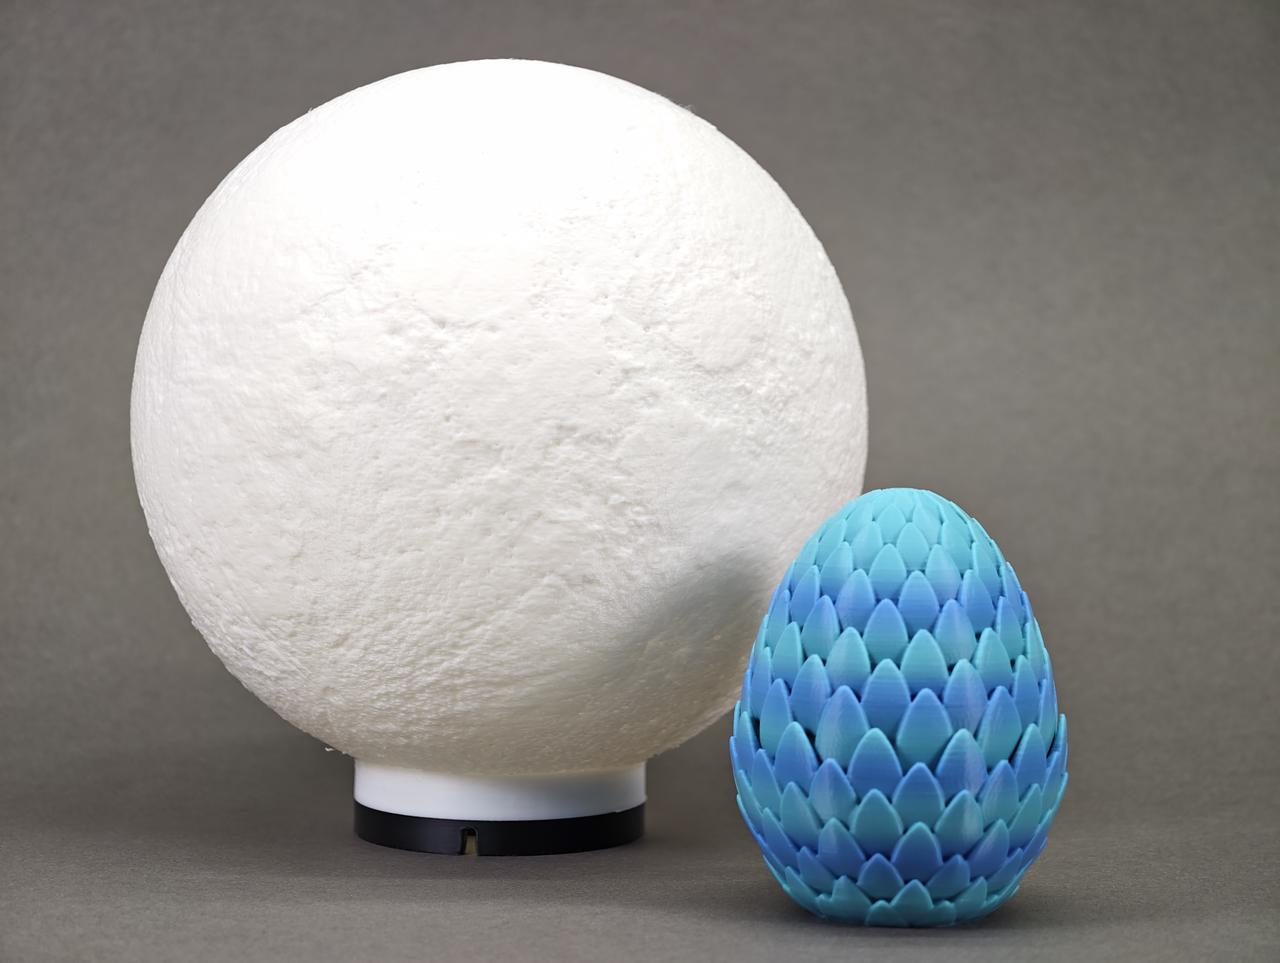
You may encounter dome structures in your 3D printing work. The moon lamp is a good example of a dome structure. Dome structures usually feature a circular top surface and a hollow interior. You often see them in architectural models, lampshades, masks, and bottle caps.
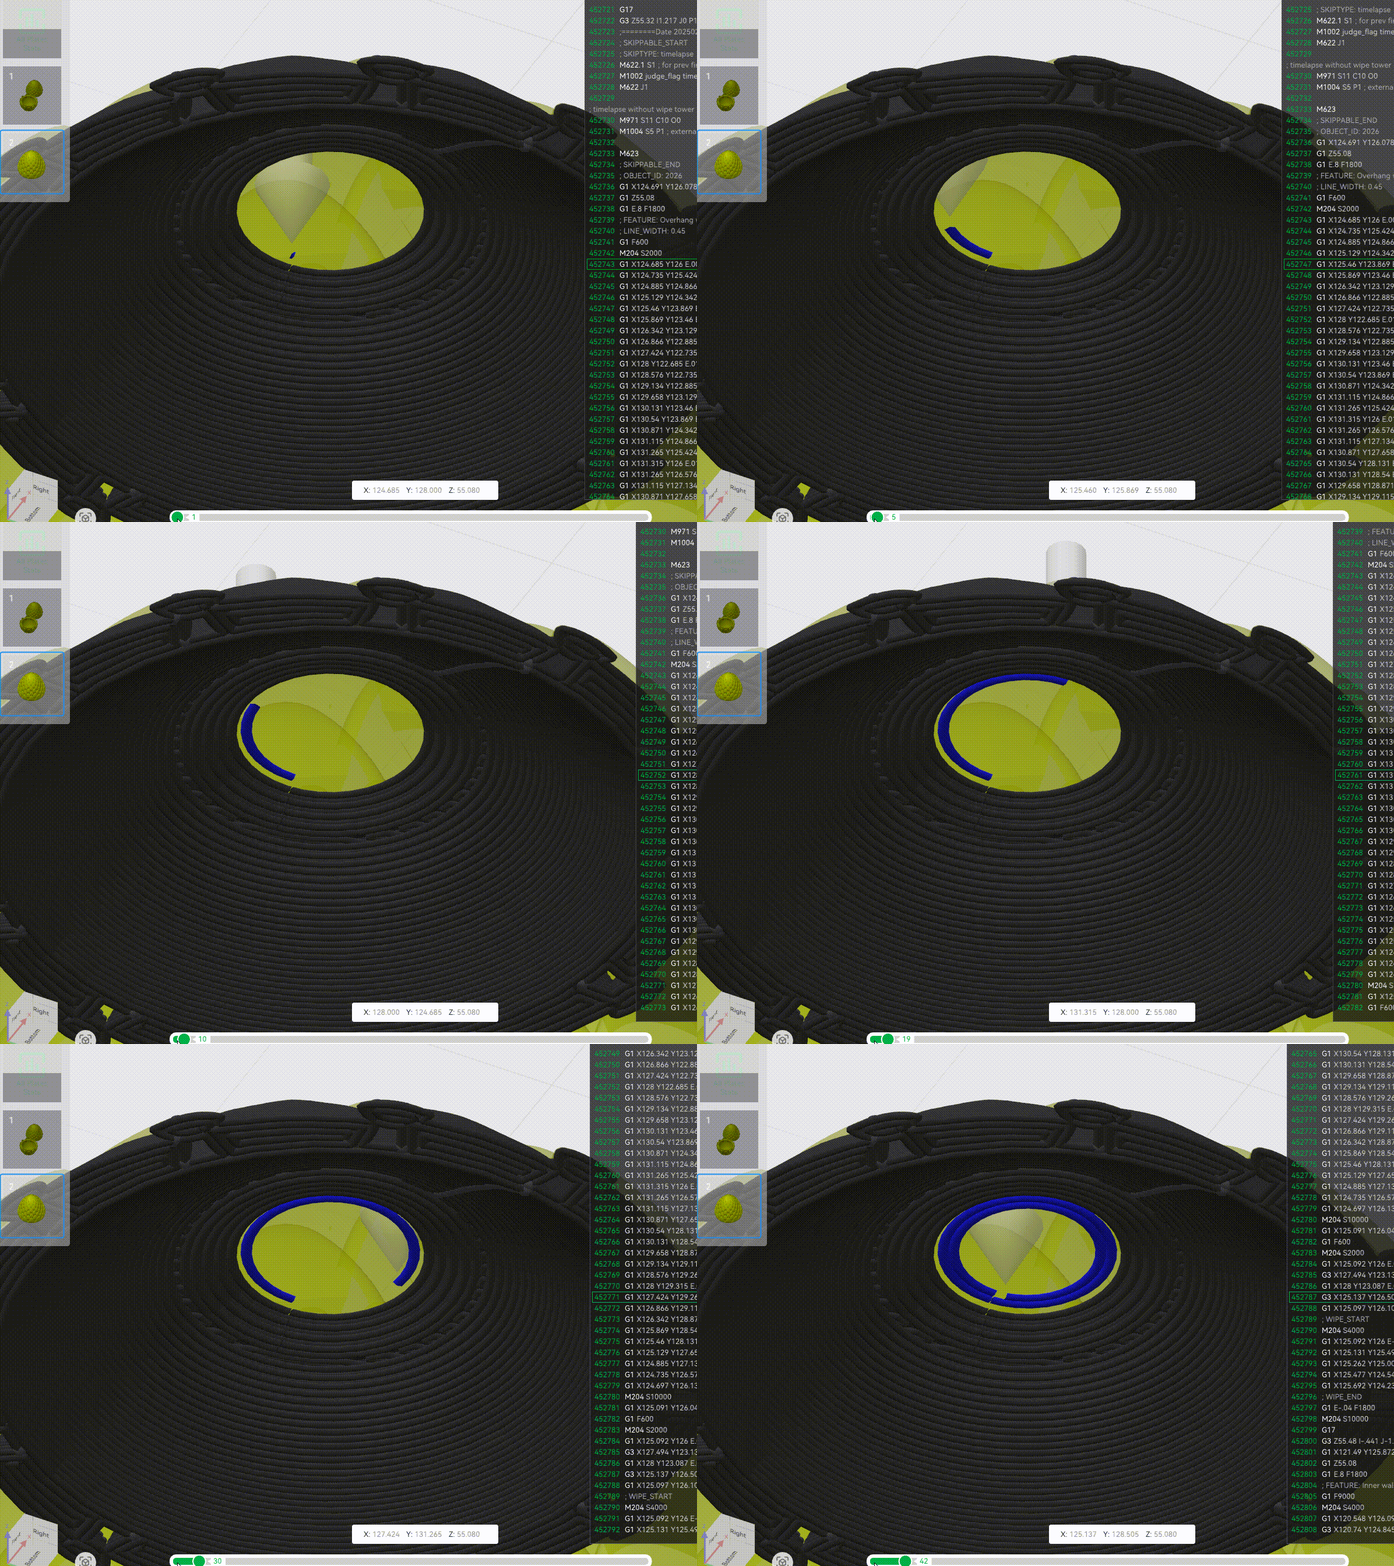
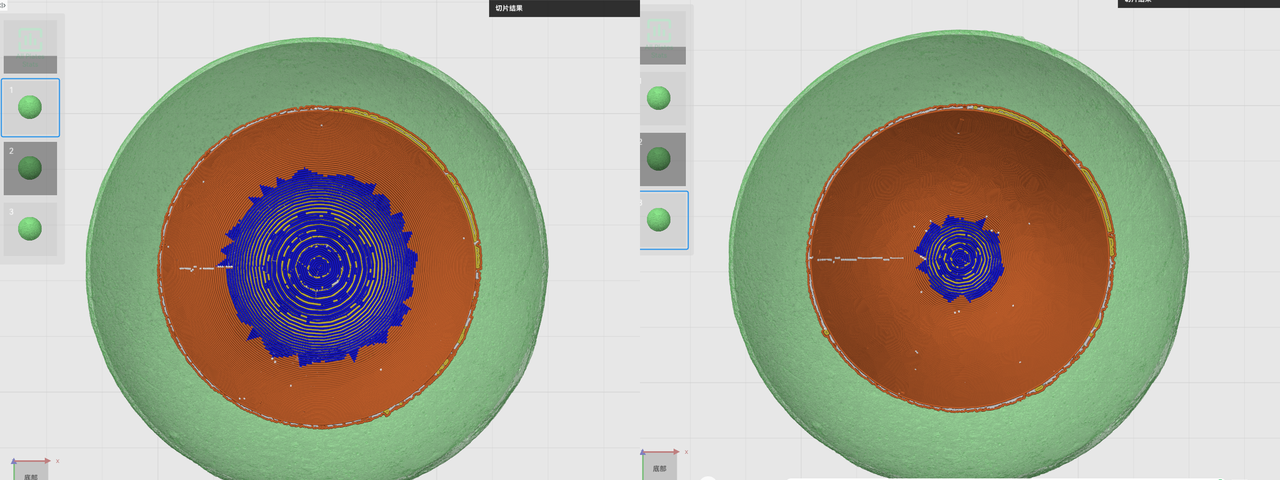
Printing dome structures is challenging because, near the top, the overhang angle in the inner middle section gets steeper. At the same time, the overlapping area between the layers becomes smaller. This generates a large overhang region, as shown in the blue area. This makes printing overhang at the dome's top difficult. Printing overhang areas of a dome without support can cause problems. You may experience stringing and line detachment. This problem becomes pronounced when the dome wall is thin. Line detachment can form holes on the top surface, resulting in appearance defects.
To meet the design requirements for dome wall thickness, we can use the following techniques to reduce line detachment and ensure good print quality.
- Modify designs
- Use supports painting
- Modify layer height
Modify designs
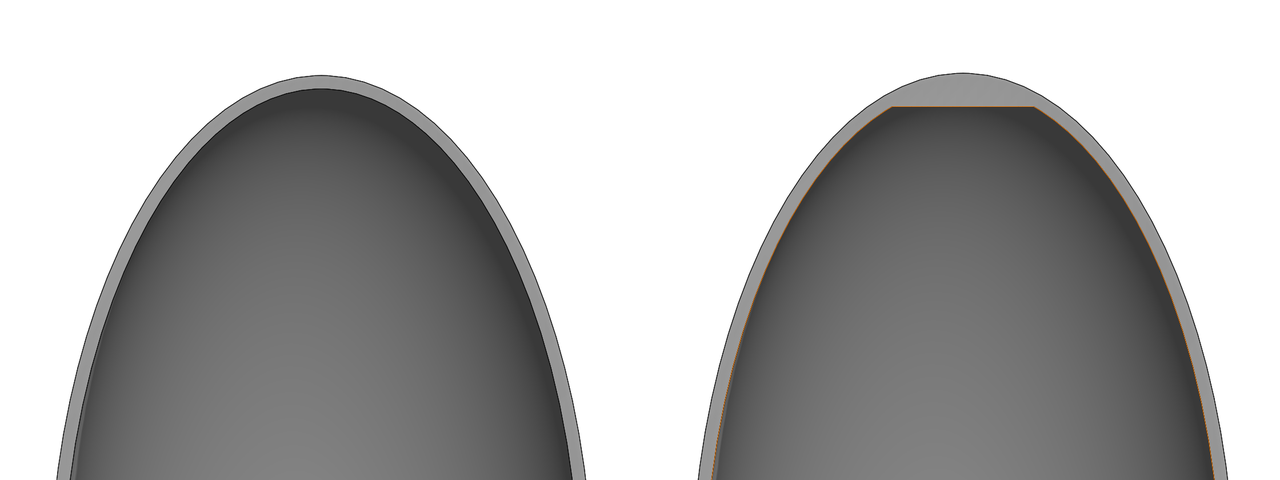
If you don’t need uniform wall thickness and only want a spherical roof, or if the dome’s interior must be spherical to fit with other parts, we recommend making the dome's inner top surface flat. This change helps reduce bridging difficulties. Check the article '3 Ways to Improve Bridging in Flat Roof Structures' to further improve print results.
Use supports painting
If you need uniform wall thickness and an inner spherical surface, we recommend using Supports Painting. It might increase print time and use more materials. However, this method ensures print quality while only using supports where they are absolutely necessary.
Use supports painting by following these steps.
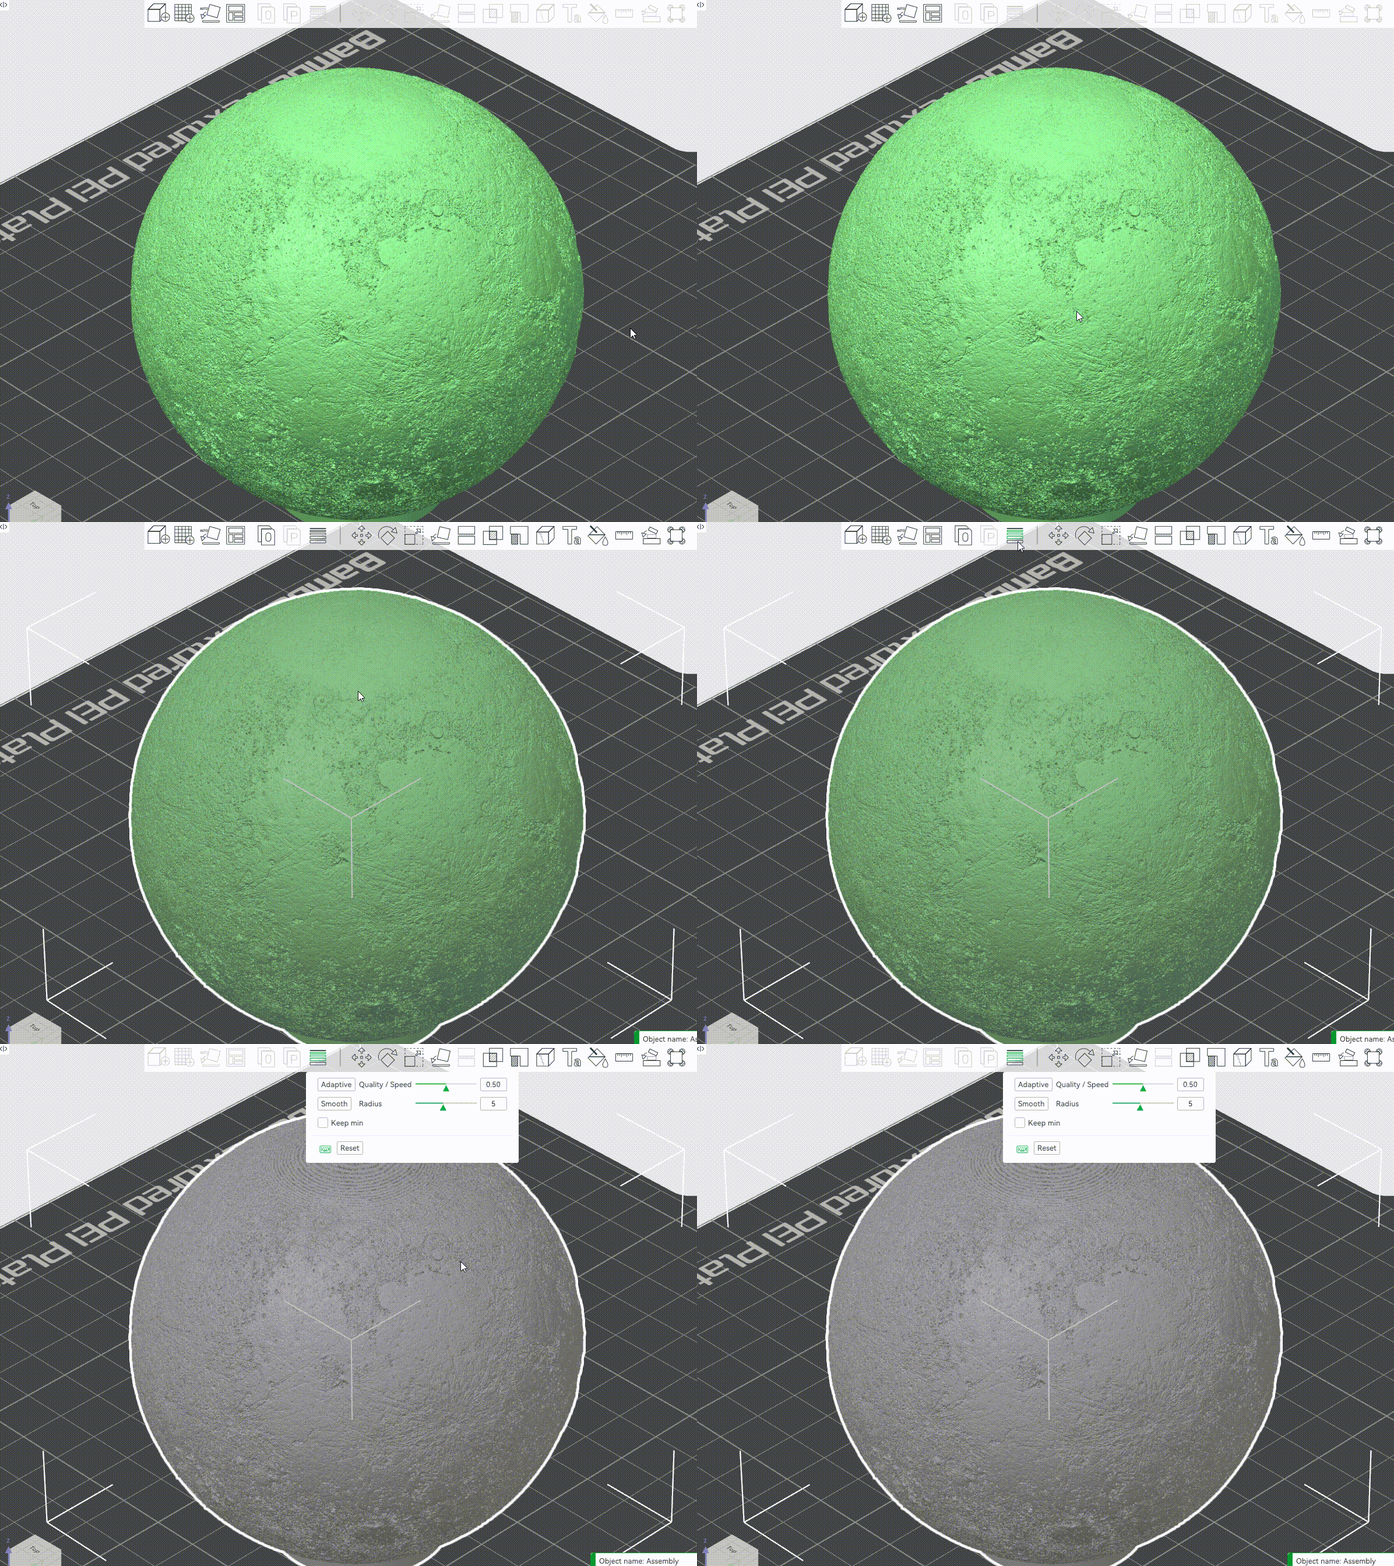
Step 1: Click the model and then click 'Supports Painting'.
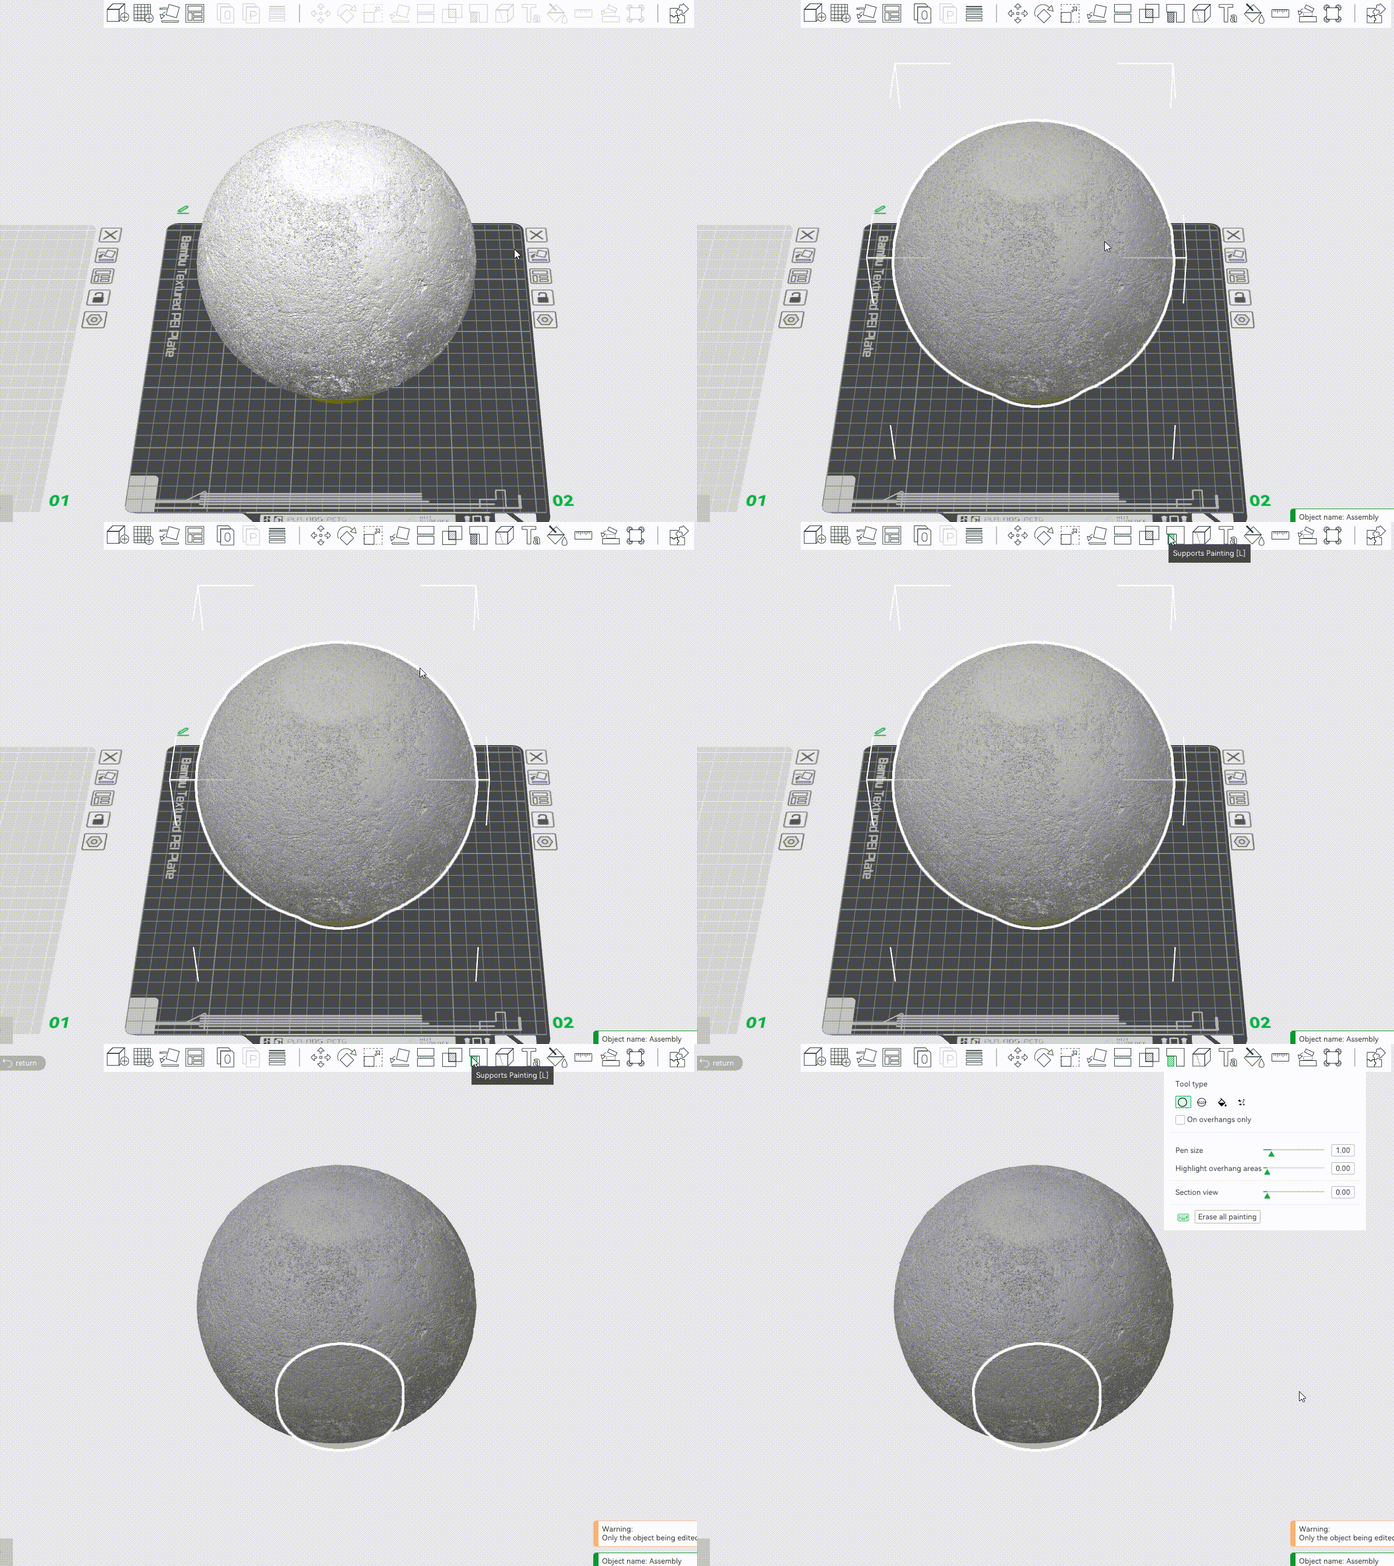
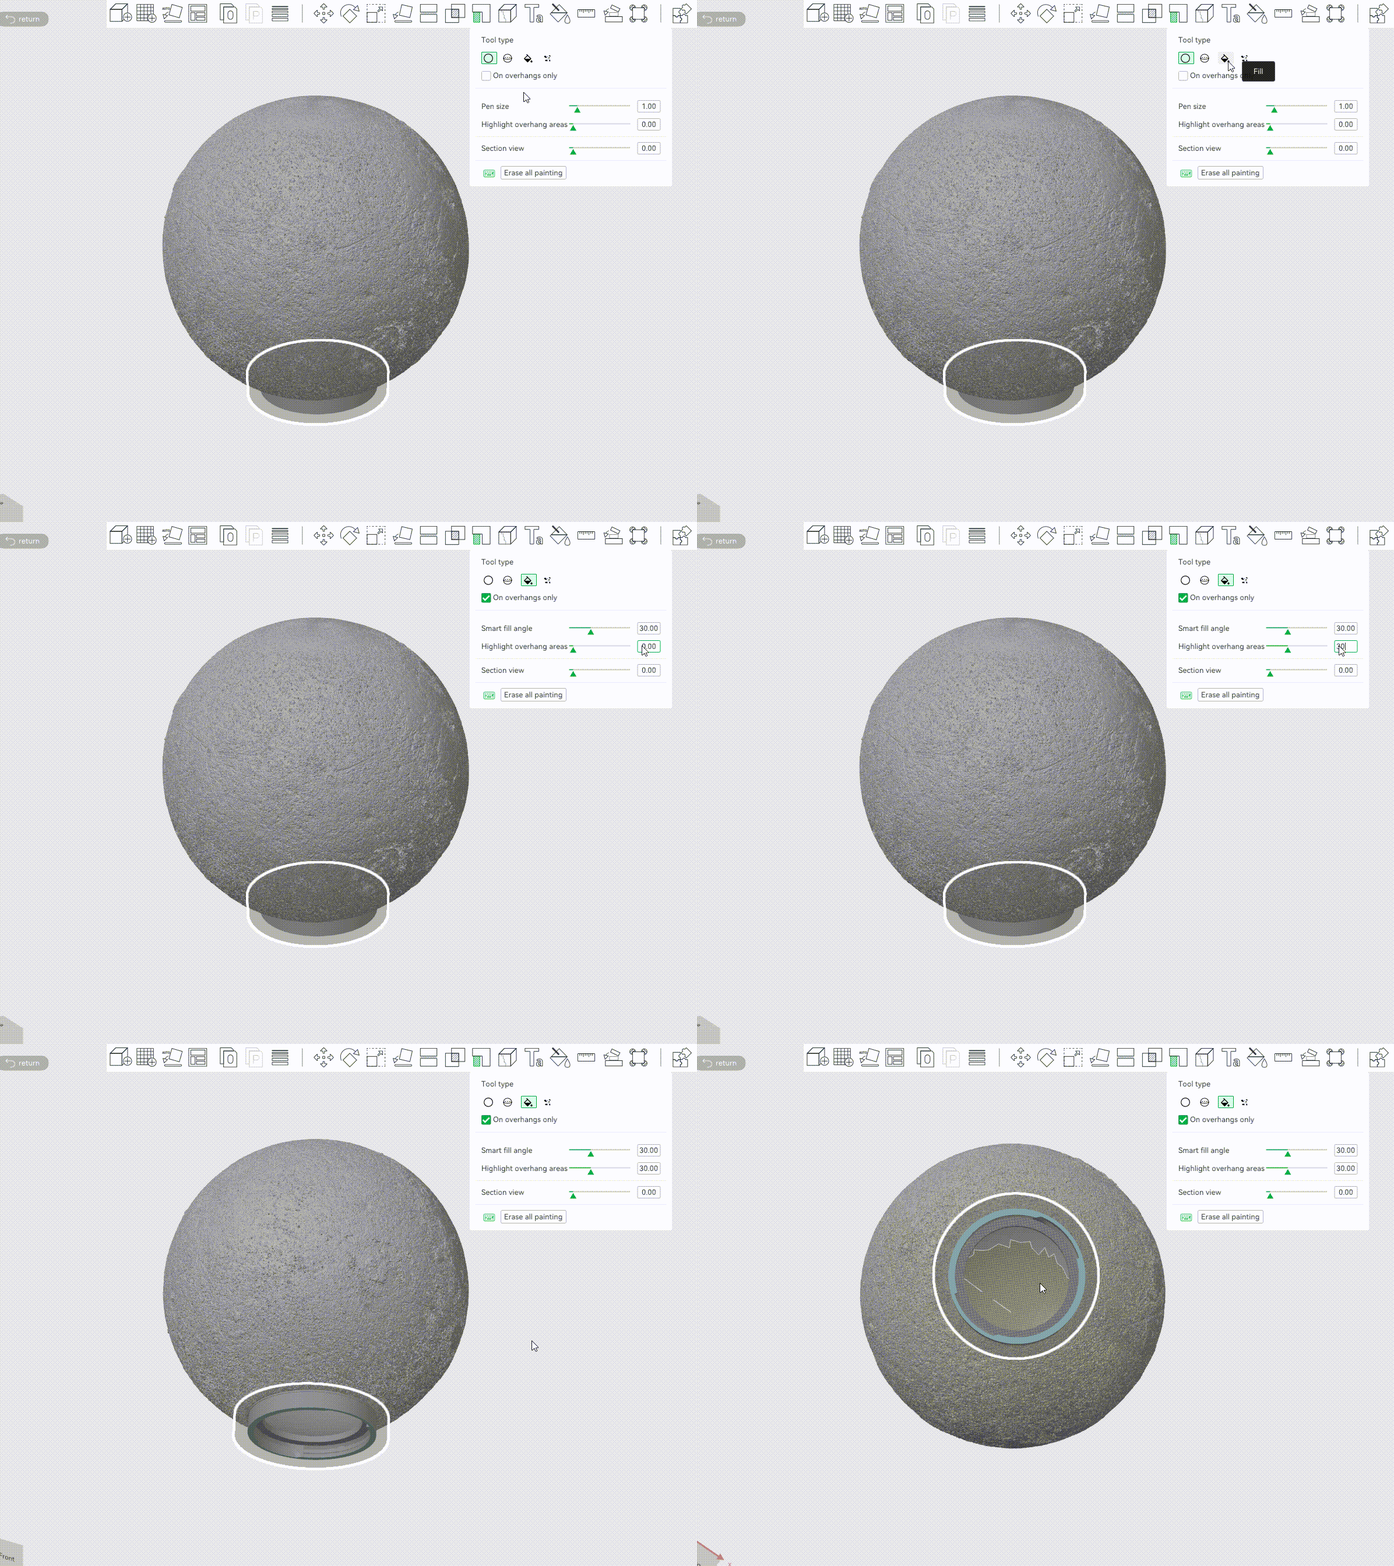
Step 2: In the 'Tool Type' menu, select 'Fill'. Then, check 'On overhangs only', set the angle to 30° in the 'Highlight overhang areas' option. Next, select the yellow region to apply support.
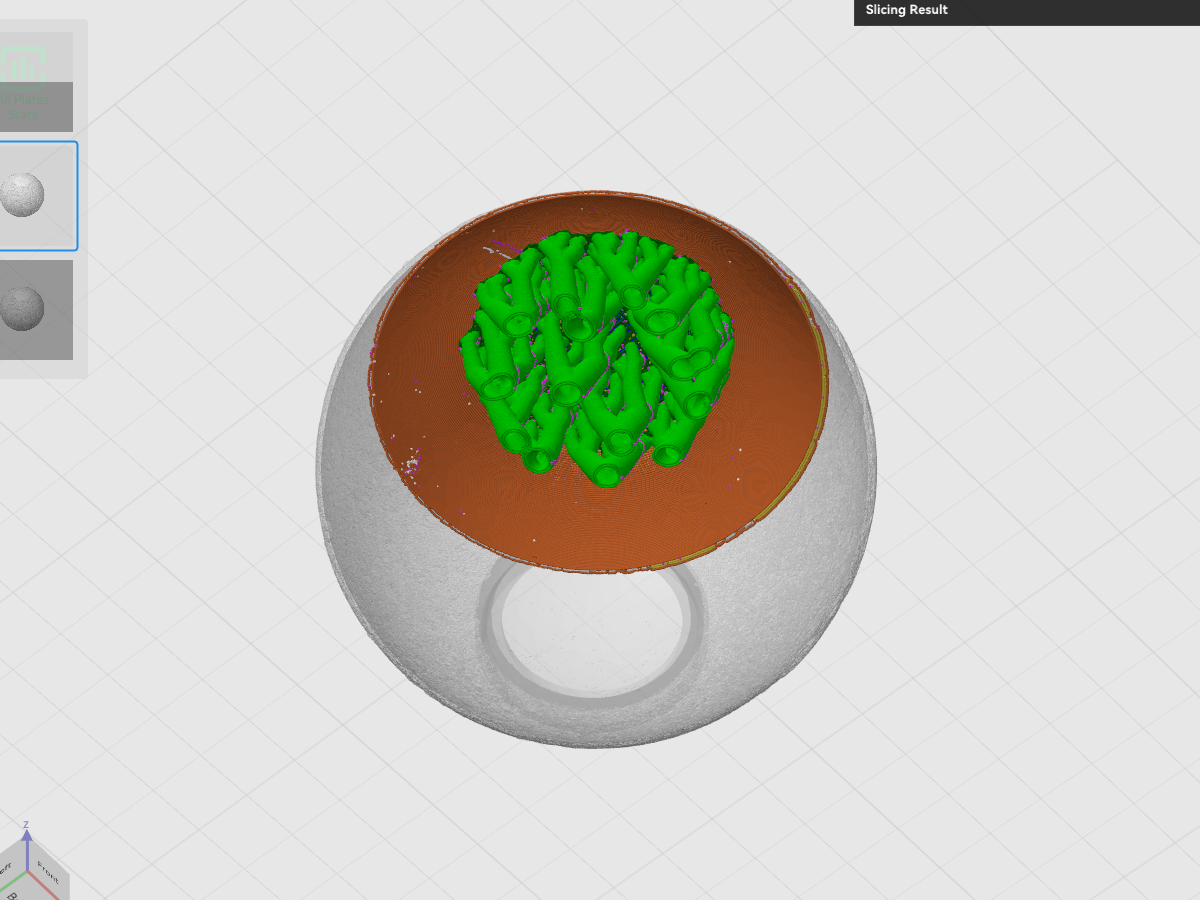
Notice that the green support structures are generated in the large overhang regions.
Modify layer height
If longer print times are an option, you can consider printing a dome at a lower layer height. This technique can reduce the overhanging top layers. The output results in a smoother, more refined curved surface. FDM printing is processed layer by layer. The material flow for each layer decreases when printing at a lower layer height. This allows the materials in the overhang regions to cool better, thus reducing sagging.
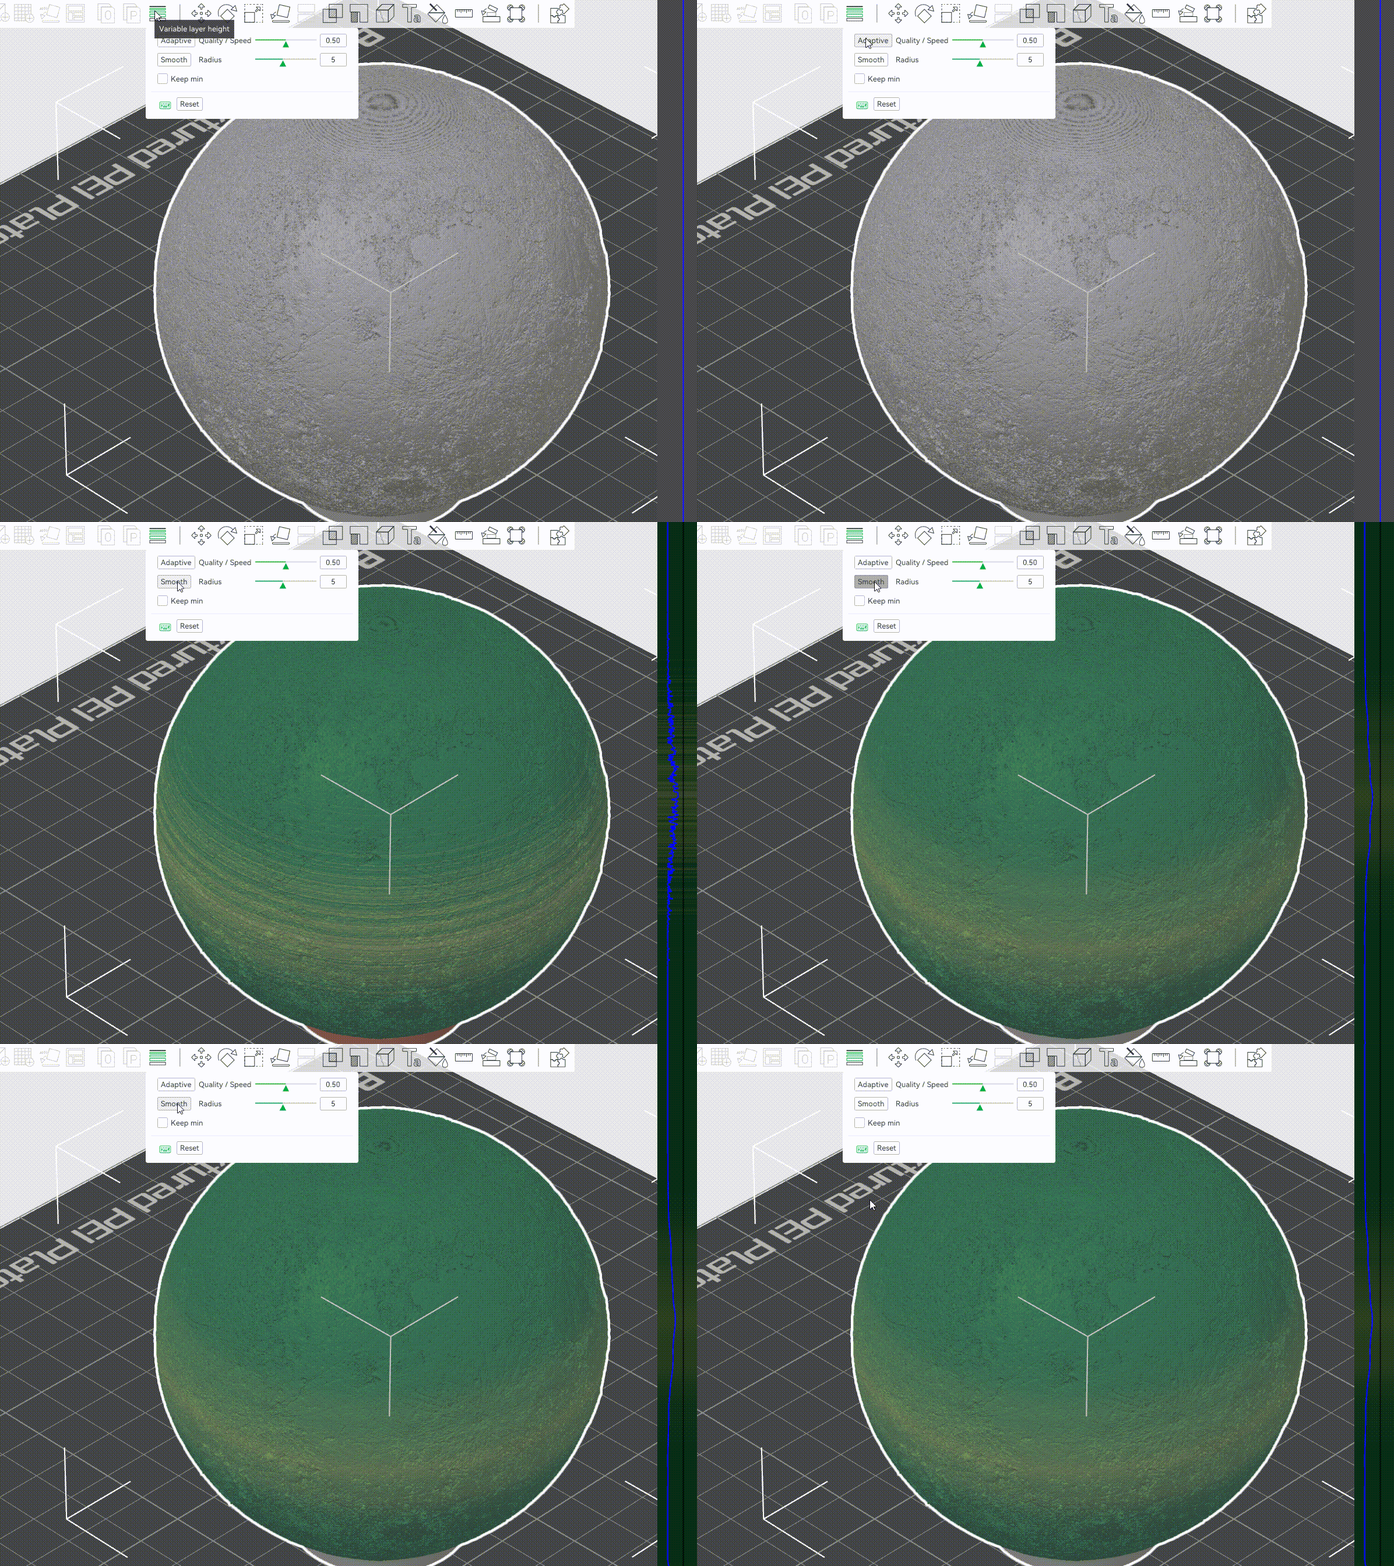
Usually, the variable layer height feature can reach a balance between print detail and print time. Select the model, and click 'Variable Layer Height'.
Click 'Adaptive' and then 'Smooth'. You may click a few times until the layer height curve (in dark blue) on the right becomes smooth.
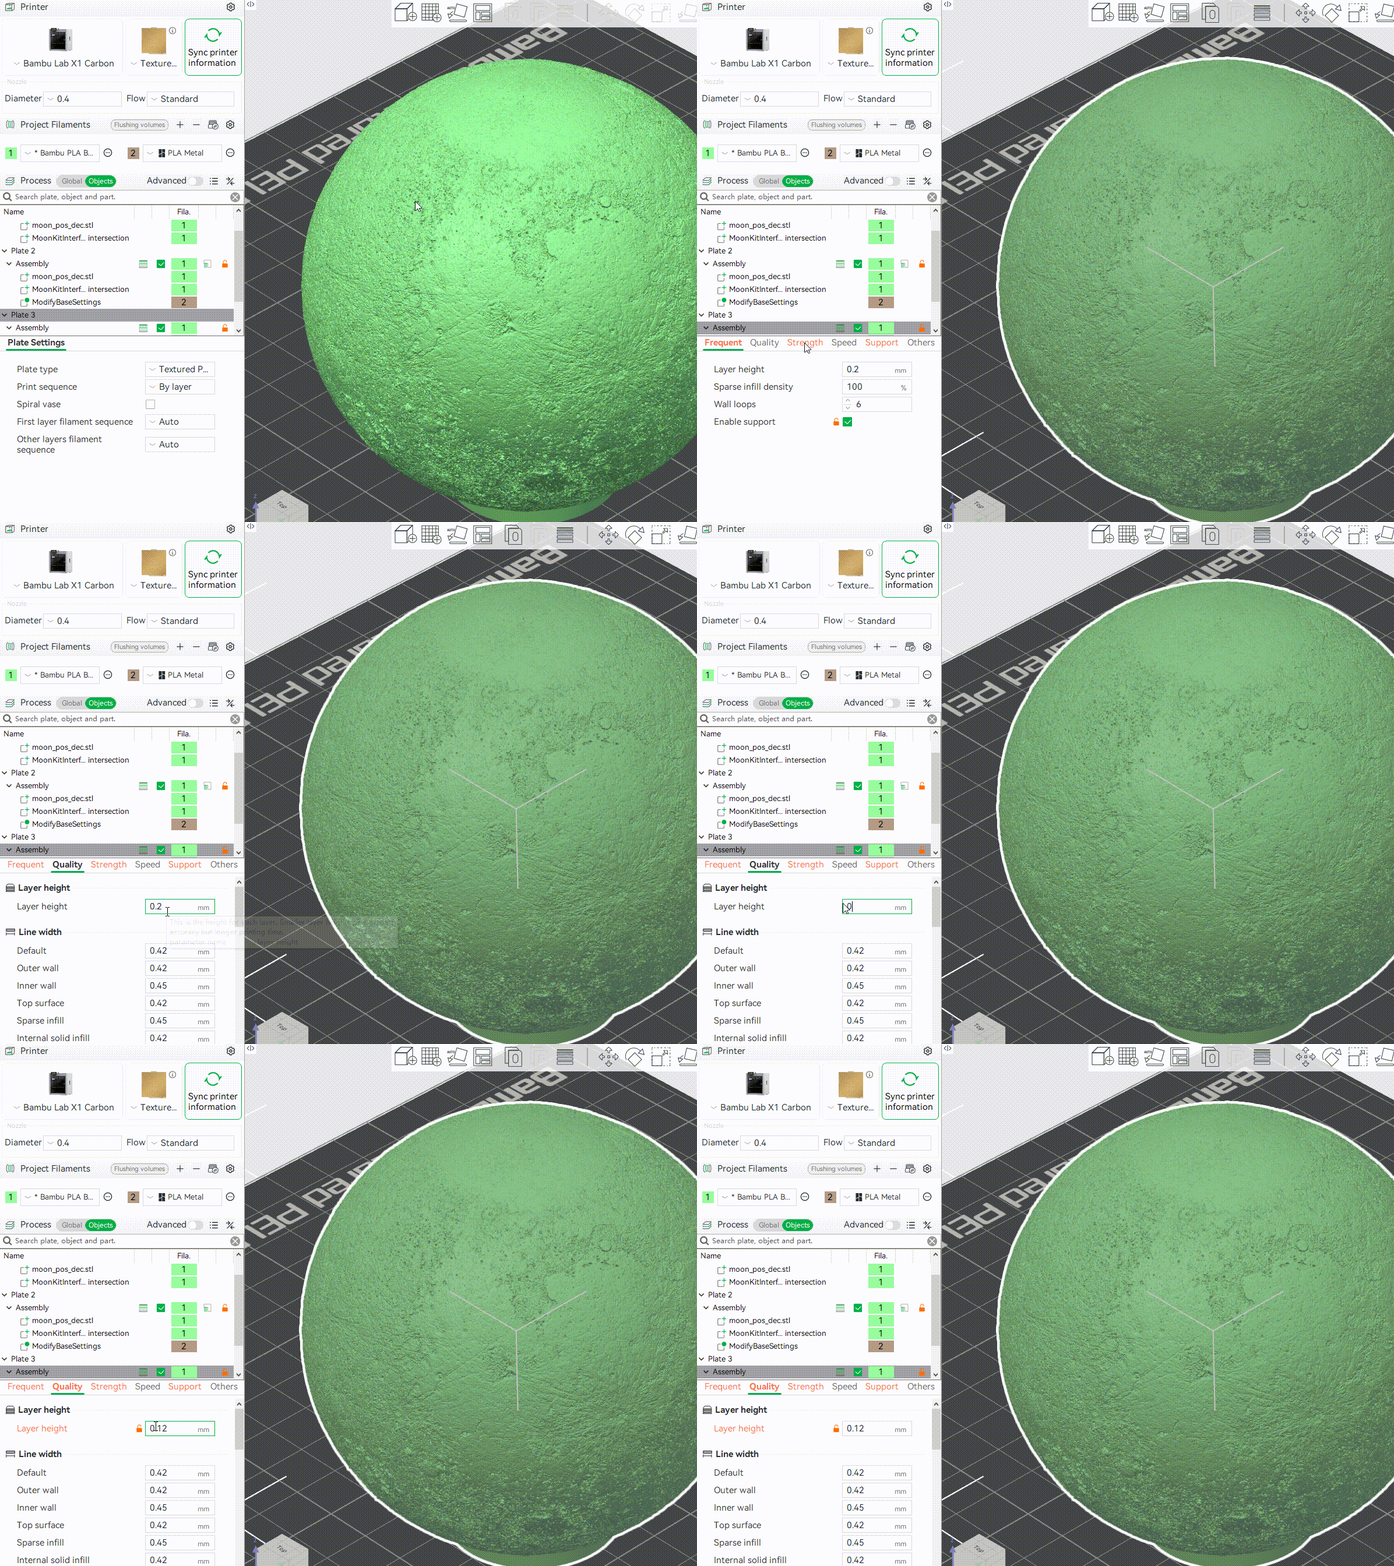
Some models, such as lampshades, require a consistent and delicate texture. For lampshades, it aims to achieve an even lighting effect. As such, we suggest uniformly reducing the layer height. Select the model, then click on 'Quality' in the left sidebar, and adjust 'Layer Height' to 0.12 mm.
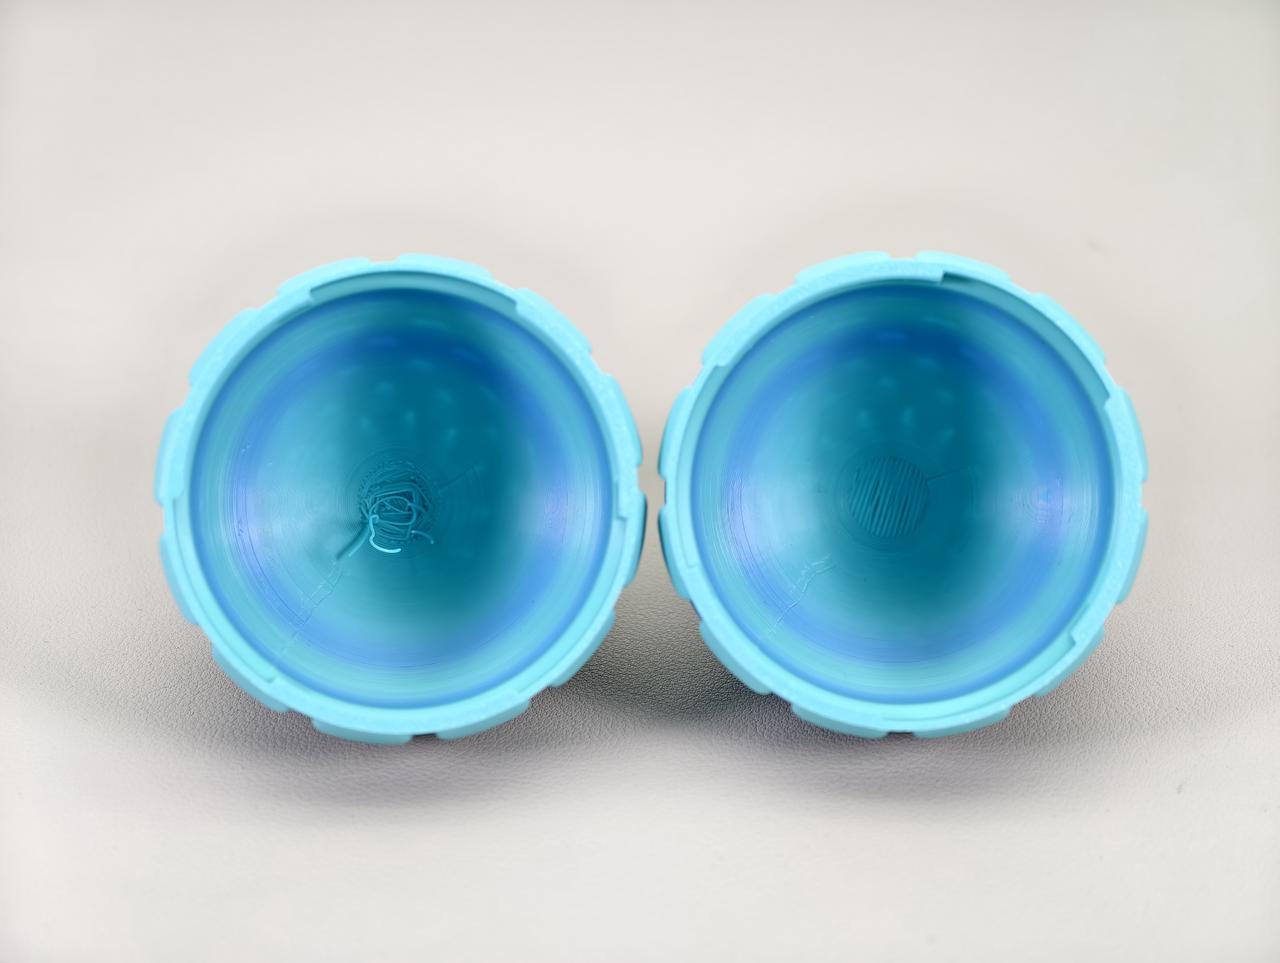
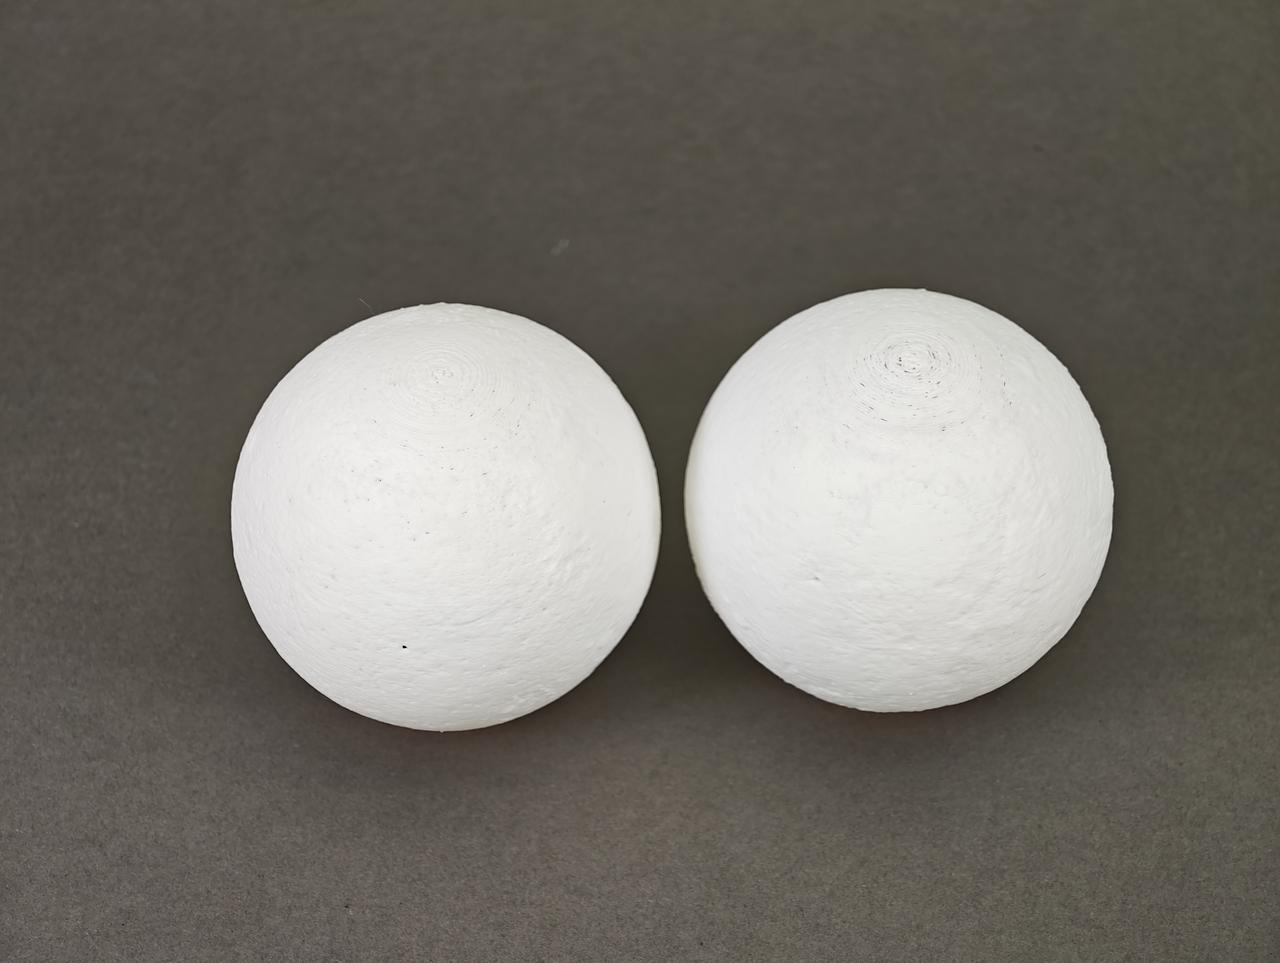
Afterwards, using supports painting (as explained above), we can obtain better print results. You can see the improved results of the dome's top in the image below.
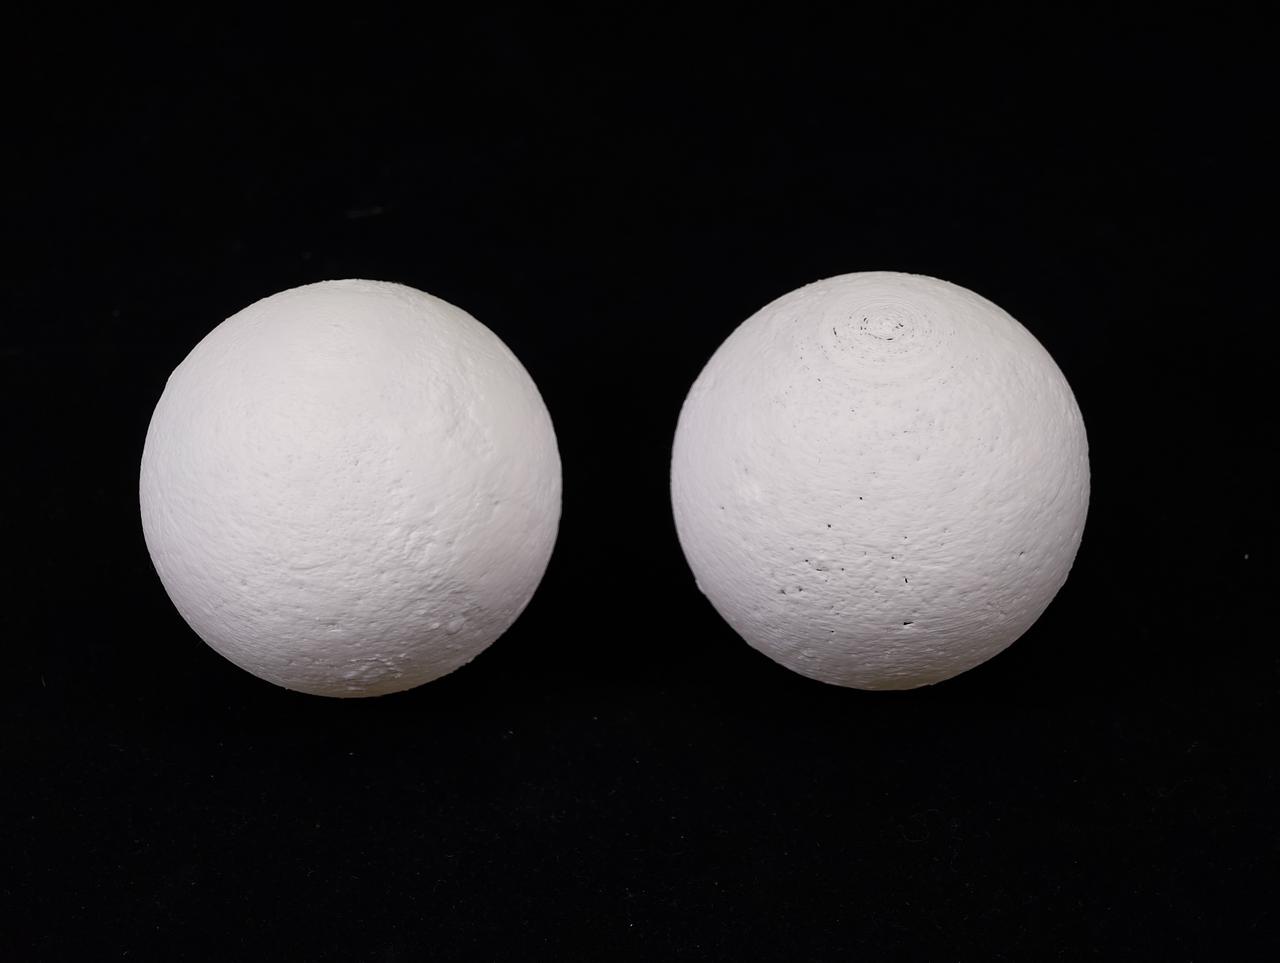
Please note that printing models with different layer heights on the same build plate will make the layer height settings invalid. We recommend placing and printing these models separately.
We need to pay attention to models that require assembly. You might have seen that the dimensions of assembly parts printed with changed layer heights can be different from those printed at the default layer height. The reason lies in material shrinkage to different degrees. To ensure accuracy, check the assembly dimensions for parts with adjusted layer height. You can either use the layer height modifier or manually change the layer height to avoid the assembly sections. For more details, please check the supplementary reading at the article's end.
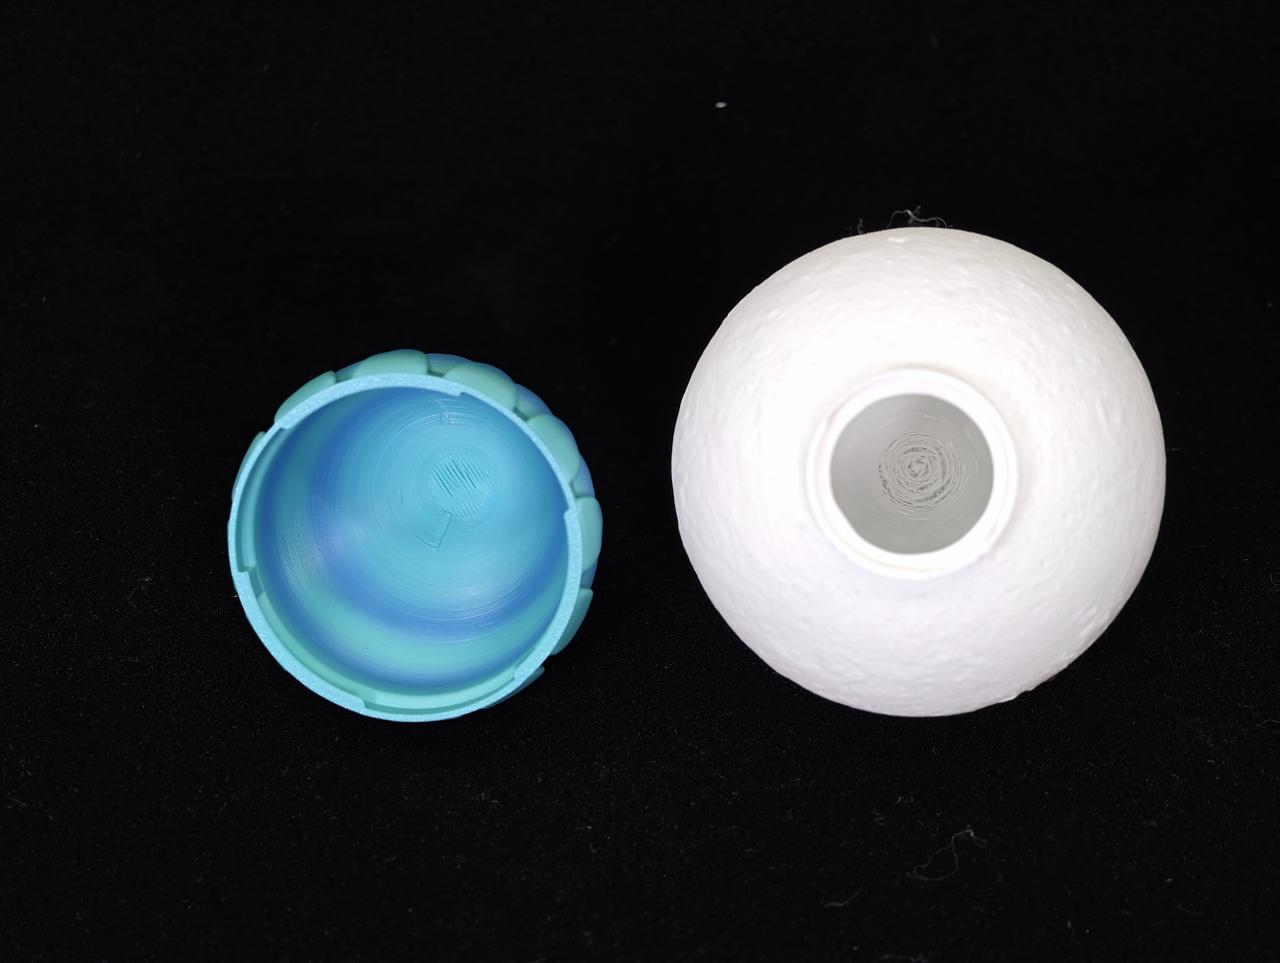
We've shared some useful techniques to reduce line detachment in dome structures. You can improve the print quality of dome structures by modifying designs, using supports painting and modifying layer height. This helps prevent line detachment issues.
Supplementary reading:
[1] Bambu Lab Wiki, "Variable layer height,“ 2024
[2] Bambu Lab Wiki, "Height range modifier,“ 2025
These articles might help you as well — take a look!
3 Ways to Improve Bridging in Flat Roof Structures
Ways to Fix Filament Sagging in Supportless Holes
If this guide sparked ideas or felt familiar, share your thoughts in the comments — let’s chat! Like and save if it helped.