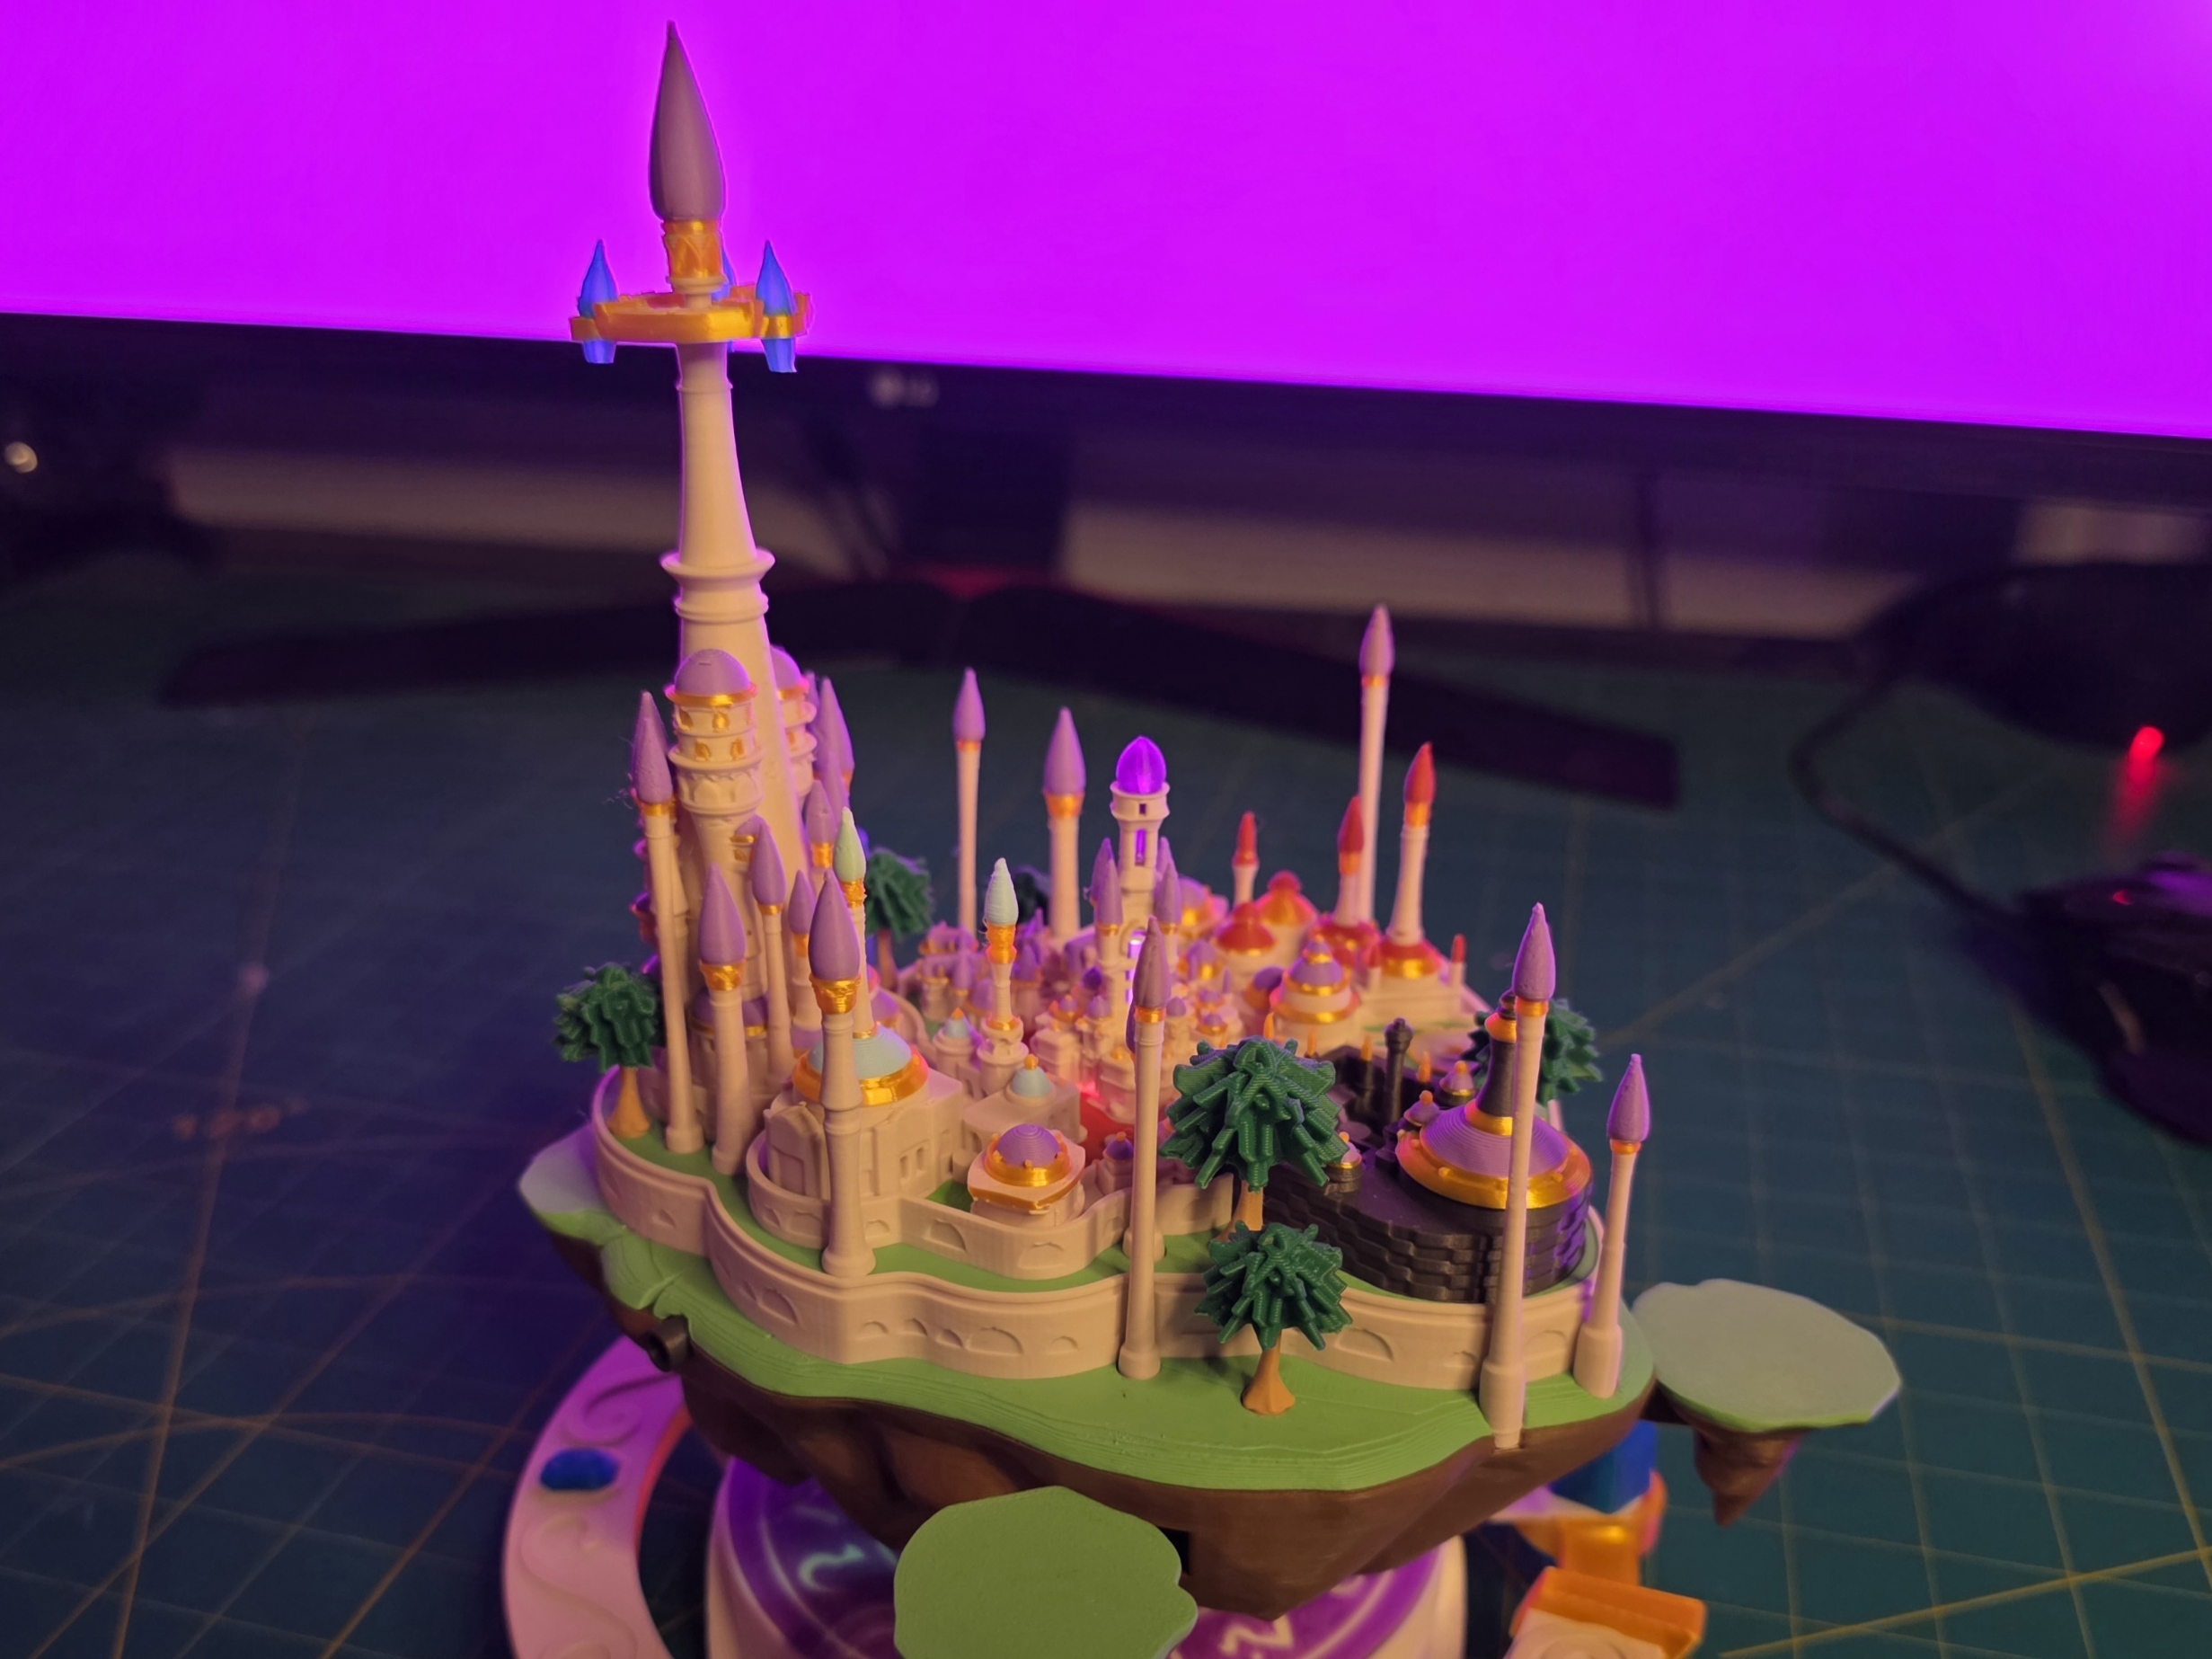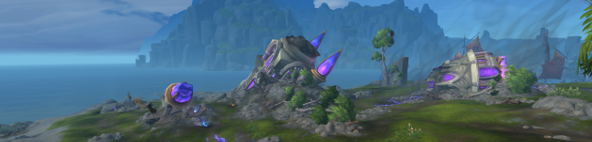
For a while now, I’ve wanted to try modelling and 3D printing a miniature version of Dalaran, the floating city from World of Warcraft. Since the city seemingly defies (or defied) gravity in-game, it felt like the perfect candidate for Bambu Lab’s Magnetic Levitation DIY Kit.
Here are some of the challenges I faced in bringing the idea into a 3D-printed reality.
The Centre of Everything
The key to making a good levitating model with the MagLev kit is ensuring the model’s centre of mass sits on the same vertical axis as the floating magnet. If the centre of mass is too far off-centre, the model will tilt—or not levitate altogether.
This is relatively straightforward for symmetrical models, where the centre of mass lies neatly along the central axis. But where exactly is the centre of this thing, let alone its centre of mass?!
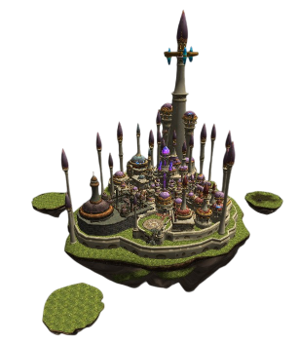
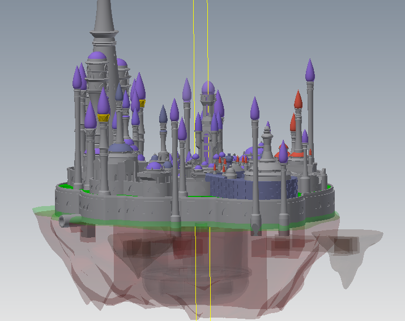
Luckily, working out the centre of mass is only a few clicks away in most CAD software, and there are similar add-ons available to do so in 3D modelling software such as Blender. Once most of the modelling was complete, I created the cut-out and holder for the floating magnet so that it aligned with the model’s calculated centre of mass.
BUT.
That would only be correct if the model were printed with 100% infill density.
Working out the actual centre of mass is more complicated. A printed model consists of wall loops, top and bottom shells that are effectively solid, and lower-density sparse infill. This means smaller but more geometrically complex sections often contain proportionally more walls and can end up denser than larger sections.
Aware of this potential setback, I went ahead and printed anyway. Unsurprisingly, the model tilted to one side while floating.
To fix this, I just added more mass to the model on the opposite side by increasing the infill density. The three little adjacent floating islands were ideal for this. Since they are the furthest part of the model from the centre, even adding a little mass, makes a big difference to help balance the model. Their position can also be moved slightly with how they’re connected to further help distribute mass for balancing.
At this point, I should probably mention that Bambu Lab also sells a version of the MagLev kit that includes little steel balls specifically for balancing models.
But if I had used that version of the kit, I obviously wouldn’t have had anything to write about for this article.
A Balancing Act
If you’ve ever used the Bambu Lab MagLev kit, you’ll know that getting a model to levitate for the first time can range from tricky to extremely challenging. Getting something this large and oddly shaped floating would have been practically impossible without some form of assistance.
There were two possible solutions.
Option 1: Create a temporary cradle that holds the model in exactly the right position relative to the base when first placing it. I briefly considered making a cradle in the shape of the crater Dalaran flew out of in-game.
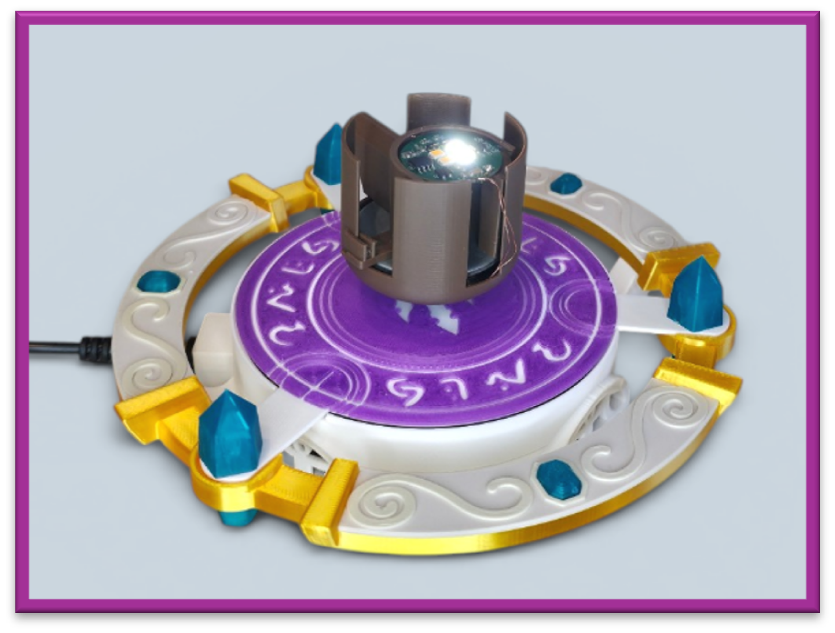
Option 2: Create a small floating magnet holder that levitates easily on its own, then slide the rest of the model over it afterwards.
Option 2 seemed like the wiser choice.
MOAR SPIRES
One of the more challenging aspects of the project was 3D printing the long, thin towers.
Even though I modelled them to be thicker than their in-game proportions, they still tended to wobble during printing, which led to poor print quality or even print failures.
For models with tall, slender vertical features, reducing print speed and increasing the number of wall loops can help minimise issues caused by parts flexing during the print.
In this case, increasing the Z-hop when retract, from the default 0.4 mm to 0.8 mm also led to a big improvement. This gives a little more leeway when the printer nozzle moves from part to part, and so when the printer starts depositing filament again the part hasn’t moved or bent from the printer moving to it.
This is a printer or filament setting however that each user must set themselves when downloading and isn’t applied if printing from Bambu Handy.
While the spires were able to print like this, they are still fragile and easy to break. I eventually decided it would be best to separate them altogether and have them print as independent parts. This means, if someone (me, someone is me) breaks one, they can reprint just the spire rather than having to reprint large portions of the model again.
Final Thoughts
There were plenty of other design decisions involved in adapting Dalaran for 3D printing: deciding which details to preserve in a model of this size, determining how to split the model to minimise supports, and ensuring it could be printed in full colour using a single AMS.
Overall, I’m really happy with how it turned out, and I hope some others enjoy making and displaying their own little floating cities.
Checkout the model here!:
https://makerworld.com/en/models/3044527-dalaran-floating-city-of-the-kirin-tor
TL;DR for Horde players: Many design challenges faced especially to make model levitate and to print tiny details. End result good. Grunts