Search models, users, collections, and posts

Bio
Instrumentation Technician | CAD & Functional Design
After far too much time debating the purchase, I finally took the plunge with a P1S in December 2025. I quickly became hooked, and in the months since have been transitioning heavily into designing my own prints.
Coming from a technical background, I’ve found that CAD clicked with me in a way that other pursuits never seemed to—I'm looking at you woodworking, programming, et al! I enjoy the creative outlet that CAD offers and plan to focus on developing a library of designs that blend functionality with artistic intent.
Achievements

MakerWorld Guardian
This badge has expired

I've created a parametric slot car bushing for all of you racers out there as well as for anyone who just needs a customizable rimmed cylinder.
Slot Car Axle Bushing (Parametric)
2
8
Share
0
0
0
🐾 Leash Station v1.0 – Now Live!
Keep your pet gear organized with style!
Features:
🧲 Magnetic or screw mounting.
🕊️ Dovetail joints for easy removal.
🪝 Replaceable hooks & customizable faceplates.
🛝 Anti-slide design with embedded o-rings.
⏱️ Print time: ~14 hrs (3 plates). Supports only on main body.
This is my most complex design yet — any support helps me keep creating.
Follow for updates!
Happy printing!
Customizable Dog Station w/ Magnetic Mount
2
2
Share
0
0
0
New: Anti-Slide Magnetic Glove Dispenser
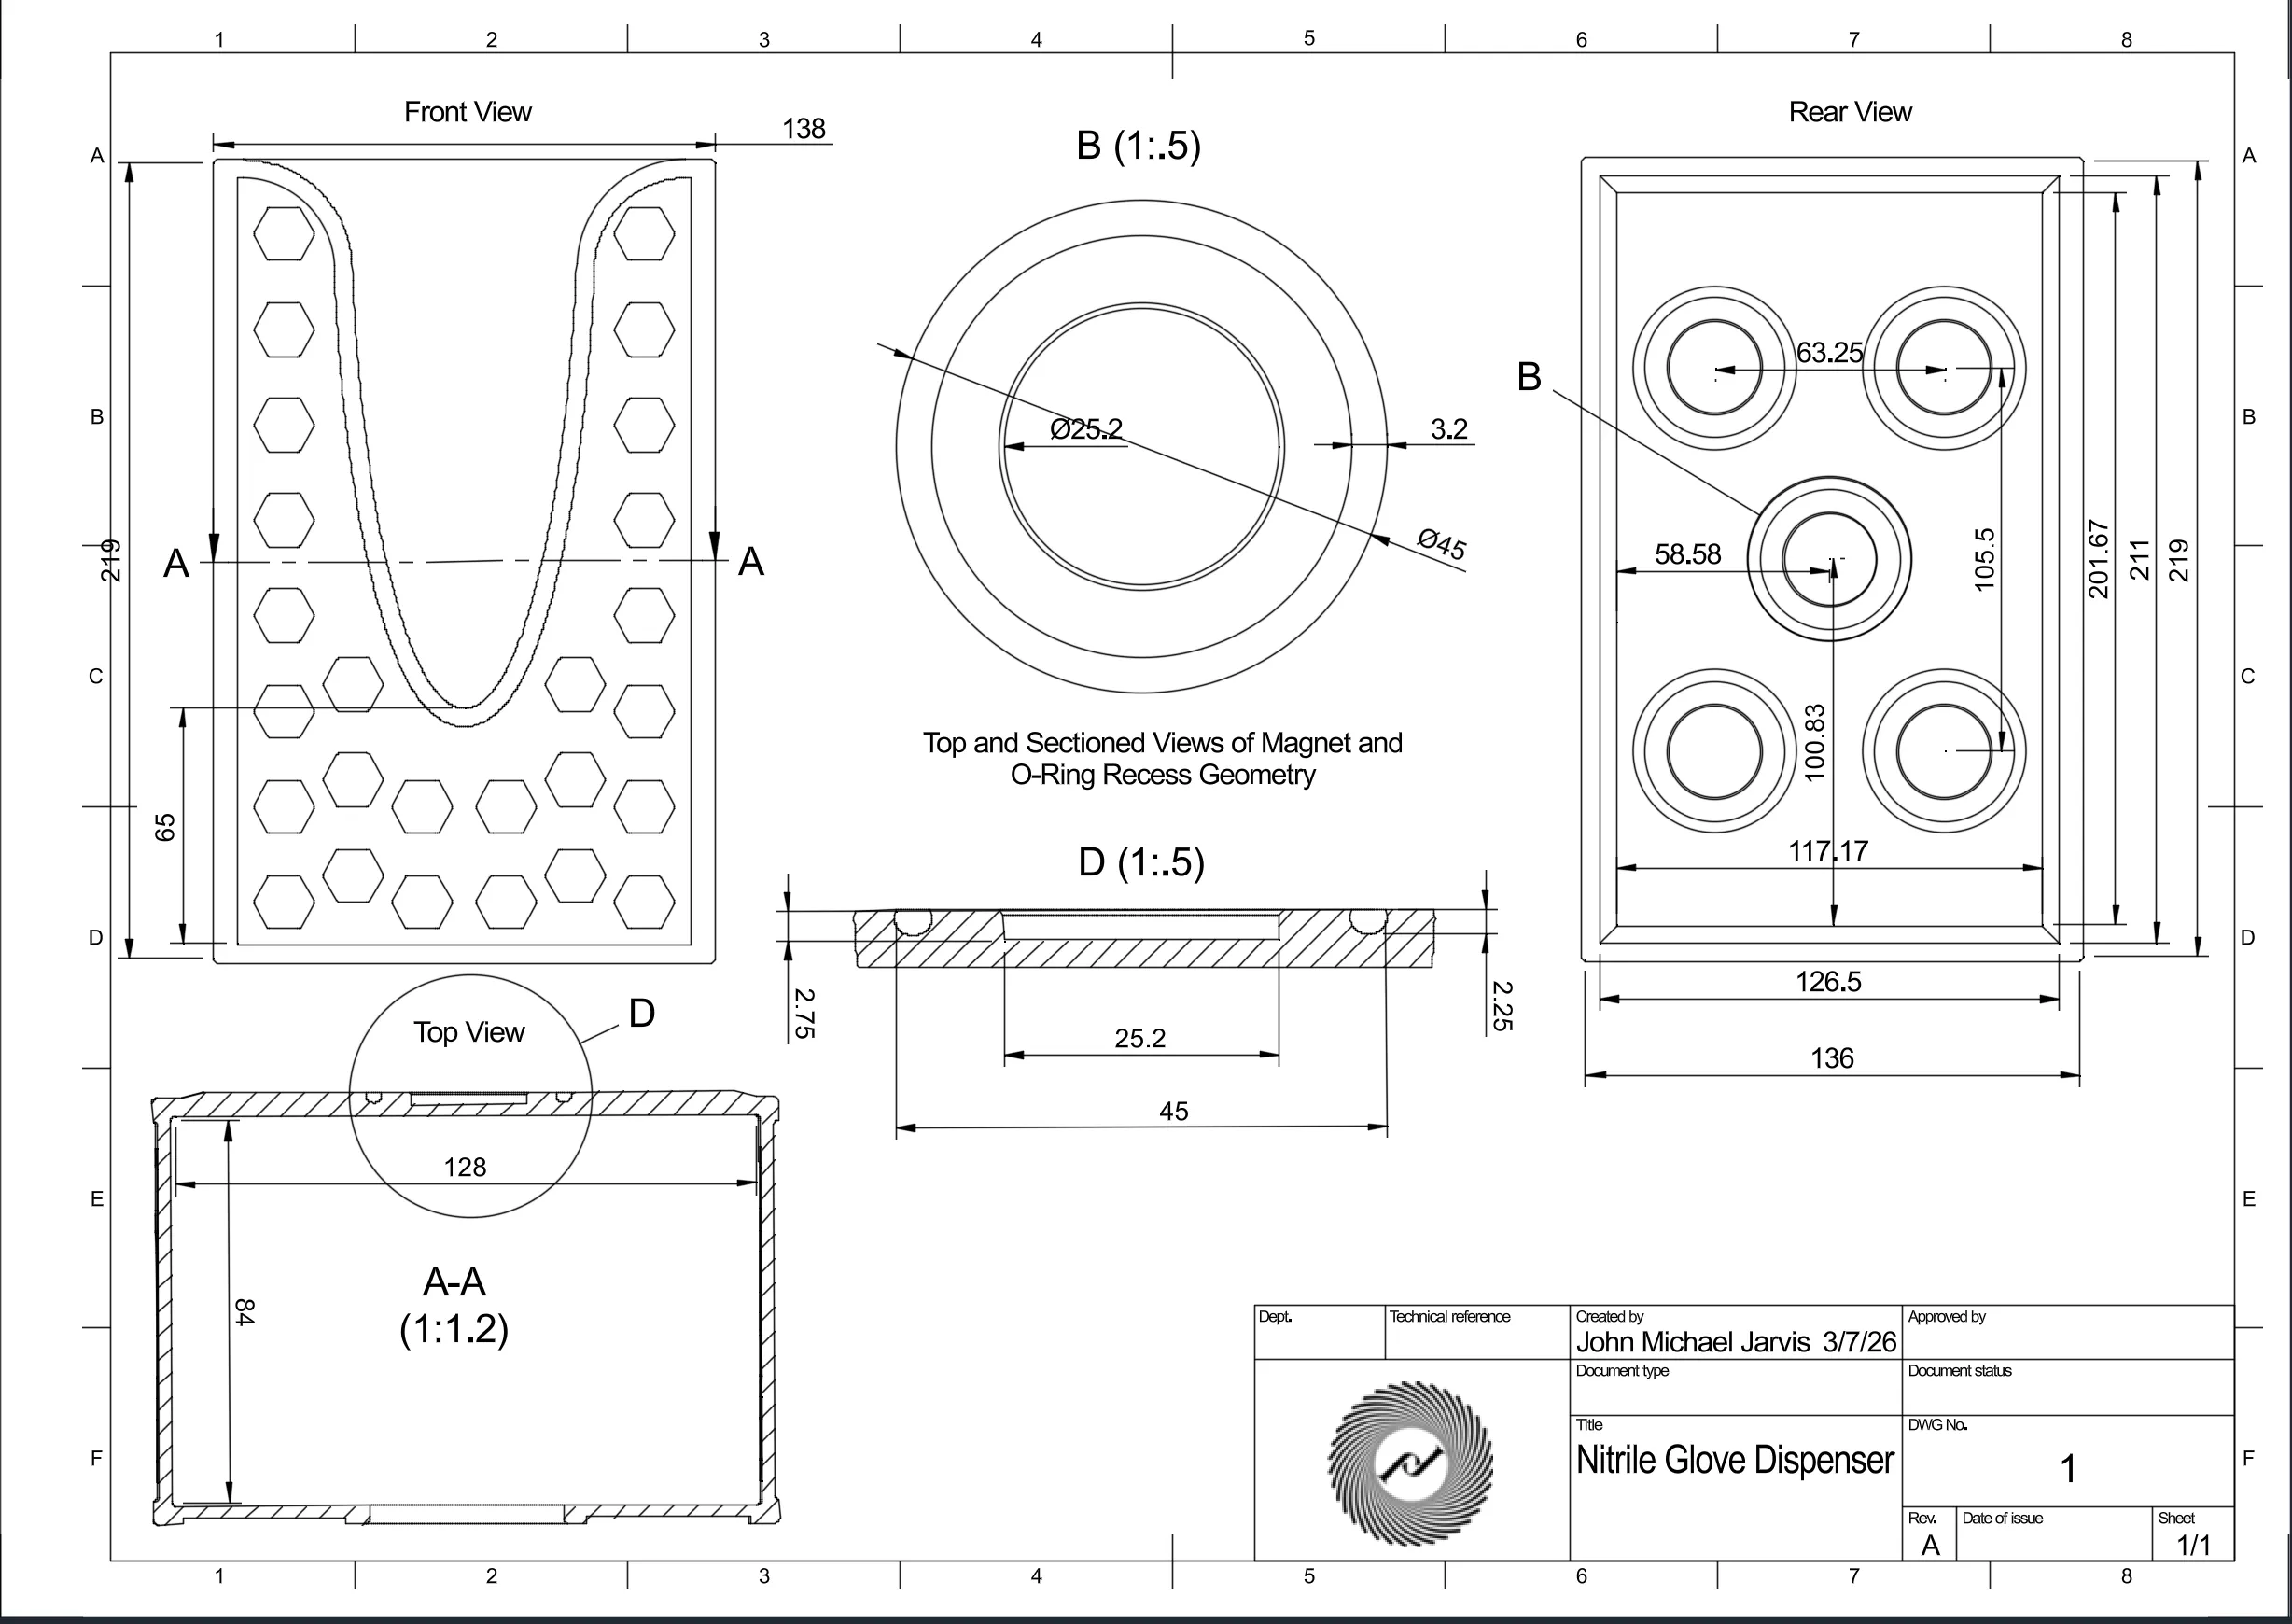
I designed this dispenser to stay put by using embedded o-rings to increase surface friction.
No-Slide: Holds 870g+ (tested with Kirkland wipes!)
Bestagon Aesthetic: Bauhaus-inspired hexagonal grid.
Perfect Fit: Optimized for Kirkland Nitrile boxes.
This is my first release! Please Rate or Boost to help me keep designing. Check it out on my profile!(Edited)
Hex-Style Magnetic Disposable Glove Dispenser
92
478
Share
0
0
0
The box is well designed and printed perfectly using PLA basic (green and cyan). The box was easy to assemble and the tight tolerances make the box feel great to operate. My only caution to others is that the tolerances on the trays are tight enough that you're going to want to be fairly certain about how you want to orient the bottom tray before putting it in. It could probably be removed without damage, but I didn't feel the need to try. The top tray also went in fairly tight at first, but wore enough after that first insertion and removal that it is now secure but not at all hard to remove.


Share
0
0
0
No more data