Search models, users, collections, and posts


Achievements

Stellar Reviewer
Rate or Comment 442 different models

Pioneer Maker
Print successful 408 different models and 553 hours

MakerWorld Guardian
This badge has expired

this is probably one of the best things i ever printed!
and trust me ive printed a lot
Share
0
0
0
fits nicely and looks great
Share
0
0
0
Nice print and great design I printed it a little smaller
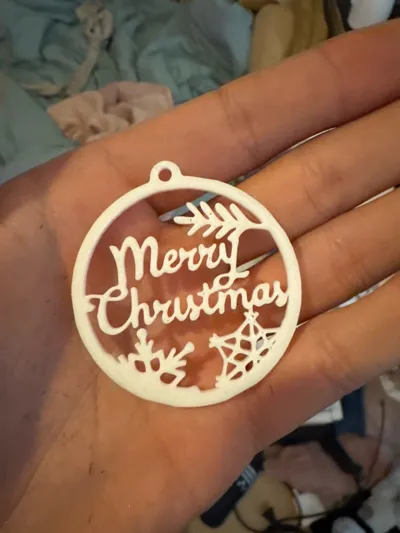
Share
0
0
0
Designing for 3D Printing
During my 3D printing journey, I learned and practiced many techniques for 3D modelling that make 3D printing my designs more reliable, higher quality, and easier. I’ve found that it’s much easier to design something for 3D printing from the start, than to design something and then adapt it for 3D printing. In this article I’ll share techniques, tips, and things to watch out for when designing a 3D model meant for FDM 3D printing. This guide will go over three sections of thought: Orientation/Overhangs, Bed Adhesion, and Dimensional Accuracy/Fitment.Orientation / Overhangs:There’s nothing wrong with having to use supports in your designs, sometimes there’s no workaround or design choices that can avoid supports and supports will be absolutely necessary, but that isn’t to say there aren’t downsides. My personal downsides for supports are: wasted filament, time and effort needed to remove supports, longer print times, and supported sections have generally lesser quality. I don’t like printing models with supports if I can avoid it and model all my designs to not have supports. This of course introduces its own limitations but I’ve been able to manage around it by keeping the following ideas and techniques in mind.‘Bad’ Overhangs and the Power of 45:For those who don’t know, an overhang is a section of a print where the printer has to print a filament layer with little or no support causing the filament to droop. This drooping filament is not only a visual quality issue but can affect the rest of the print because future layers may depend on those drooping layers for support but instead find none. Best rule of thumb is to keep any angles at 45 degrees. While many of these new age printers can go under 45 degrees, it’s generally less reliable and varies from printer to printer. 45 degrees works well for basically all FDM 3D printers and if you’re looking to design for the public, it’s best to make your prints easy for all kinds of printers. Here’s an example model that shows what Bambu Studio considers a ‘bad’ overhang:In the images above, you can see orange and blue parts of the model. Orange sections indicate normal Outer Walls that will print normally and in good quality while blue sections indicate Overhang Walls that are highly likely to droop and have quality issues. The left most side of the model starts with a 45 degree angle with each section decreasing the angle. It goes: 45, 35, 25, 15, then 10 degrees. Although Bambu Studio considers the 35 and 25 degrees acceptable, I still recommend sticking with 45 and only going lower when necessary.There is a quick workaround for getting really low angle overhangs to print better; you can decrease layer height from the default 0.20 mm to something lower like 0.08 mm per layer. The same model with 0.08 mm layer height now looks like this when sliced:Bridges are the Best:FDM Printers generally can’t print on thin air, but they are able to create bridges over the air when there’s something to support it on both sides. I use bridges incredibly often in my designs to add additional details and form to my designs. At short lengths (my general rule of thumb is under 20 mm) bridges are very reliable and look pretty good. If you need to print over air, make sure it’s a bridge and you’ll likely be alright. Here are some examples of when I use bridges to add details to my models, the light blue sections are the bridges.Unsliced:Sliced: The yellow section is the part of the model that’s touching the print bed. You can see the light blue section is not touching the print bed and even the darker blue sections that are deemed ‘bad’ overhangs print okay because they’re so small they act like bridges.Choose the Bottom of Your Model Right Away:When starting to design a model, I choose the face of the model that will be attached to the print bed. Knowing the orientation of your print right from the start can help you more easily see where you have ‘bad’ overhangs. This is helpful because it’s easier to catch and fix ‘bad’ overhangs right away instead of when your model is nearing completion.Bed Adhesion:Brims are always useful for creating more bed adhesion for thin or small parts, but I still try to avoid them. Creating good bed adhesion mostly means designing the bottoms of your prints to have a good sized connection to the build plate and avoiding having long, thin sections. Here are some examples of good sized bottom sections for bed adhesion: These are from my Drill Mech model kit, they’re fairly small but you can see a lot of that blue-purple section that indicates “Bottom Surface”. If you’re not seeing any bottom surface sections then it’s not a good sign. Here’s an example where the bed adhesion is on the line of being unreliable:You can see that there are thin walls of yellow that jut out from the base. In these thin walls, we can see orange Outer Walls, yellow Inner Walls, but no blue-purple Bottom Surface. In my experience, any thinner than this will significantly increase the probability of print failures due to bad bed adhesion. For reference, the thin walls in the image above are 2mm thick. Here’s a comparison with a 2mm thick wall and a 1mm thick wall:You can see the 1mm thick wall has only orange Outer Walls and no yellow Inner Walls. This would definitely be too thin and should be avoided. Generally, I would consider this circled area too small and thin for good bed adhesion, however, since it’s surrounded on both sides by larger areas it does well.Dimensional Accuracy and Fitment / Tolerance:The unfortunate reality is that plastics will shrink with FDM 3D printing and even more unfortunate, shrinkage can vary between different plastic types and even different brands of the same plastic type. Luckily, the shrinkage is often accounted for fairly well by the slicer and printer calibrations but most importantly, it can be accounted for in your models. If you print a 10 mm cube and plan to put it inside a 10 mm square hole, it most likely won’t fit. Either the hole will be too small or the cube will be too big, maybe even both! In my testing, I’ve found three values that have been useful to account for these kinds of fitment issues. I generally use three kinds of fitments: tight press fits, removable press fits, and loose joints. Tight press fits are for joining two pieces permanently and require a good amount of force to combine; I use 0.1mm of clearance here. Removable press fits are for joining two pieces that you may want to separate later. I use this for all of my snap joints and they use 0.2mm of clearance. Lastly, if I want to attach pieces that should be able to move as a joint with some general looseness, I use 0.3mm of clearance. Here’s an example of what that clearance looks like:Above is a 0.1mm clearance, where the inner square has 0.1mm of space around it on all sides. The last thing to take note of for dimensional accuracy is the heights of your models. The default layer height is 0.20mm and so all your models should have a Z-height that is cleanly divisible by 0.20mm. If your model is something like 5.5mm tall, the top layer will either be cut off to make it 5.4mm tall or extended to 5.6mm tall. This can be worked around with Variable Layer Height, however, it’s still ideal to keep your designs divisible by 0.20mm (or whatever your desired layer height is). For decorational models, this isn’t as important, but for functional models or models that require assembly, this can be very important. If you can keep these in mind when you design new models, it could make 3D printing your design much much easier. And in the MakerWorld landscape, I can confidently say that many users prefer models that don't use supports, are easy to print, and don't run the risk of failure due to poor bed adhesion. I hope this is helpful for all of you designers and future designers! Let me know if you have any questions about anything written here or if there's something I missed you'd like to read about, thanks all!
(Edited)
Share
0
0
0
i just uploaded my first design
Share
0
0
0
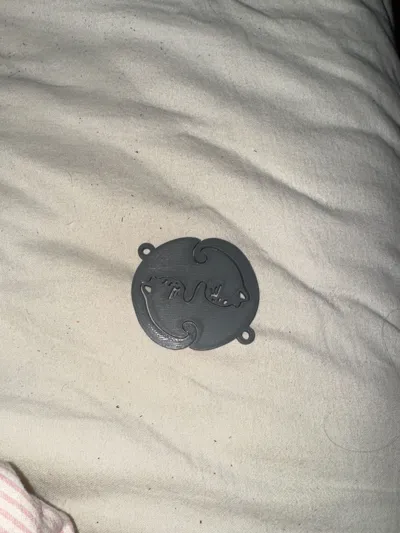
Share
0
0
0
No more data