Search models, users, collections, and posts


Bio
Former military and graduate of the Art Institute, majoring in Graphic Design and Web Design. Proficient in CS 4, especially Photos hope and Dreamweaver. Now retired, it's on to something else...3D printing!!! A new experience and exciting!!!
Achievements

Stellar Reviewer
Rate or Comment 356 different models

Pioneer Maker
Print successful 344 different models and 2,155 hours

MakerWorld Guardian
This badge has expired

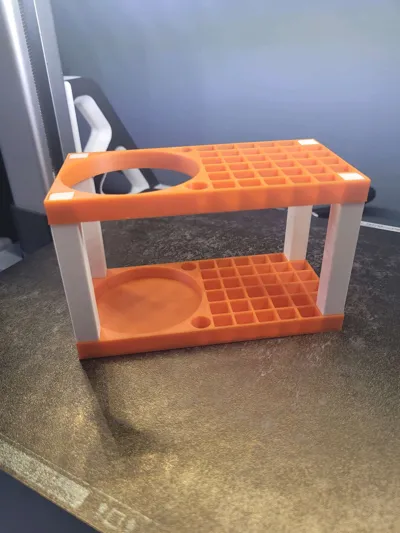
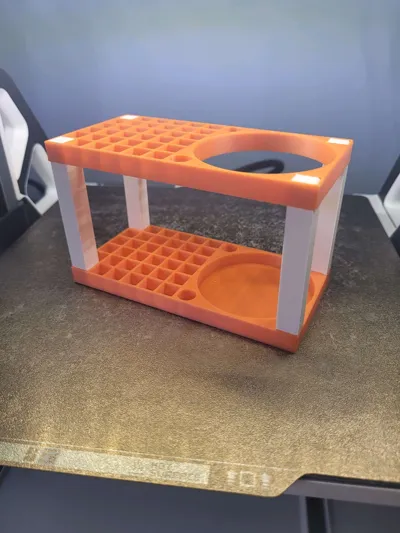
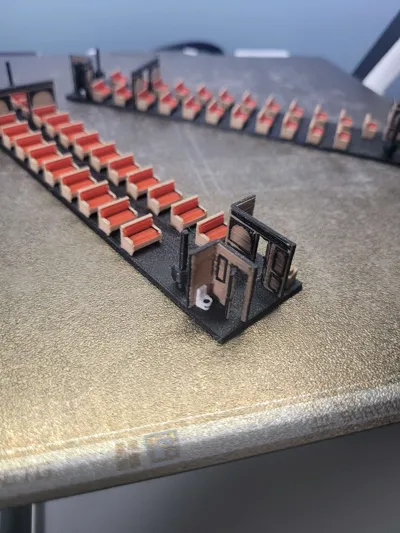
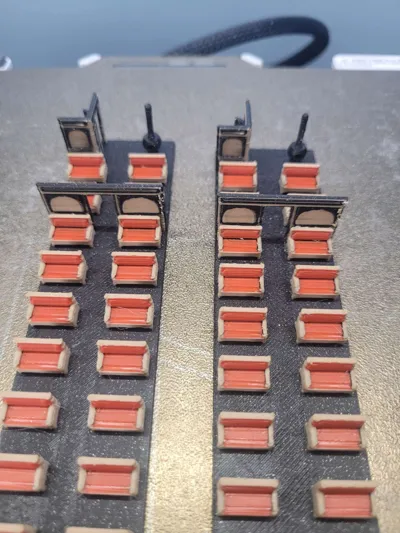
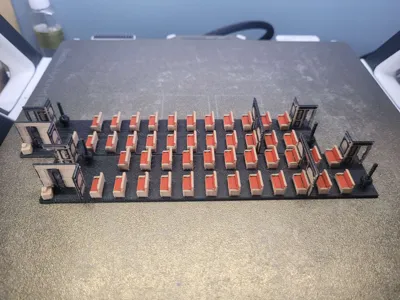
very nice and useful model. it will definitely server its purpose for my model train layout. It was an easy print and printed on my A1 printer from my phone through Bambu Handy. Bother colors were PLA, Overture white and DeepLee orange. For its size, it was a fairly quick print. Everything printed perfectly and all the legs fit snug. I'm not sure where the designer is from, but im here in the USA and I sure would like to print another one of these if the designer could make this same model to fit a Red Solo cup. ....thats about the only size cup we have around here. I'm looking forward to a possible upgrade on this model. ....it's worthy of a boost, for me!!!
Thanks for sharing this model for all to enjoy. It will surely get much use!
Share
0
0
0
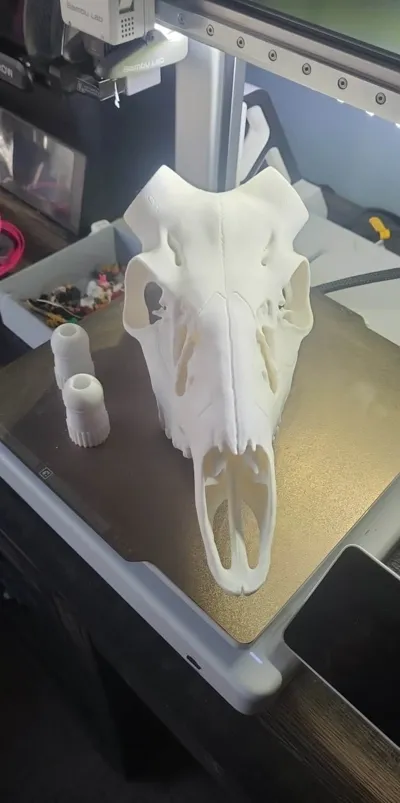
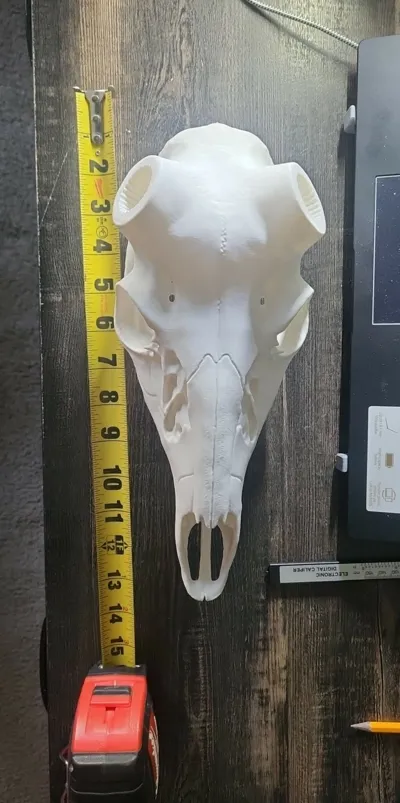
Such a realistic print, when finished. My son-in-law brought this print profile to my attention, so I printed one off for him. I was certainly surprised with the actual size of this skull!!! And the details are amazingly accurate. I absolutely loved watching this piece evolve on my build plate. Printed on my A1 with a .4 nozzle and a .16 layer setting with Overture Matte White PLA for the skull and Sunlu PETG white for the bullet pieces. Word of caution, please have the proper tools to cut/break away the supports. There are alot of supports with this piece, so please be patient and aware of what you are about to pull away or break off.
I was really pleased with this print profile, that I had to make a 2nd one for my son. Both ŵere very impressed with the outcome!!! Below are some pics of my son-in-law's mount.
Thanks again for sharing this great looking print profile with all of us! Definitely worthy of a boost, for sure!
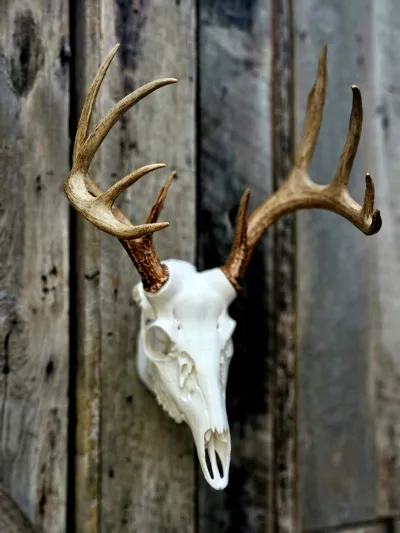
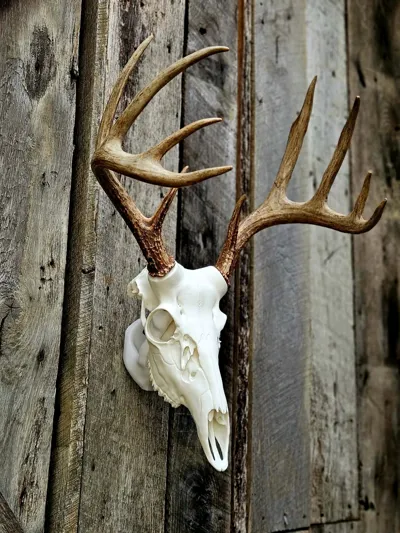
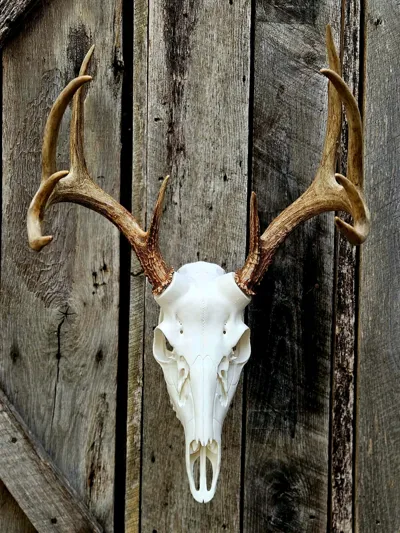
Share
0
0
0
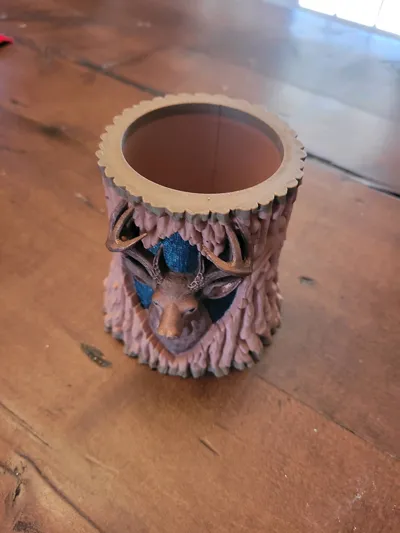
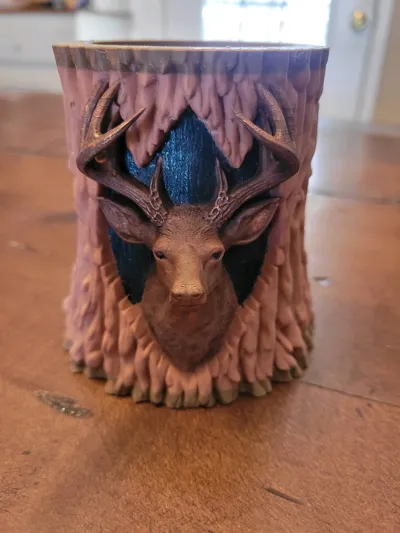
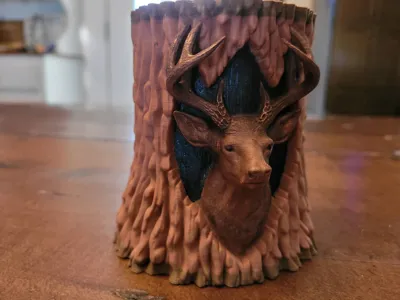
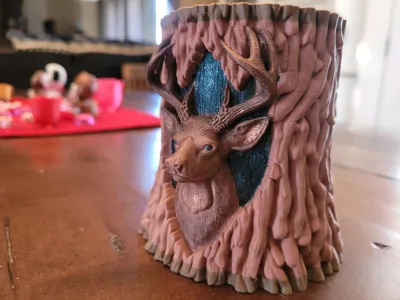
Super nice print and the details in the print profile are amazing!!! Printed this one for my son-in-law. He's an avid deer hunter and a top-notch cabinet maker. When I first saw this profile, I had to have it. It's a very simple and quick 2+ hr print. Because of the amazing details, I decided to slow it down a bit and set my settings to a .08 layer lines. 6.1 hrs and totally worth it. Printed on my A1, with Sunlu wood filaments. There are supports so be a bit careful and patient when removing from the antlers. After printing, I used some Bella Rose metallic wax to bring forward the main attraction!!!
This was a fun piece to watch evolve during my print time. I am very well pleased with the outcome of rhe details on this print. Thank you for sharing this piece!!!!
Share
0
0
0
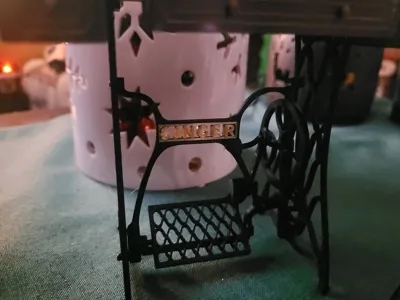
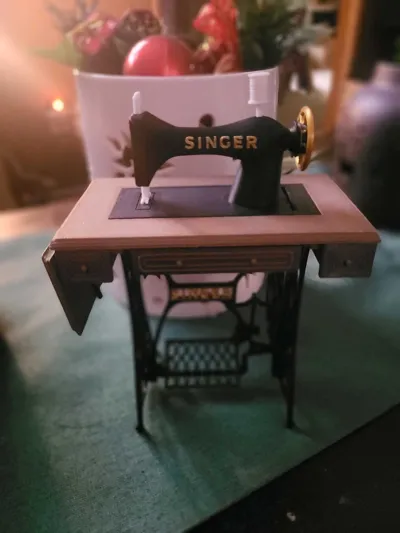
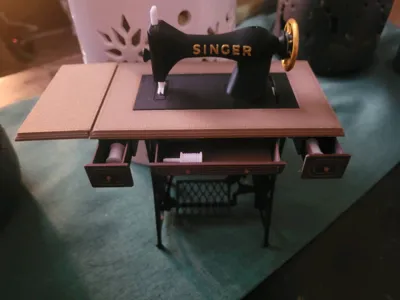
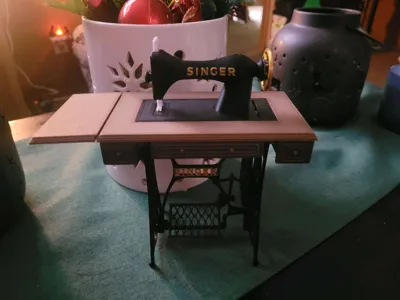
Now this was a fun and exciting model to watch evolve!!!! ...and with many moving parts as well. Now I have no interest in sewing, however a very good friend of mine is a work from home professional seamstress. I just had to make this for her. She still even uses a model just like this one.
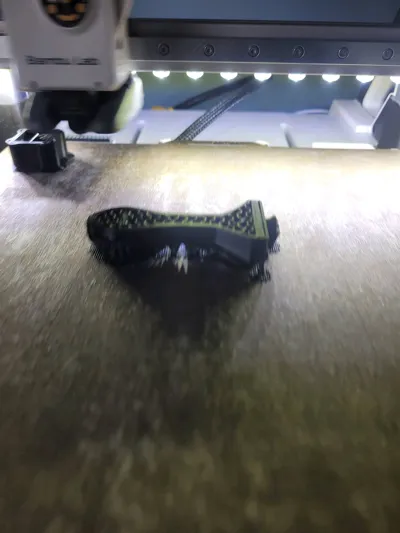
Printed on my A1 with a #4 nozzle and a .08mm setting for extra fine lines. Filaments were AnyCubic Black Pearl, AnyCubic Metallic Gold, and Overture Matte White. I painted the "Singer" in Metallic Gold in both places along with the "hand wheel". I saved the main body for last for all black is just 2.3hrs. Painting the letters made the main body, 8.6hrs. UGH, and everything else was printed. So, if you decide to paint these letters, I highly recommend that you lay the main body on its backside,(letters up), and then print! Doing this will reduce the main body print time to just under 4hrs. I also put a rubber and on the model as well.
Kudos to the Designer on this model!!!!
Share
0
0
0
The post is no longer available
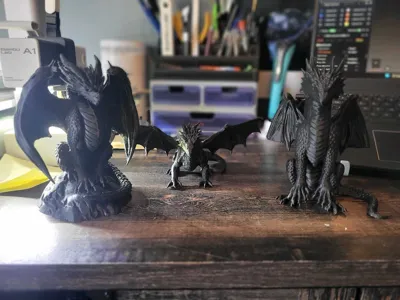
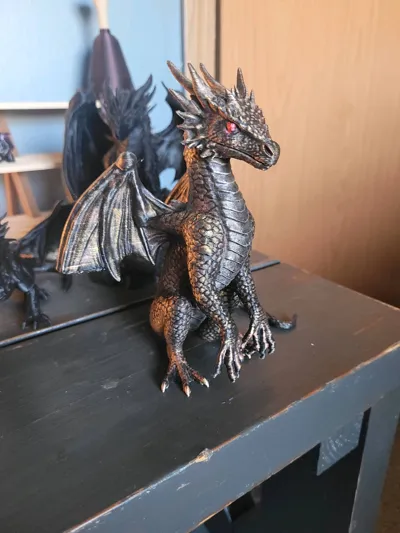
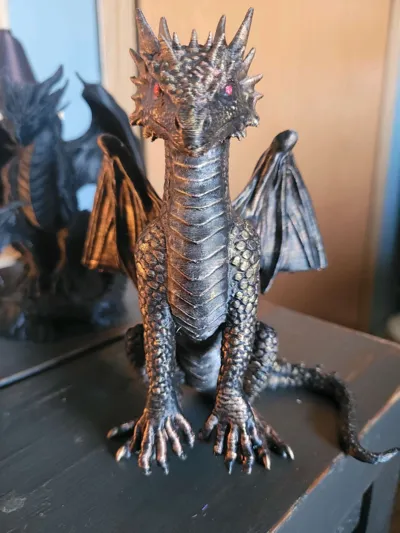
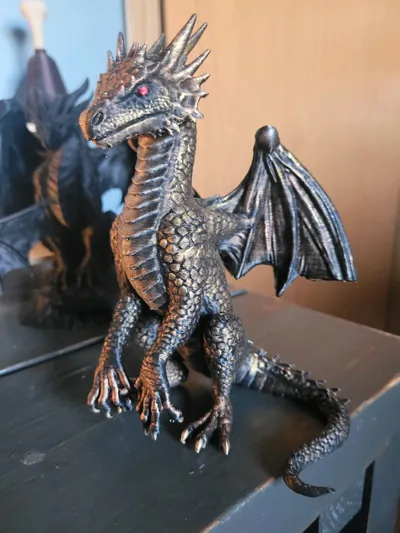
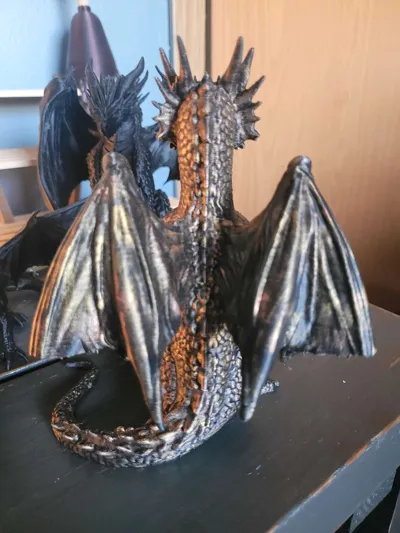
Totally awesome print!!!! Long print time, but we'll worth it. Printed on my A1 with AnyCubic Blk PLA+. Even with a #4 nozzle with .16mm layers, the details in this print are superb! This designer did his homework, to ensure everyone that prints this model will have a "jaw dropping" expression of Satisfaction, when it's done.
Although this is a fun and easy model to print, I would not recommend Beginners of the 3d World, printinting this until they have 1. knowledge of cutting off supports, and 2. the proper tools to ensure an awesome looking print, while removing the supports. This will take some time and alot of patience, to ensure nothing breaks off the model.
The pictures below are of the finished painted model, using sever different colors and layers of Metallic Rub n Buff. Again, thank you for sharing this awesome model for everyone to enjoy. Definitely worthy of a Boost, for sure!!!
Share
0
0
0
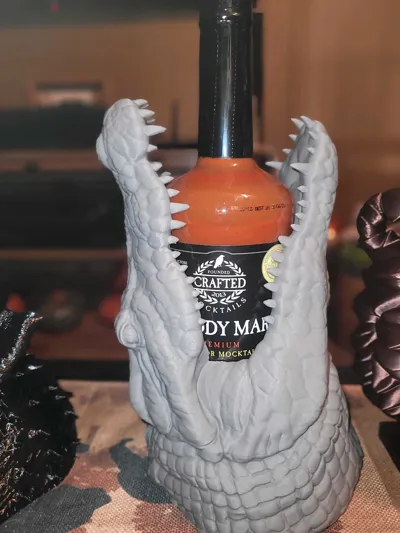
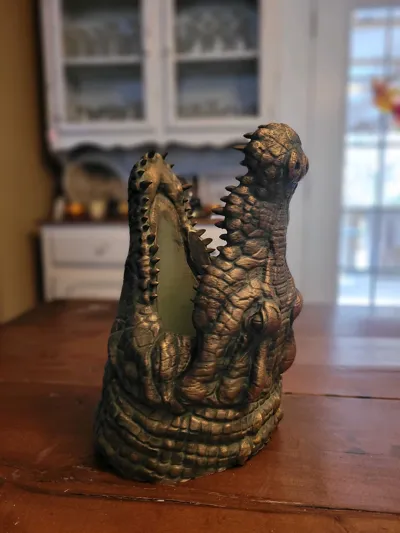
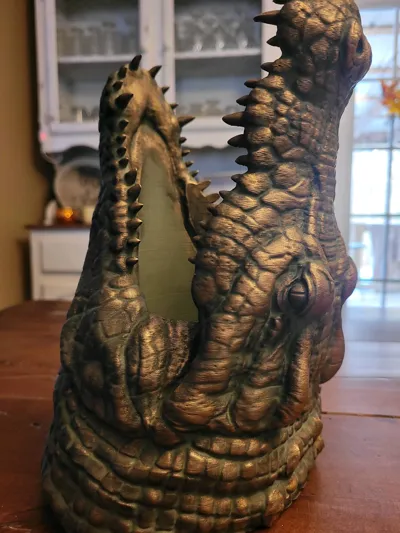
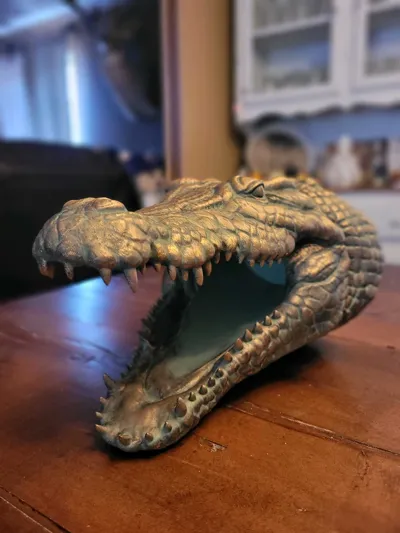
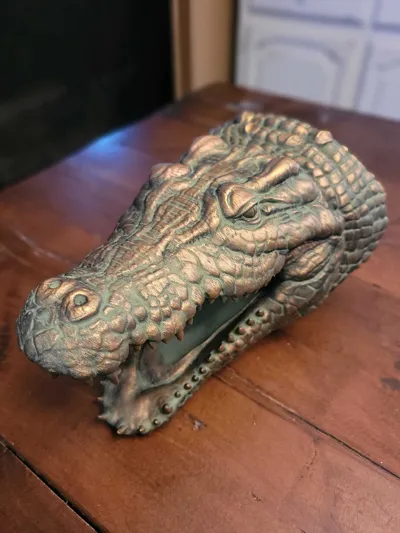
......look, my friend, ya gotta stop producing these awesome stl. print models!!! I'm going broke, with all the filament I've gotta have for these awesome prints!!! Here is the crocodile print!!! Printed on my A1 with AnyCubic PLA +. I changed nothing about this print, but almost thought about raising the infil up to 10%. Glad I didn't on this one. 12 hour print and it came out solid and flawless. After the print was finished, I used camouflage green primer paint as the base coat, let cure for 24 hours, then used 3 different Metallic waxes to give it a great patina look. Thanks again for sharing a wonderful print profile!
Share
0
0
0
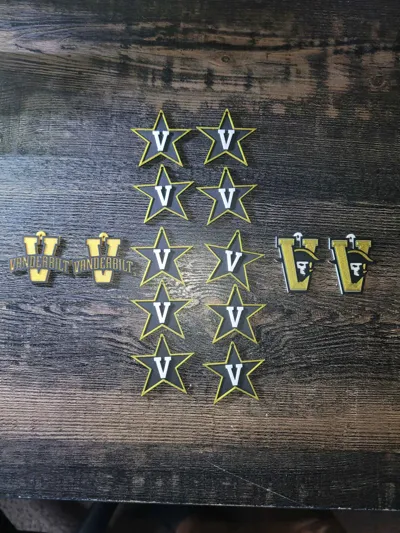
As always, this designer produced another exceptional print! I specifically asked the designer for these and not only did he come through rather quickly, he produced 3 different earrings. All of which came out perfectly detailed and elegant. Printed on my A1 with Bambu Sparkle Black and Gold, along with Overture matte white. This is one designer that I follow for just these reasons!!! Dohara knocked it out of the Park, again! Thanks so much again for the Vanderbilt profile, my friend. Eventually, I'm gonna hit ya up for the entire SEC football earrings. Here come another boost, my friend!! Great work!!!
Share
0
0
0
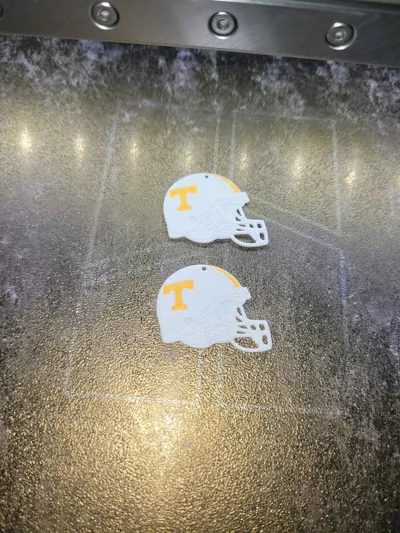
Go Vols!!!! Thank you for sharing these UT earrings! Super easy print, and they came out looking great. Printed on my A1 with Overture matte white, matte black, and generic orange. With the #2 nozzle and .10mm standard, the detail was amazing. I almost changed the setting to .06mm Fine, just to make sure of the detail, bit I held off and printed 1 set in .10mm. Came out great. Super easy and fast for a #2 nozzle. Thanks again for sharing!
Share
0
0
0
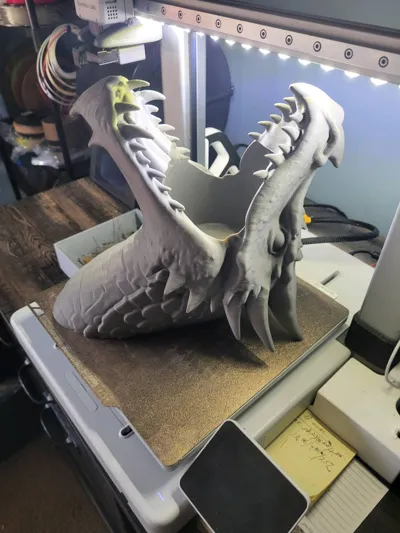
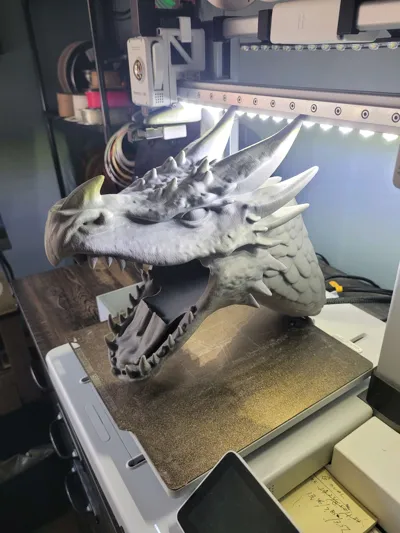
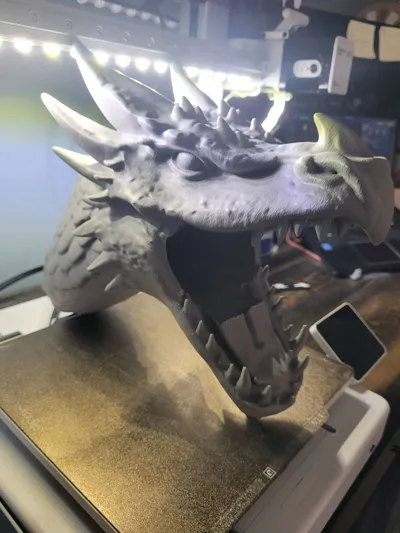
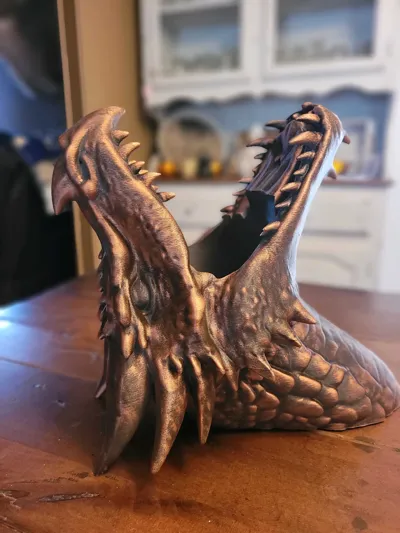
Truly a great looking piece, for sure!!! I had to print it the moment I saw it. An easy print profile and I actually printed this piece from my phone in Bambu Handy. I knew this would be a very long print, so I prepped my Grey AnyCubic PLA+ the night before I started this print by placing it in my ComGrow Creality dryer for 8 solid hours. My print came out flawless!!! I've read the reviews of this model and have seen some of the disasters. I was not gonna let that happen to my 14 hour print. (good prep work on the printer's side almost always, makes for a great print.) This was printed on my A1 and came out great. After printing, I used black primer spray paint, then cured for 18 hours. Then I used Rub n Buff for the finish. Thanks again for sharing such an awesome piece and a perfect print profile!!!
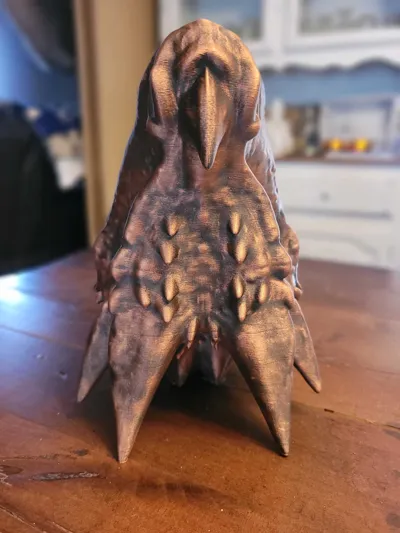
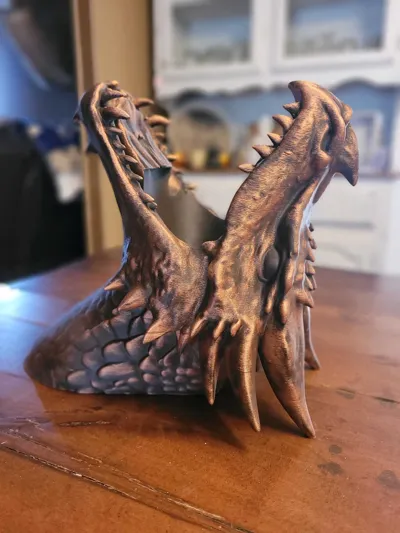
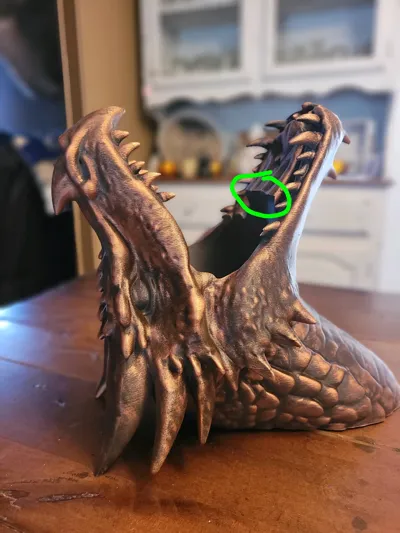
Share
0
0
0
This is my 2nd model printed from this designer. and again....Perfection!!! Nothing in this print profile was overlooked. Printed on my A1, I changed absolutely nothing in the settings. I left the infil at 5% for I printed this one with AnyCubic Elete Black PETG. I thought about changing the infil to 10%, but decided to leave it be at 5%. It's super strong!!!! Below are 2 pics of the finished print before using Rub n Buff. And the last 2 pics are after using the wax. Thanks for sharing another perfect print profile. This print and The Bear print will definitely enhance the looks of my bar!!!
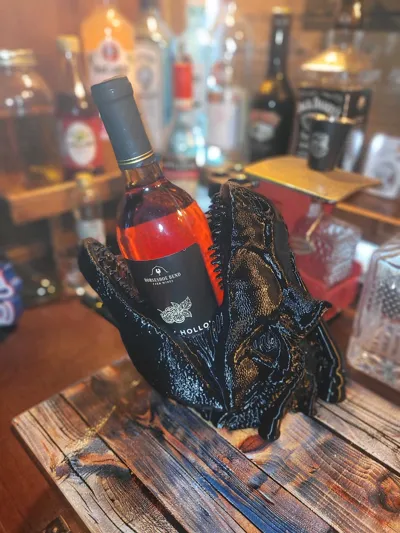
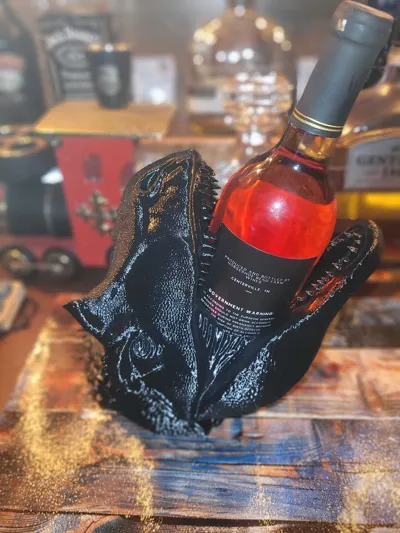
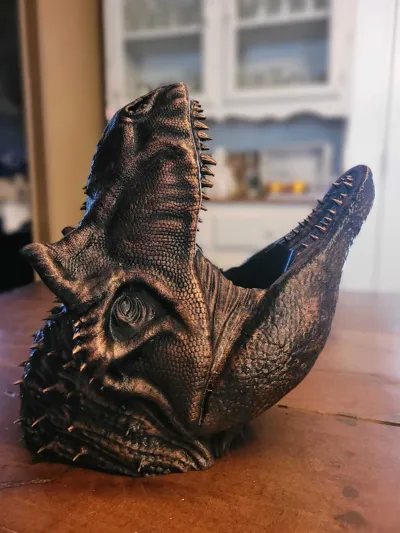
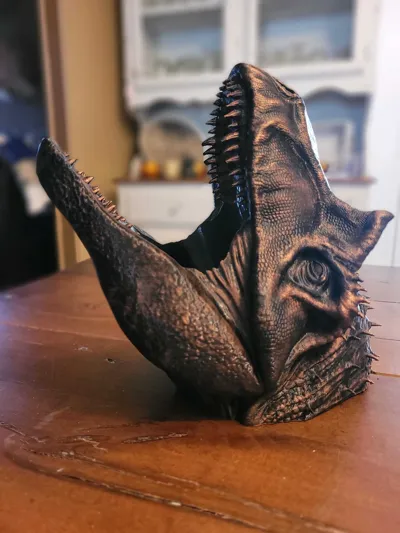
Share
0
0
0
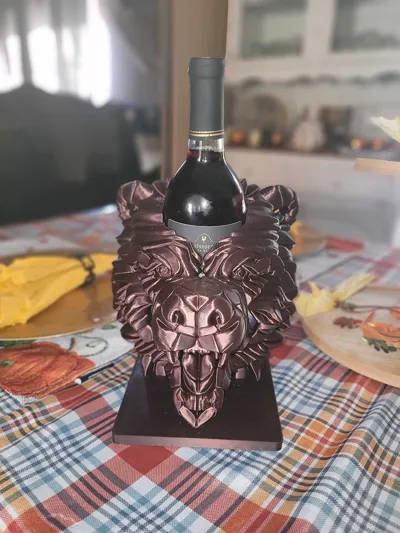
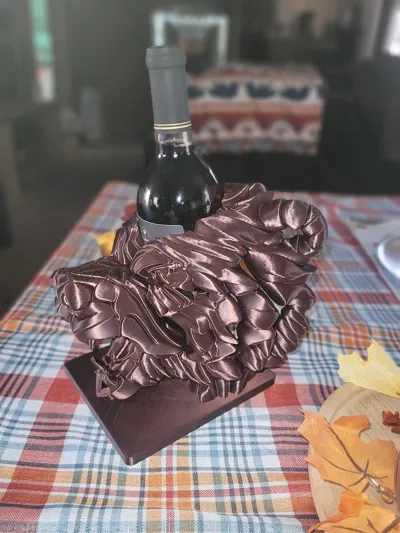
Such an elegant piece, I just had to print it when I saw it. It's a large piece but we'll worth the print time. Printed on my A1 with Lumizone Brown PLA. I did change the infil to 15% turning it into a VERY solid print. As far as the print profile, It's really easy to print. Solid , sleek, and beautiful! One can definitely see that this designer took his time in designing this print. Absolutely flawless.
The top opening where the wine bottle slides down into, was a tad small, but will take the slender wine bottles only. I'm not sure, but after printing, I measured the opening at just 76.3mm. (the avg diameter of wine bottles being 76.7mm-77.3mm) This will only take the slender/narrow wine bottles. I do plan to make a 2nd print of this model and have already set up my settings in Bambu Studio. I did raise the size to 105% so as the opening is at 80.09mm. I also lowered the infil to just 10%.
Thanks again for this awesome design....2 boosts coming your way!!!
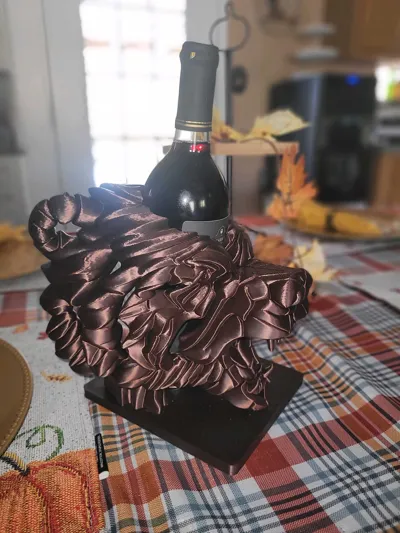
Share
0
0
0
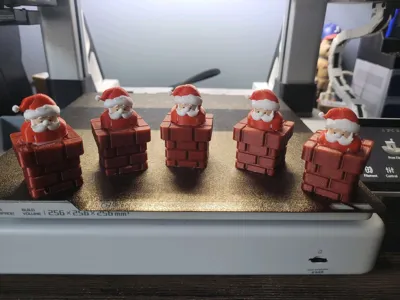
A super fun print and unique as well. I am glad this one is not a clicker, especially when ya have 5 grandkids that wanted me to print this one. Using the Designer's settings, this print came out flawless. I did use PETG for the spring. Colors used were FlashForge PLA Deep Red Galaxy for the brick chimney(looks just like red bricks as well), Bambu matte white, and AnyCubic Red. The sprung was made of Sunlu's Shiny White. The grandkids loved them and its still quiet 'round here! Thanks for sharing!!!!
Share
0
0
0
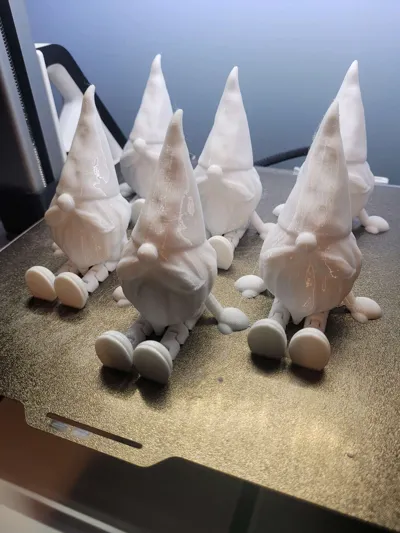
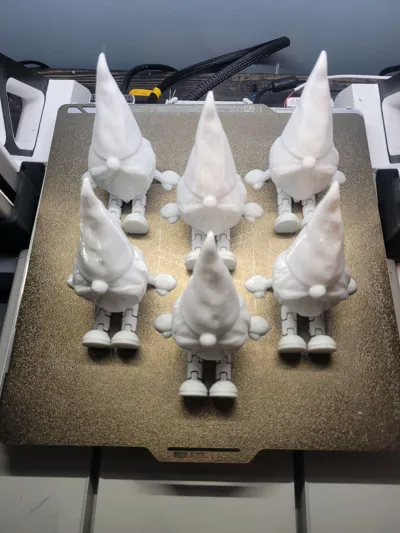
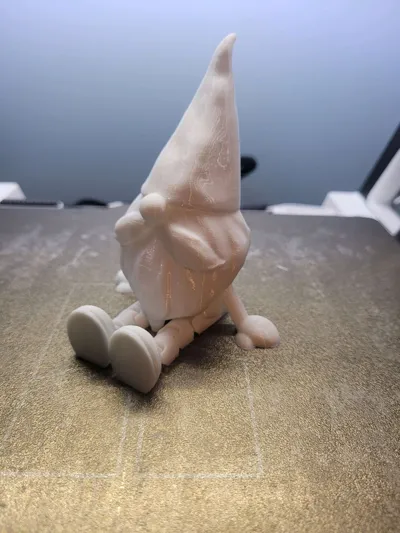
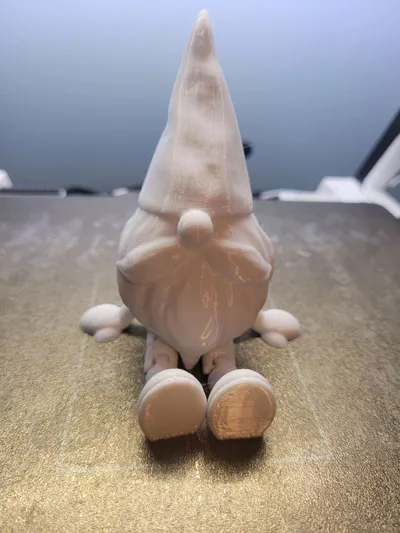
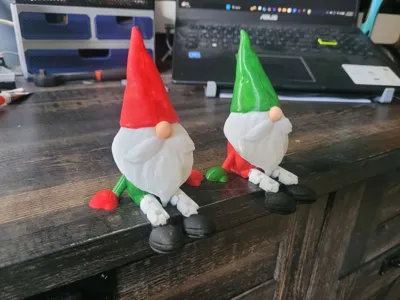
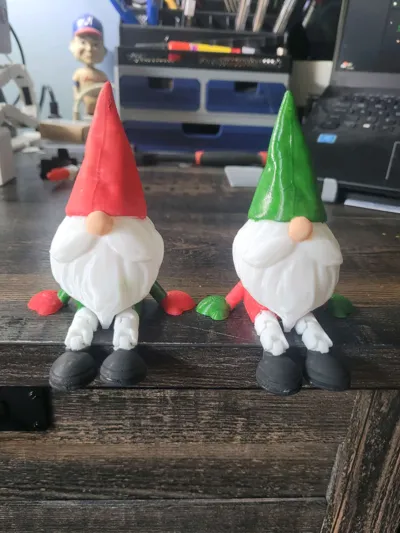
the Mrs and her daughter wanted me to print these. So I did...and they absolutely adored them!!!! And the details were amazing. Matter of fact, they couldn't wait to get em painted. This was a super fun print to watch evolve. Super easy and a lil larger/beefier than most of the articulated toys. The print went flawless and I changed nothing in the settings. I did use AnyCubic White PETG. I was amazed that this print did not need any supports!!! Now all the grandkids have one! Thanks for sharing an amazing print profile!!!
Share
0
0
0
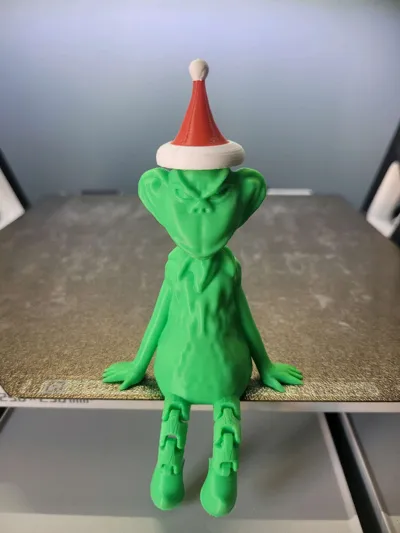
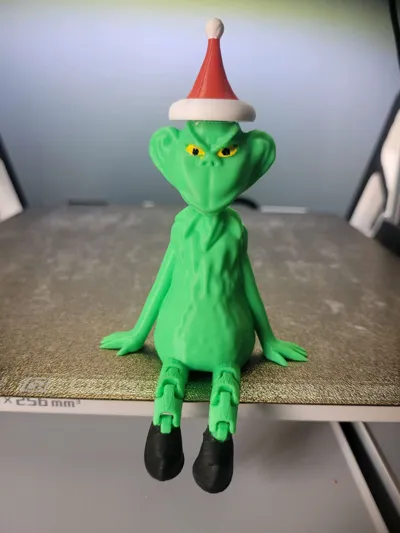
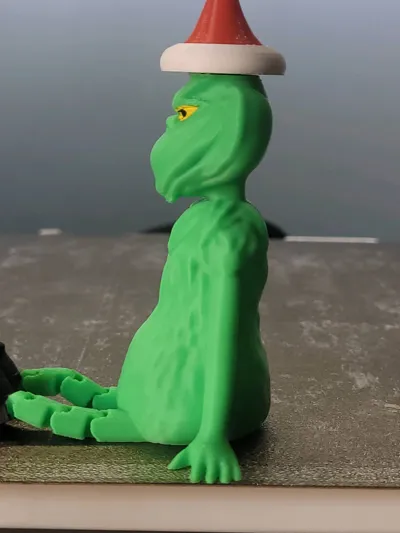
Super nice print and it came out perfect. The grandkids loved it and want me to print more for them. I would recommend doing this print in PETG for the neck is on the thin side. I did this one in PLA for I had no green PETG. It's perfect size, however, I already have my next one set at 125%. (just waiting for the green PETG to come in now.)
note....when placing the Santa hat on this model, please hold the head and not the body. There will be a good amount of force used when doing so. Thank you for sharing this model!!!
Share
0
0
0
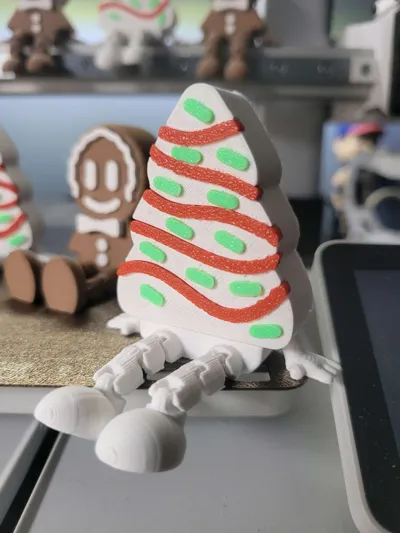
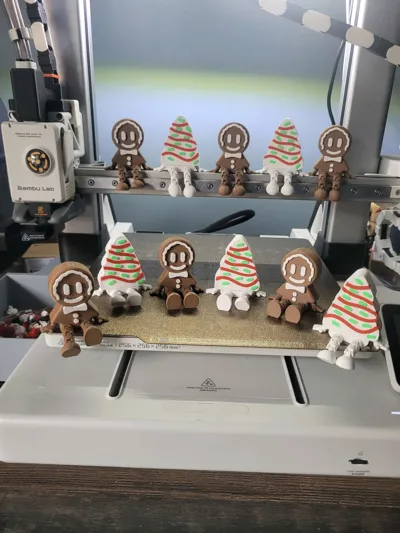
Super fun print to watch evolve while printing. I printed 5 of these. A bit tricky to put together as the pieces fit very tightly. I used a small jewelers hammer and tweezers to get the pieces in, especially the green pieces. No glue needed for the pieces "snap" right in. I did use PETG for this print, so that may have made it a bit tougher. Overall, it's definitely a great print profile and all 5 came out perfect. Thanks for sharing!!!
Share
0
0
0
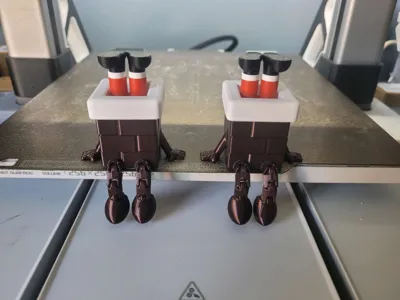
Super nice and easy print profile. 3 plates and pretty quick as well. I had no issues with this print and printed 5 of them for my grandkids. Thanks for sharing.
Share
0
0
0
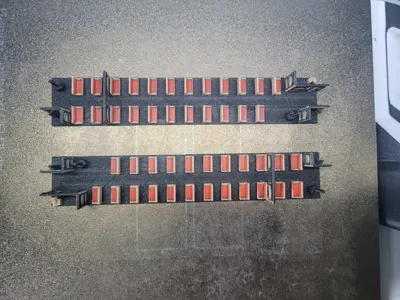
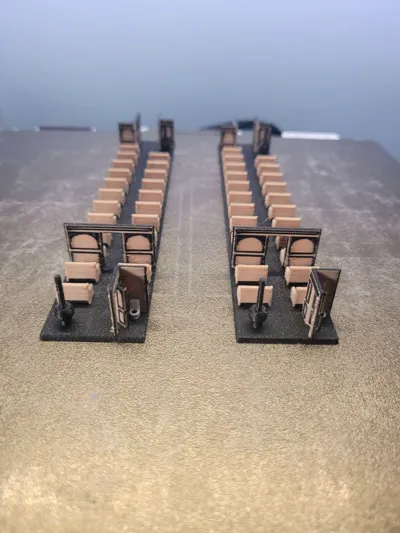
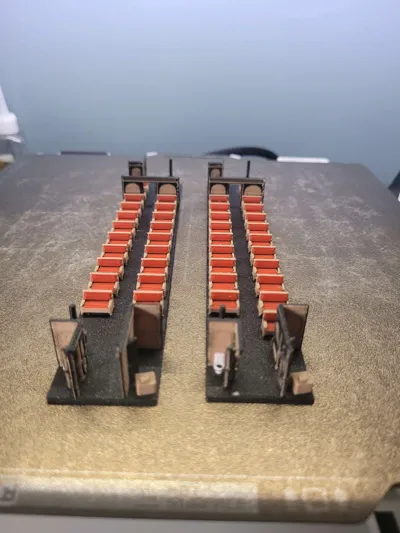
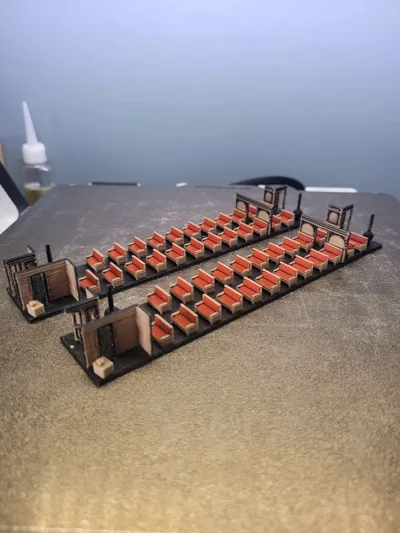
Bambu will not accept any review I post because information is said to be "too sensitive ".
Share
0
0
0
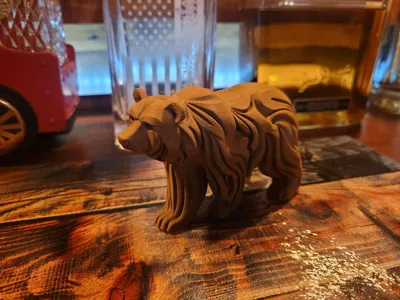
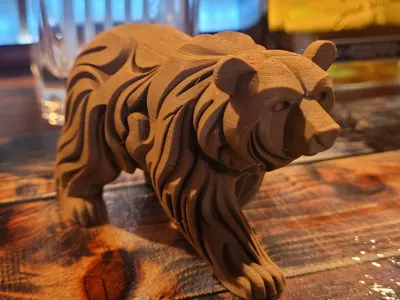
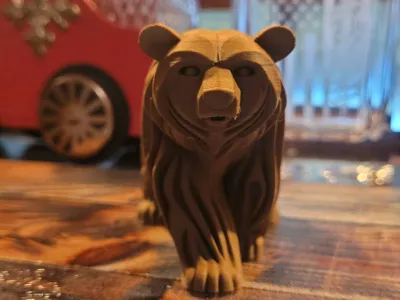
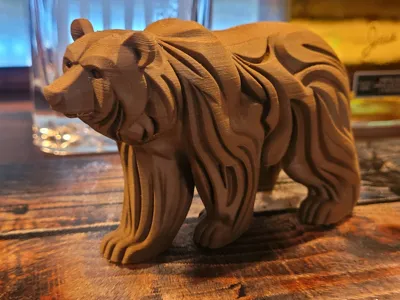
As expected, another awesome print from this designer!!!! It's 1 of his 2 newest bears. Printed on my A1 with a #4 nozzle, I bumped the size to 120% and upped the user setting from .20 standard to .16 high quality. Yes, the print time was raised another 2 hours, but we'll worth every minute. Sunlu dark walnut wood color was used as my color of choice. Overall, a very detailed print file, easy to print and fun to watch it evolve. Thanks for sharing another awesome piece!!!!
Share
0
0
0
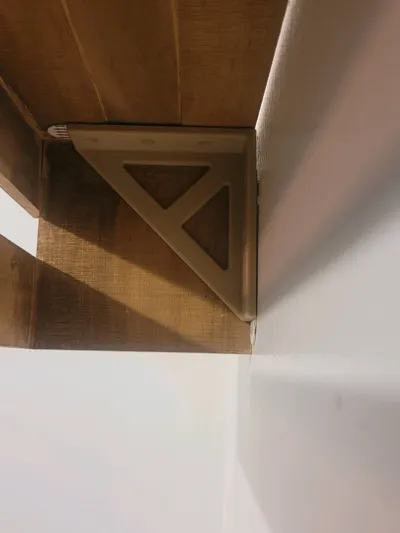
Well, I've typed up 3 different posts for a great print file and Bambu says it's too "sensative" to post.
Thank you for sharing,
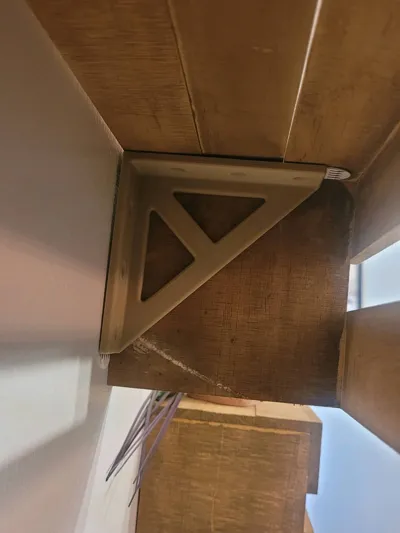
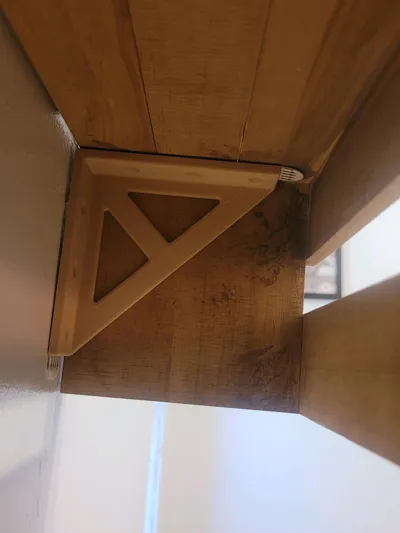
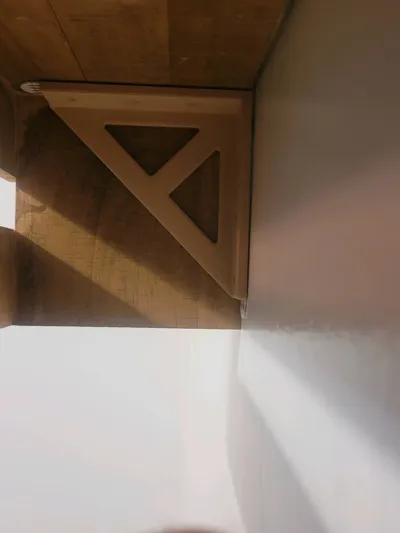
Share
0
0
0