
Best adjustable smartphone, tablet, etc stand

Print Profile(6)


Bill of Materials
Description
Model Description:
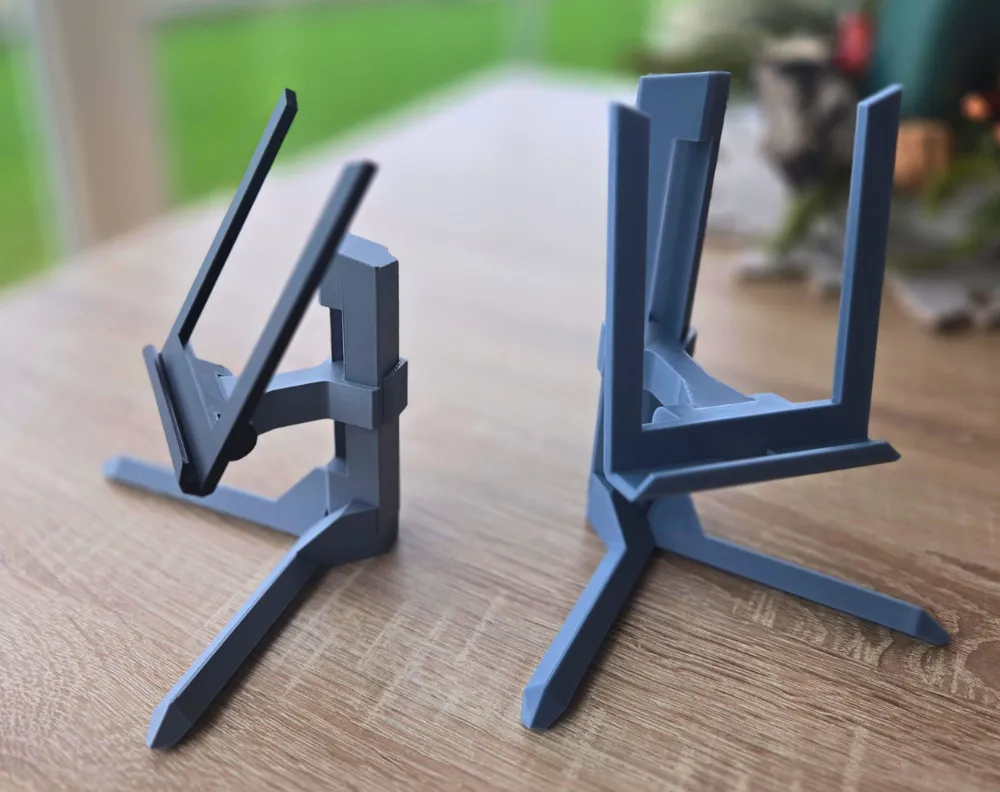
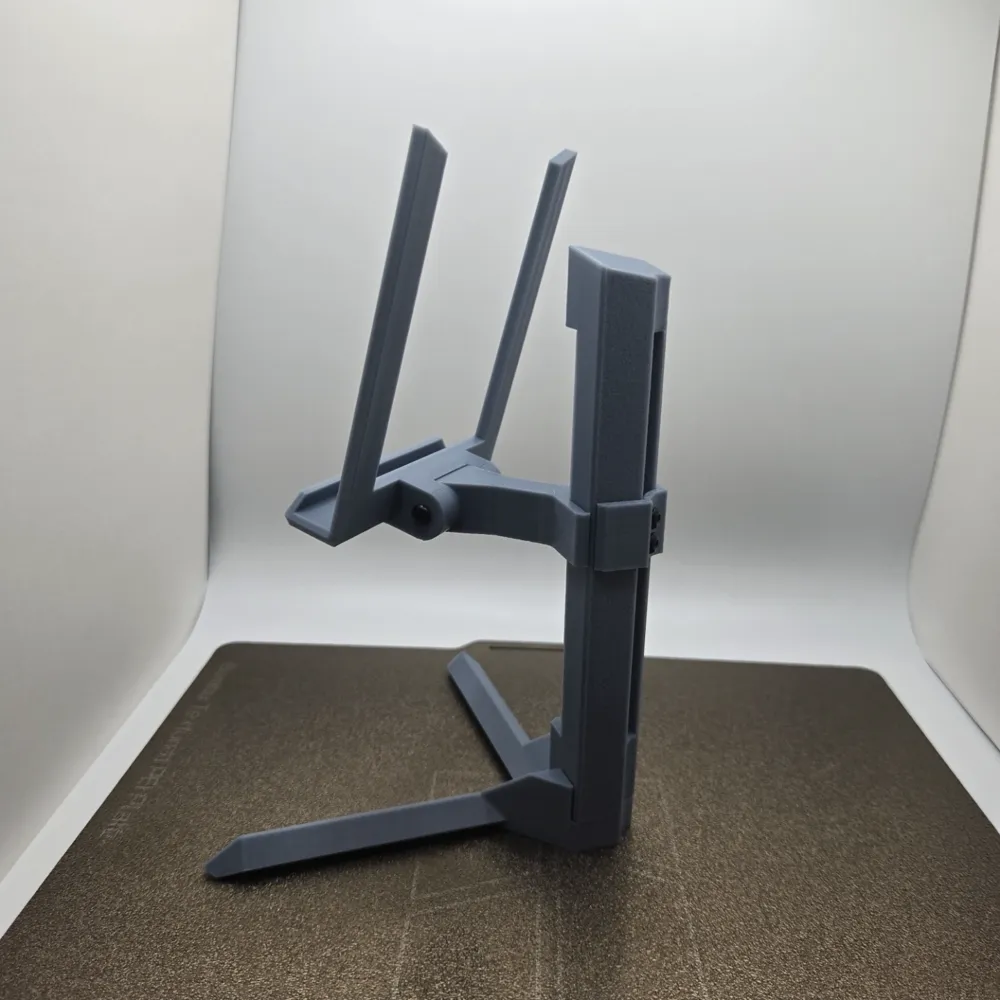
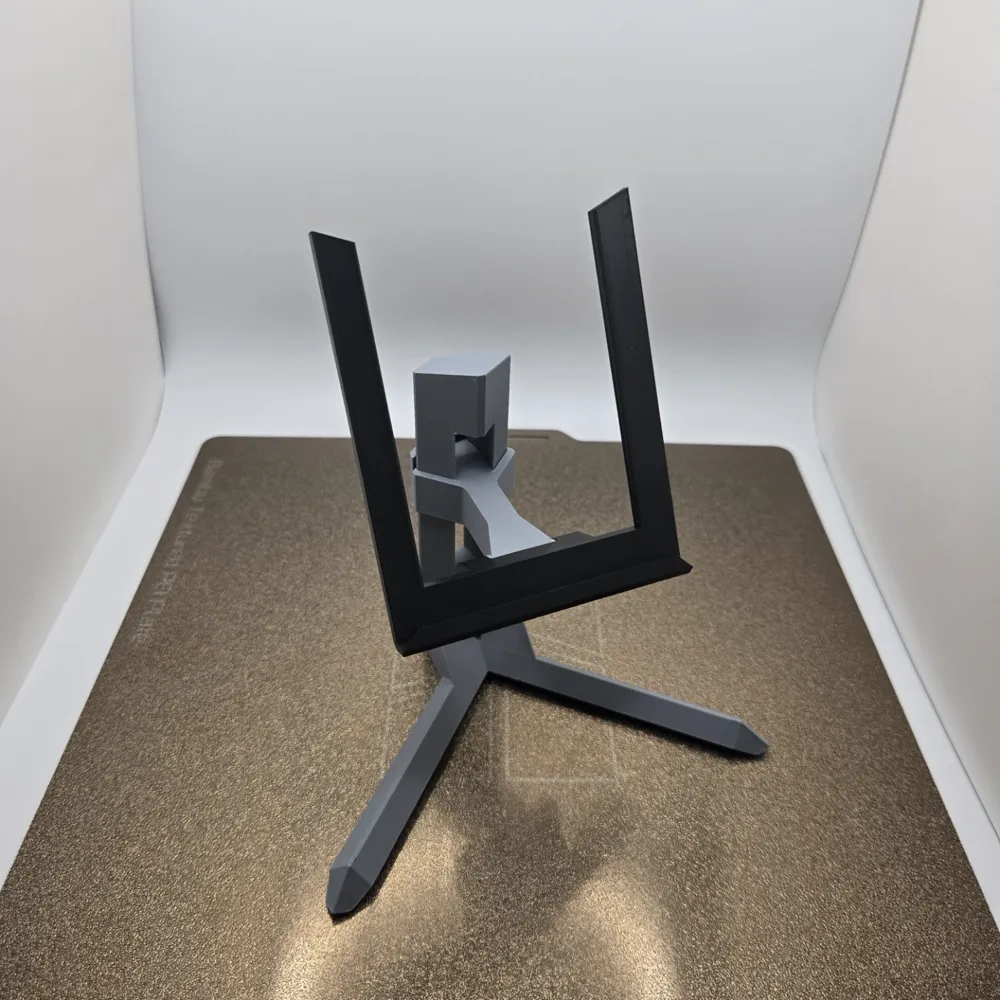
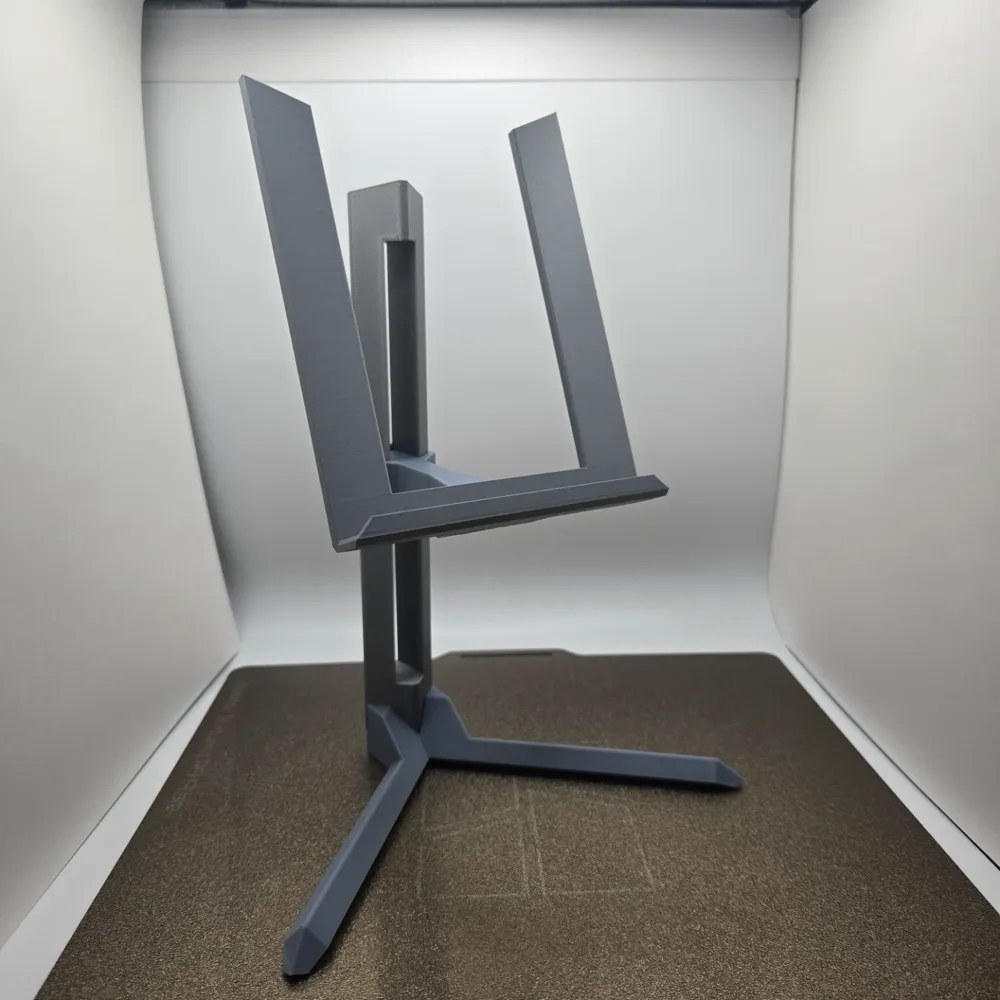
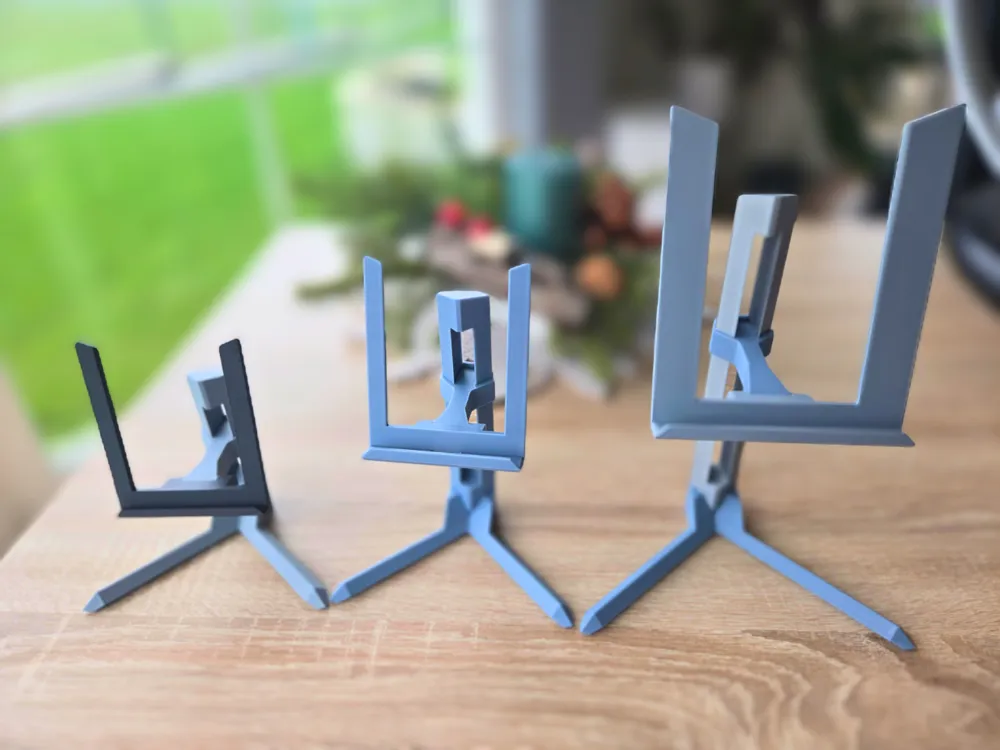
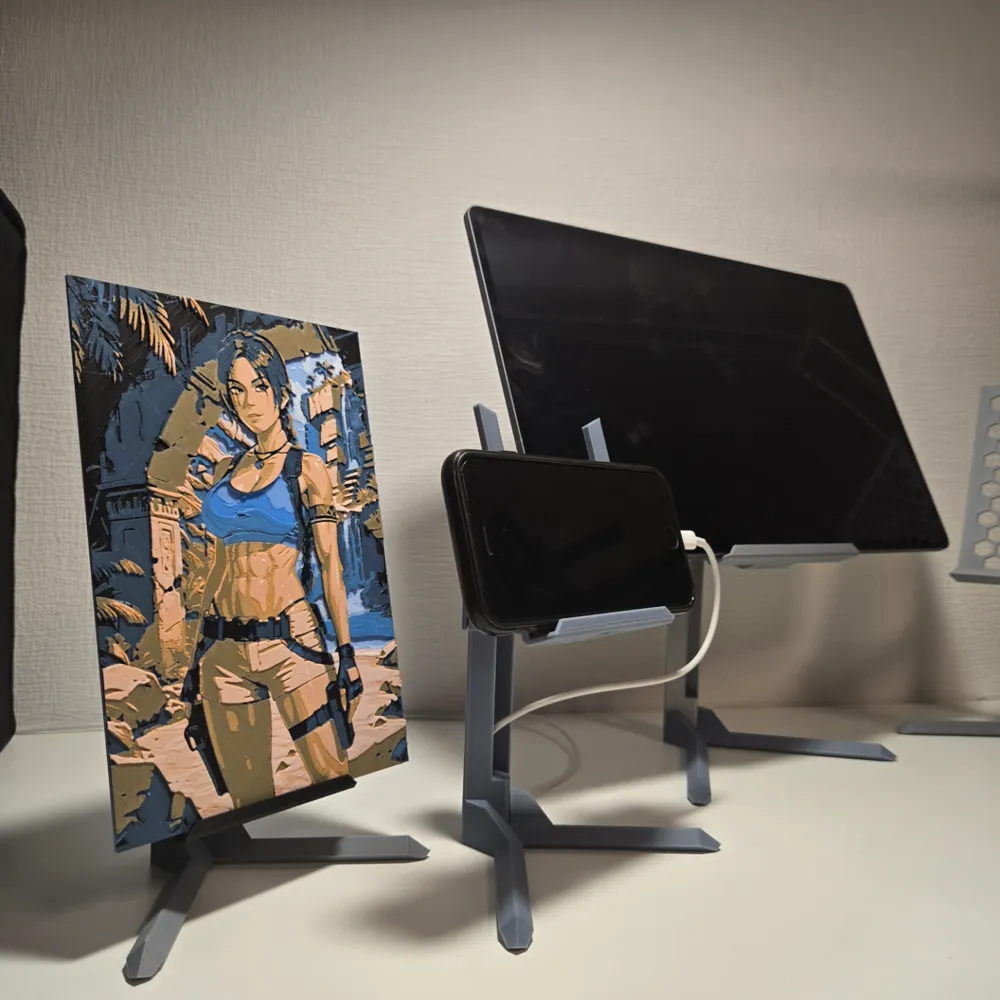
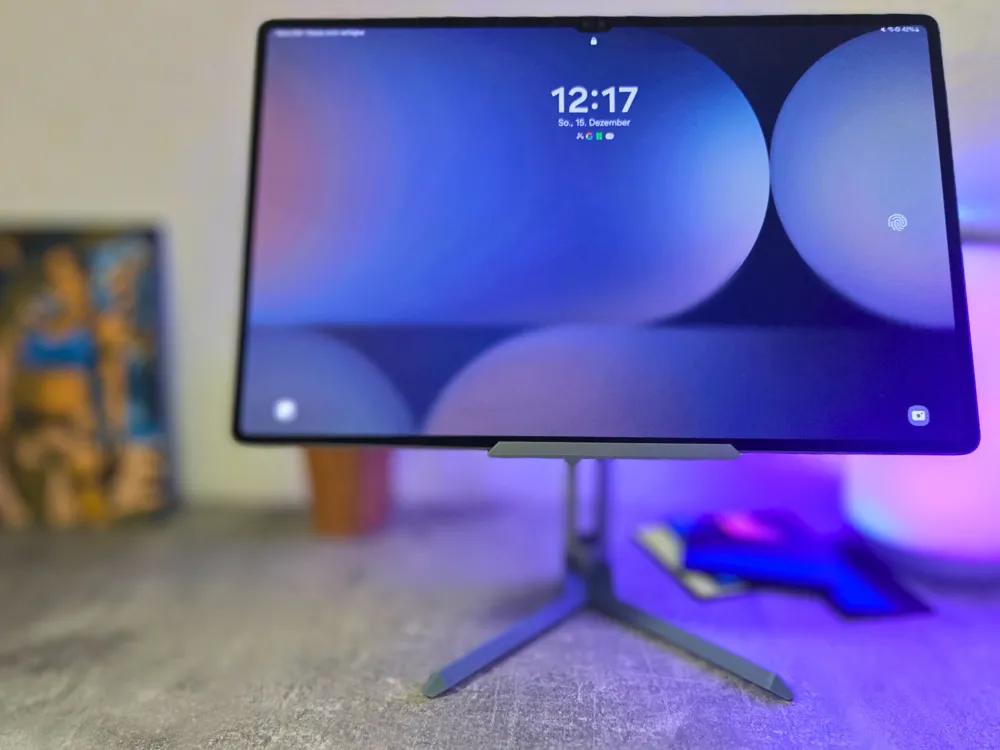

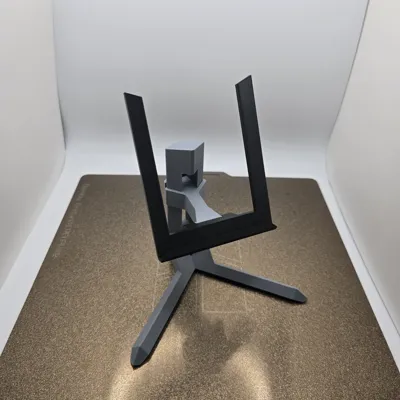
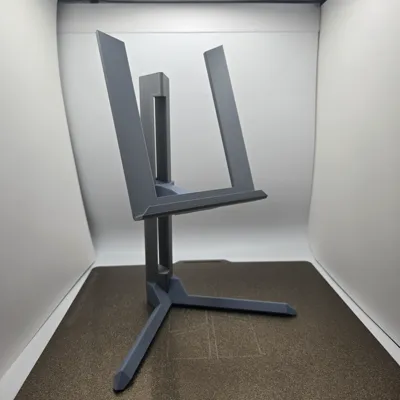
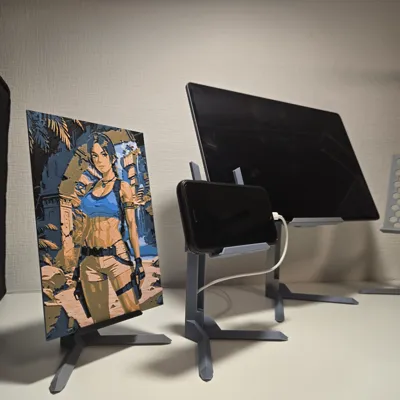
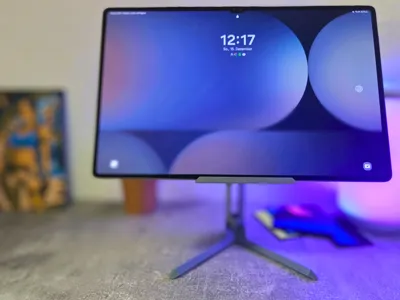
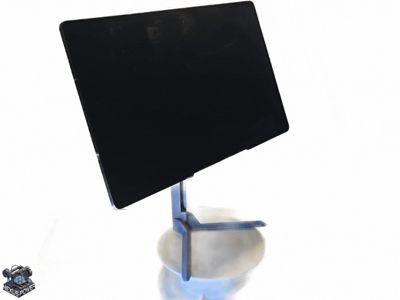
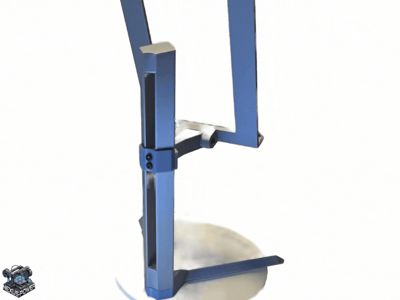
Inspired by a monitor stand, this modular adjustable holder offers flexible height and tilt adjustment as well as various stand and base sizes. The attractive design and modularity enable individual adaptation to different needs. e.g. smartphones, tablets, pictures, Heuforge etc. tested with various devices Samsung Tab S10 Ultra over 1kg weight, iPhone SE, Flip 6, Hueforge in different sizes.



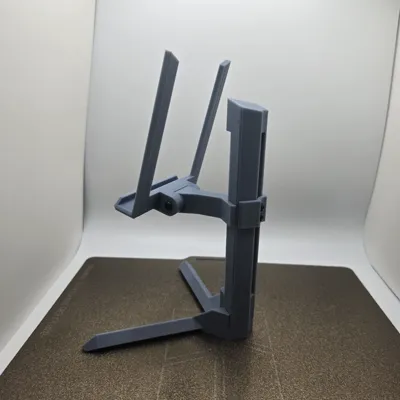
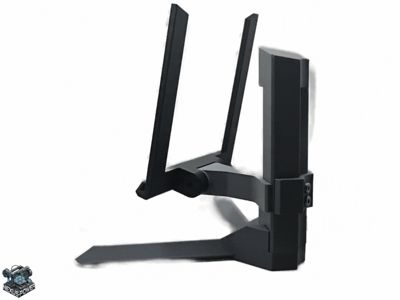
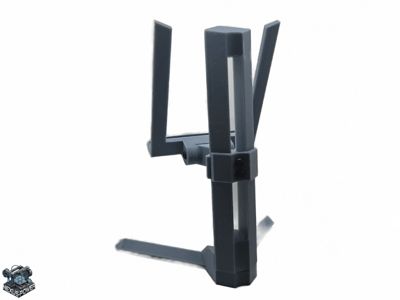
The model consists of the following components:
- Base: Stable foundation of the stand.
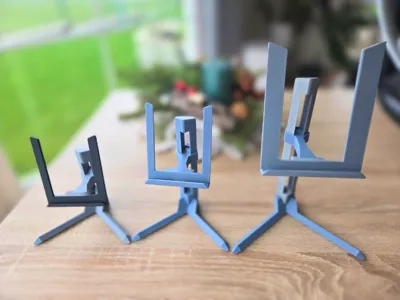
- Stand: Facilitates height adjustment, available in different sizes (100mm, 150mm, 200mm).
- 3D-Printed Screw: Connects the base to the stand.
- Center Piece: Adjustable element in the guide rail of the stand.
- Clamp: Secures the center piece in the stand.
- Holder: For pictures, smartphones, or tablets, with a cutout for charging.
Variants and Sizes:
| Type | Dimensions (Height x Width x Max Thickness) | Note |
| Picture Holder | 100mm x 80mm x 4mm | For pictures or slim objects. |
| Phone Holder | 100mm x 80mm x 11mm | Suitable for smartphones. |
| Tablet Holder | 140mm x 110mm x 11mm | Recommended with large base |
- Stand Sizes: 100mm, 150mm, 200mm.
- Adjustment Ranges: 60mm, 110mm, 160mm.
- Note for tablets: The large base offers optimal stability. I have tested tablets up to 1kg (Samsung Tab S10 Ultra).
Assembly Instructions:
Step 1: Select the Desired Variant
Example: Phone holder with 150mm stand height, normal base, and normal center piece.
Step 2: Print the Parts
Print the required parts according to the selected variant.
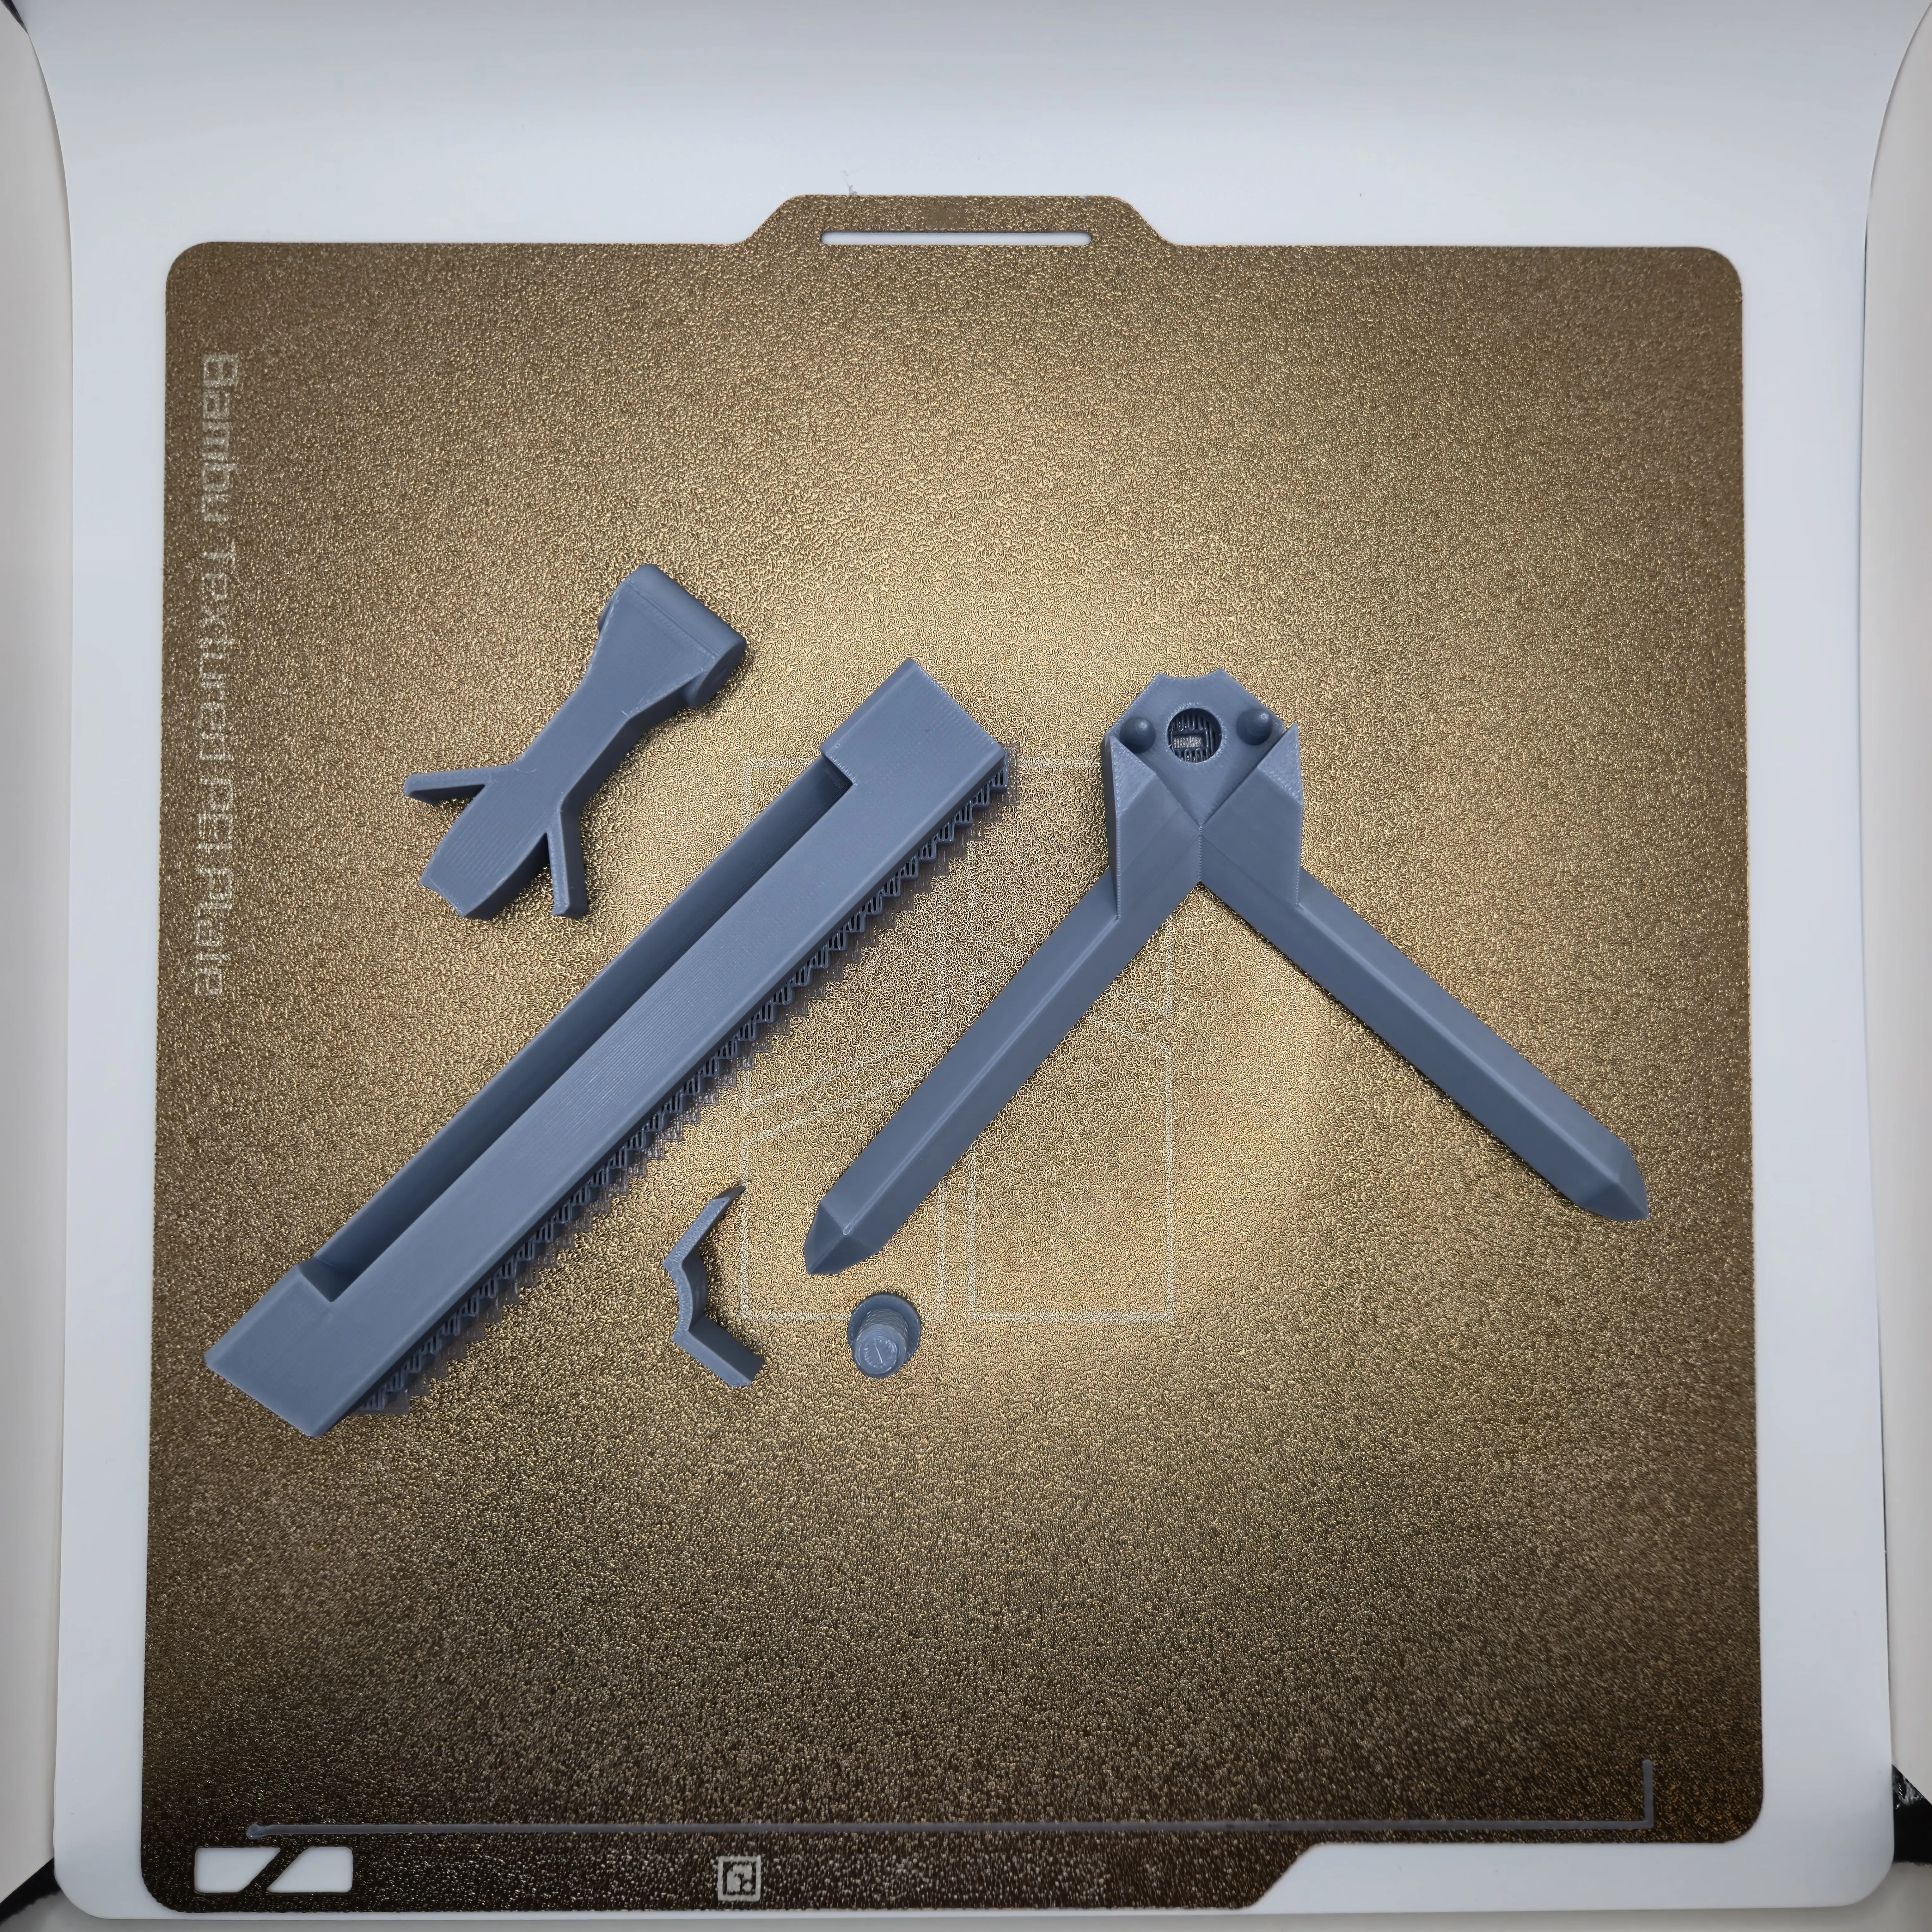
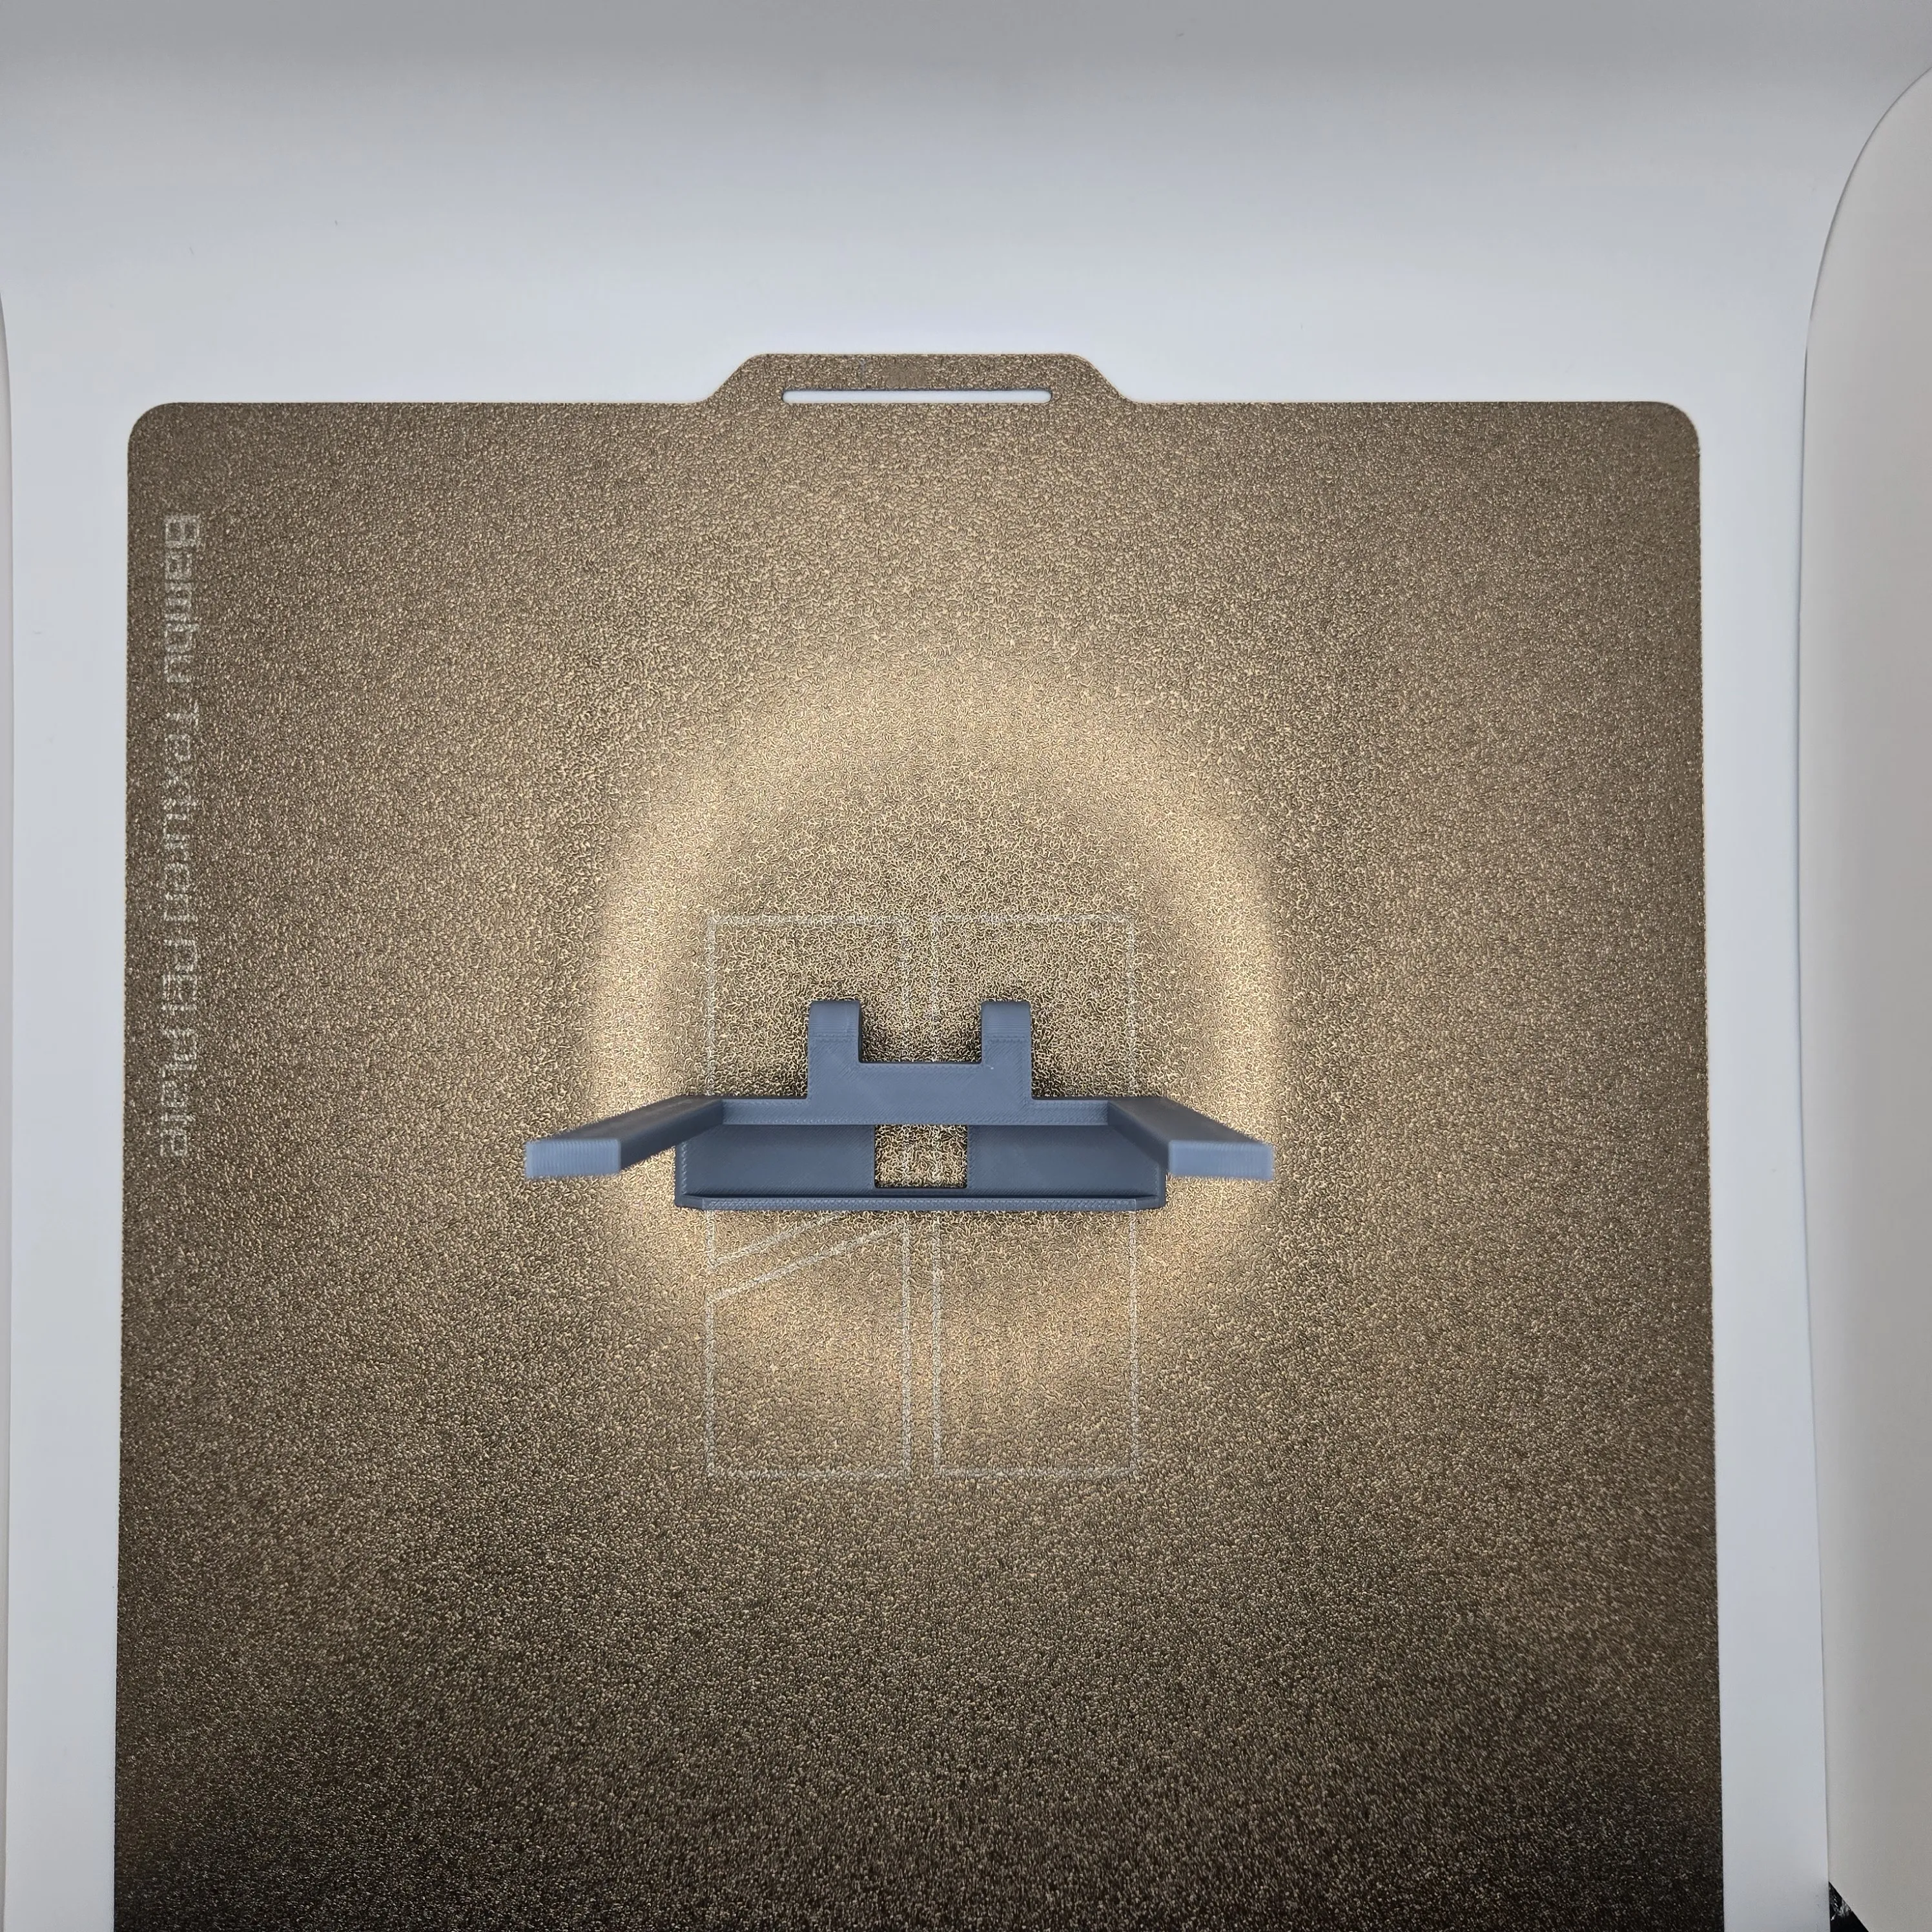
Step 3: Prepare the Printed Parts
- Carefully remove the models from the print bed.
- Remove the support material, e.g., from the clamp and guide elements. Here is an example.
- Remove the brim (if present) for a clean finish.
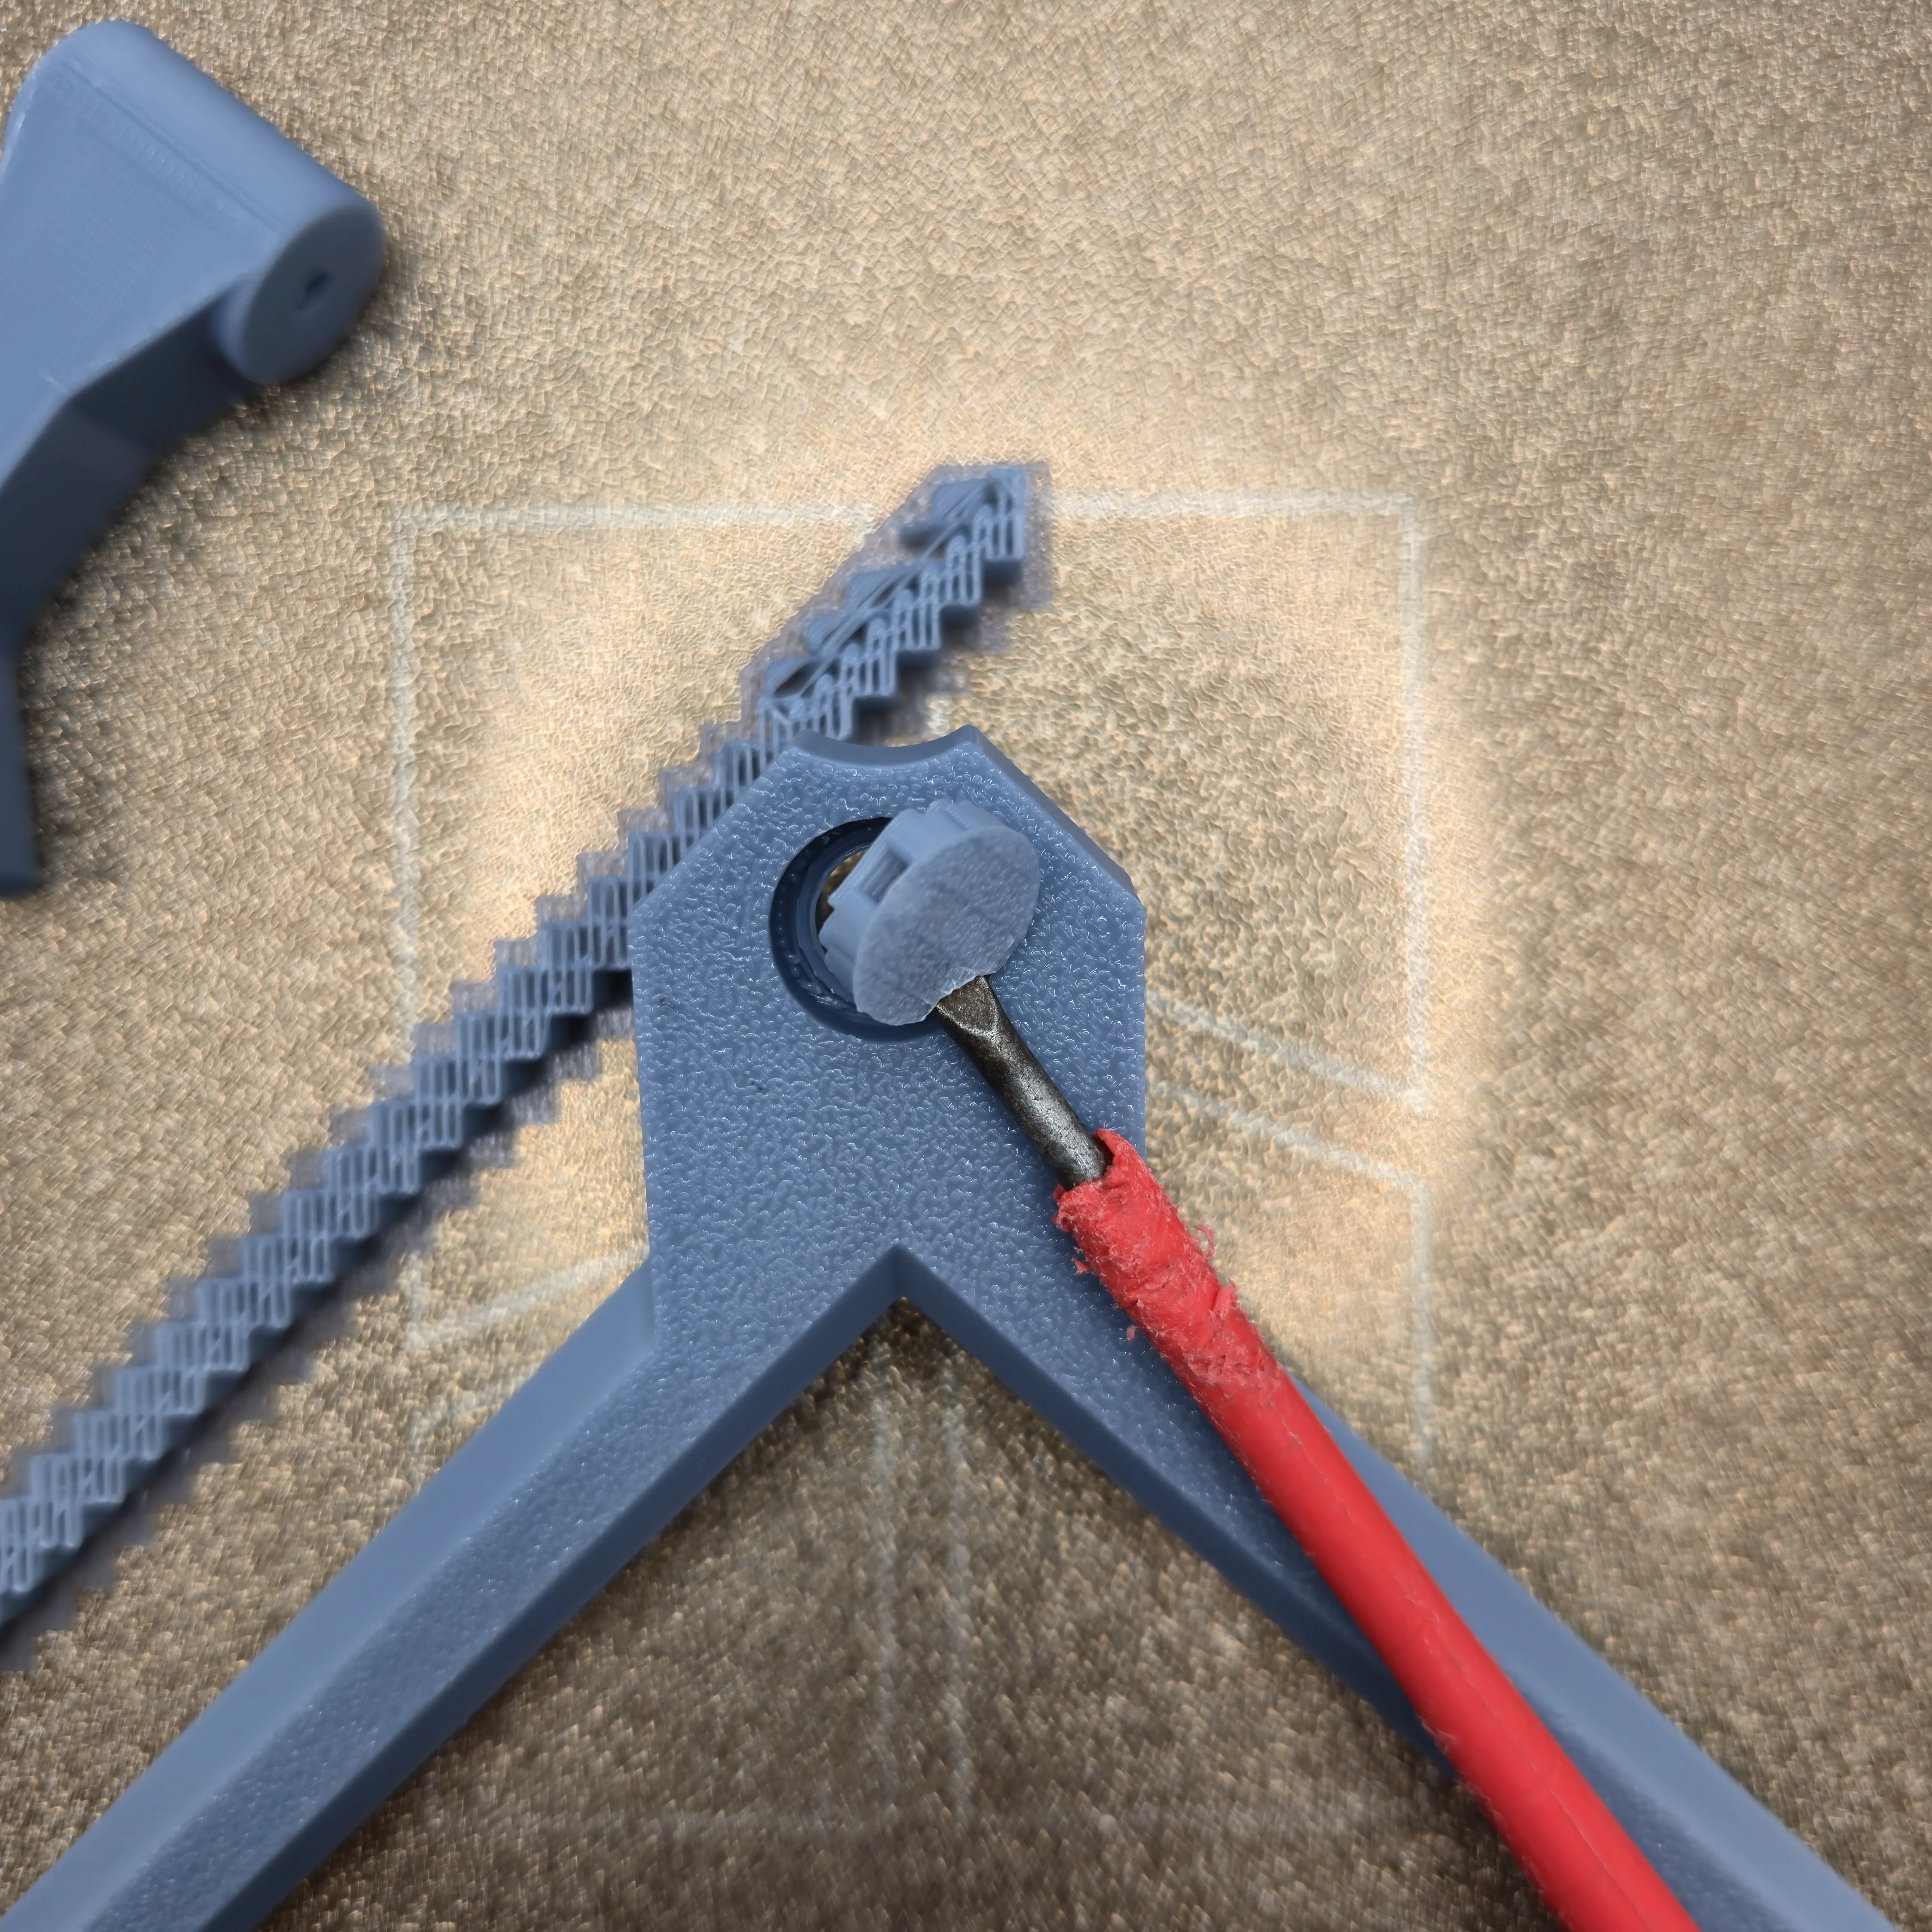
Step 4: Assemble the Base and Stand
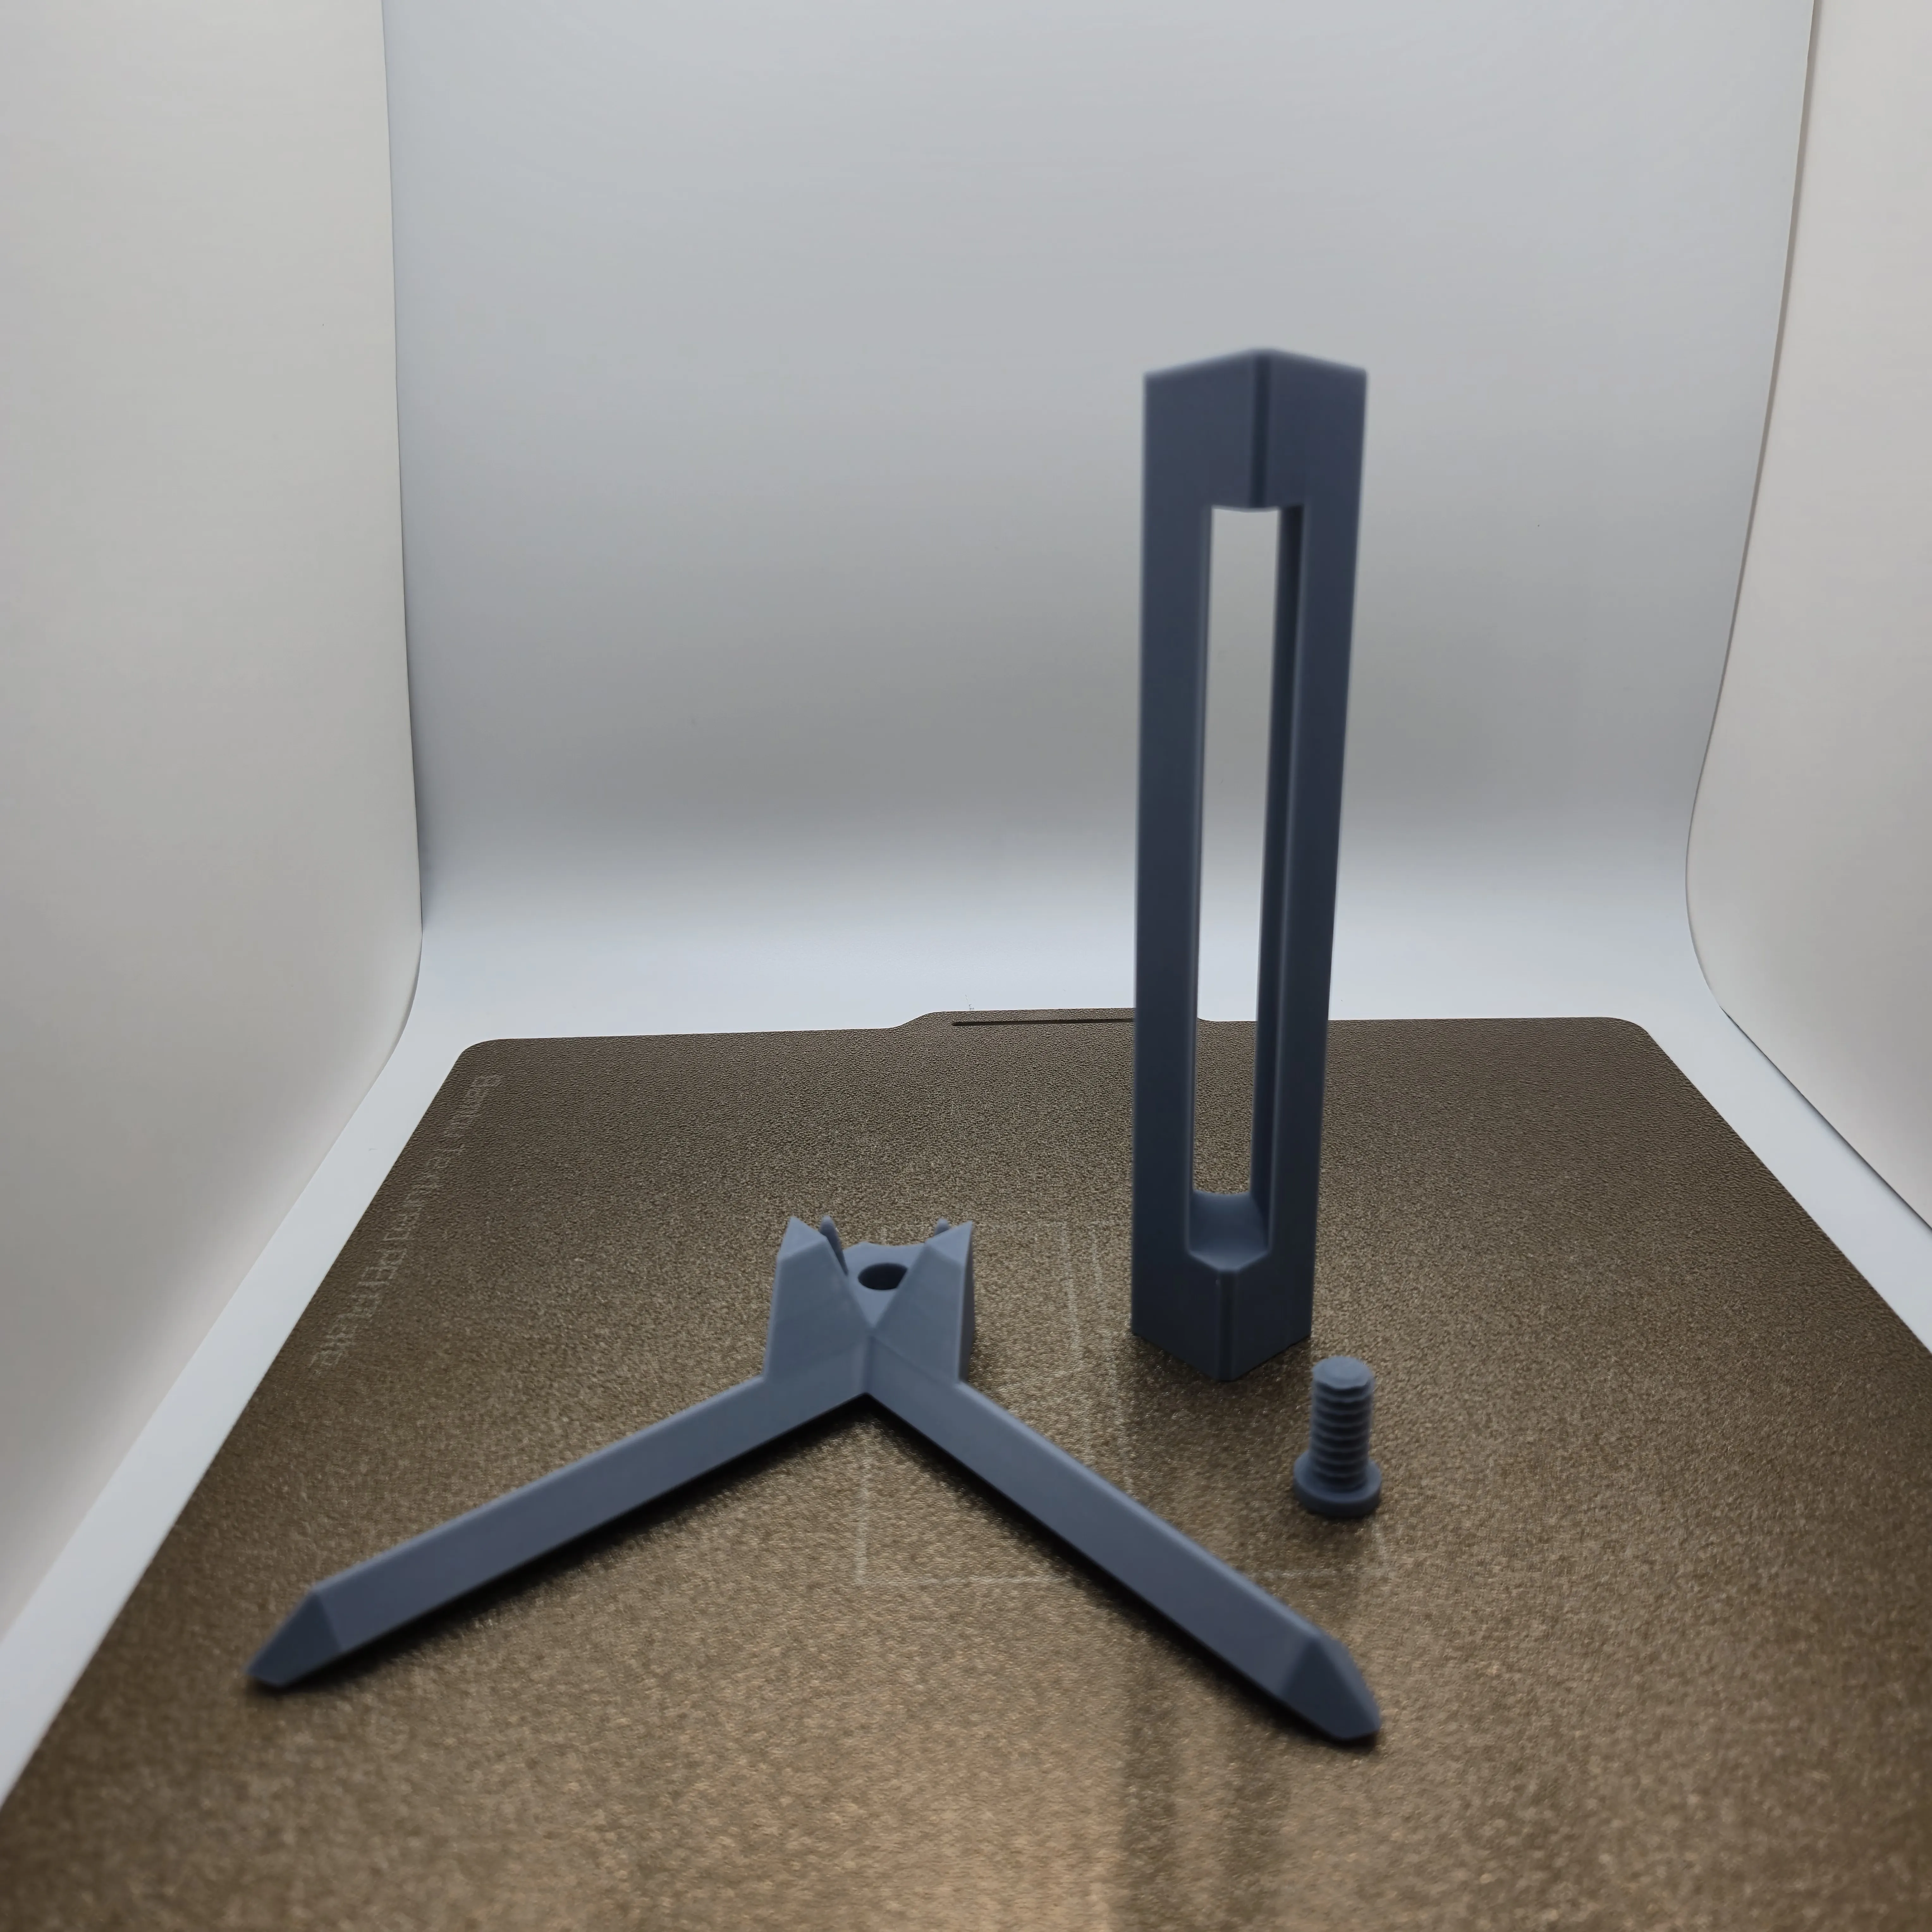
- Connect the base to the stand.
- Secure them with the 3D-printed screw.
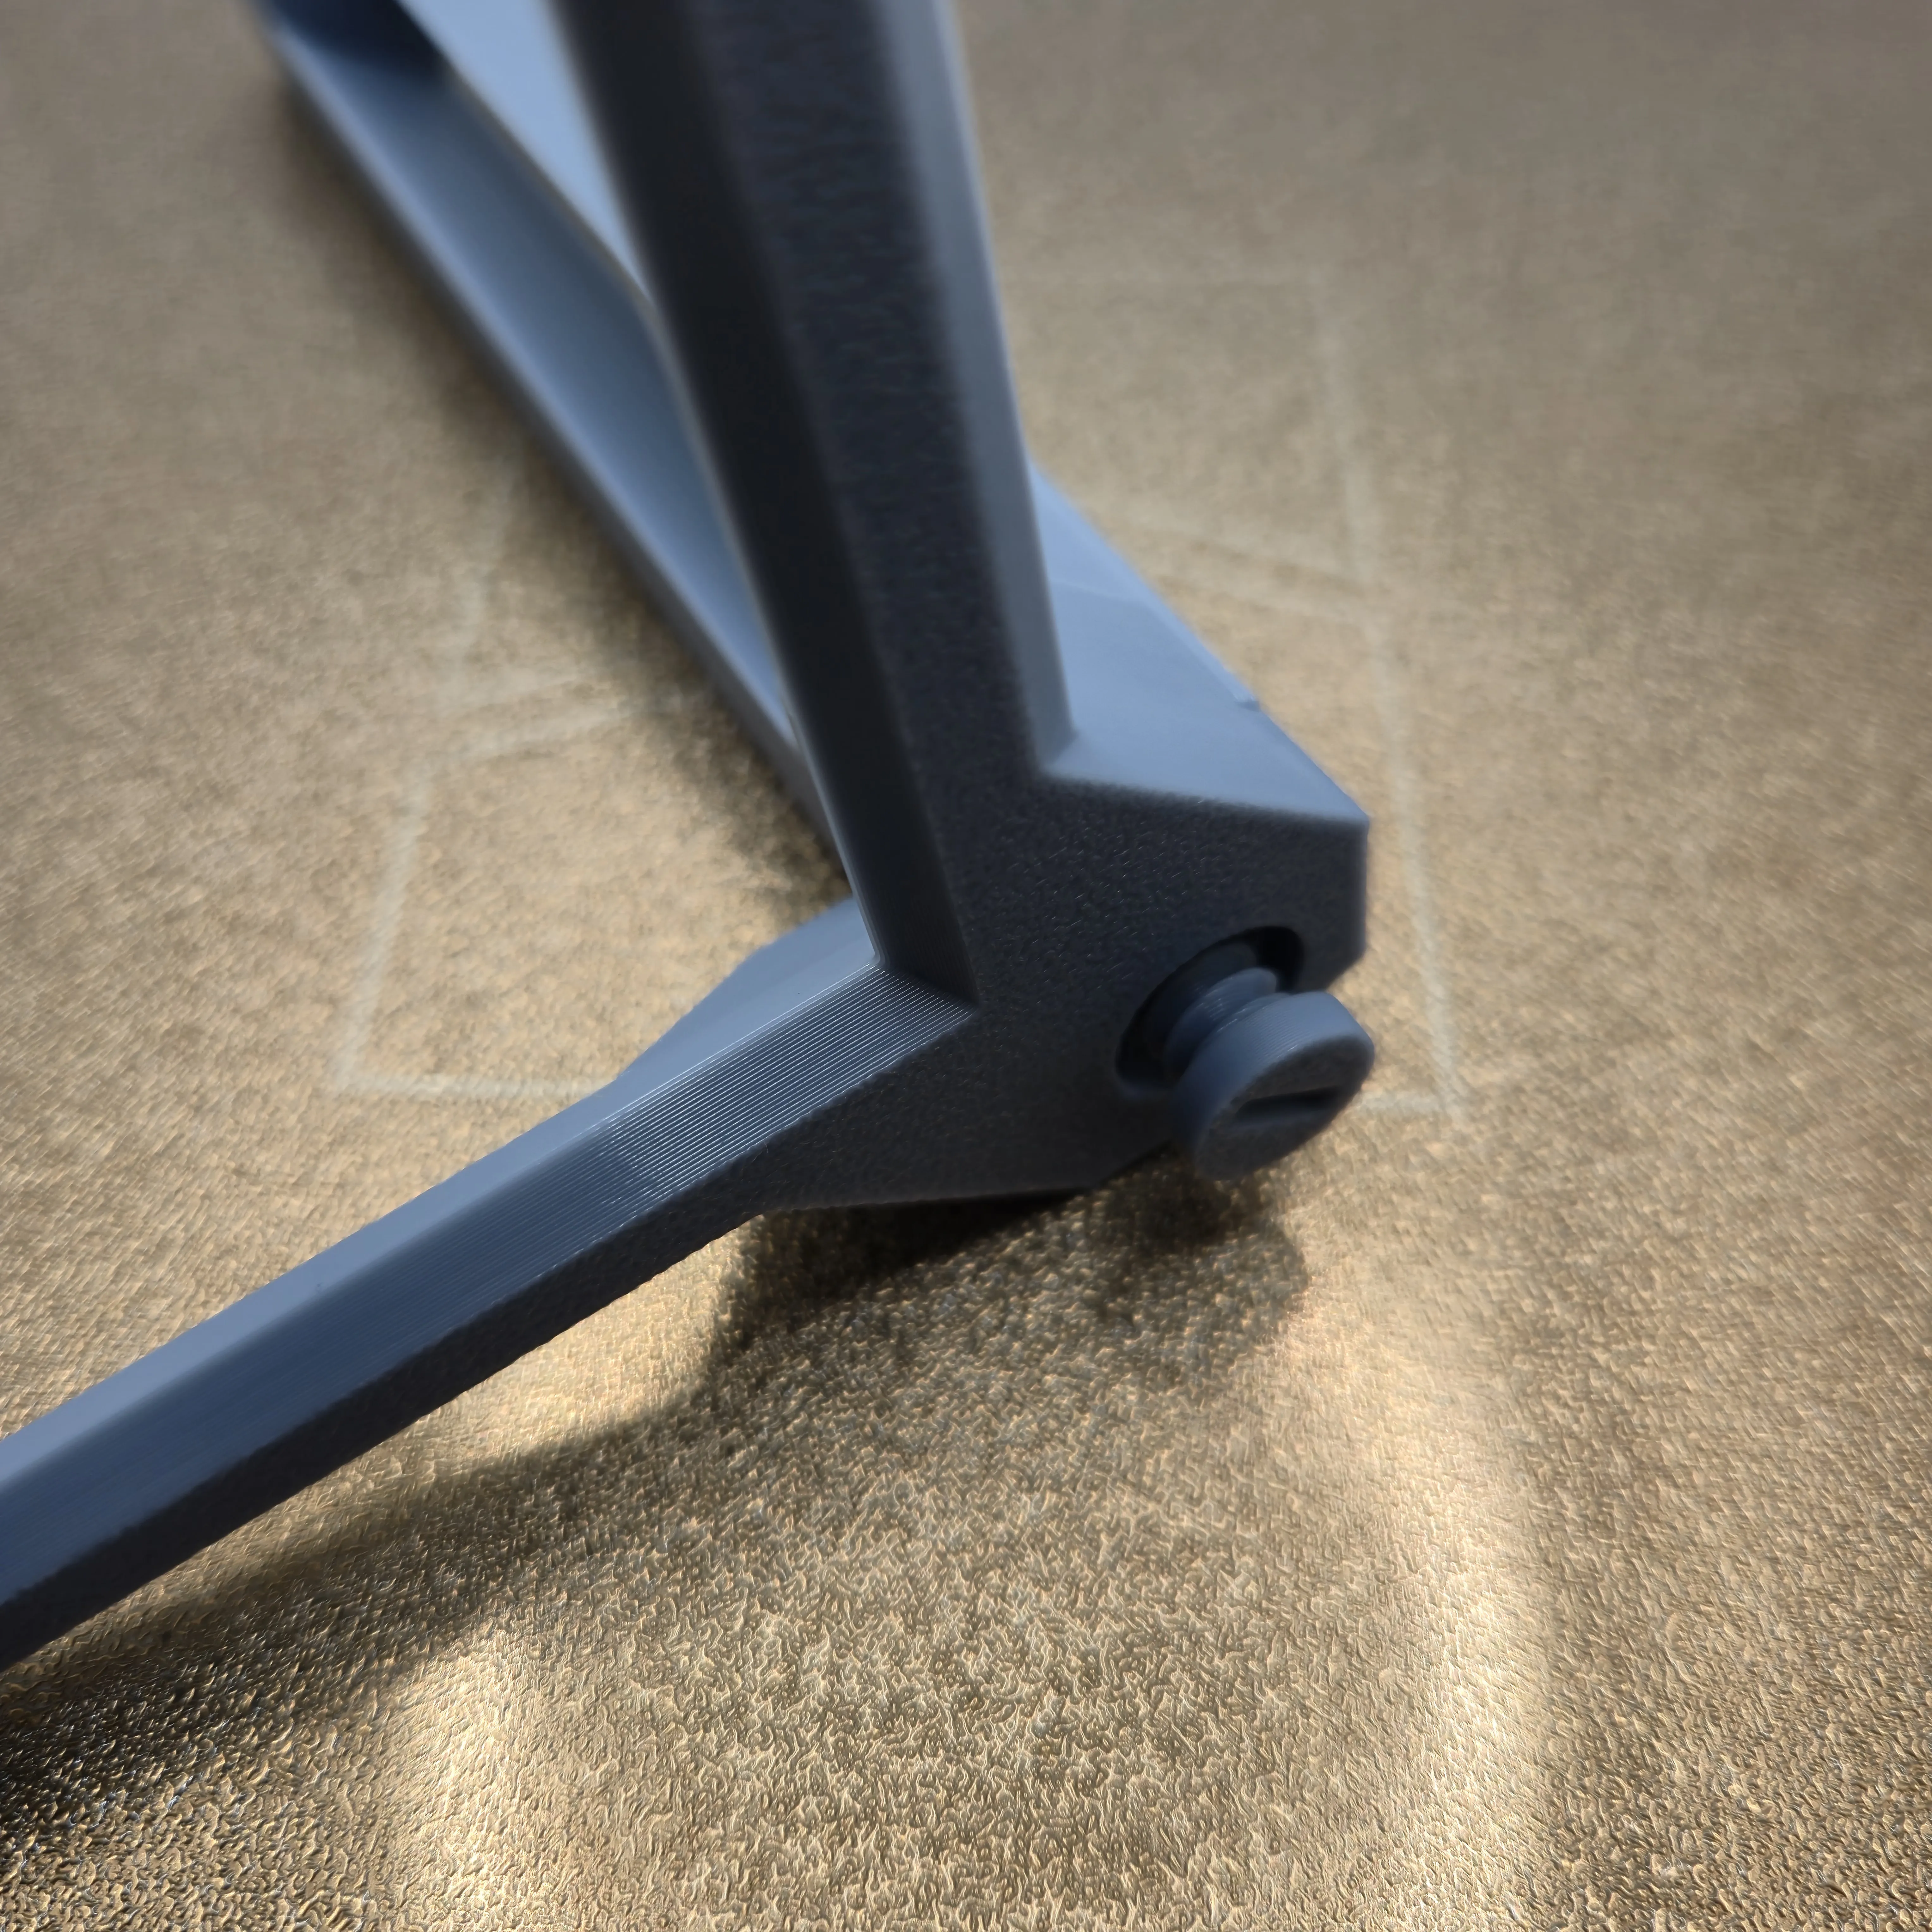
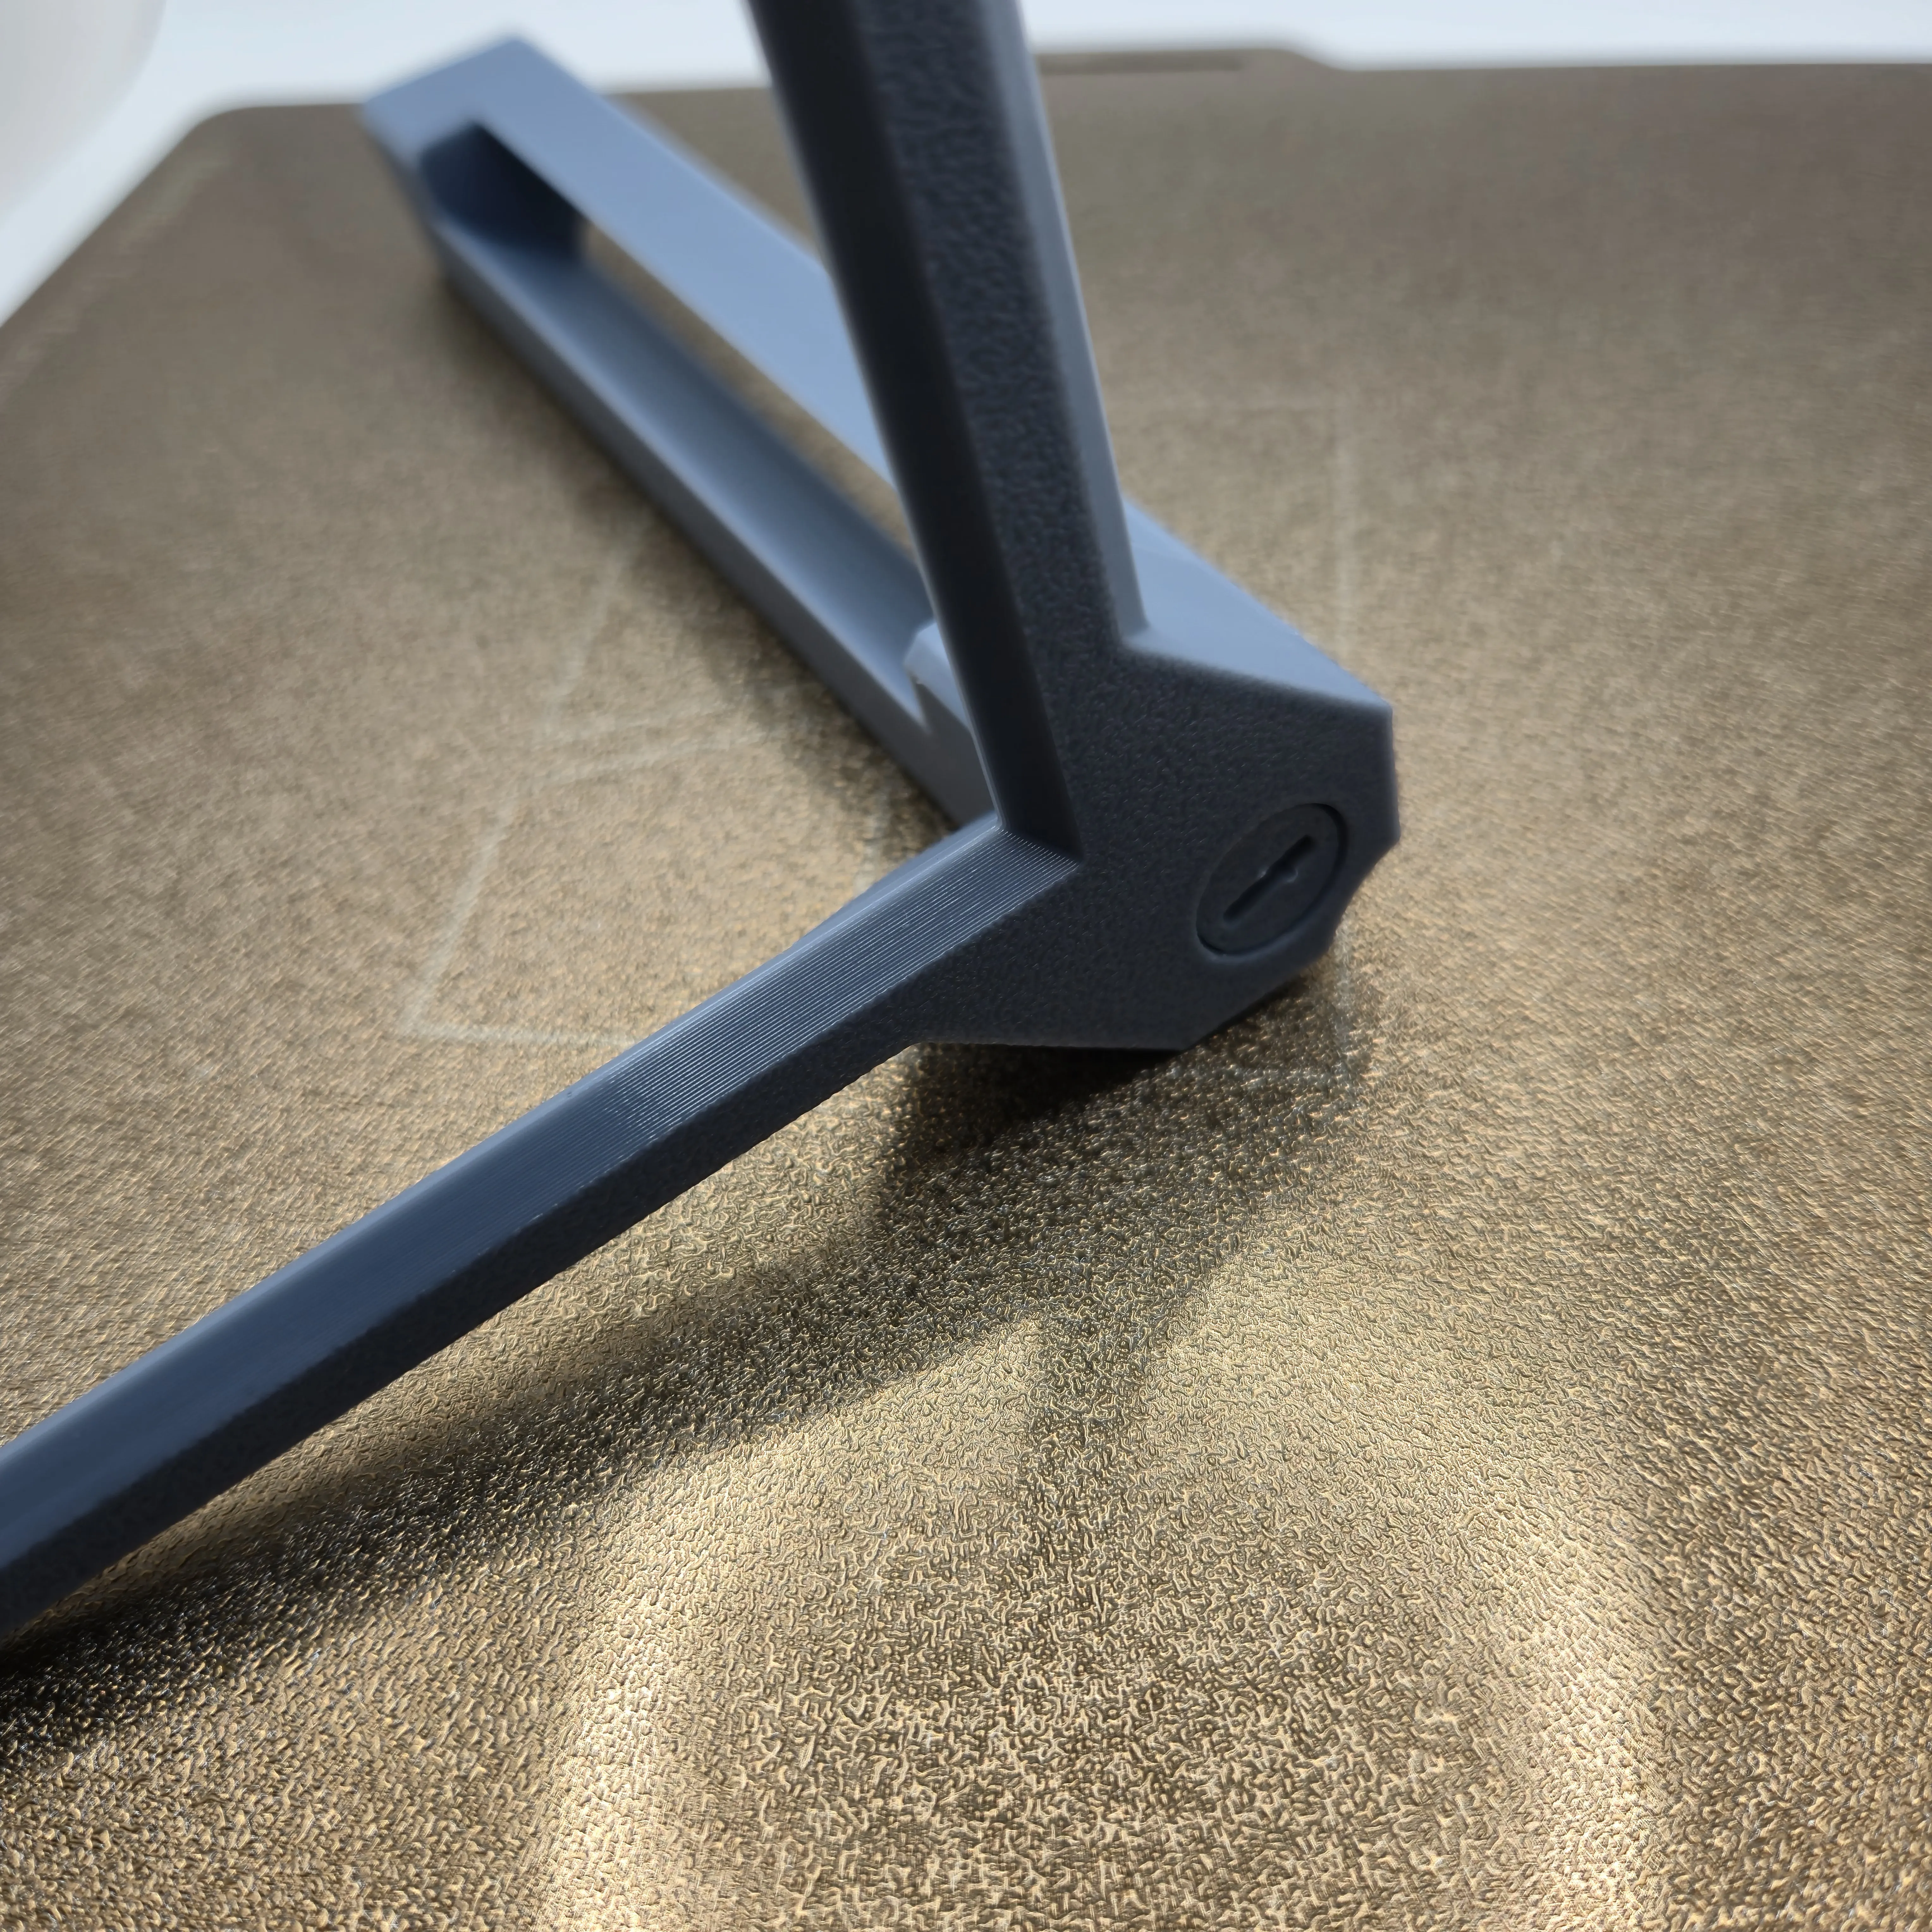
Step 5: Attach the Center Piece to the Holder
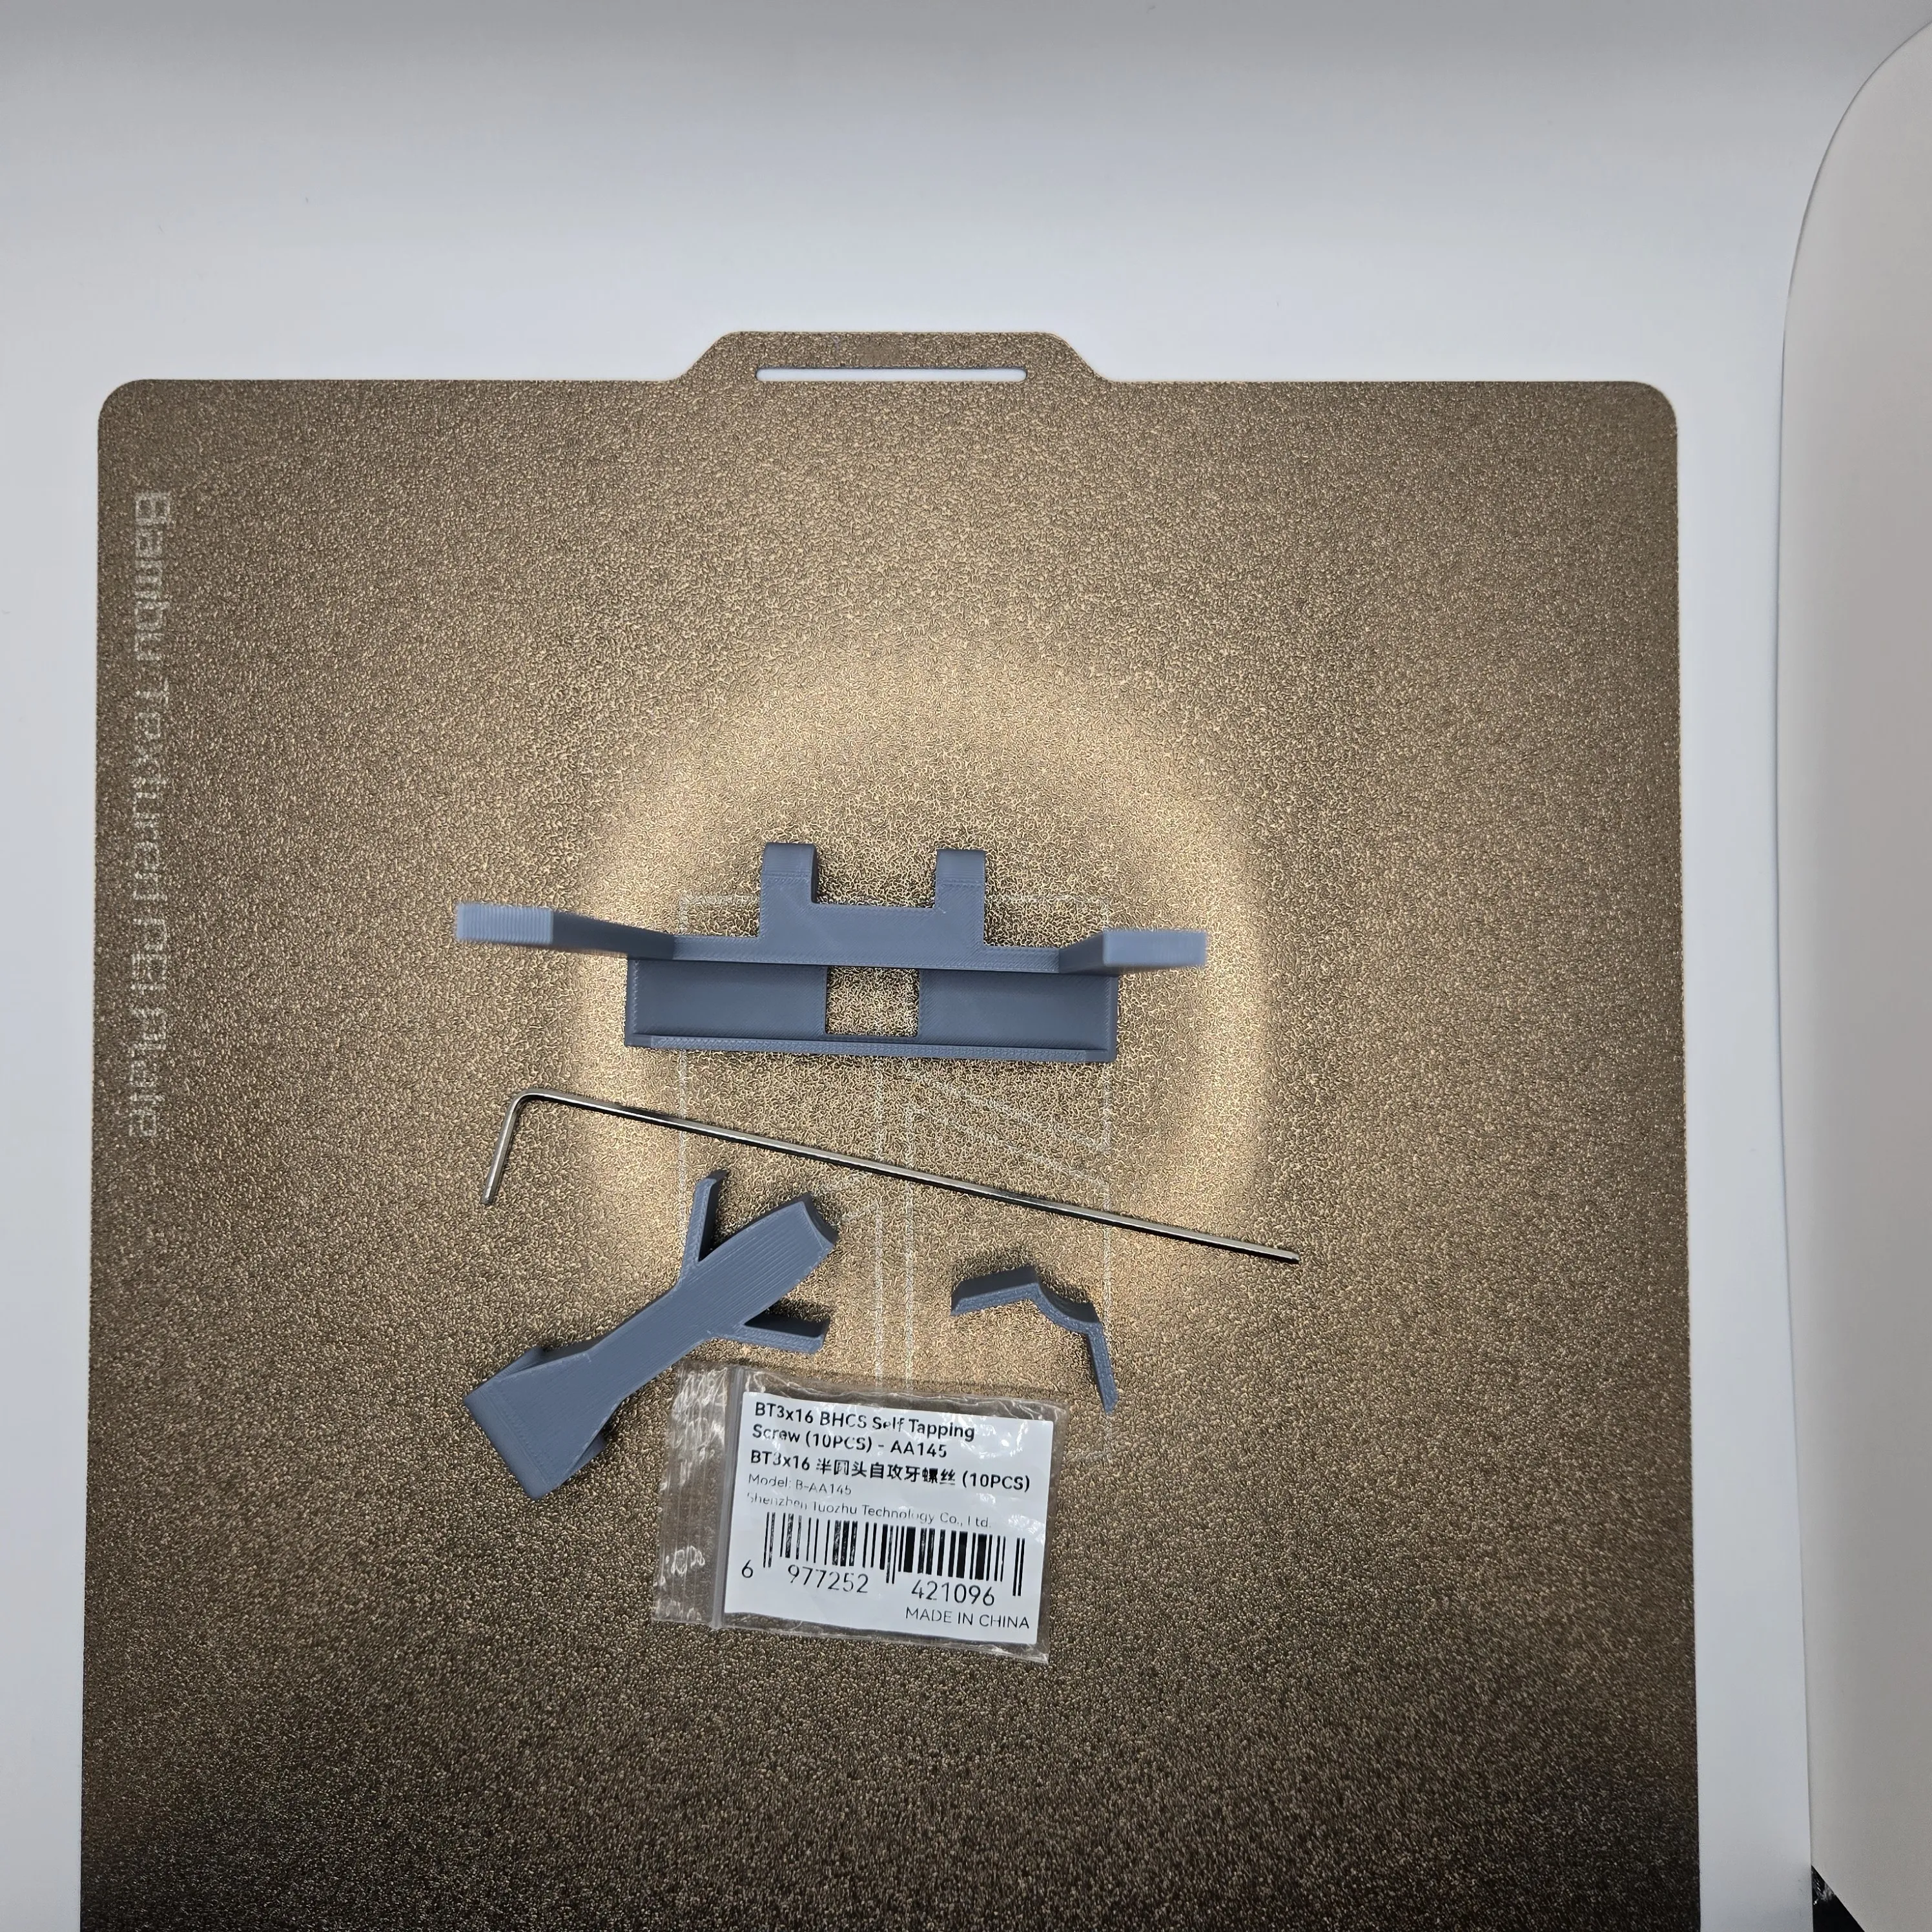
- Screw the center piece to the selected holder (e.g., phone holder).
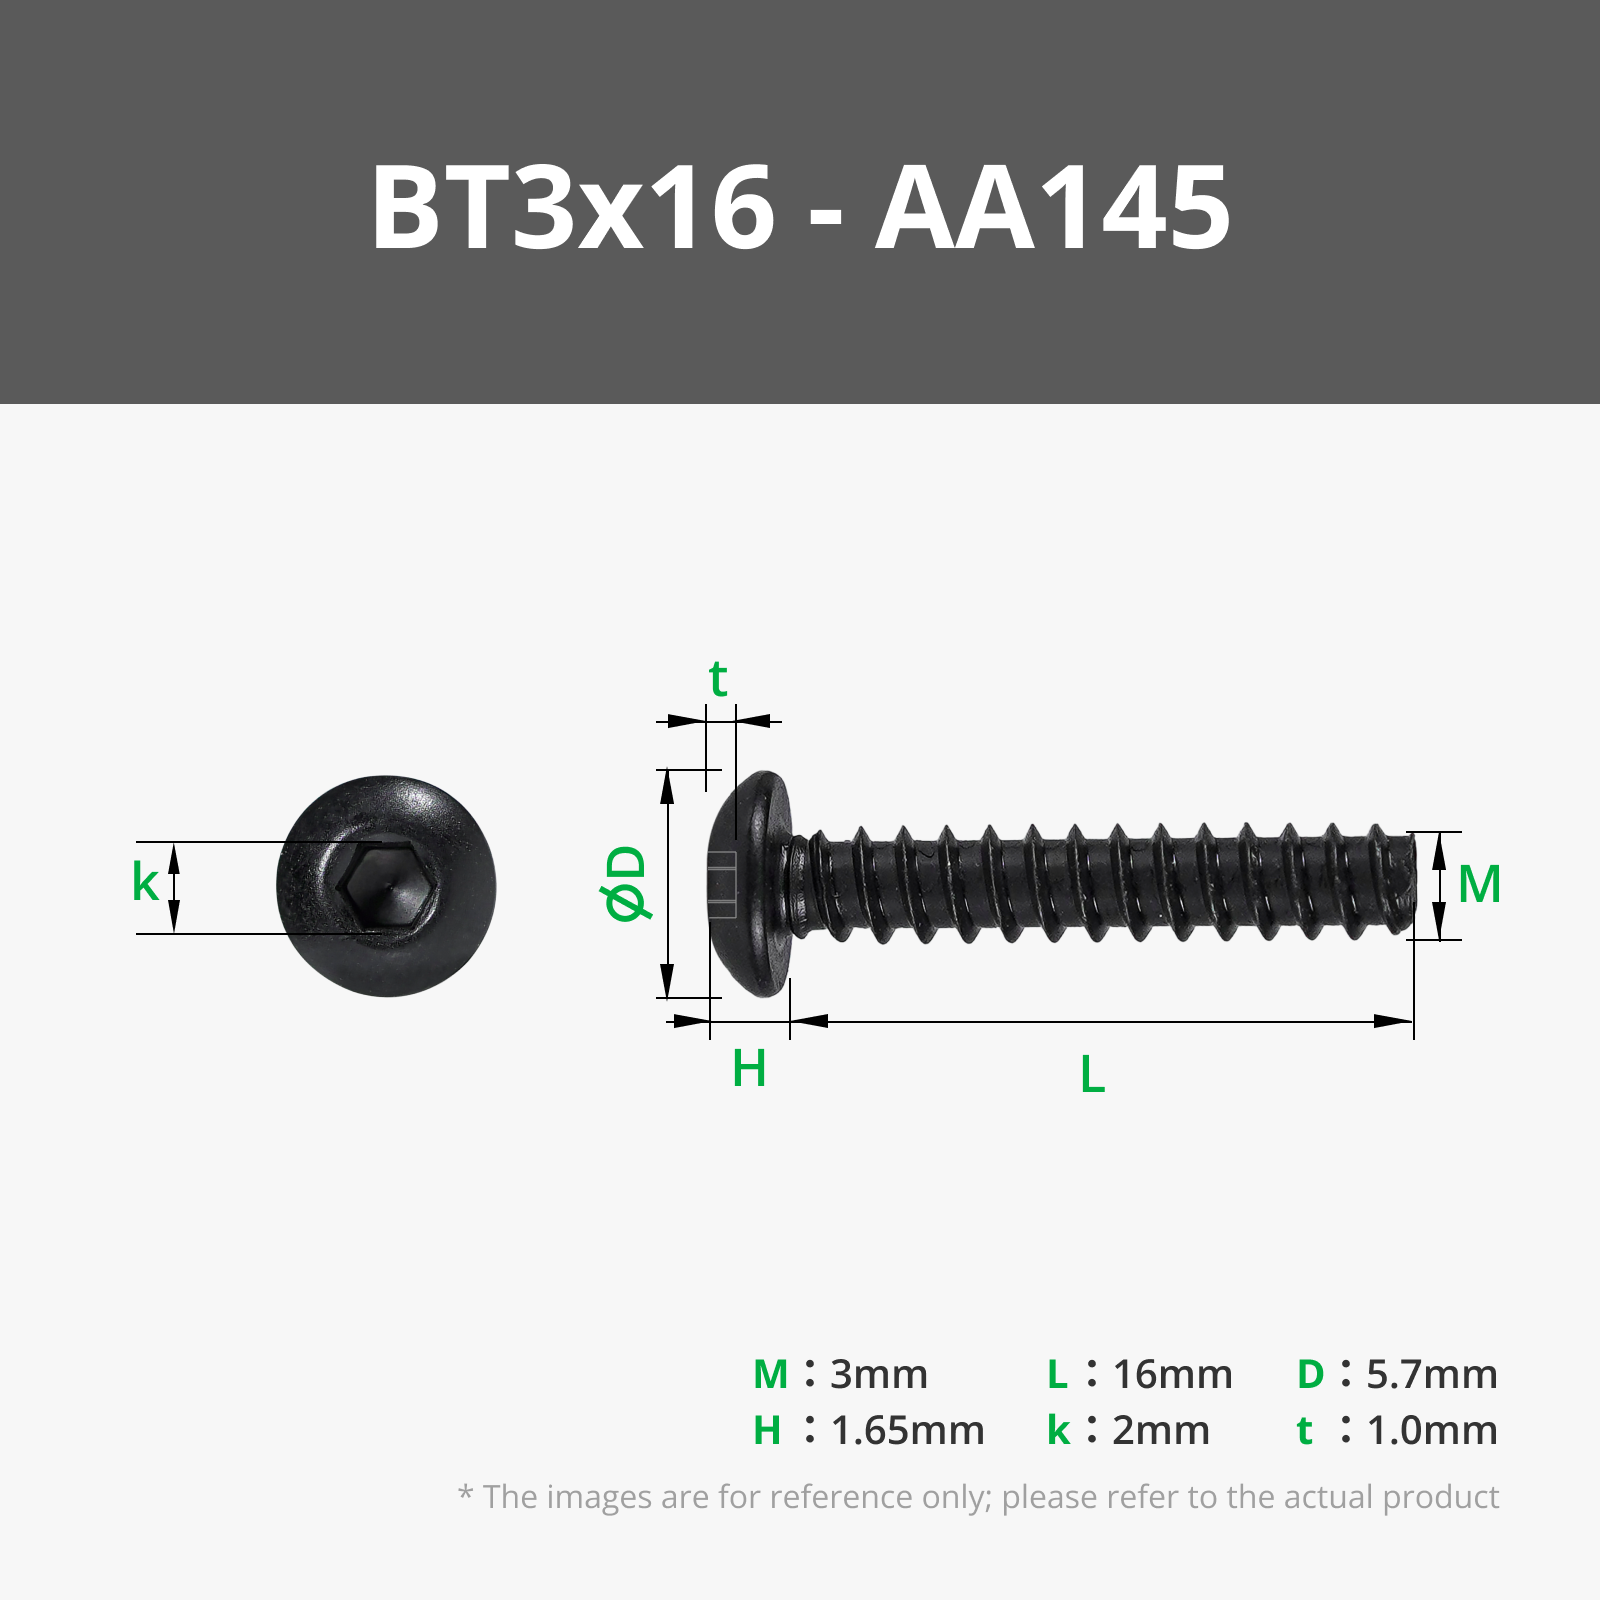
- Use two M3 x 16mm screws.
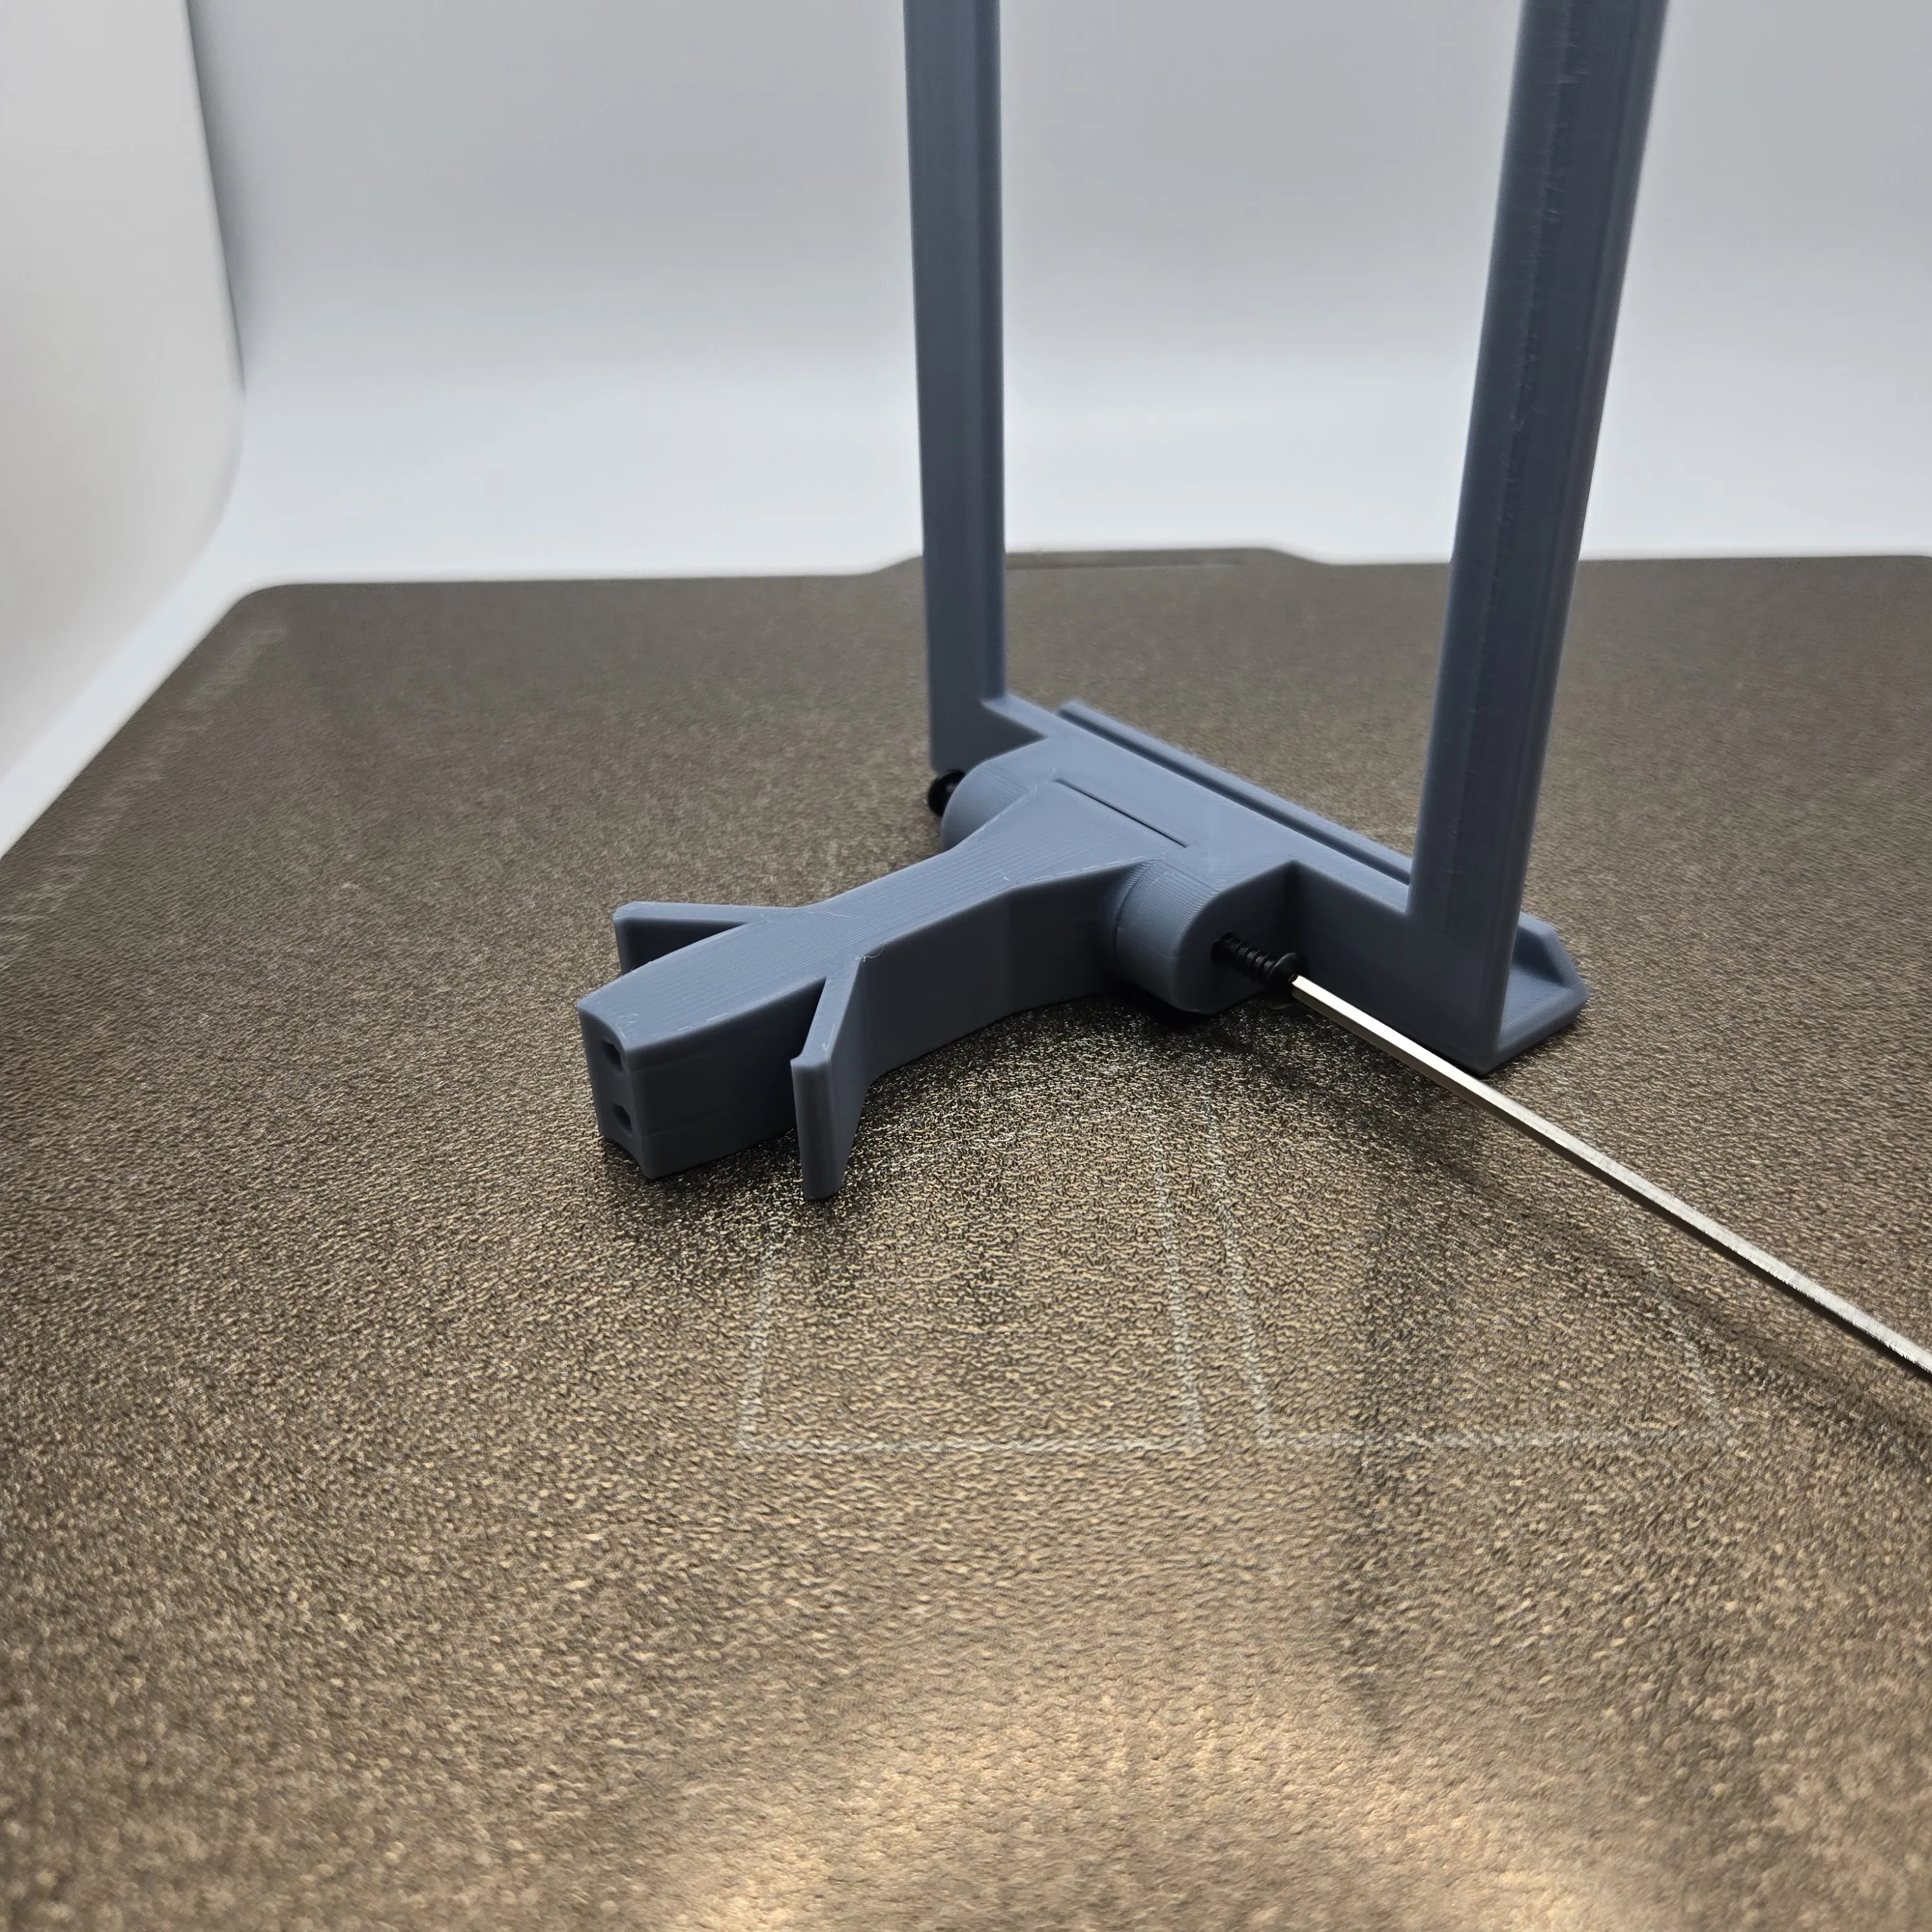
- Ensure that the tilt adjustment is neither too loose nor too tight.
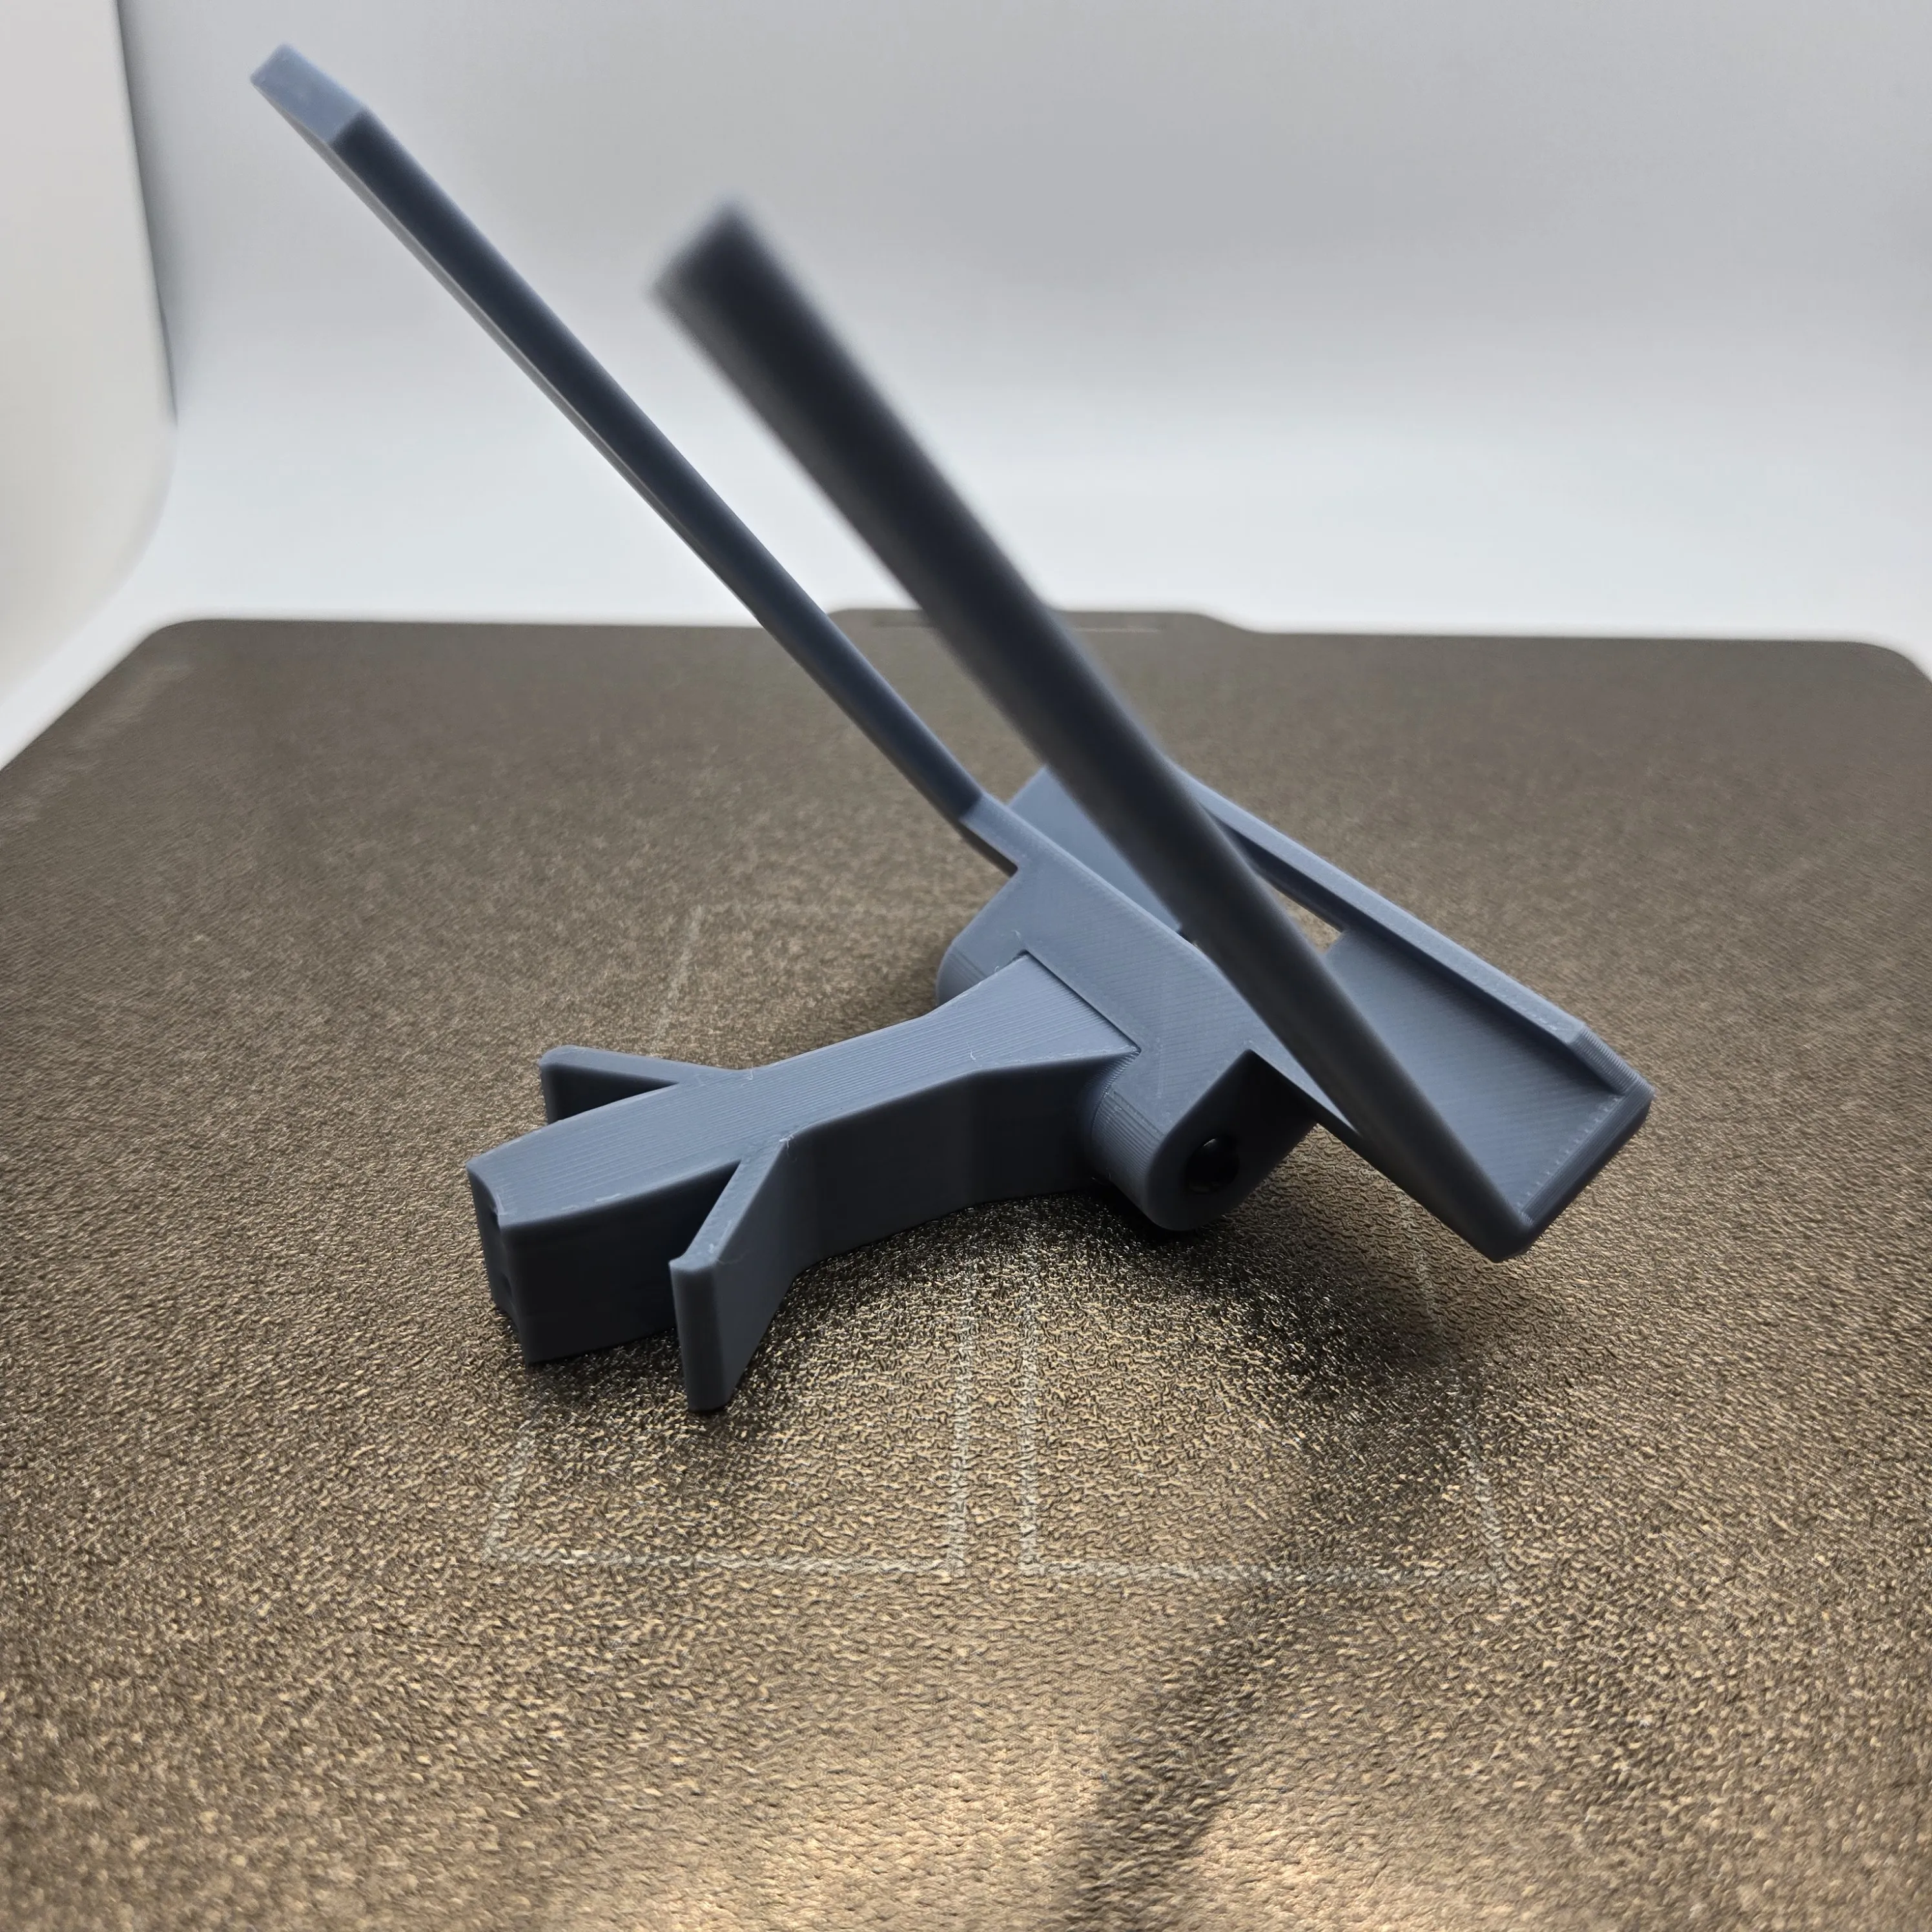
Step 6: Insert the Stand and Holder
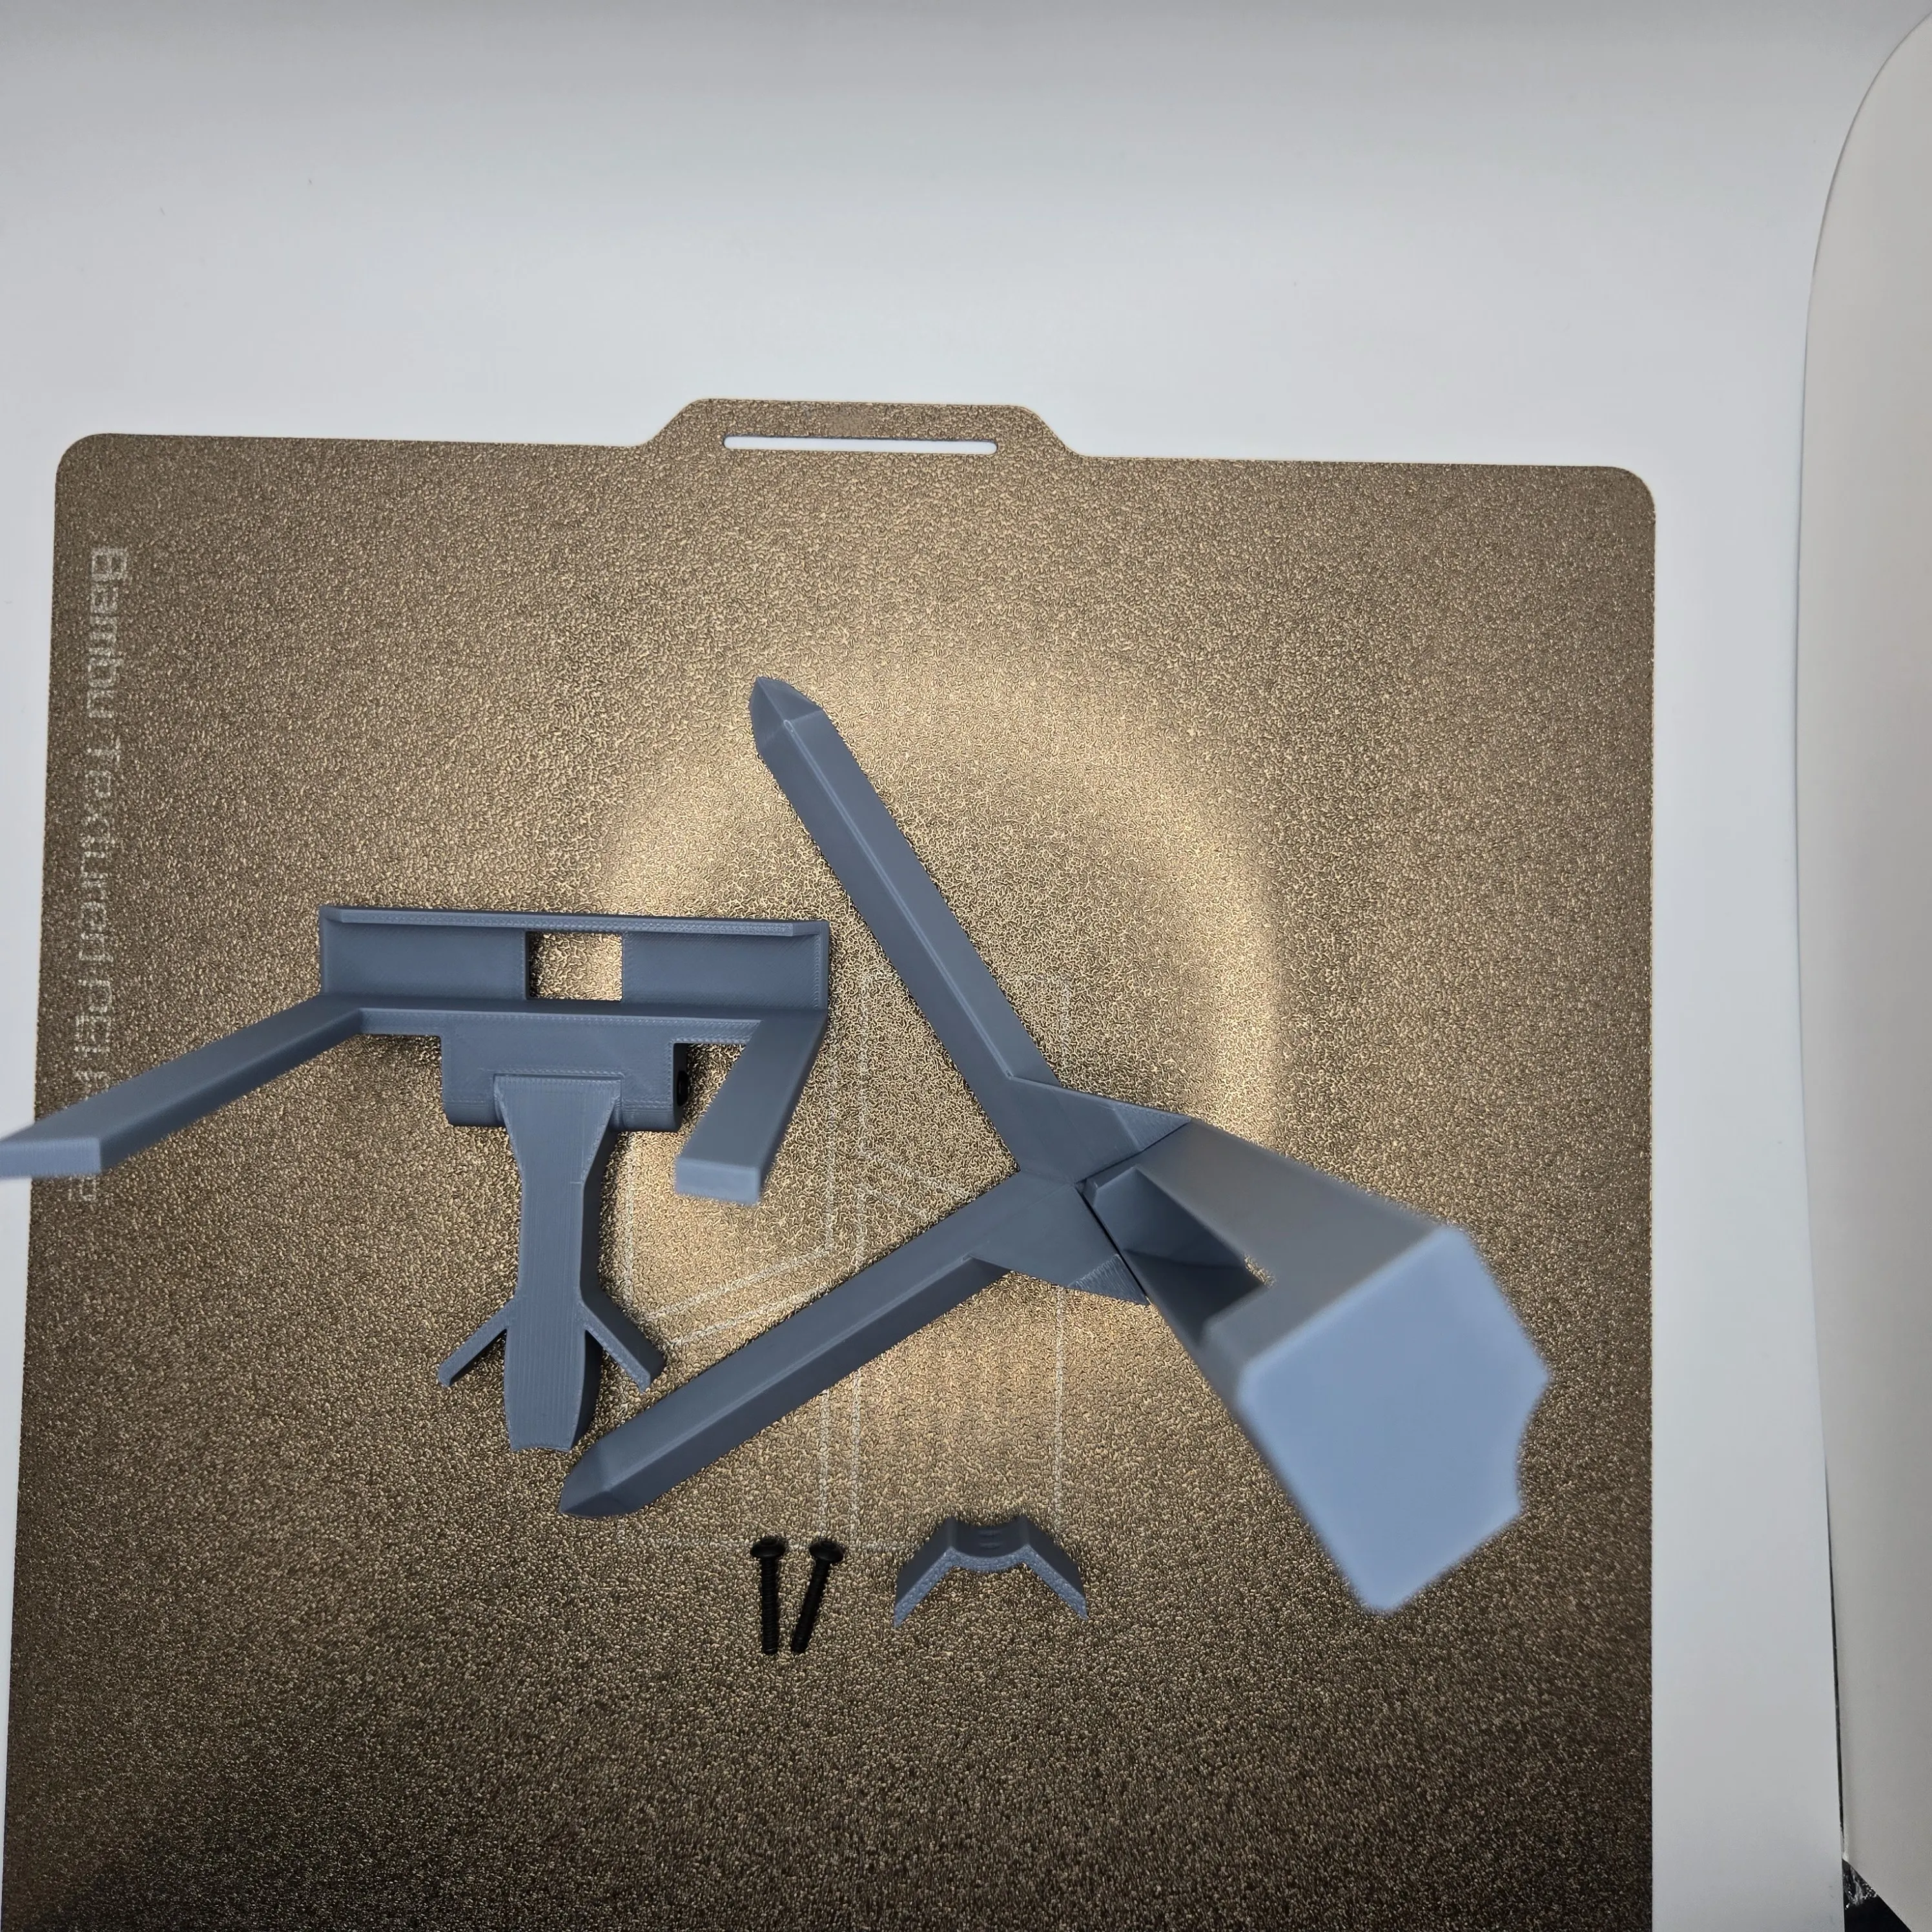
- Insert the holder with the center piece into the guide rail of the stand.
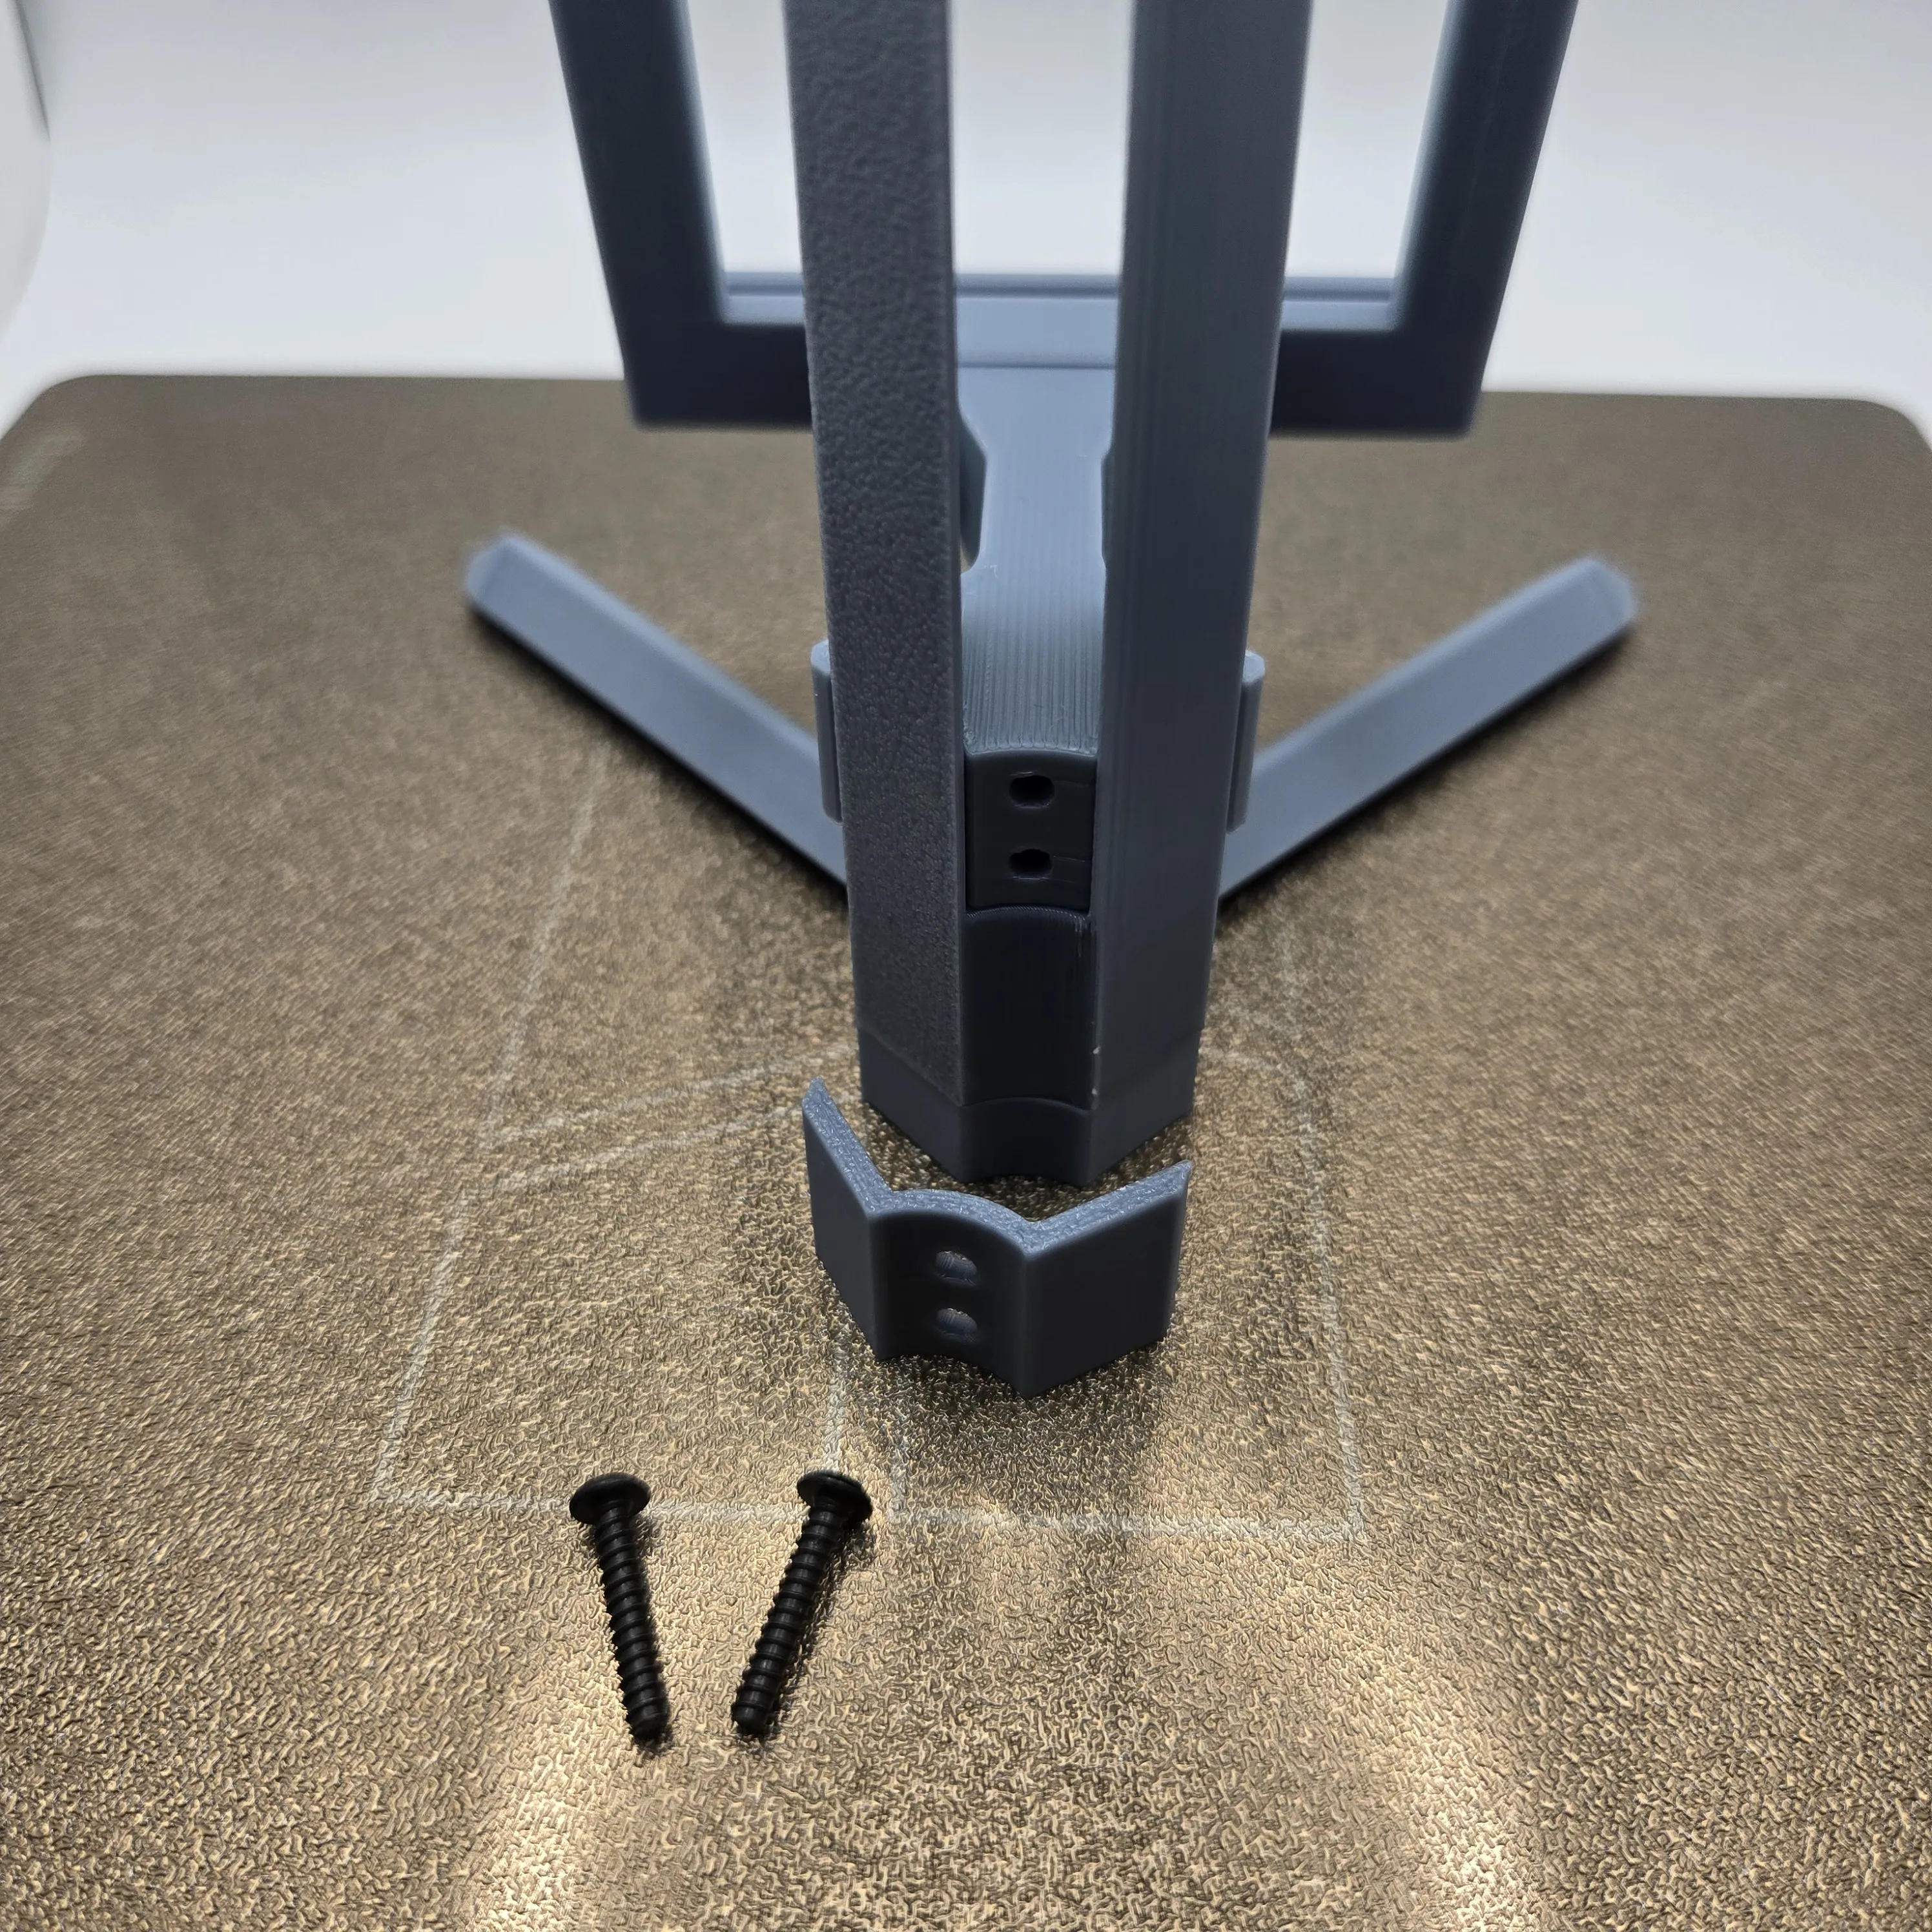
- Secure the clamp to the stand with two additional M3 x 16mm screws.
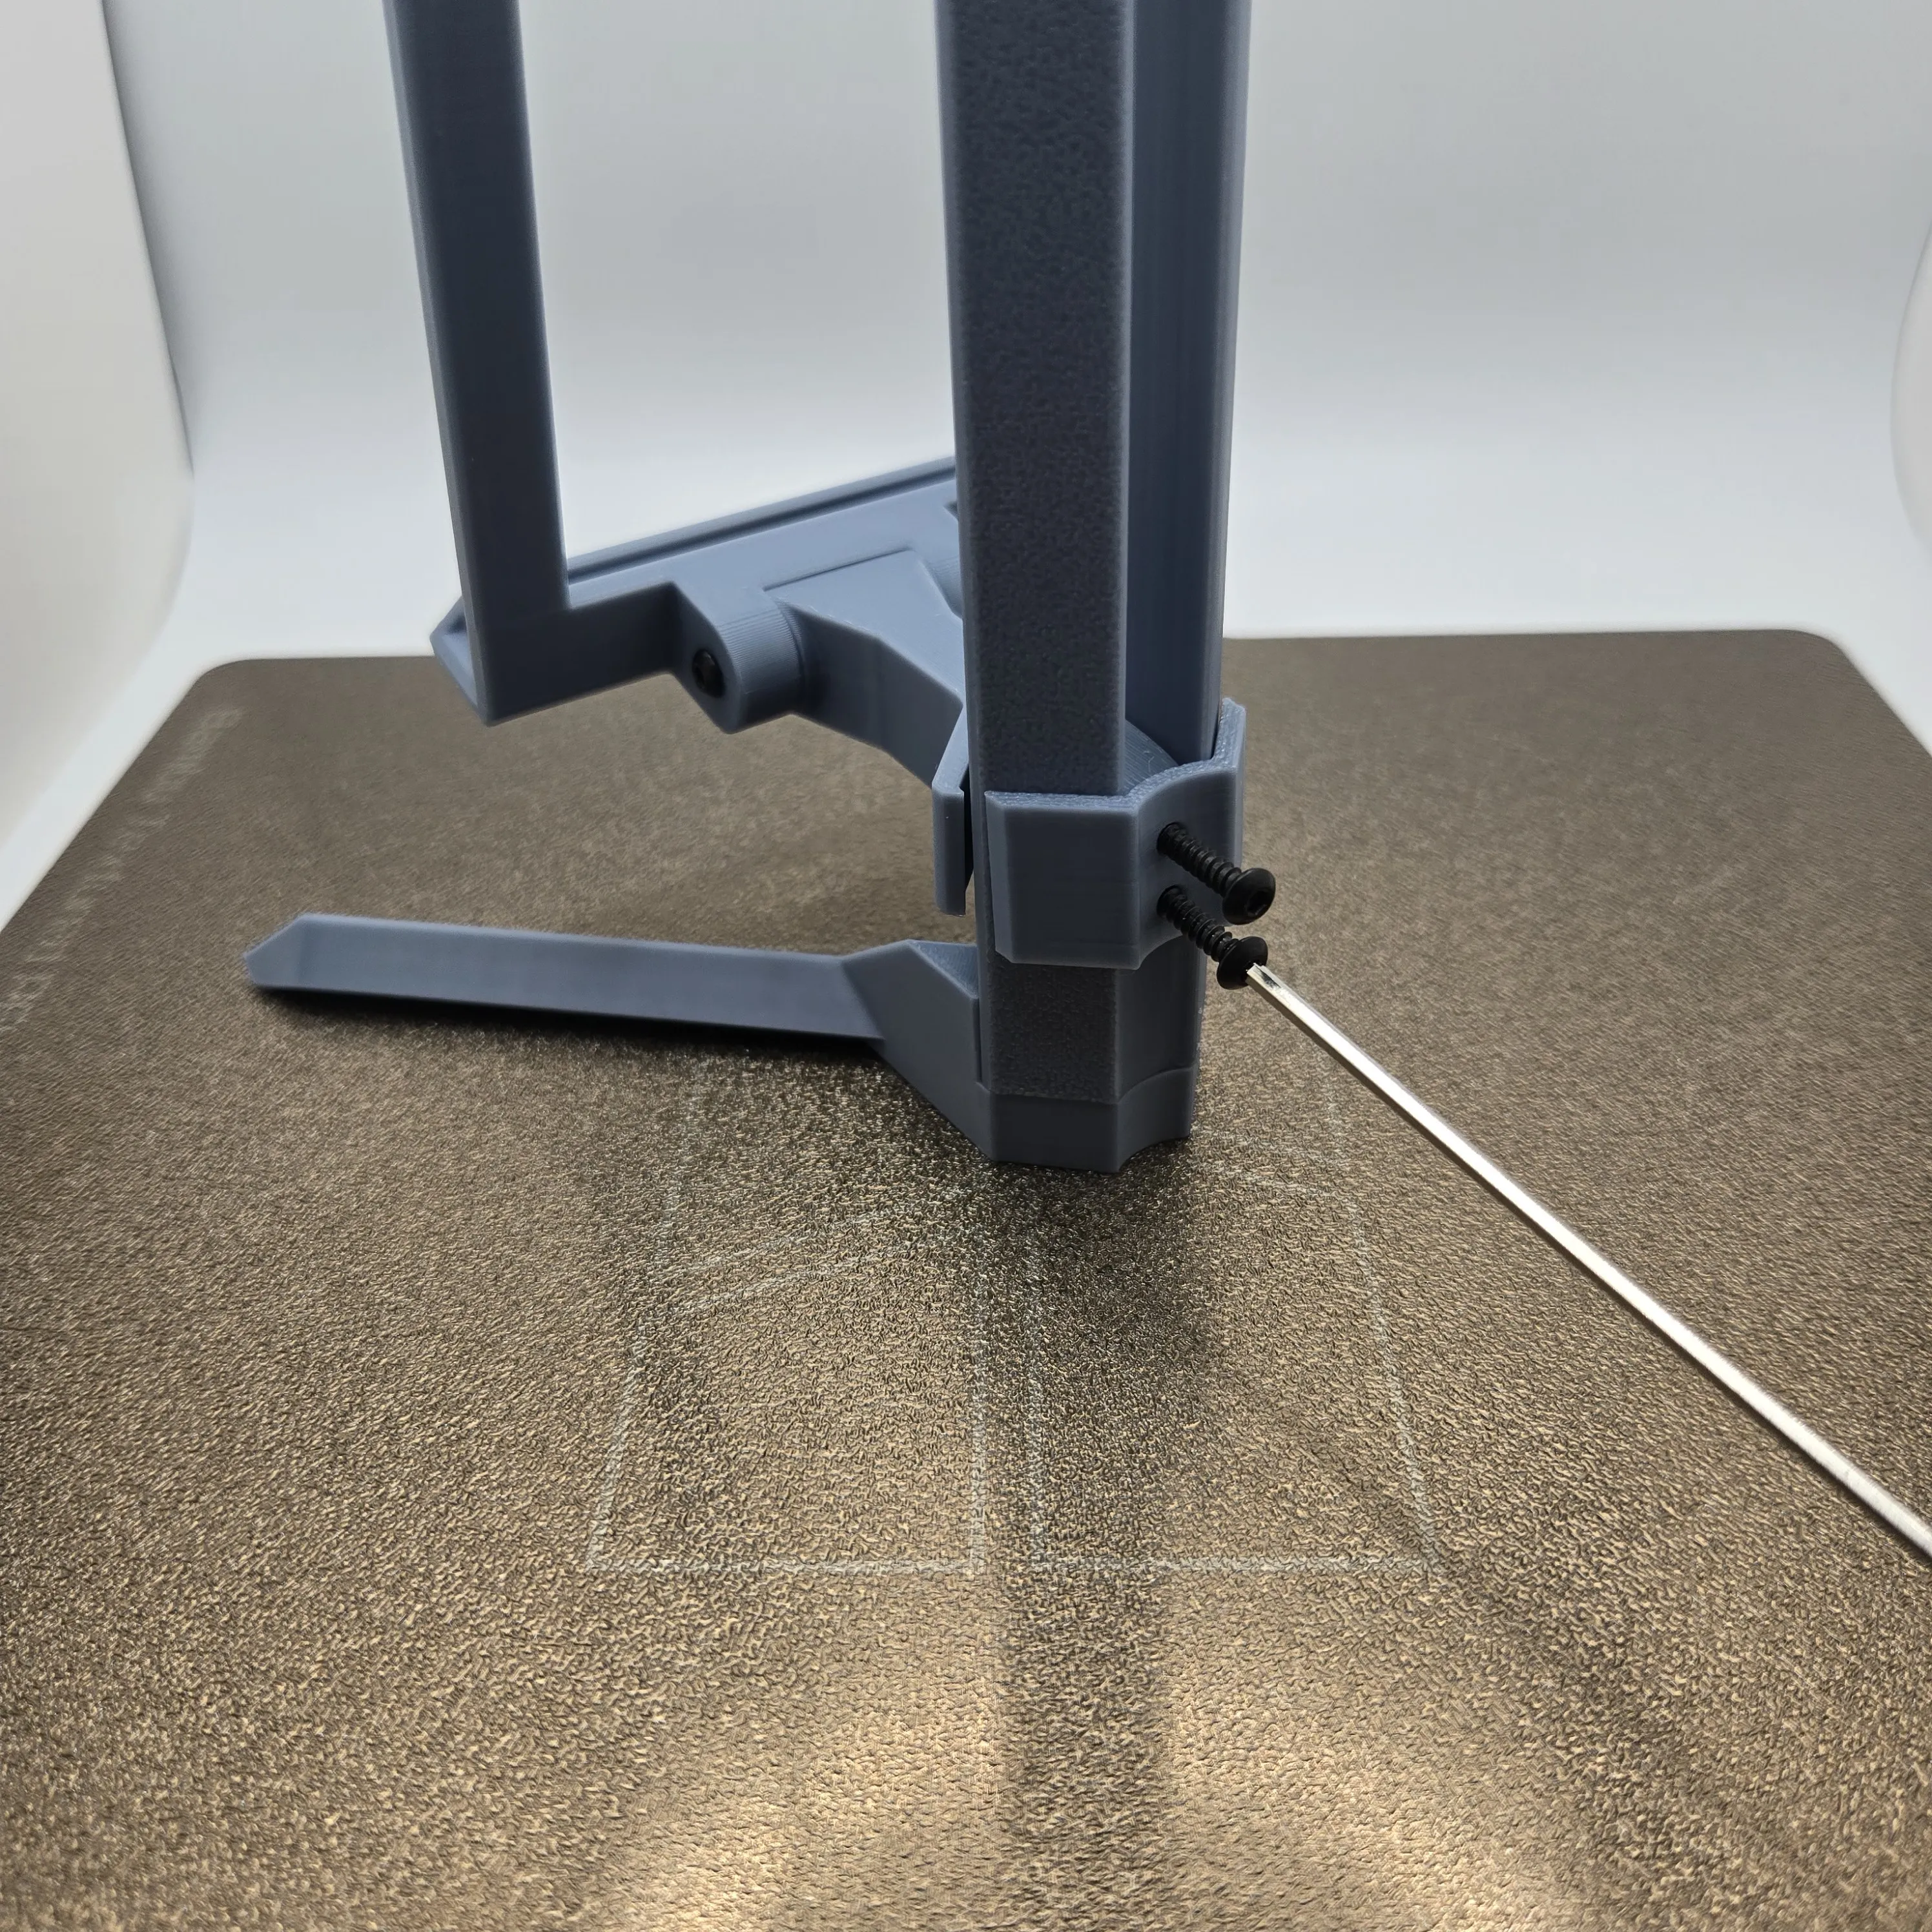
- Check the height adjustment for suitable tightness.
Step 7: Fine-Tuning
- Adjust the angle and height as needed.
- Tighten the screws if necessary to ensure stability.
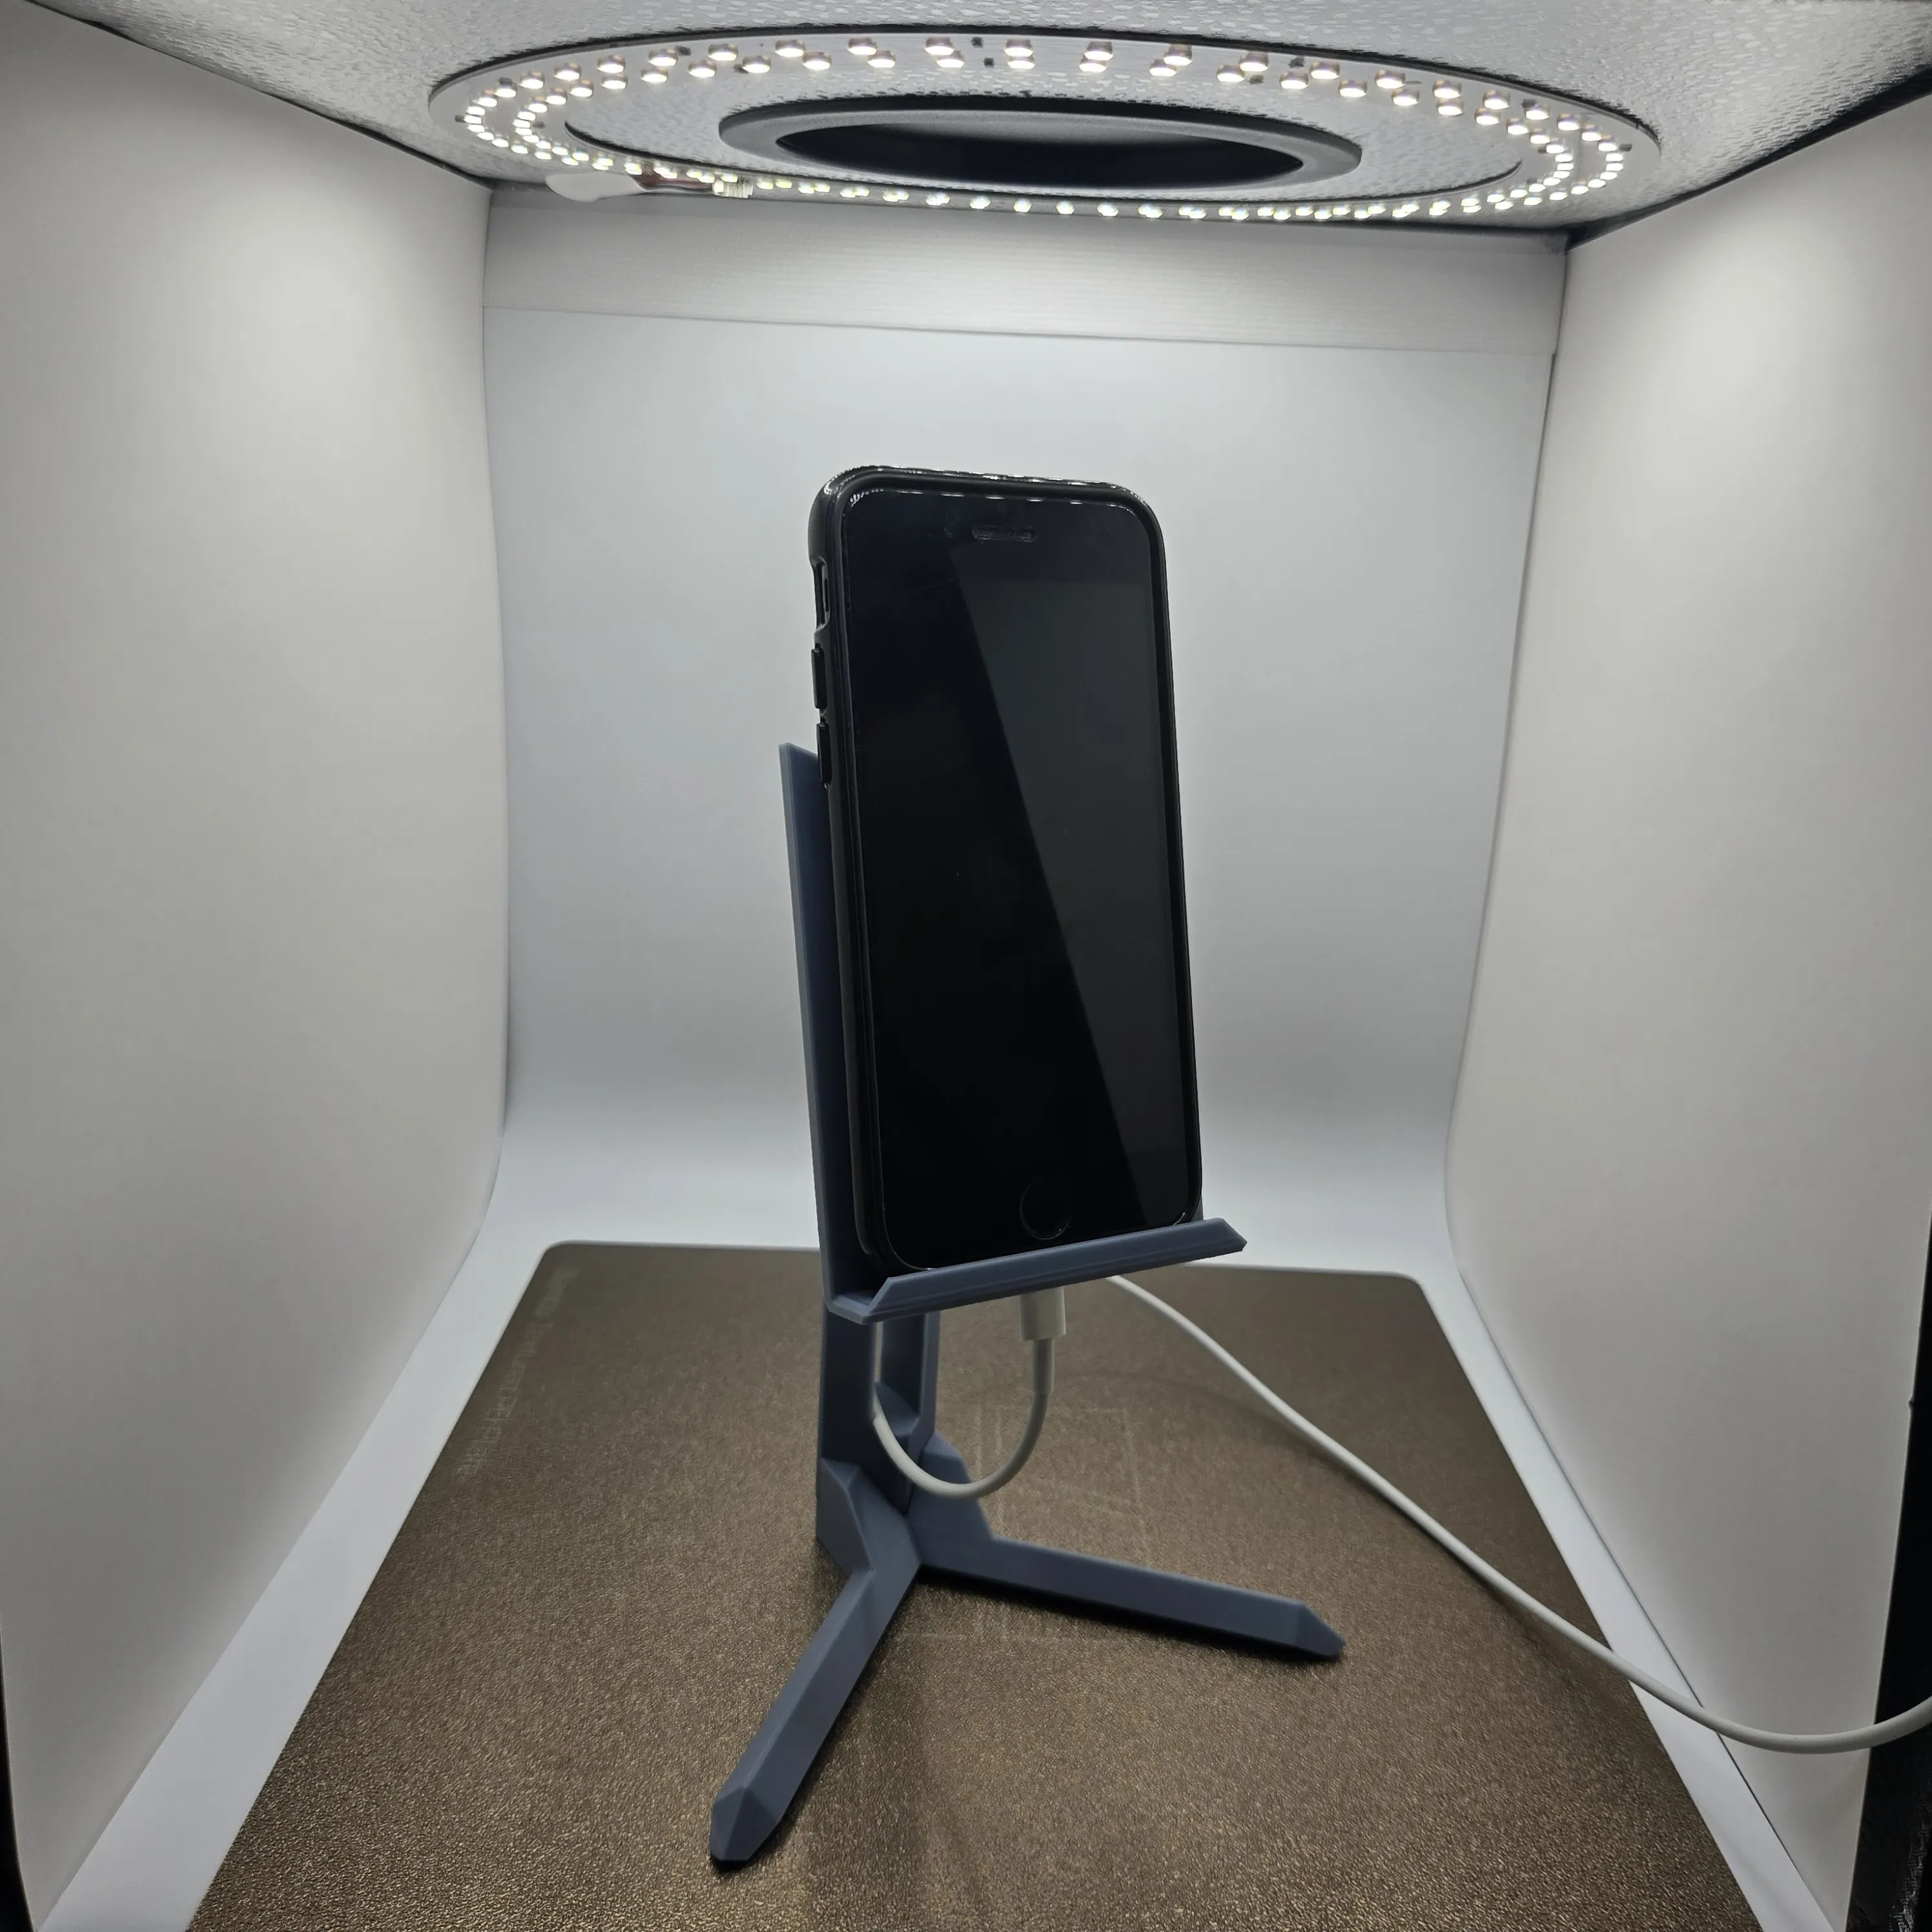
Important Notes
- For larger devices (e.g., tablets), use the larger base.
- Ensure all screws are securely fastened to avoid wobbling.
- Fully remove support residues to ensure optimal functionality of moving parts.
License

You shall not share, sub-license, sell, rent, host, transfer, or distribute in any way the digital or 3D printed versions of this object, nor any other derivative work of this object in its digital or physical format (including - but not limited to - remixes of this object, and hosting on other digital platforms). The objects may not be used without permission in any way whatsoever in which you charge money, or collect fees.


Comment & Rating (15)