
Clicky - Smart Button
Print Profile(1)
Description
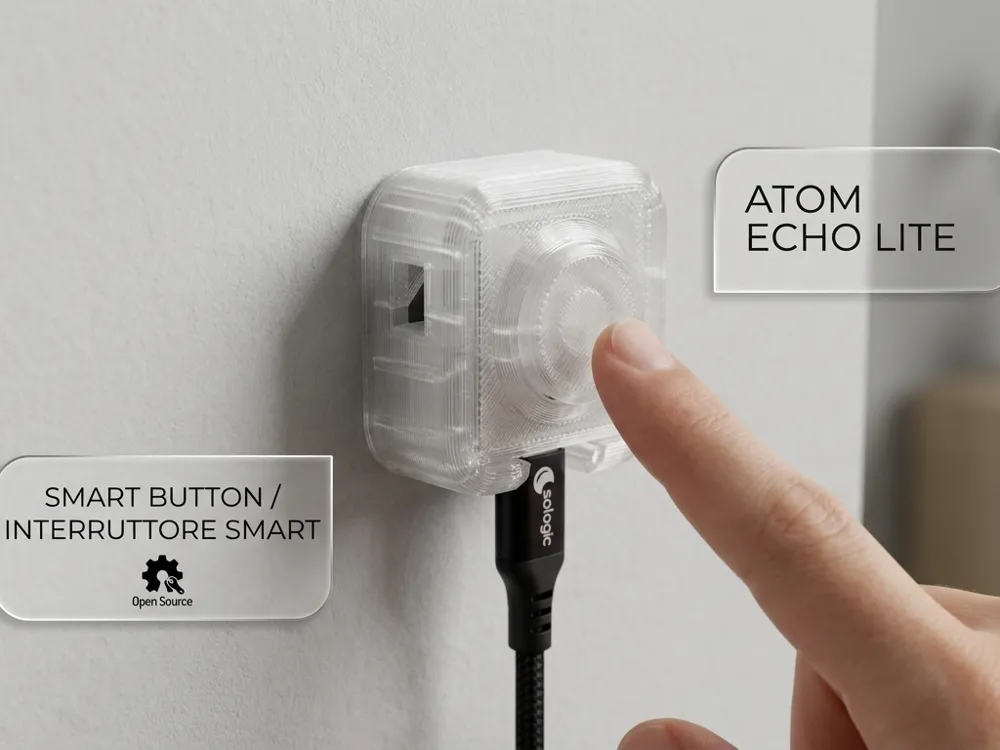
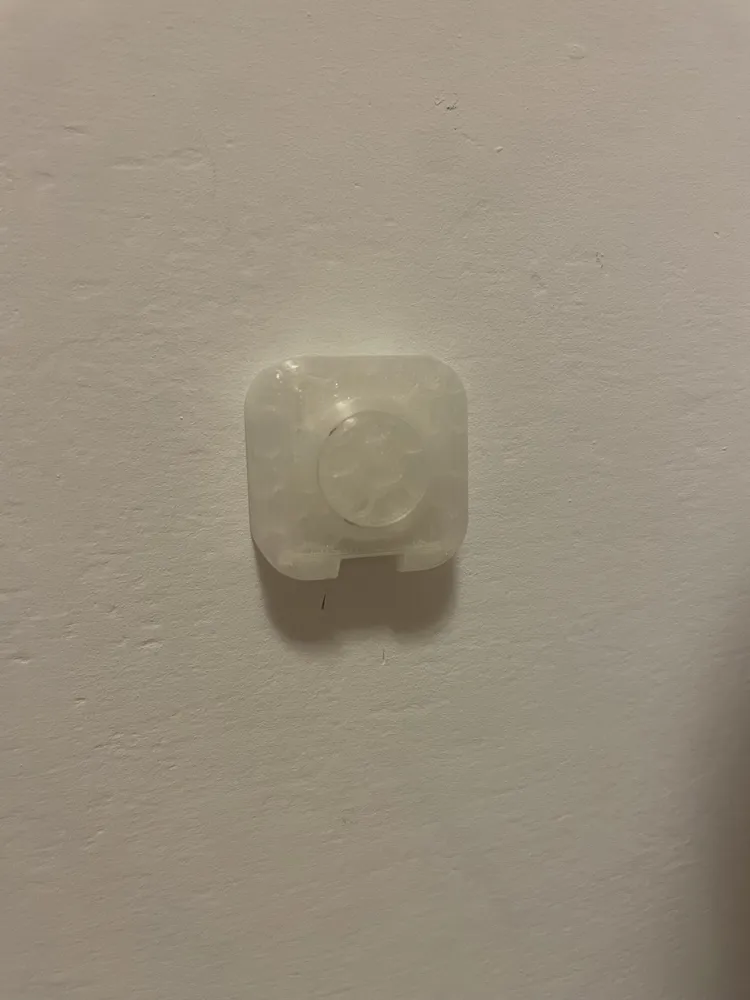
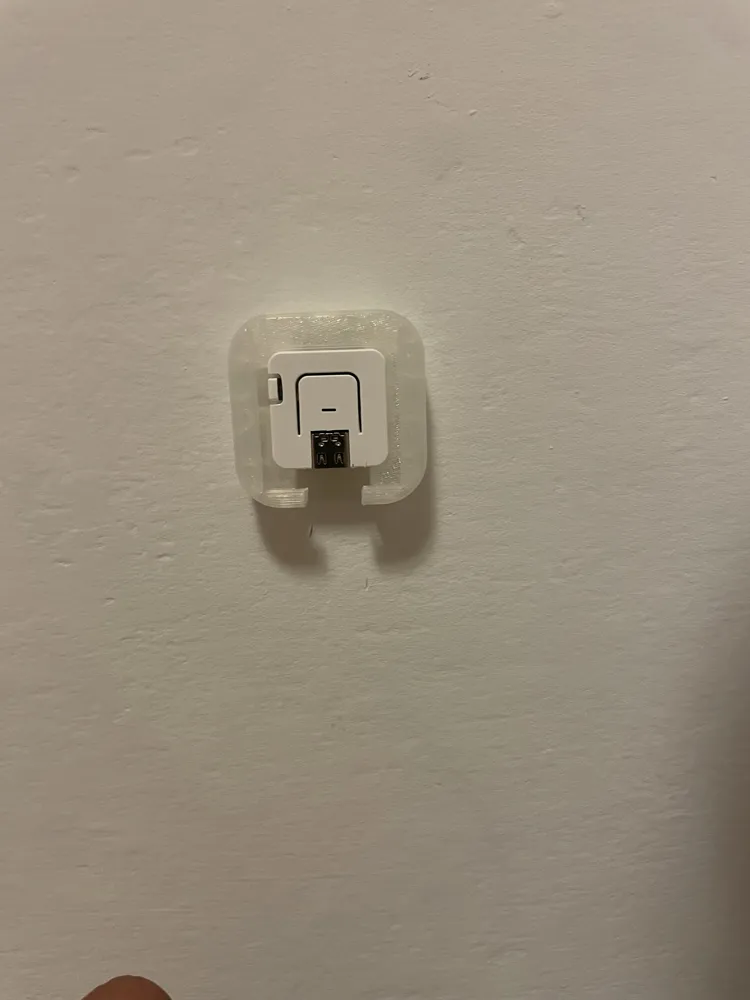
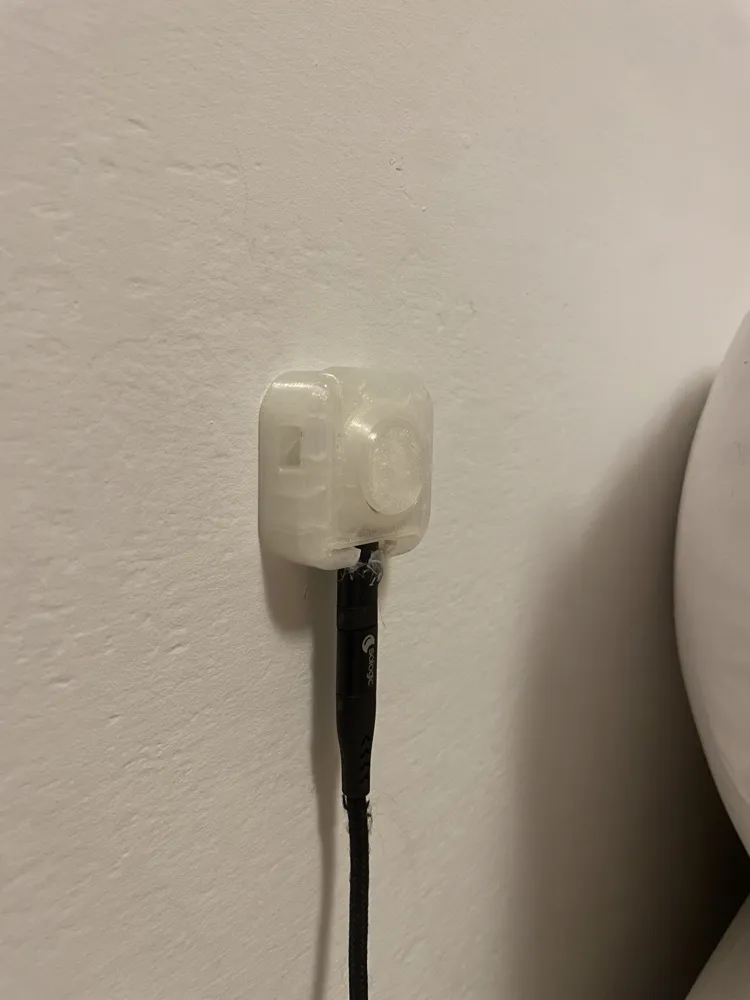
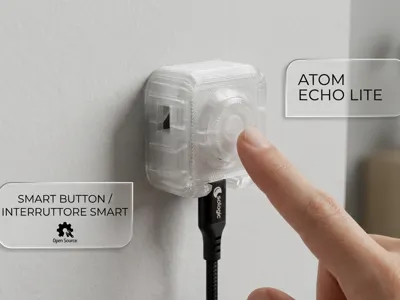
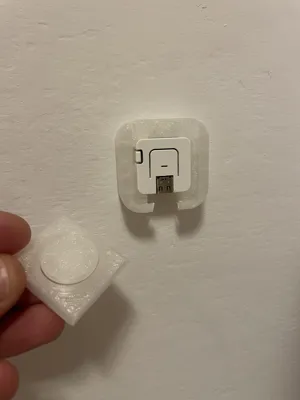
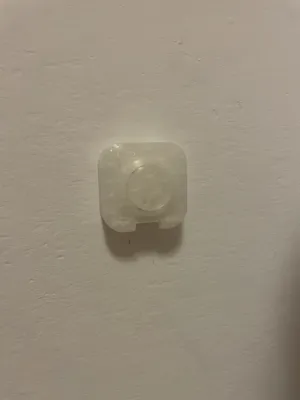
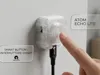
Clicky - Smart Button is a clean, ultra-compact, and minimalist mounting case, designed specifically for the M5Stack ATOM S3 Lite. It transforms your development board into a sleek and functional smart home switch, capable of seamlessly integrating into any environment.
It can be placed anywhere according to your automation needs:
- On the wall: Like a classic wall switch or control button.
- On the desk: As a convenient desktop controller always within reach.
- Under the table: Discreetly or hidden (e.g., under a desk or coffee table) for invisible control.
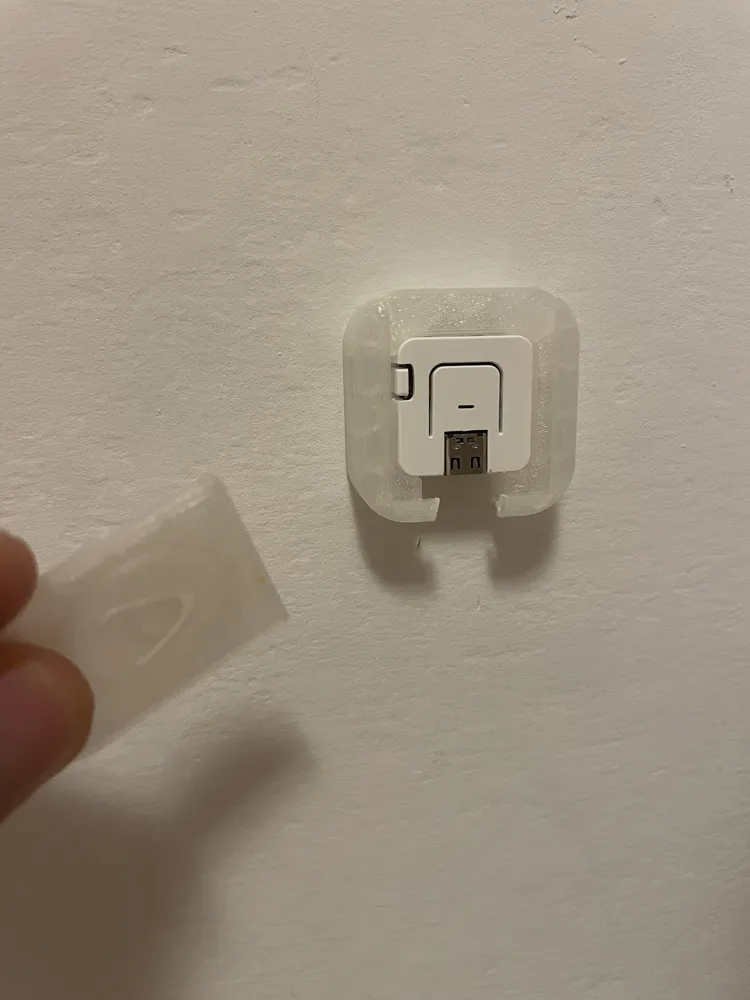
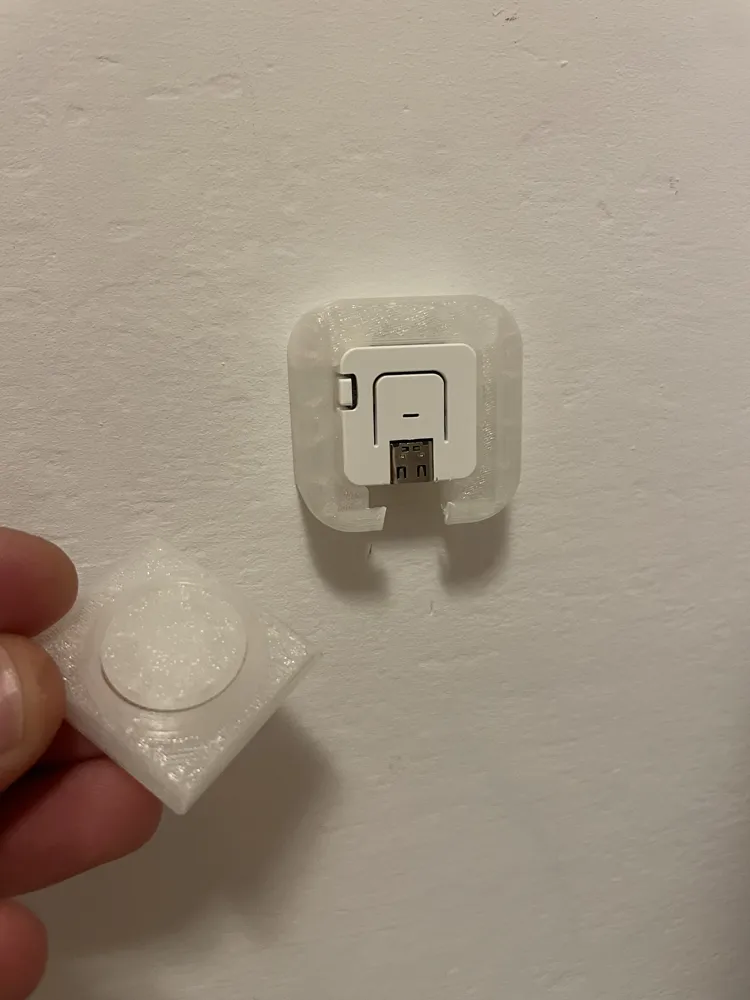
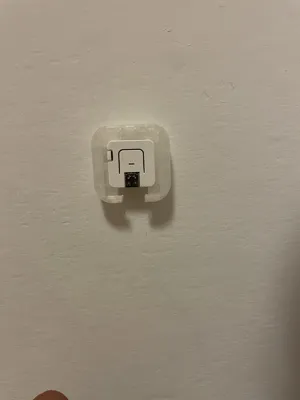
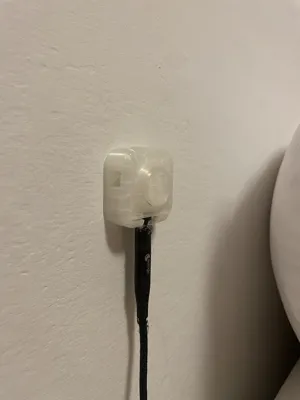
The case features a custom-made cutout at the bottom for the USB-C cable connection, ensuring perfect and tidy placement on any surface.
Boost Me (for free)
💡 Your support makes a difference! If you've printed this project, I'd really love to see the result: leave a review and upload a photo of your setup! Your feedback helps me improve and guides other makers in the community. If you like my work and want to support my future open-source projects, please consider leaving me a Boost 🚀. Thank you very much for your contribution!
Key Features
This smart button is ideal for any type of home automation. Integrated with Home Assistant via ESPHome, it exposes a single event entity capable of detecting different types of touches:
- Single Click: Fully customizable to activate or deactivate any device or scenario.
- Long Press: Useful for a second independent function.
- Double Click: For a third automation of your choice.
The internal RGB LED matrix (4x WS2812) provides immediate and colorful visual feedback based on the action performed, as well as serving as a light indicator for connection status (WiFi and Home Assistant API).
3D Printing Tips
- Material: It can be printed in both PLA and PETG.
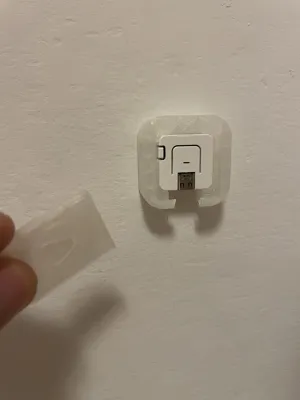
- Mounting: Designed to be easily attached to walls, furniture, or smooth surfaces using simple double-sided tape.
- Cable Management: Includes a precise cutout at the bottom for the USB-C power cable to pass through.
ESPHome Configuration Code
Below you will find the ready-to-use configuration code for ESPHome.
esphome:
name: smart-wall-button
friendly_name: Configurable Smart Button
comment: M5Stack Atom S3 Lite - Multi-click button with LED feedback
on_boot:
priority: -100
then:
- script.execute: update_status_led
esp32:
board: esp32-s3-devkitc-1
variant: esp32s3
framework:
type: esp-idf
wifi:
ssid: "YOUR_WIFI_SSID"
password: "YOUR_WIFI_PASSWORD"
fast_connect: true
power_save_mode: none
ap:
ssid: "Smart Button Emergency Hotspot"
password: "PasswordIniziale123"
api:
ota:
- platform: esphome
logger:
baud_rate: 0
level: INFO
captive_portal:
# ---------------------------------------------------------------------------
# RGB LED Configuration (4x WS2812 Matrix under the button, GPIO35)
# ---------------------------------------------------------------------------
light:
- platform: esp32_rmt_led_strip
id: status_led
name: "Status LED"
internal: true
pin: GPIO35
num_leds: 4
rgb_order: GRB
chipset: ws2812
restore_mode: RESTORE_DEFAULT_OFF
effects:
- pulse:
name: slow_pulse
transition_length: 500ms
update_interval: 500ms
min_brightness: 10%
max_brightness: 40%
# ---------------------------------------------------------------------------
# Home Assistant Event Integration (Single entity with multiple triggers)
# ---------------------------------------------------------------------------
event:
- platform: template
name: "Smart Button Event"
id: button_event
device_class: button
event_types:
- single_click
- double_click
- long_press
# ---------------------------------------------------------------------------
# Physical Button Configuration (GPIO41)
# ---------------------------------------------------------------------------
binary_sensor:
- platform: gpio
id: atom_button
internal: true
pin:
number: GPIO41
inverted: true
mode: INPUT_PULLUP
filters:
- delayed_off: 20ms
on_multi_click:
# Long press configuration
- timing:
- ON for at least 800ms
then:
- event.trigger:
id: button_event
event_type: long_press
- script.execute: led_feedback_long_press
# Double click configuration
- timing:
- ON for at most 400ms
- OFF for at most 300ms
- ON for at most 400ms
- OFF for at least 300ms
then:
- event.trigger:
id: button_event
event_type: double_click
- script.execute: led_feedback_double
# Single click configuration
- timing:
- ON for at most 400ms
- OFF for at least 300ms
then:
- event.trigger:
id: button_event
event_type: single_click
- script.execute: led_feedback_single
on_press:
- script.execute: led_long_press_hold
on_release:
- script.execute: led_long_press_release
# ---------------------------------------------------------------------------
# Scripts for LED Visual Feedback
# ---------------------------------------------------------------------------
script:
- id: led_feedback_single
mode: restart
then:
- light.turn_on:
id: status_led
brightness: 60%
red: 0%
green: 100%
blue: 0%
effect: none
- delay: 200ms
- script.execute: update_status_led
- id: led_feedback_double
mode: restart
then:
- light.turn_on:
id: status_led
brightness: 80%
red: 0%
green: 0%
blue: 100%
effect: none
- delay: 120ms
- light.turn_off: status_led
- delay: 80ms
- light.turn_on:
id: status_led
brightness: 80%
red: 0%
green: 0%
blue: 100%
effect: none
- delay: 120ms
- script.execute: update_status_led
- id: led_feedback_long_press
mode: restart
then:
- light.turn_on:
id: status_led
brightness: 70%
red: 100%
green: 50%
blue: 0%
effect: none
- id: led_long_press_hold
mode: restart
then:
- delay: 800ms
- if:
condition:
binary_sensor.is_on: atom_button
then:
- light.turn_on:
id: status_led
brightness: 70%
red: 100%
green: 50%
blue: 0%
effect: none
- id: led_long_press_release
mode: restart
then:
- script.execute: update_status_led
- id: update_status_led
mode: restart
then:
- if:
condition:
and:
- wifi.connected
- api.connected
then:
# Fixed low intensity green when correctly connected
- light.turn_on:
id: status_led
brightness: 15%
red: 0%
green: 100%
blue: 0%
effect: none
else:
- if:
condition:
wifi.connected
then:
# Pulsing green if connected to WiFi but Home Assistant API is missing
- light.turn_on:
id: status_led
brightness: 20%
red: 0%
green: 100%
blue: 0%
effect: slow_pulse
else:
# Fixed red if completely disconnected from WiFi
- light.turn_on:
id: status_led
brightness: 40%
red: 100%
green: 0%
blue: 0%
effect: none
# ---------------------------------------------------------------------------
# Connection Status Control (Checks every 10 seconds)
# ---------------------------------------------------------------------------
interval:
- interval: 10s
then:
- script.execute: update_status_led
License

You may create derivative works based on this object, provided that all such derivative works are published exclusively on the MakerWorld platform and include proper attribution to the original creator. You may not share, upload, host, distribute, or publish this object—or any derivative work of this object—on any other digital platform, marketplace, or distribution channel. Commercial use of this object and any derivative works is strictly prohibited. This includes, but is not limited to, selling, renting, sublicensing, or using the object in any context in which you receive monetary compensation or other financial benefits.


Comment & Rating (0)