
Clicky Button


Print Profile(3)
![[normal]0.12mm layer, 2 walls, 15% infill](https://makerworld.bblmw.com/makerworld/model/USa04c03431e86ac/design/2023-11-16_a467c7be1ed78.jpeg?x-oss-process=image%2Fresize%2Cw_100%2Fformat%2Cwebp)
![[Option]0.12mm layer, 2 walls, 15% infill](https://makerworld.bblmw.com/makerworld/model/USa04c03431e86ac/design/2023-11-16_3f60ab82c99b.png?x-oss-process=image%2Fresize%2Cw_100%2Fformat%2Cwebp)


Description
NOTE! This model requires additional materials!
1. Spring
2. Lubricant grease (suggestion)
11/19
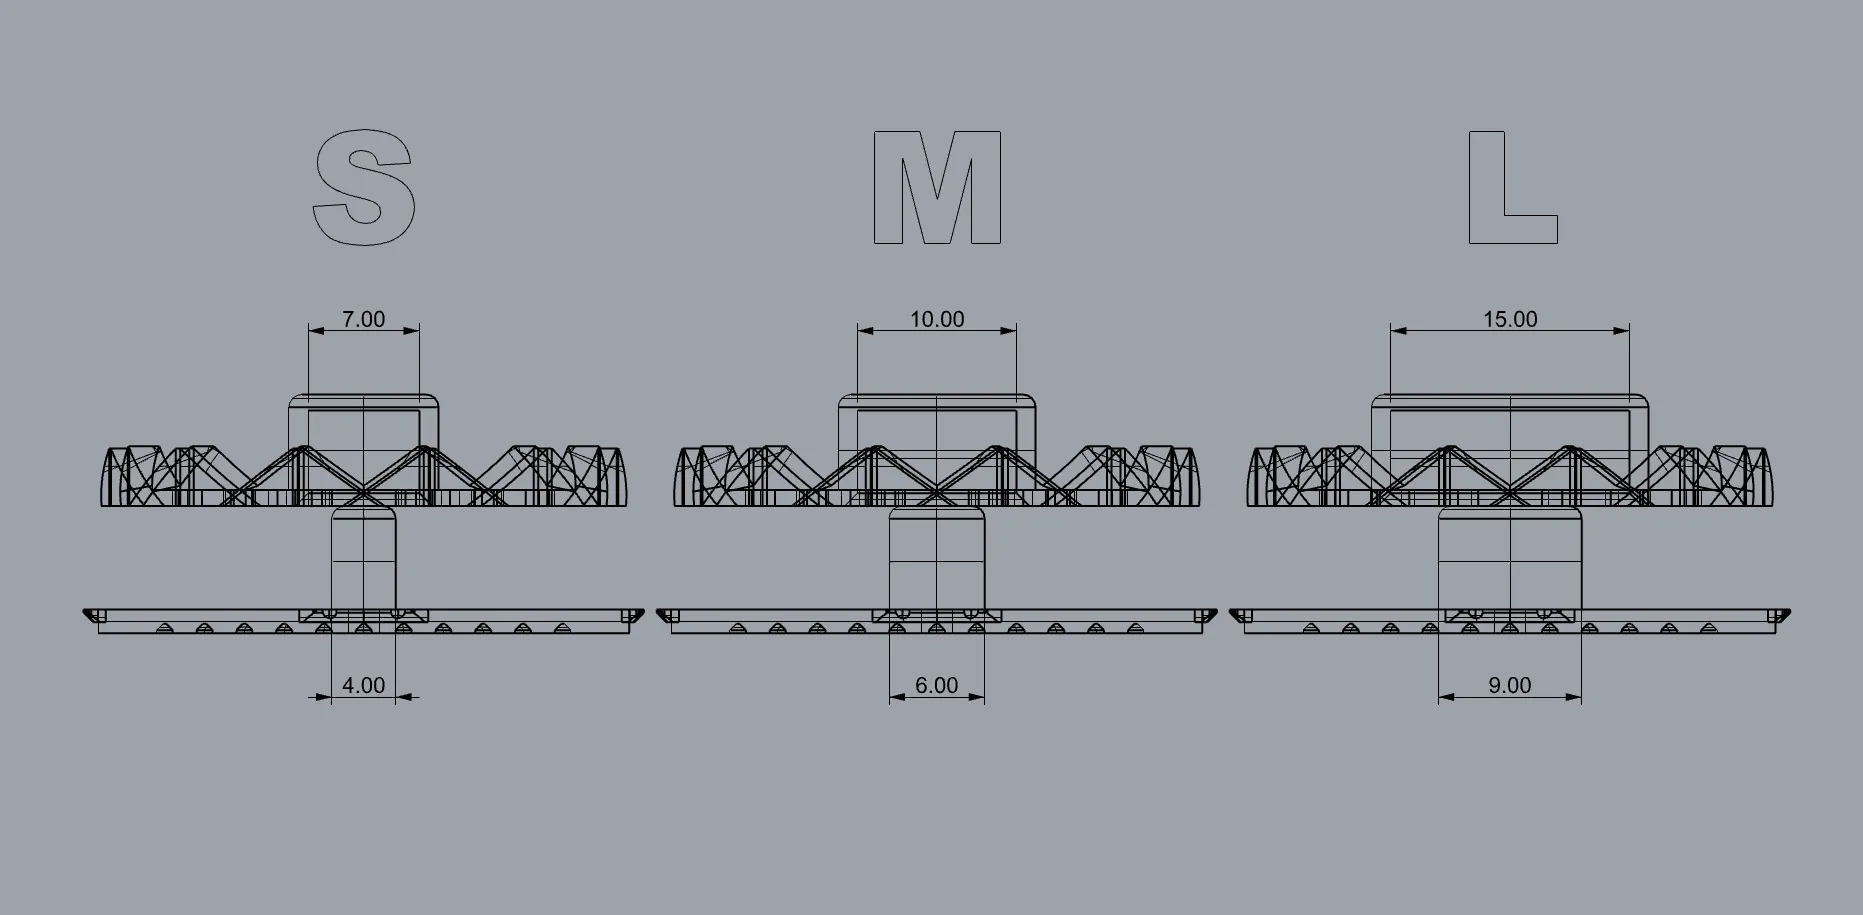
Versions incorporating springs of varying sizes have been introduced.
The original S size is utilized by default. You have the option of selecting M and L sizes within the “option file” to suit your specific requirements.
During my school days, I harbored an enduring fondness for manipulating the buttons on ballpoint pens. The tactile sensation was utterly irresistible, rendering me utterly captivated!!
Until someone admonished me for being excessively noisy, that is, hahaha.
Inspired by the intricate mechanics of the ballpoint pen, I embarked on a quest to transform its core components into a diminutive button.
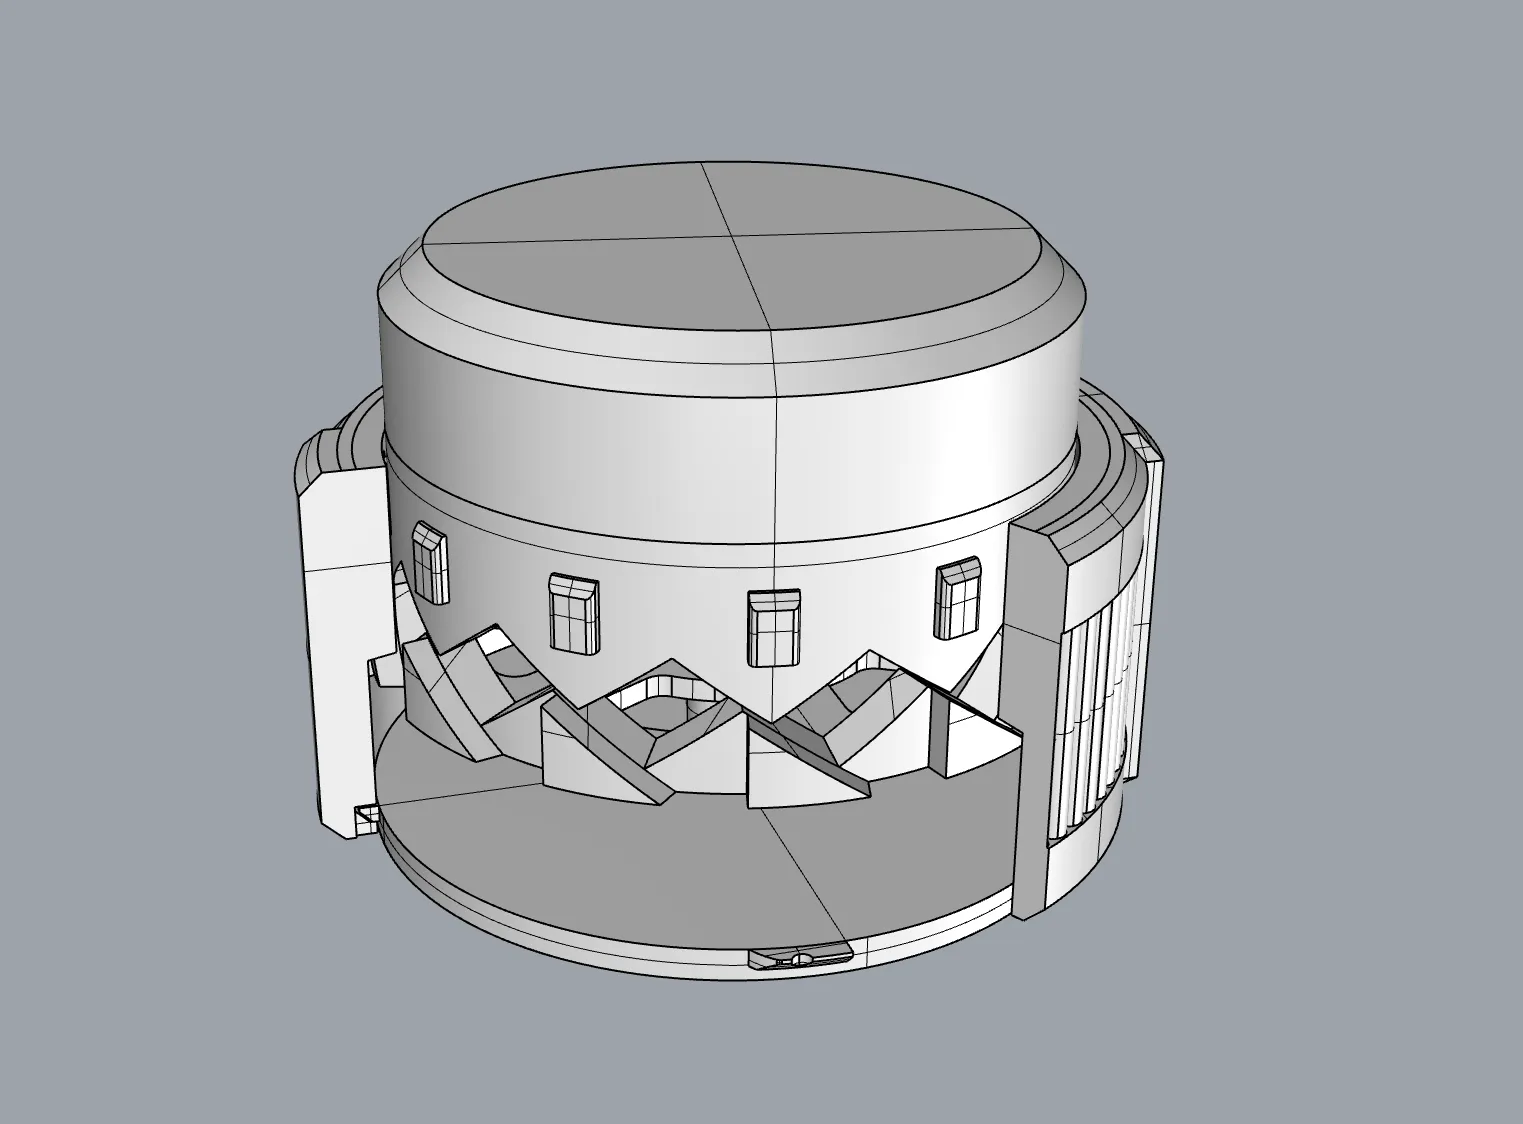
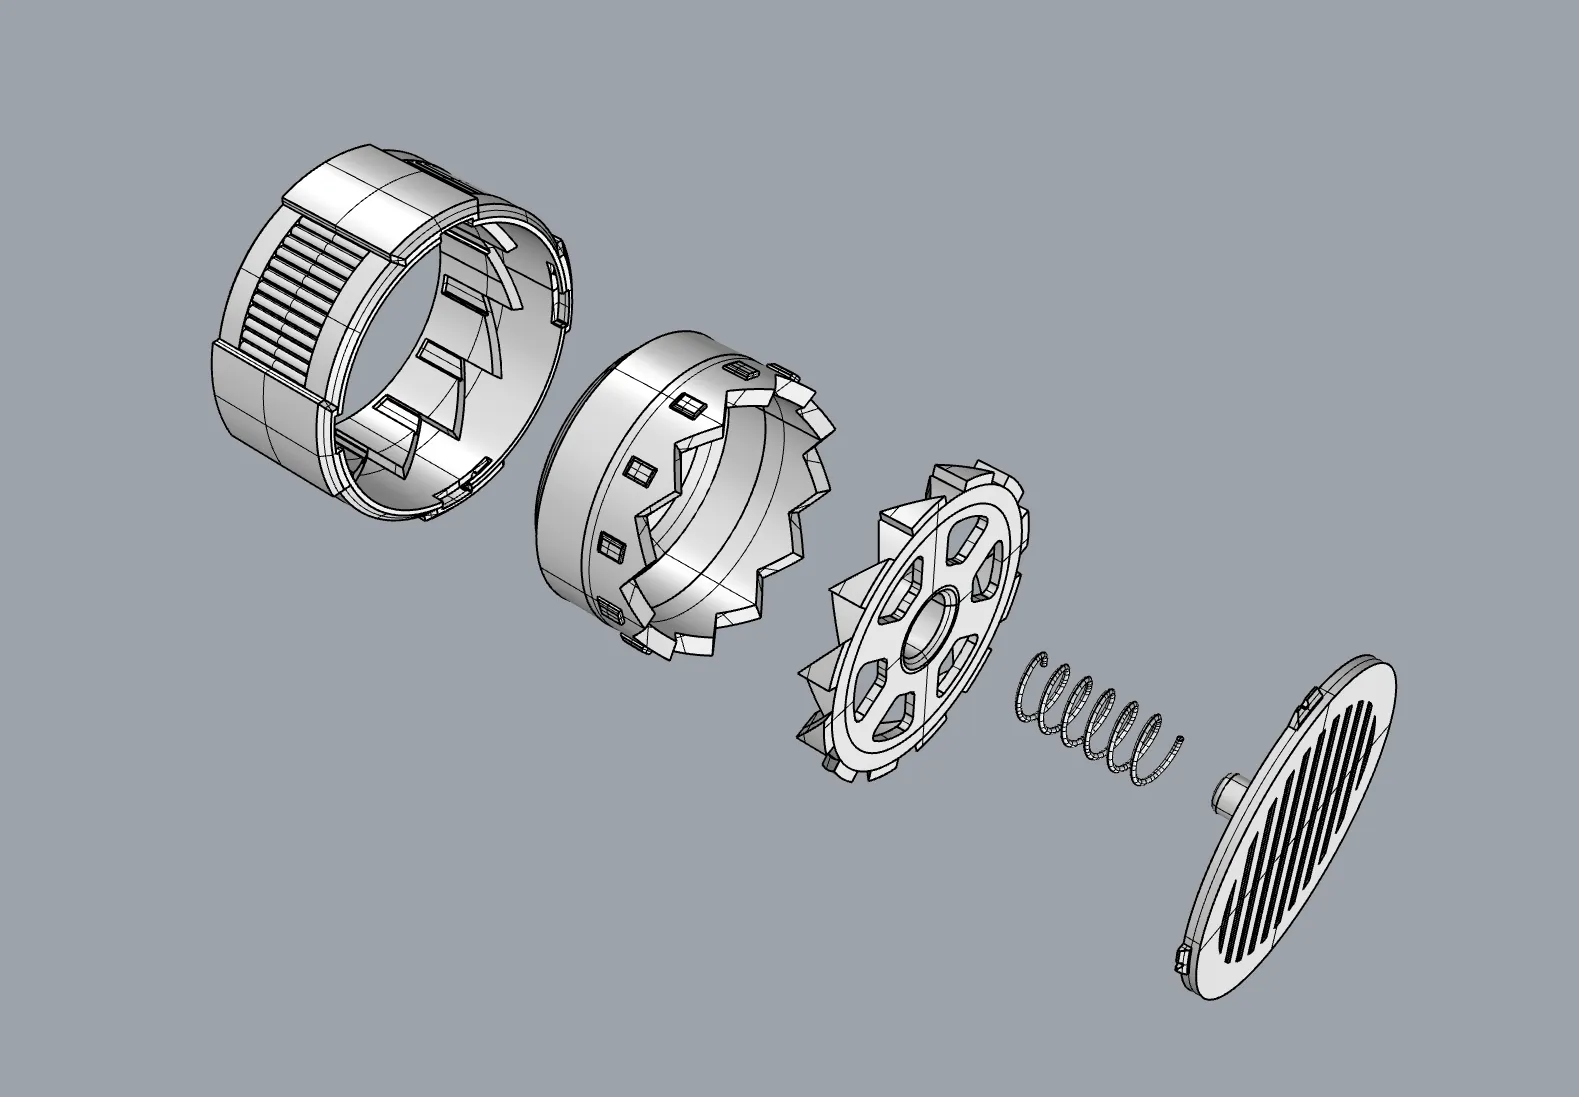
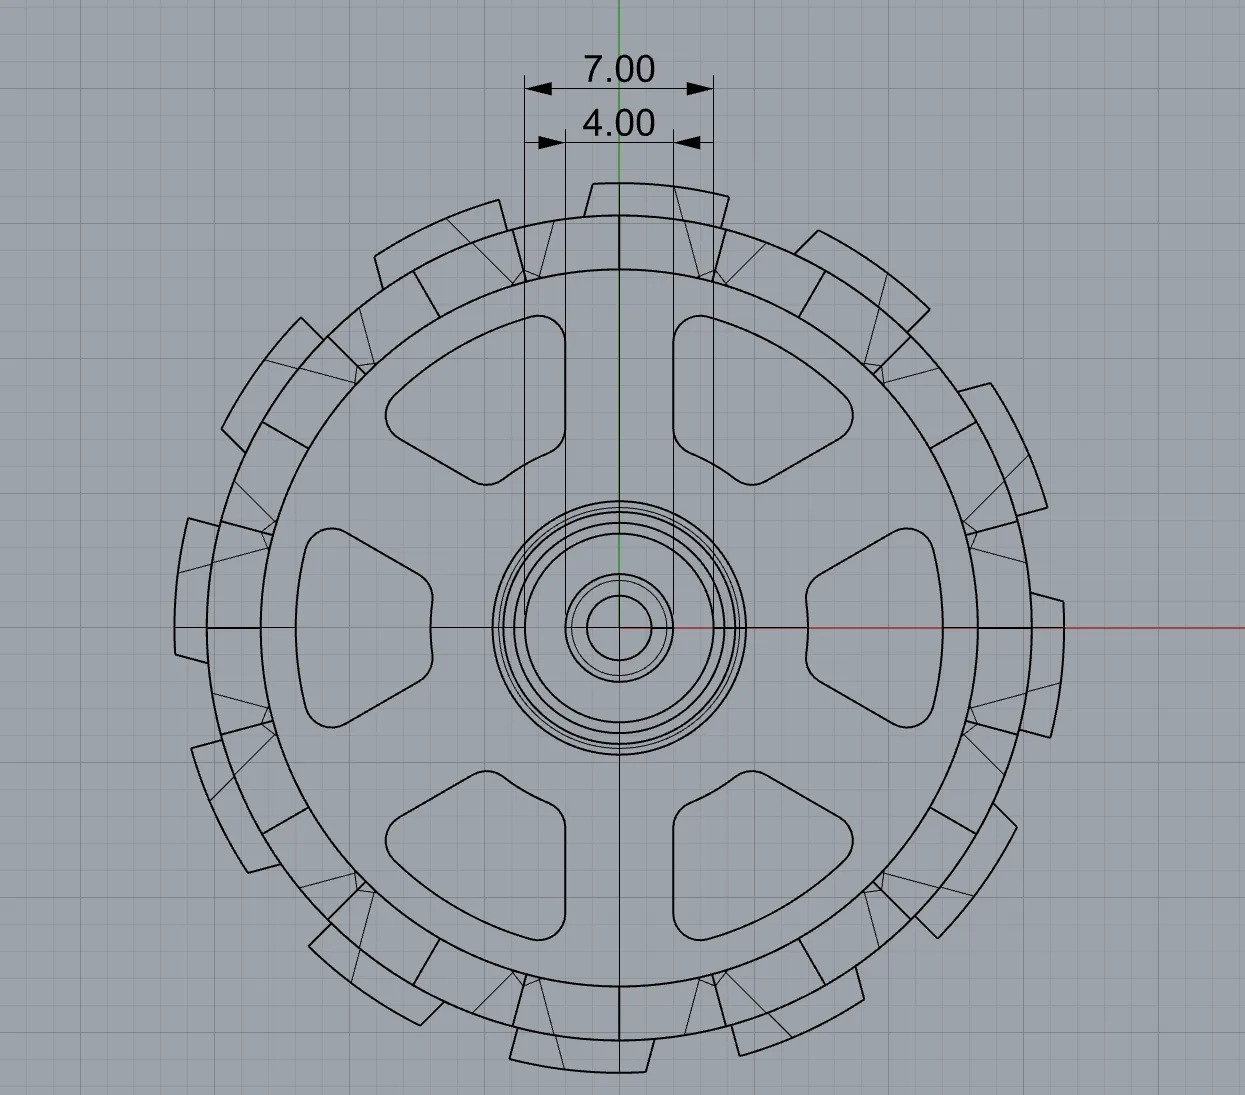
The assembly procedure is straightforward, requiring a left-to-right sequence: 1. Body 2. Button 3. Internal structure 4. Spring 5. Base plate.
It is recommended to apply a generous coating of 3D printer lubricant grease to the internal structure component.
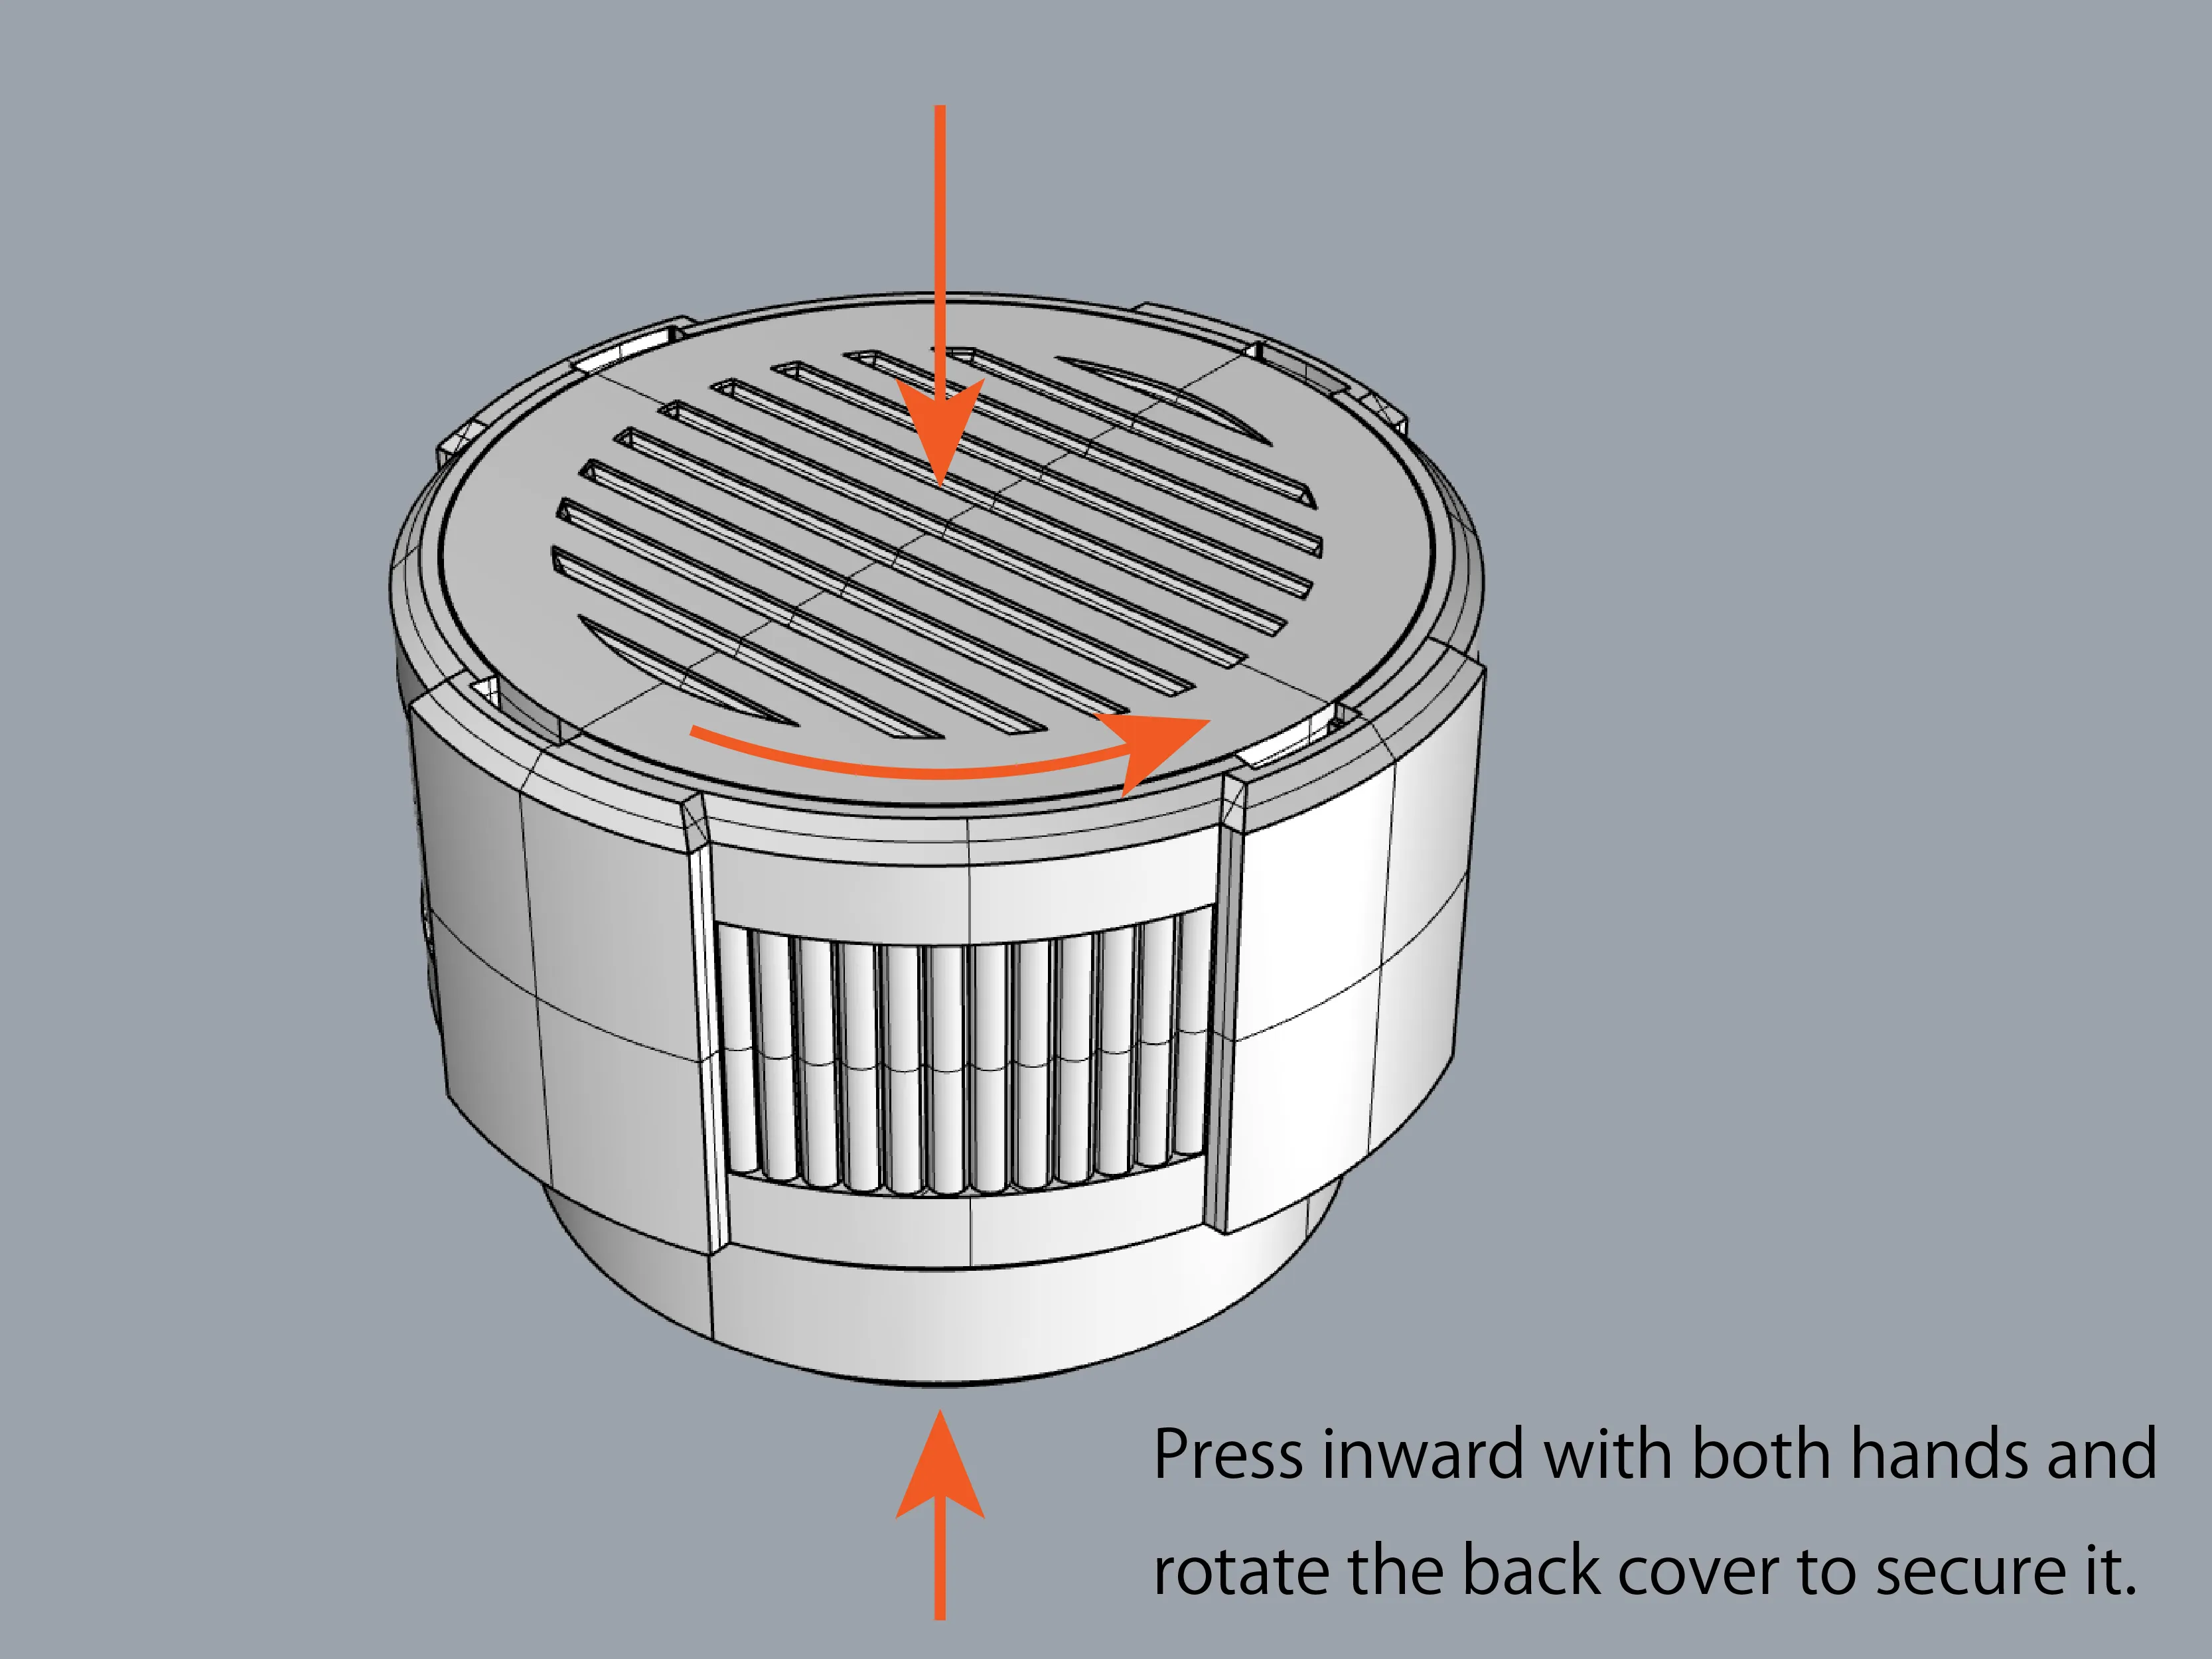
To secure the assembly, firmly press down on the bottom plate and rotate it counterclockwise.
For this project, I have employed uxcell springs boasting a diameter of 6mm and a height of 15mm. (S size)
The design incorporates ample spare space, ensuring compatibility as long as the height adheres to the specified 15mm requirement.
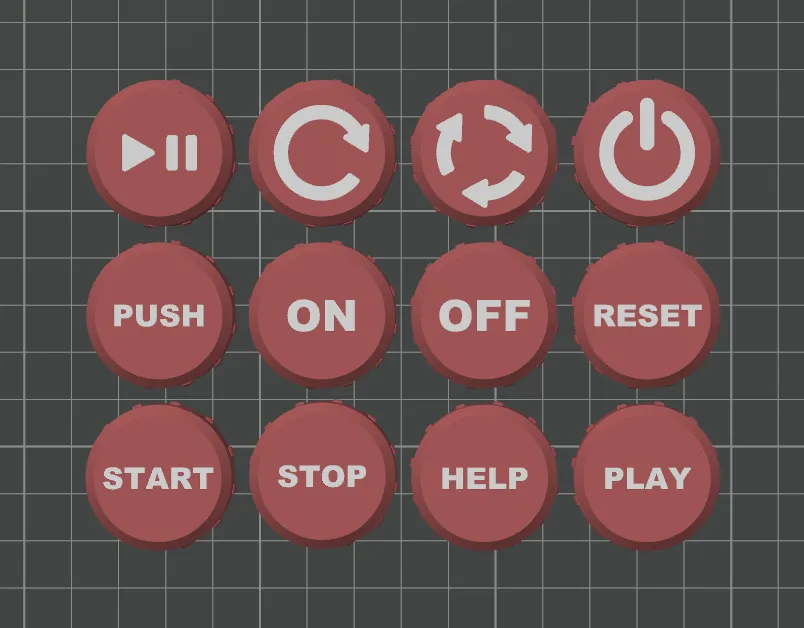
Furthermore, I have diligently curated a diverse selection of text and graphic variations. Within the “option file,” you are free to select your preferred choice.
I invite you to join me and partake in the delightful act of pressing this button!
----------中文解說----------
11/19
版本新增了不同尺寸的弹簧。
默认使用S原始尺寸,根据需求您也可以再option檔案中选择M与L尺寸。
我上学时一直很喜欢玩原子笔的按键。那种使用感觉让人停不下来!!
直到有人告诉你你太吵了哈哈哈。
我研究了一下原子笔的结构并把它做成小巧的按钮。
组装部分只需要由左至右,依序地1. 本体 2. 按鈕 3. 内部结构 4. 弹簧 5. 底板 的顺序进行组装即可。
建议在第三个内部结构上涂抹一些3D打印机润滑油脂。
底板用力按压后逆时针旋转即可上锁。
我使用的是uxcell的直径6mm,高15mm的弹簧。(S size)
设计上有多餘的空間,只要高度满足15mm即可。
另外我還準備了許多不同版本的文字与图案,你可以在option檔案中選取喜歡的。
赶快跟著我一起來按這個按鈕吧!
License

You shall not share, sub-license, sell, rent, host, transfer, or distribute in any way the digital or 3D printed versions of this object, nor any other derivative work of this object in its digital or physical format (including - but not limited to - remixes of this object, and hosting on other digital platforms). The objects may not be used without permission in any way whatsoever in which you charge money, or collect fees.


Comment & Rating (56)