Rack Stack Strips


Print Profile(1)

Description
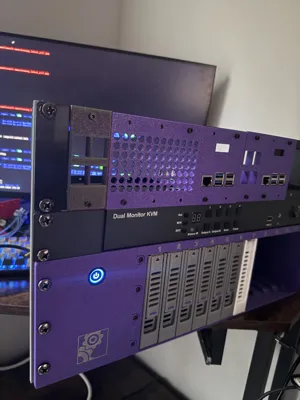
I had a few rack mount devices that I needed to keep up and running on a shelf for a little while as I finish building out my new office space. Rather than just stacking them haphazardly on top of each other, I wanted to keep them together as one unit.
Enter “Rack Stack Strips”. They're quick, easy prints that let you bolt together two or more rack mount devices using their rack mount ears. They don't connect to anything else. They're not super strong, because all they're really meant to do is keep the stacked devices from sliding around. They work great at that task, though!
These are designed for use with cage nuts (square holes) or direct bolts/nuts (round holes sized for M6 bolts).
I printed mine 3mm thick, but should have gone with 2mm so the cage nuts would fit correctly. As a result I had to install it backwards (with the cage nuts facing the rack ears) because the tabs that hold the cage nuts in place were too close to get the bolts started from the correct side. If you decide to go with the square hole version for cage nuts, you might want to consider setting the thickness to 2mm.
The 3MF for this model includes all sizes from 3U to 7U. Anything longer than 7U won't fit on the bed unless you have an H2D. Use the parametric version for longer ones if you are blessed with a larger print bed… or you can also print half-sizes. By specifying x.5 as your rack_units parameter, the model will generate with one extra hole going into the next unit. So, for example, if you had 9U worth of components to connect together you could print a pair of 4.5U strips. This would require that the component in the middle be 1U in size, so you might have to adjust depending on the placement of your components (e.g. if your stack is 2U + 1U + 4U + 2U you'd need a 2.5 and a 6.5 so that the two strips meet at the 1U component).
I tagged this with “Generative Design” because I used Google Gemini to create the OpenSCAD code. I've got some experience in OpenSCAD and was able to make some small tweaks by hand, but it had been long enough since I had used it that I wasn't 100% confident I'd remember the syntax. So, instead, I got on Gemini and described what I wanted in detail and it generated the code, including making it parametric! If you're not confident in 3D model design, installing OpenSCAD and working with an AI tool like Gemini might be a great solution for you.
Comment & Rating (0)