Tower Puzzle


Print Profile(1)

Bill of Materials


Description
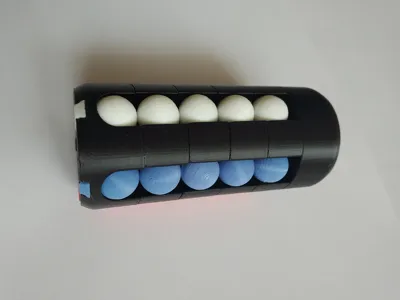
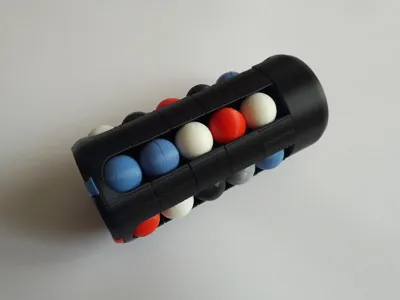
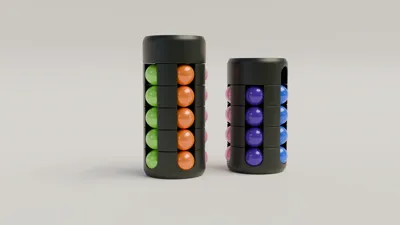
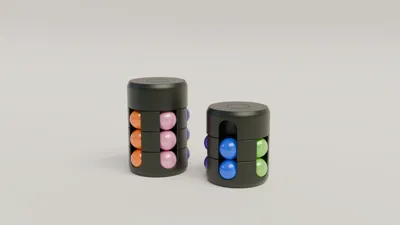
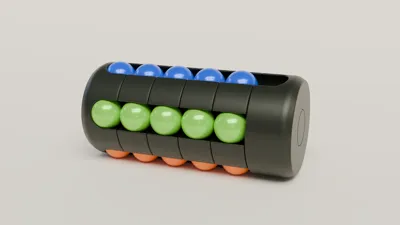
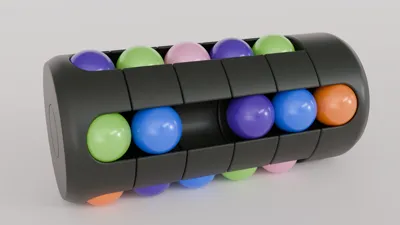
Tower puzzle modeled after the old Varikon Tower puzzles and optimized for 3D printing. All parts of the puzzle are 3D printable with minimum supports, and they snap together without need for glue. I've included plates for 2,3,4 and 5 layer versions of the puzzle, you just have to pick version you want to print and select appropriate plate. On the build plate for the balls there is enough parts for 5 balls, if you're not building 5 layer version of the puzzle, you can remove excess parts to save some filament. You'll need to print this plate in 5 different colors.
10.04.25. Update.
I finally have a 3d printer so I was able to properly adjust tolerances on all the parts. No more problems with parts shrinking on the axle spacer and the end caps. Also I've updated the bottom disc to include 5 small tabs to indicate correct color positions for each column, old version is included on the separate plate if you still want to use that version.
If you don't want to 3D print balls you can buy 14mm plastic balls from:
Maker's Supply, Amazon or Aliexpress
Boost Me (for free)
If you like the model and/or find it useful.
Assembly instructions:
Before assembling the puzzle remove supports from the parts.
Start by assembling all of the balls, snap two halves of the ball onto the H clip, just pay attention to the orientation of the parts. You'll probably have to use some force it's best to use flat nose pliers to push 2 halves together.

Insert one end of the axle into the end cap, similar to the balls this should just snap into place, just pay attention to the orientation of the parts.

Place the axle spacer over the axle, make sure the slots on the spacer match the slots on the axle.

Insert the spring into the lowest slot in the axle.

Insert the bottom disc on the axle and slide it all the way down.

Insert the spring into the second slot on the axle.

Insert the center disc on the axle, pay attention to the orientation, the surface that was on the build plate should be pointed down.

Repeat these last 2 steps for the other center discs.


Insert the balls into slots on the discs.

Insert the last spring into the last slot on the axle.

Insert the top disc on the axle.

And finally insert the end cap to the end of the axle. Just pay attention to the orientation of the end cap.

License
You shall not share, sub-license, sell, rent, host, transfer, or distribute in any way the digital or 3D printed versions of this object, nor any other derivative work of this object in its digital or physical format (including - but not limited to - remixes of this object, and hosting on other digital platforms). The objects may not be used without permission in any way whatsoever in which you charge money, or collect fees.
Comment & Rating (81)