
Deck Post Cap Lights
Print Profile(1)
Bill of Materials
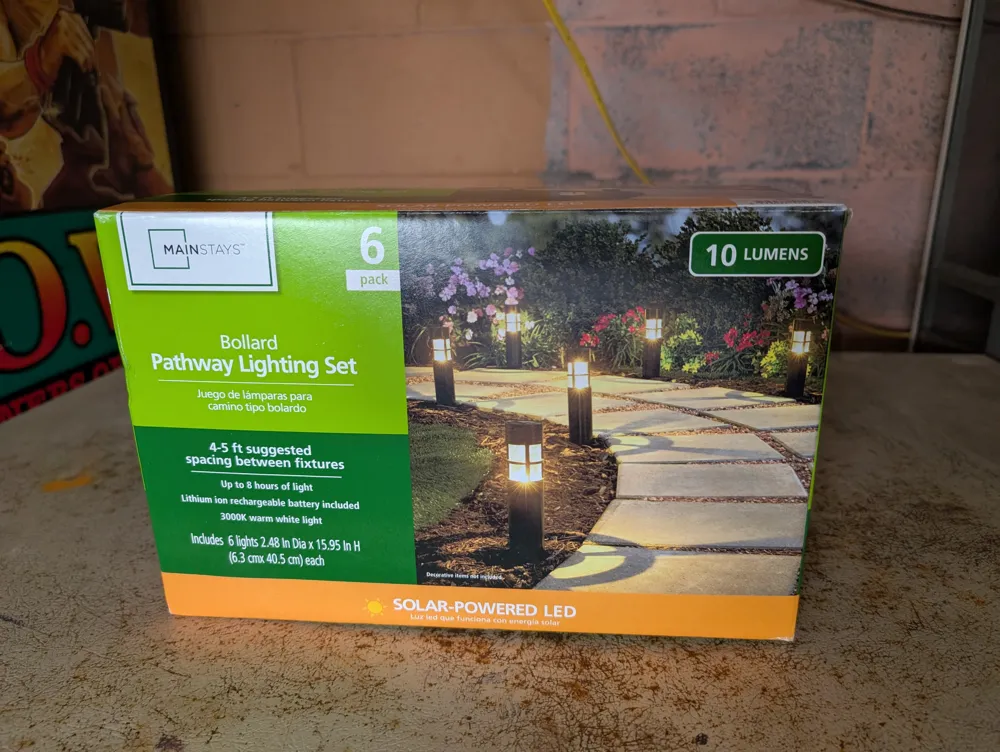
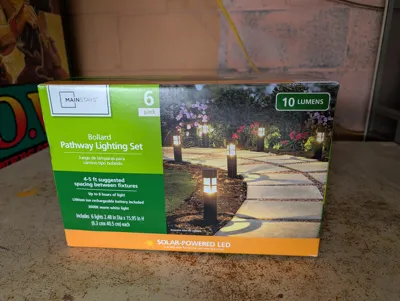
- Mainstays Bollard Lights (6 pack) x 1: https://www.walmart.com/ip/MS-10L-BLACK-BOLLARD/16081859619?sid=9b7ef5fe-df17-401e-95e7-300a79c9d55d
Description
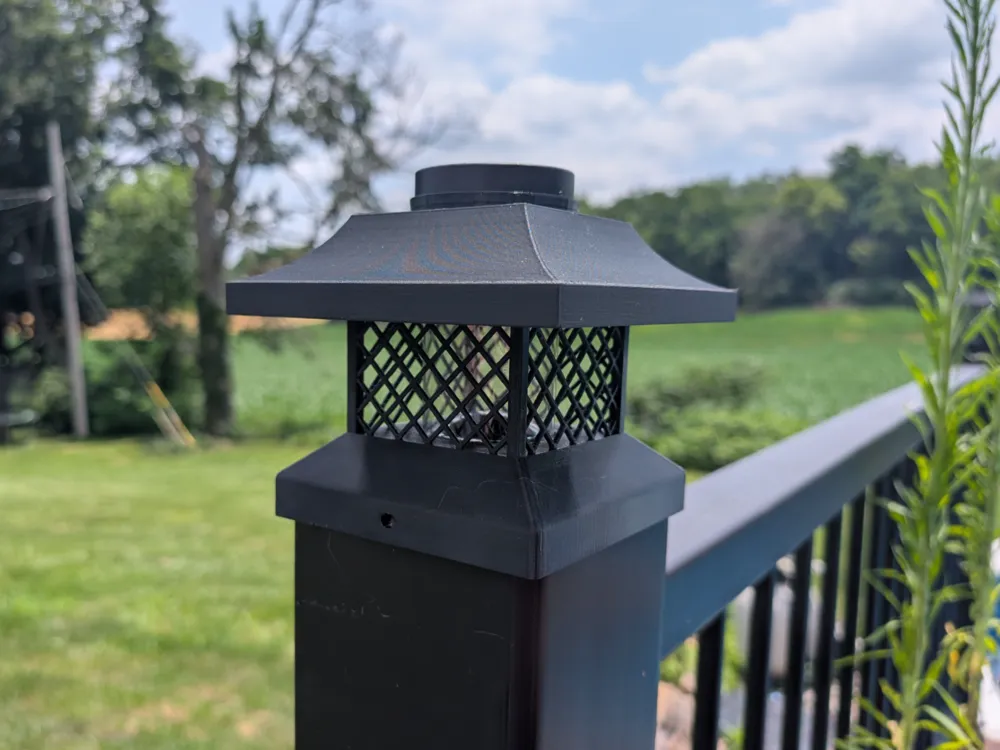
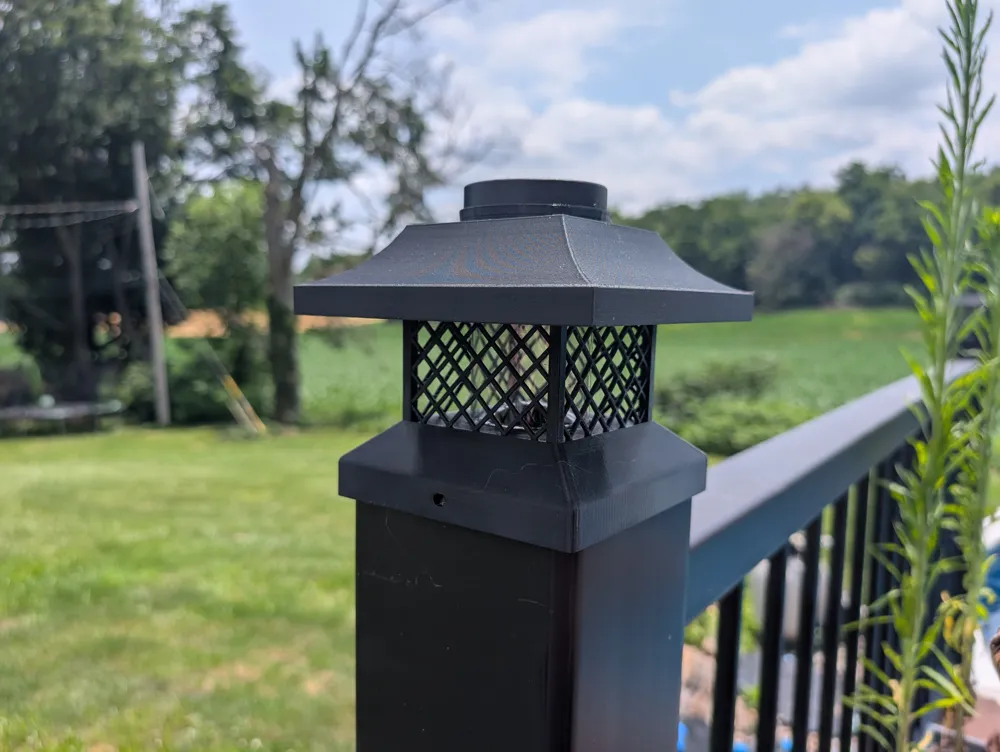
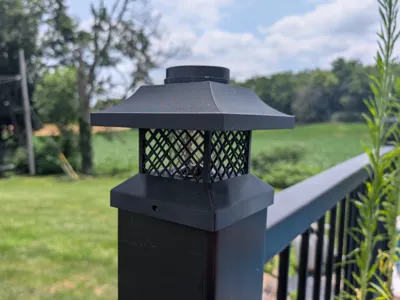
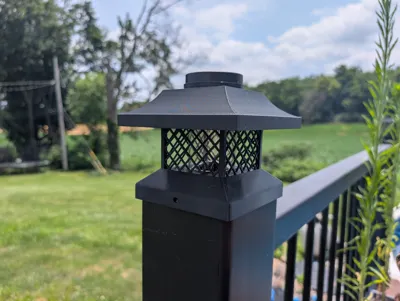
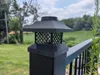
POST CAP LIGHTS ARE HELLA EXPENSIVE - So I designed my own that you can print for a fraction of the cost. I don't know why these bad boys are so expensive but they are and it sucks. These post cap lights I designed to fit on a “4x4” Trex post sleeve (that I got from Lowe's) so you will most likely have to resize to your own needs, but you should be able to do that quickly and easily within your slicer.
You will need to purchase a bollard solar light kit (I used the el cheapo mainstays one from Wal-Mart (listed in BOM) and designed this around them). That will provide your light, solar capability, and the light reflector. These have held up and are on year 2 now on my small outdoor pool deck, even with a bunch of hooligan kids running around and into them sometimes. They have a screw hole on opposite sides of the base to secure them to your post, however I recommend also sizing them to barely fit your post to increase security and durability.
I have printed in both PETG and PETG-CF with good results. PLA will deform if you're in a sunny area.
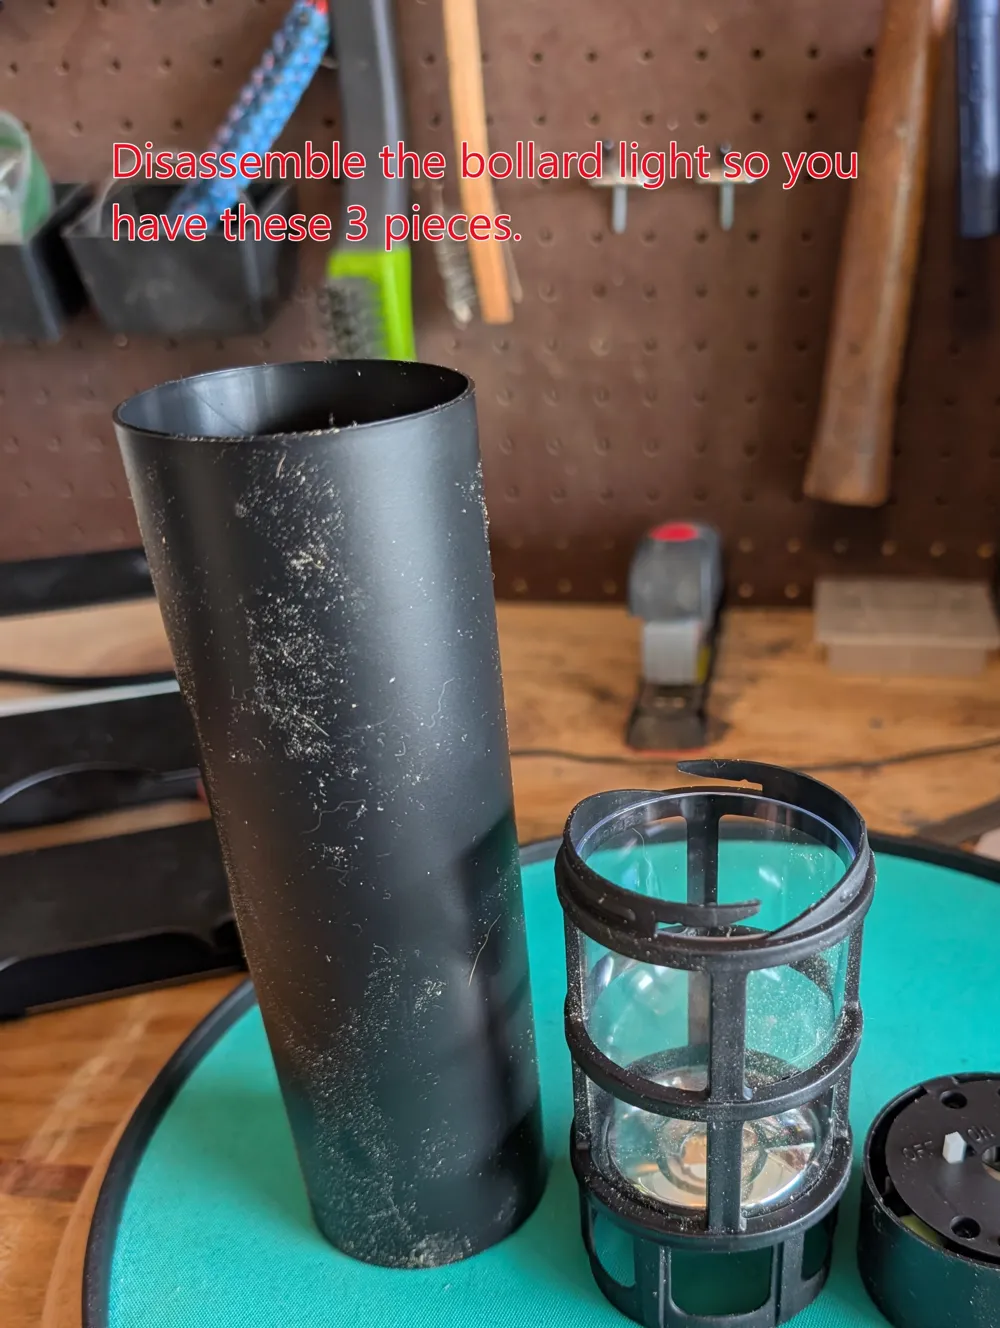
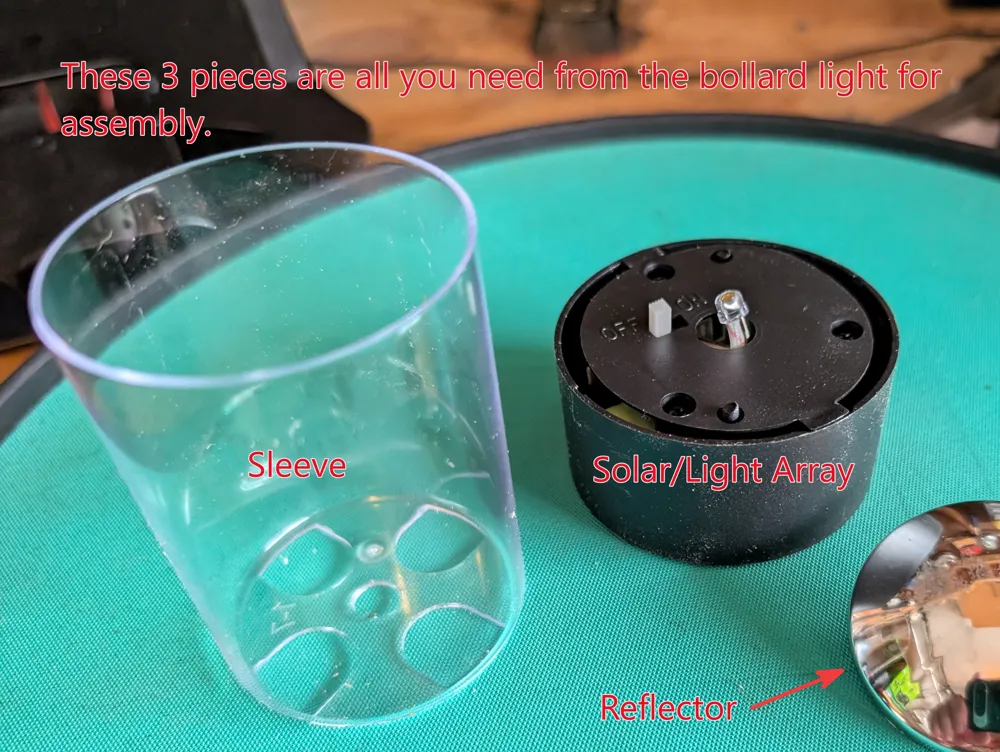
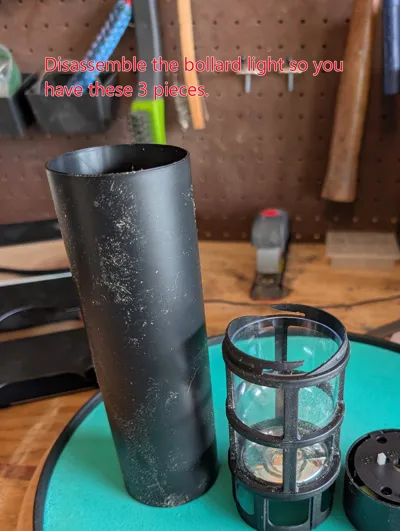
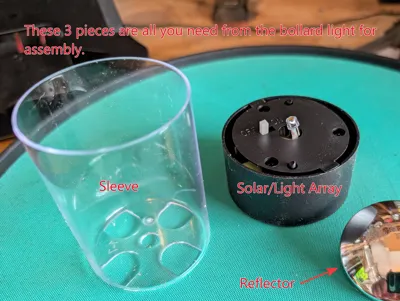
To assemble - first disassemble your bollard light so you're left with the three pieces shown in the picture:
- The light and solar power piece
- The silver reflector
- The plastic sheath
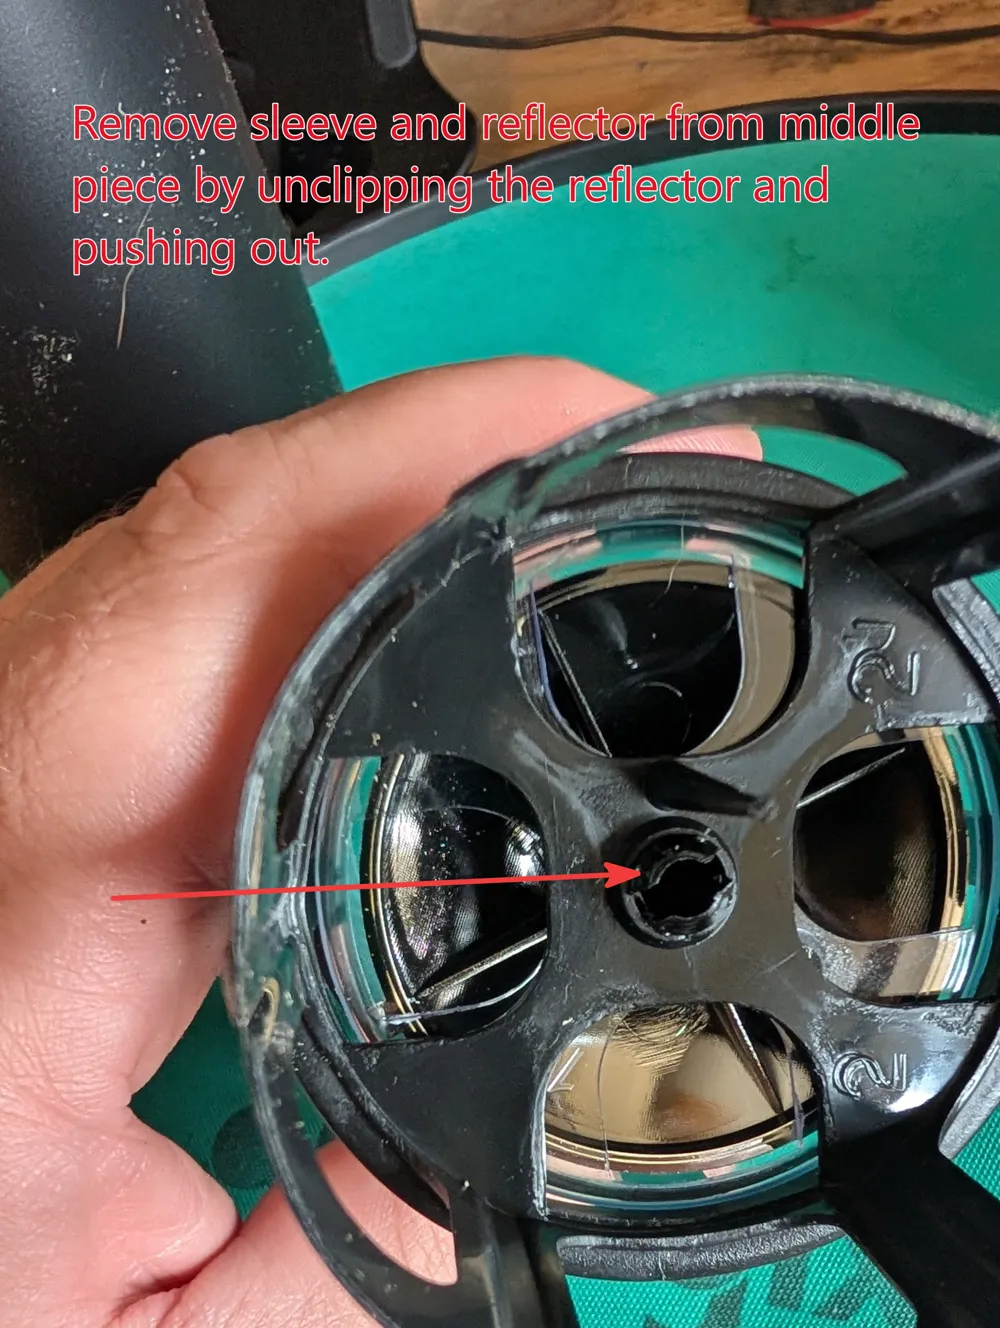
Once you have those pieces, and the post cap pieces sized and printed, I recommend attaching the base of the post cap to the post first, then assembling the rest of the pieces together on that base.
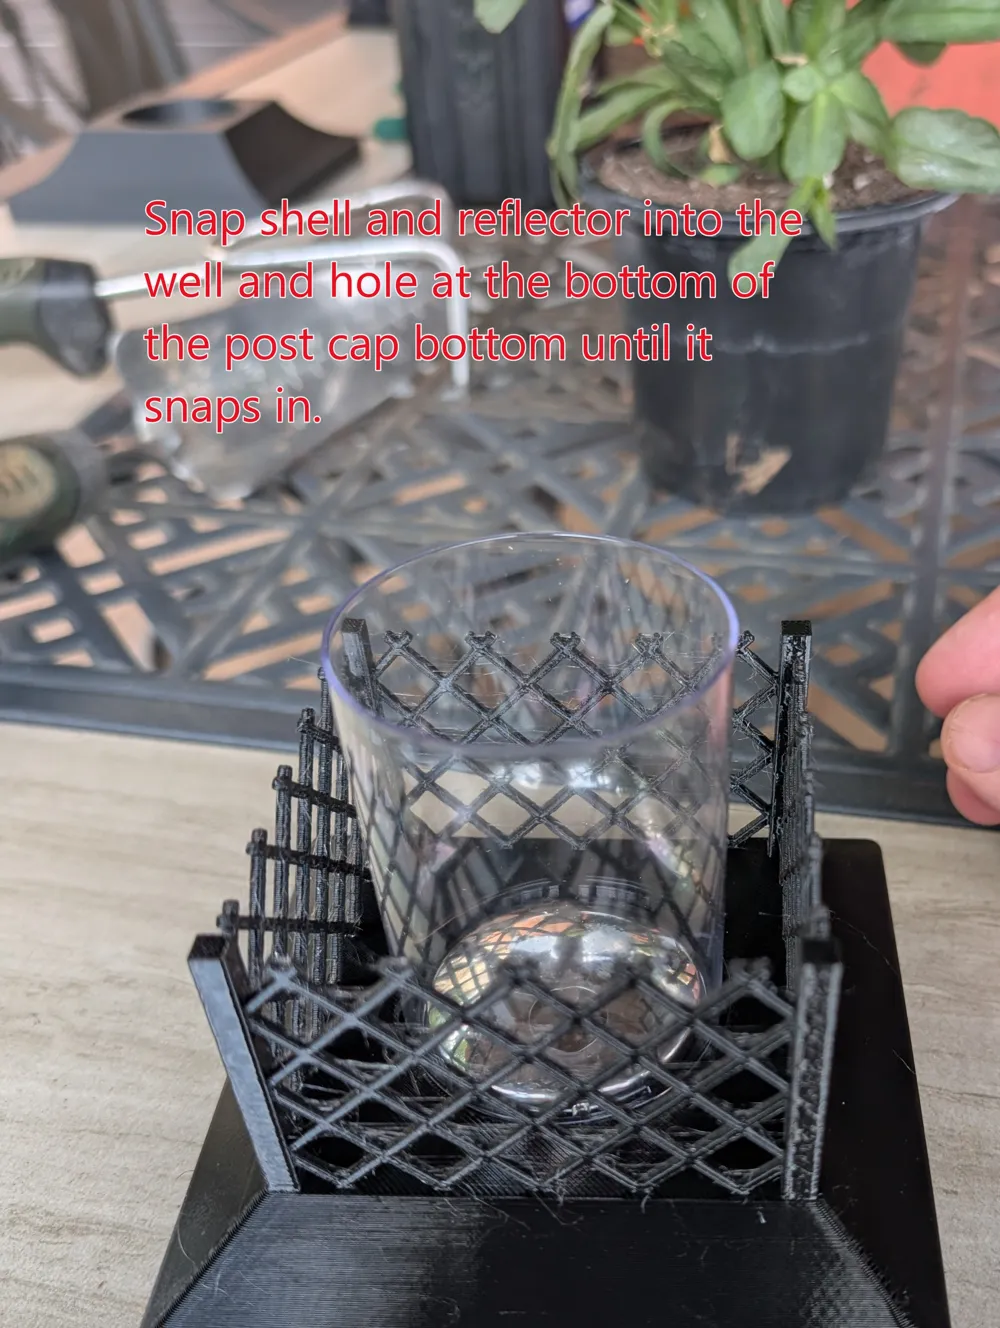
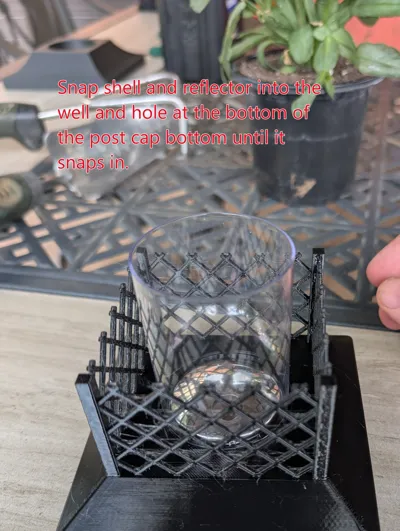
- Set the plastic sheath in the bottom of the post cap in the designed recess.
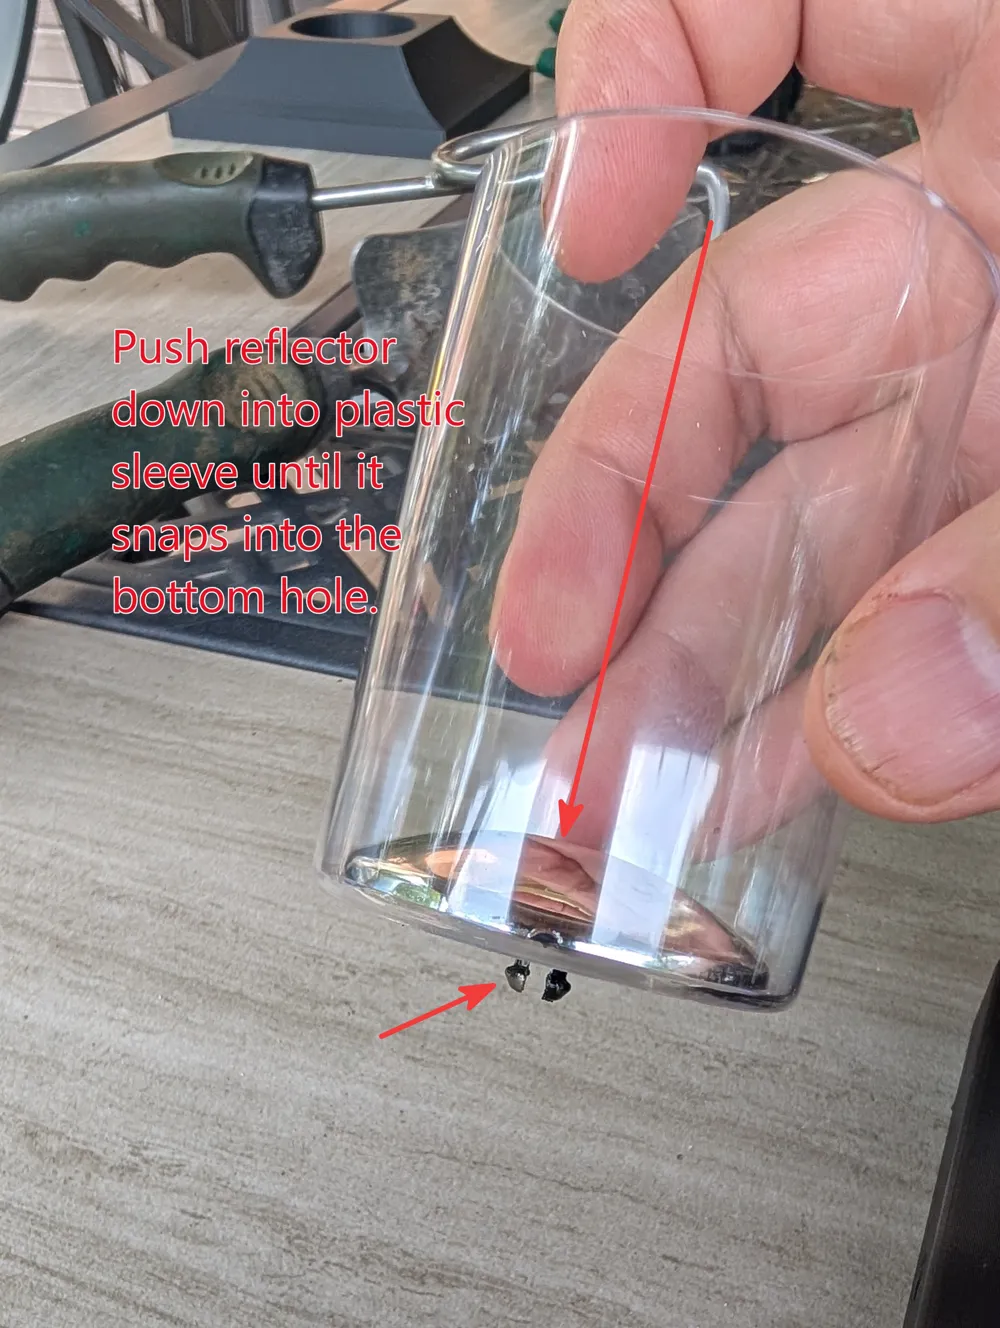
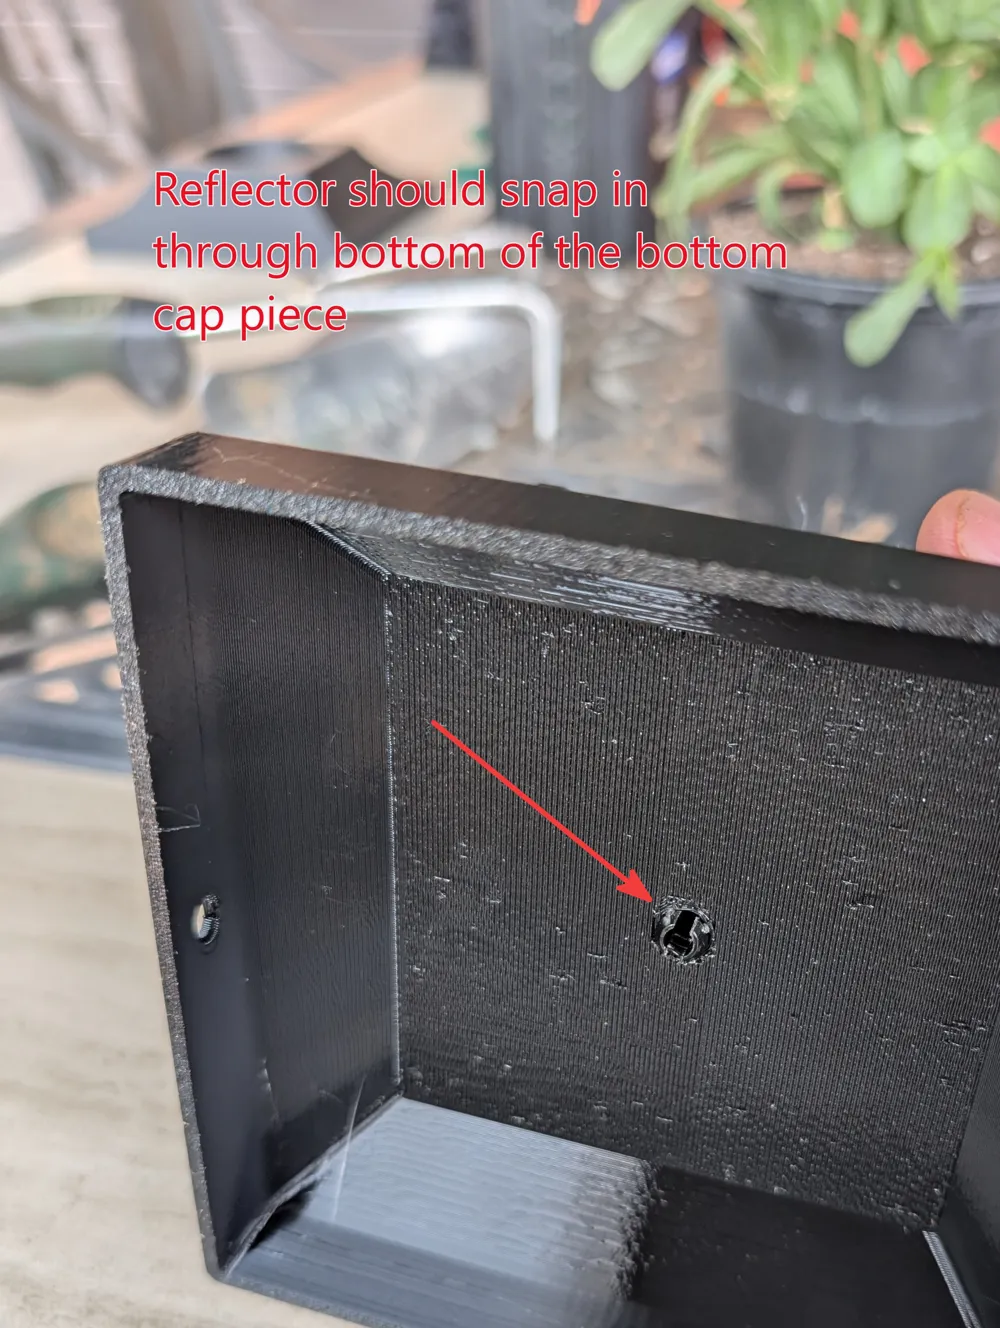
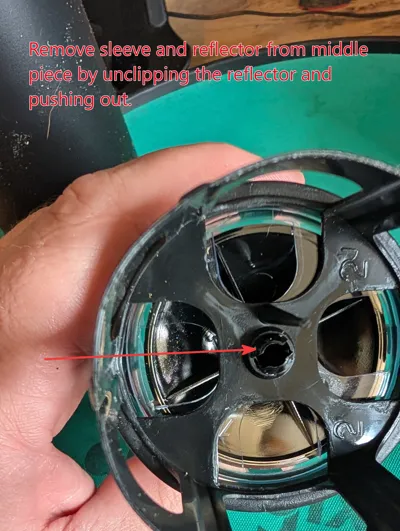
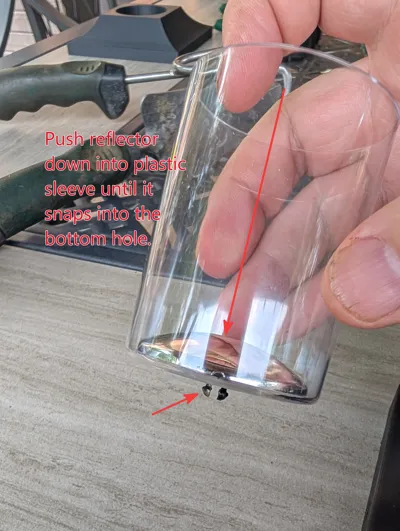
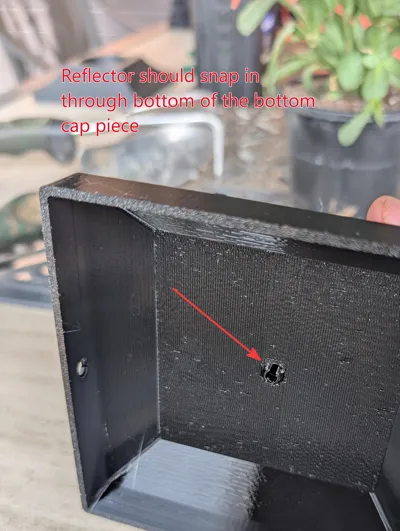
- Push the reflector into the sheath and through the hole in the bottom of the post cap to secure both the sheath and post cap to the post cap base.
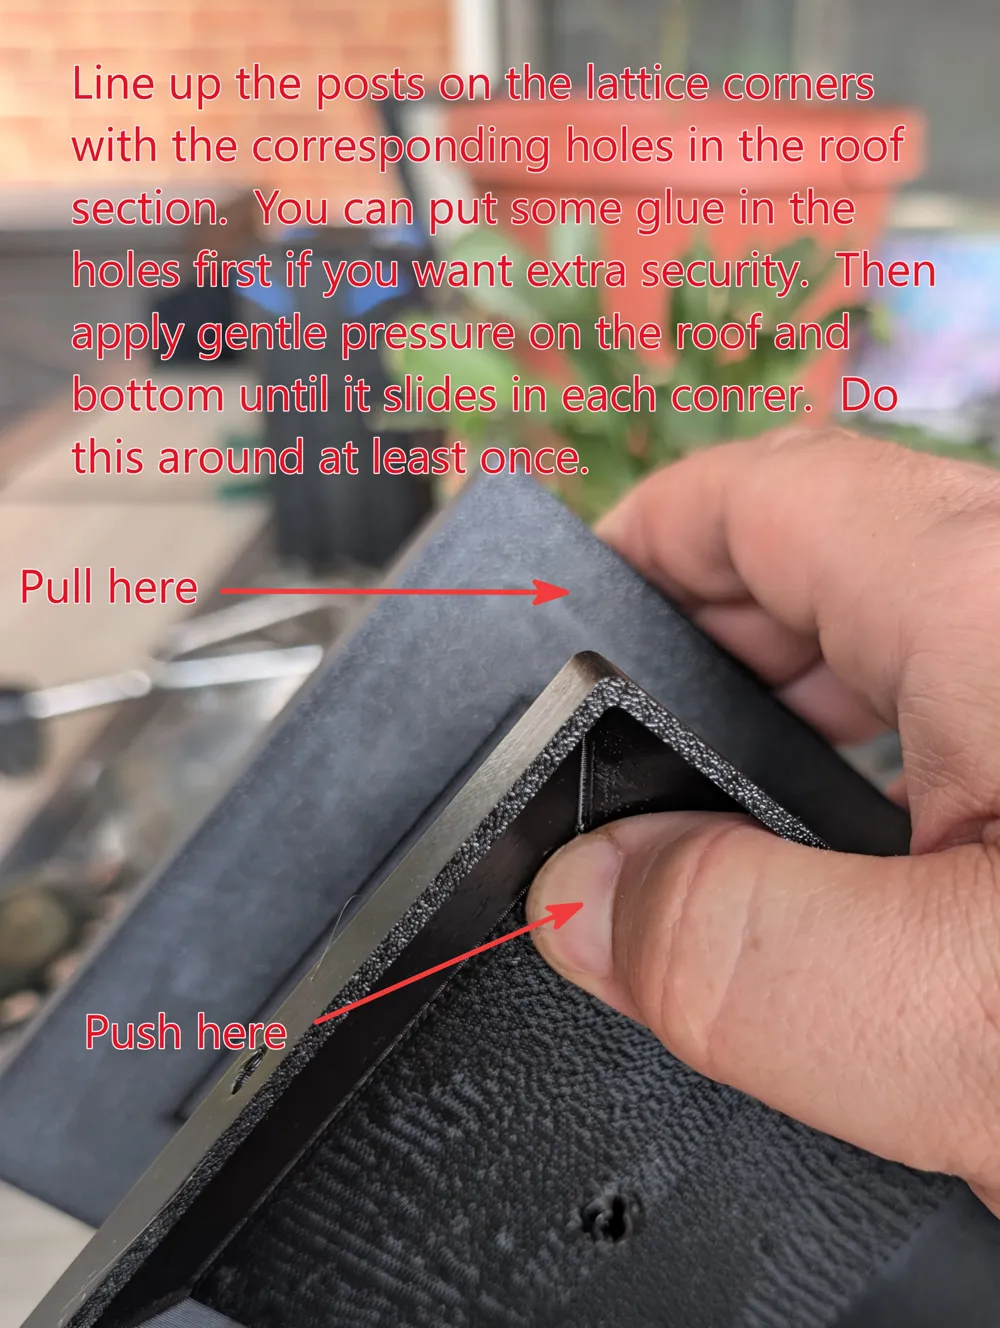
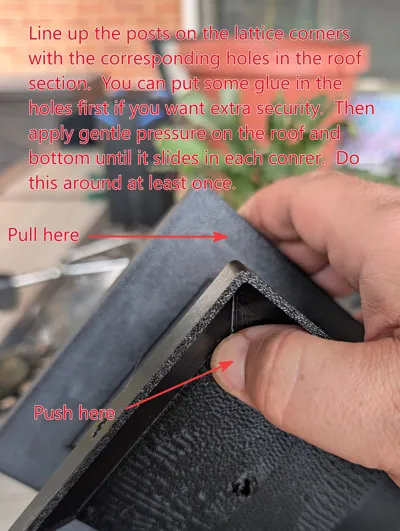
- Put some super glue in the recesses in the post cap roof for both the lattice and the corner posts to secure the roof to the base.
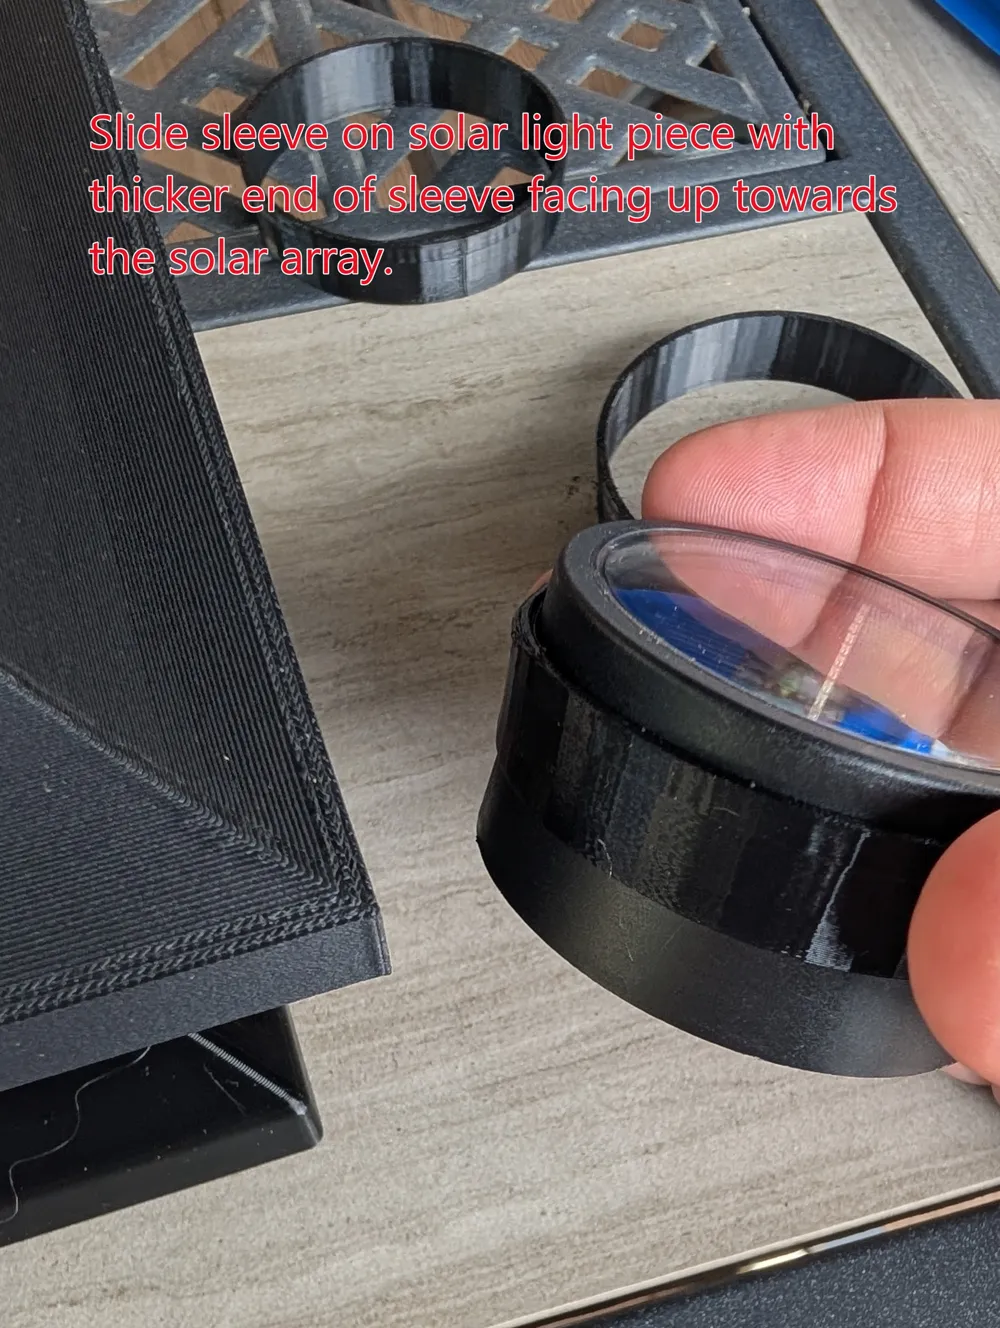
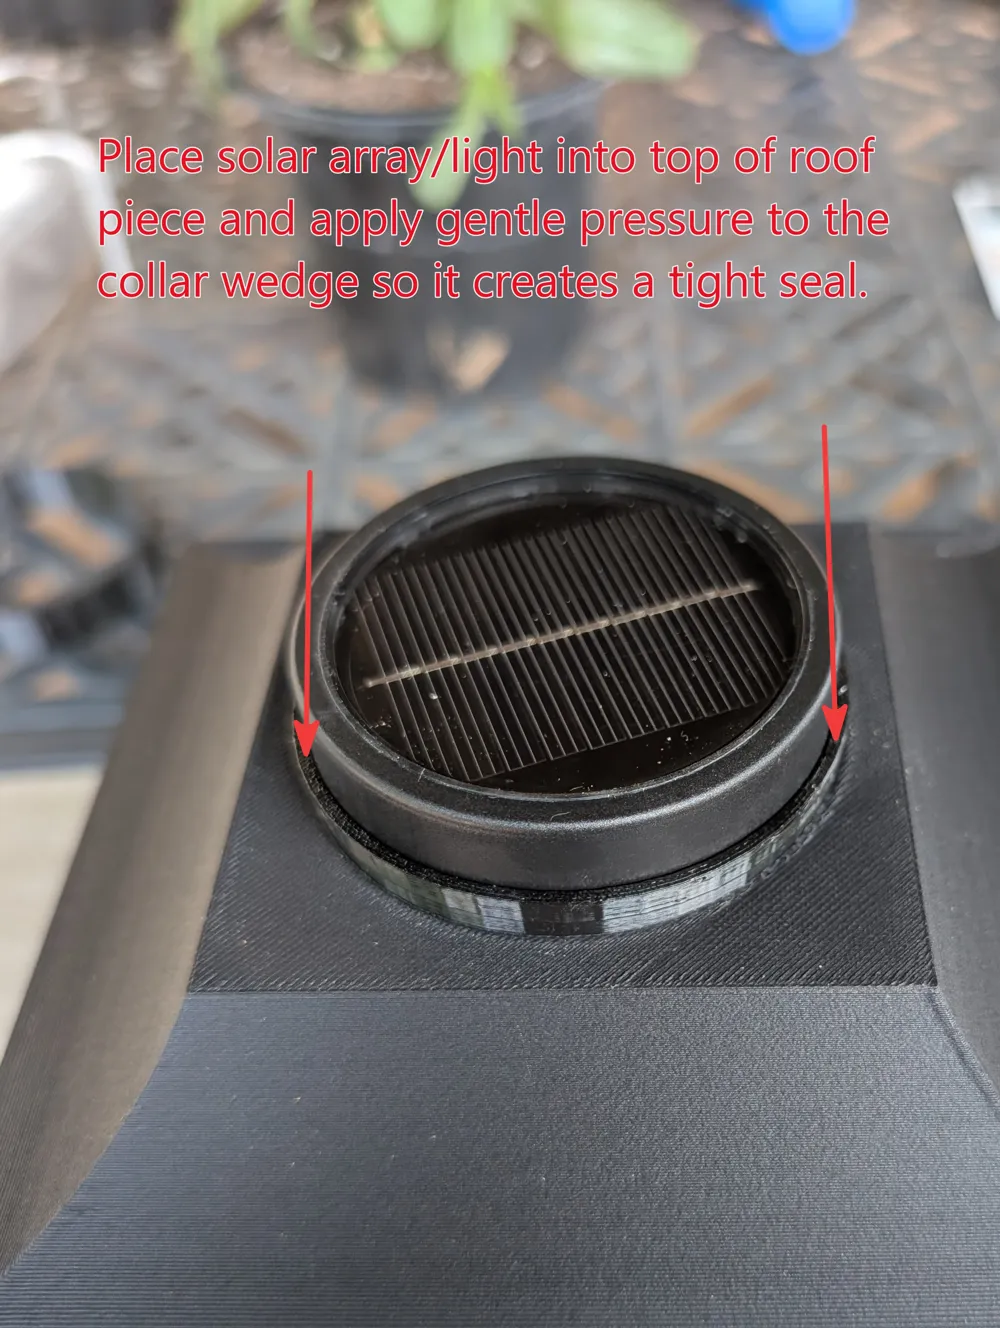
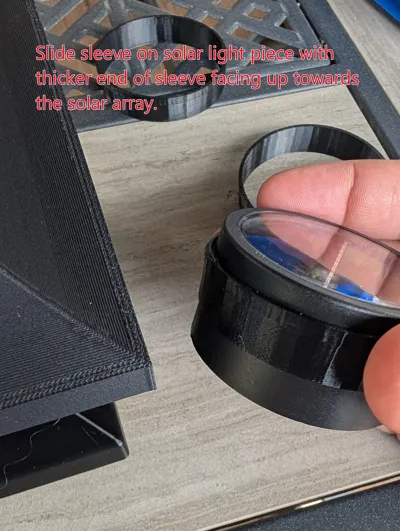
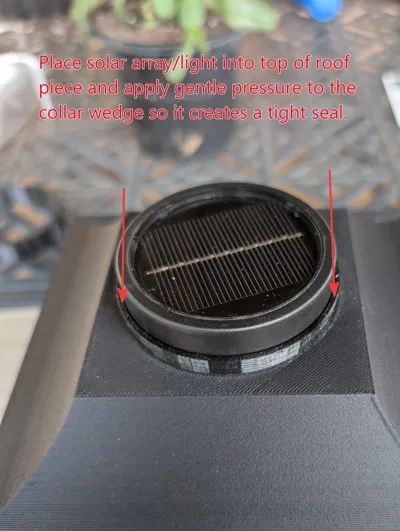
- Slide the sleeve around the solar cell and light, then wedge gently into the roof top. This sleeve makes the rooftop more or less water-tight.
- Screw the post cap to the post with some small screws for extra security.
Then just let the solar battery charge up in the bright sunshine and wait for dark!
License



Comment & Rating (0)