
Ryobi Link - 4v Mount
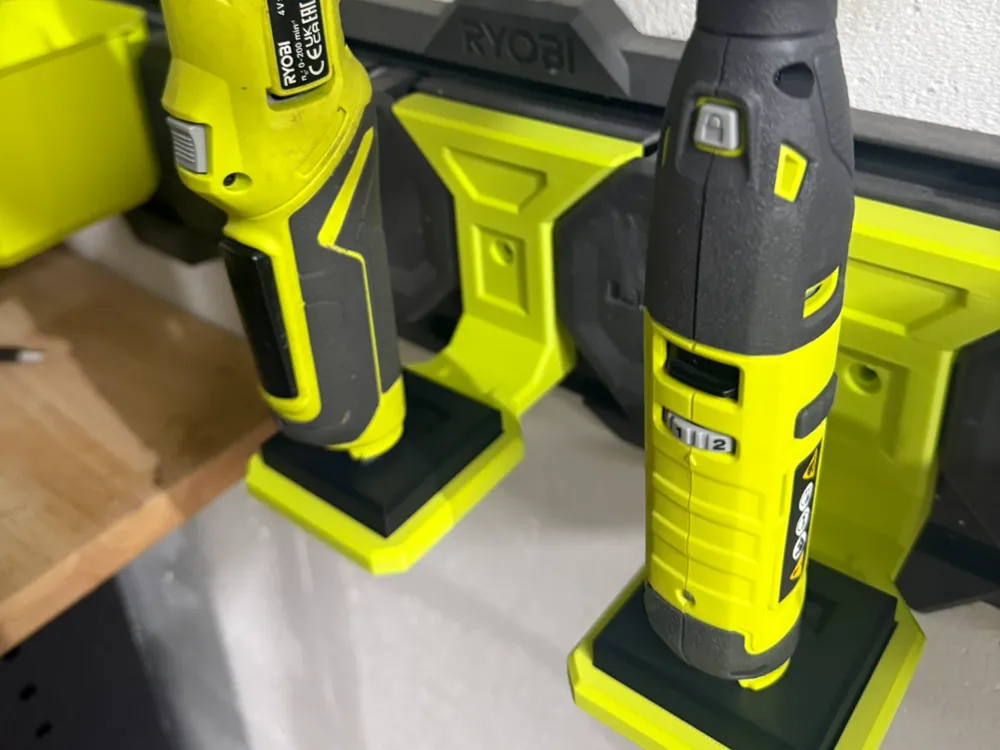
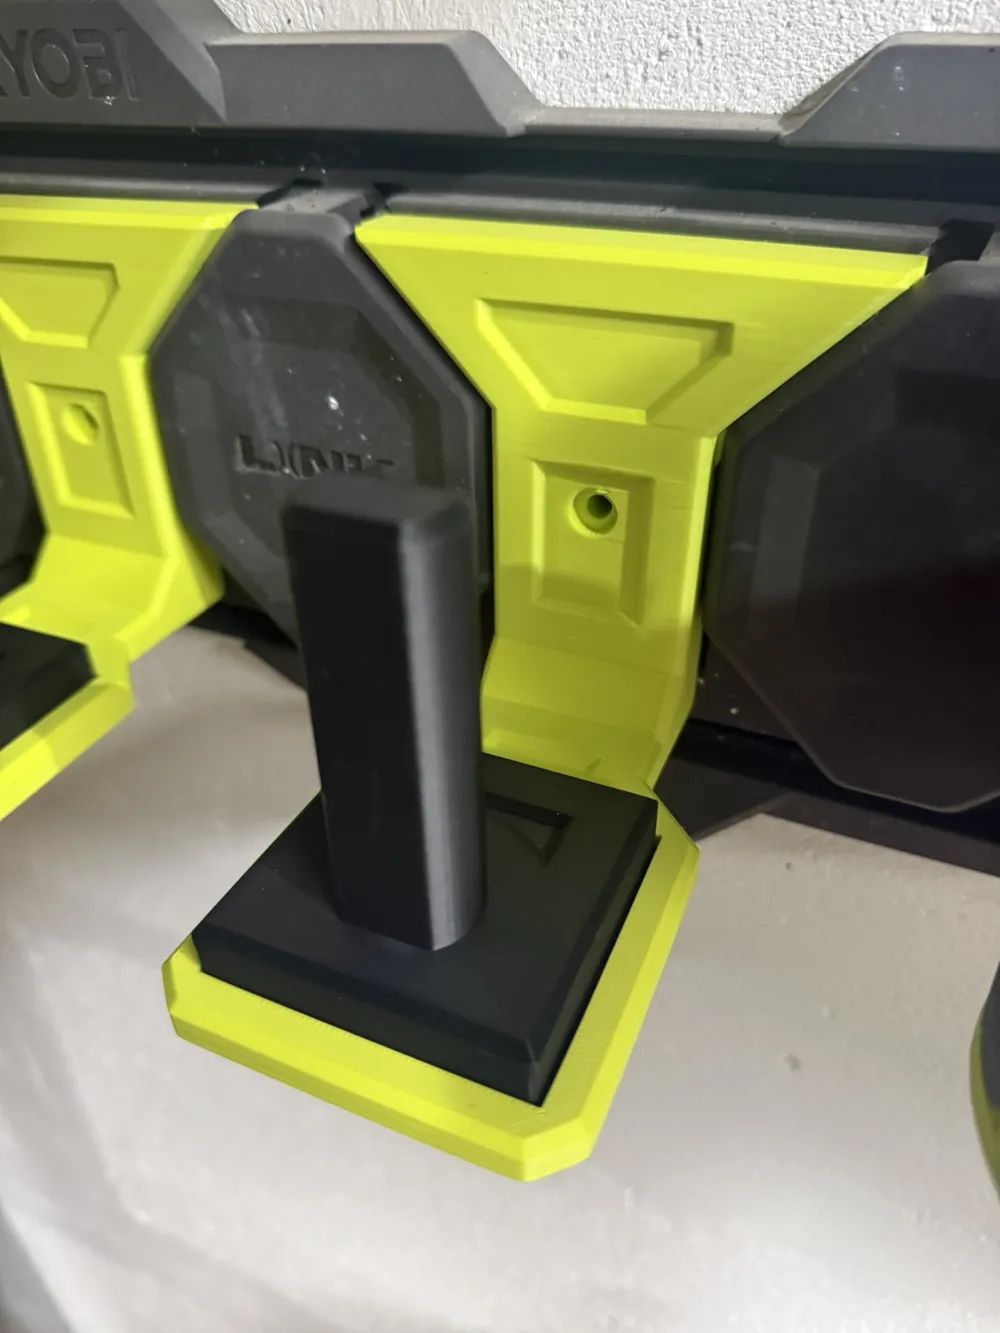
Print Profile(1)

Description
Support the Project
These mounts were made for my own use, but if you find them useful too, I’d really appreciate it if you leave a rating ⭐, a comment 💬, or even a boost 🚀.
Feedback helps a lot and keeps me motivated to keep improving and sharing.
Design Guidelines for My Ryobi Models
I'm still fairly new to writing design guidelines, but this is my best attempt to describe the principles I follow to ensure consistency and to help others remix my models more easily.
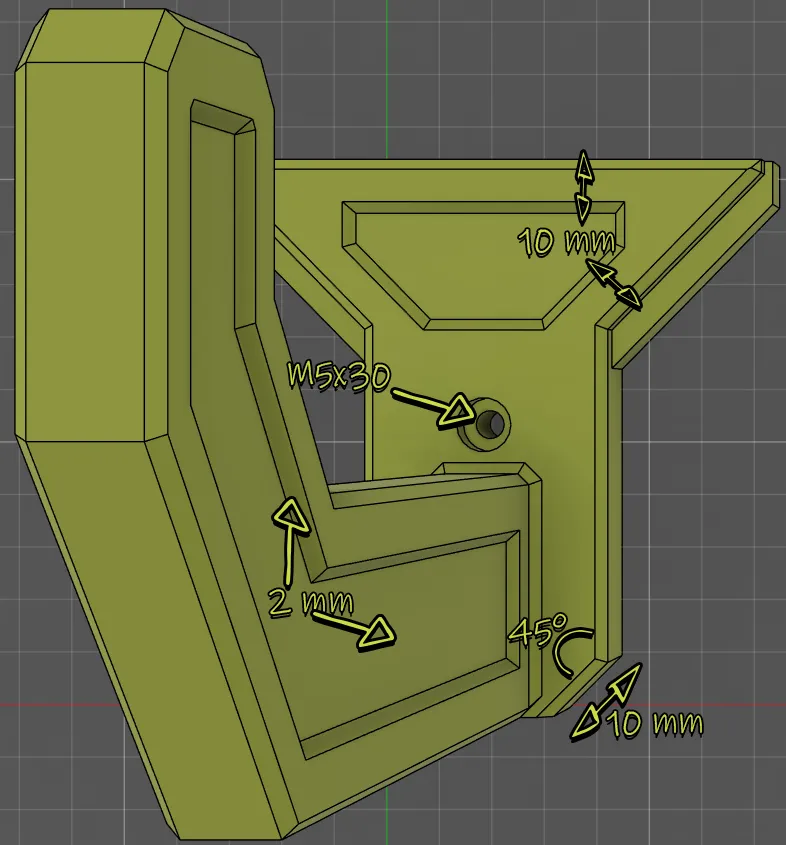
Mounting Hole
The central hole follows the official Ryobi Link spec and is made to fit a M5 × 30 mm screw
Chamfers and Angles
I use 45° angled edges where I feel it makes sense, both visually and structurally
Most outer edges have a 2 mm chamfer for smoother appearance and better printability
Sunken Panels
When a surface has at least 10 mm clearance to all surrounding edges, I add a 2 mm deep sunken panel with a 2 mm chamfer along the inner sides
This reduces weight slightly while keeping the model strong and clean-looking
These are the core rules I follow across all my Ryobi Link compatible models. If you're remixing one, I’d love for you to stick with the same structure for compatibility and visual consistency
Filament & Color Match
Base Color
Bambu Lab Matte PLA – Charcoal Black
Ryobi Green
Overture Matte PLA – Grass Green
Version History
- v1.0 - 2025-10-30 - Initial Release
License

You shall not share, sub-license, sell, rent, host, transfer, or distribute in any way the digital or 3D printed versions of this object, nor any other derivative work of this object in its digital or physical format (including - but not limited to - remixes of this object, and hosting on other digital platforms). The objects may not be used without permission in any way whatsoever in which you charge money, or collect fees.


Comment & Rating (5)