Search models, users, collections, and posts


GIF


Print Profile(1)

0.2mm layer, 6 walls, 25% infill
Designer
3.2 h
3 plates
Open in Bambu Studio
Boost
786
2076
21
31
779
249
Released
Bill of Materials
Maker's Supply Kits and Parts
Select all
Description
Boost Me (for free)
Thank You!!!
Boost Me (for free)
Thank you!!!
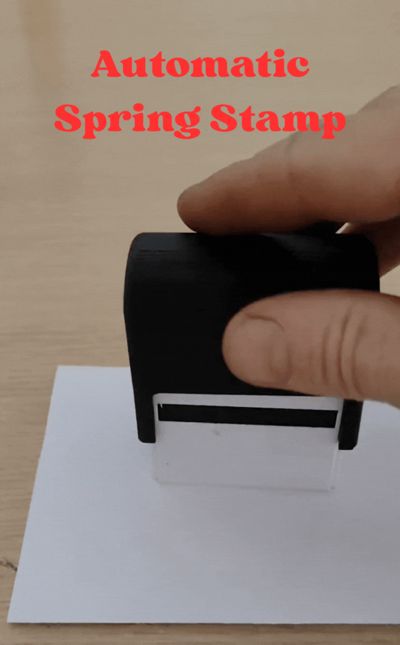
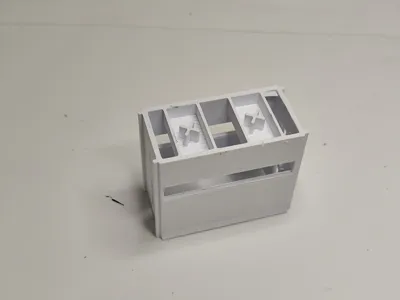
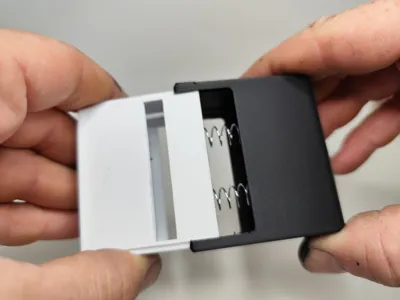
I present my automatic spring stamp, very useful for creating your own personalized stamps.
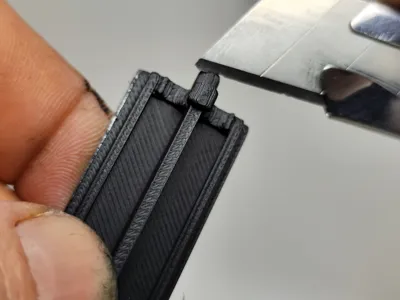
For the text stamp, I used TPU because it's softer and produces better results, but you can also use PLA.
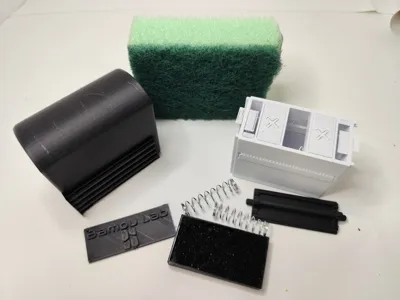
Assembly:
Assembly is not complicated, but it does require a bit of patience.

1) First, remove all supports from the various parts; supports are necessary for good printing.

2) Remove any protrusions created by the supports from piece (No. 2);

3) Using double-sided tape, glue your printed text (No. 1) to piece (No. 2);

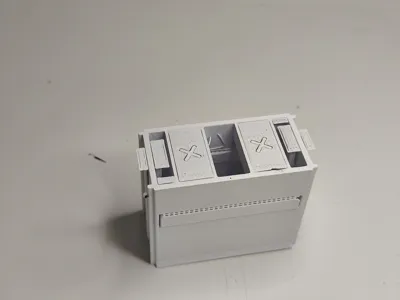
4) Insert piece (No. 2) into the white casing, as shown in the photo.

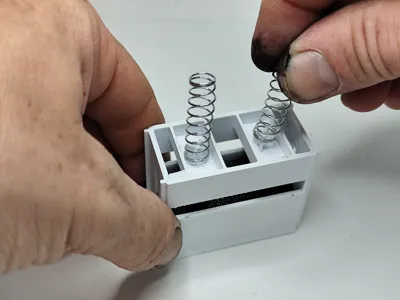
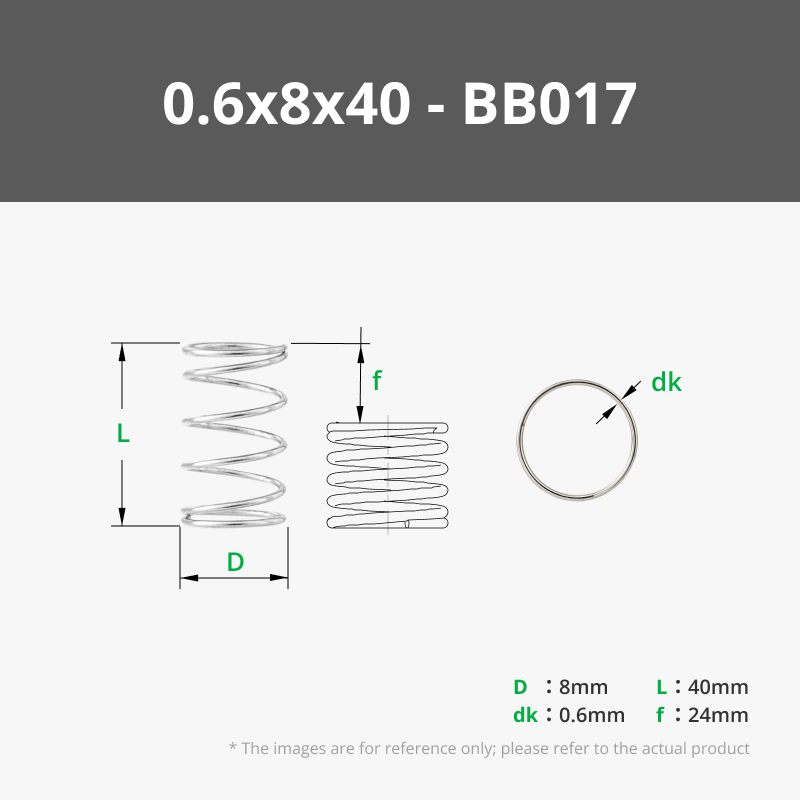
5) Insert the two springs into the white casing, corresponding to the crosses.

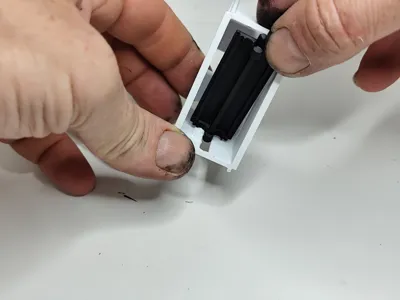
6) Insert the black cap into the white casing until it snaps into place.

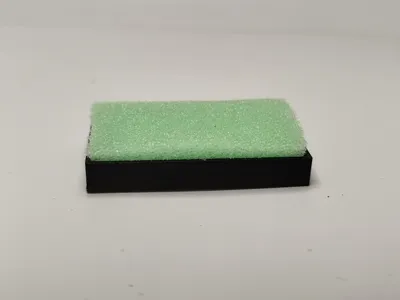
7) Finally, place the tray with the ink-soaked sponge into the slot.

For the drawer I cut up a dish sponge and soaked it in ink.
Boost Me (for free)
Thank You!!!
License
This user content is licensed under a Standard Digital File License.
You shall not share, sub-license, sell, rent, host, transfer, or distribute in any way the digital or 3D printed versions of this object, nor any other derivative work of this object in its digital or physical format (including - but not limited to - remixes of this object, and hosting on other digital platforms). The objects may not be used without permission in any way whatsoever in which you charge money, or collect fees.
Comment & Rating (21)