Search models, users, collections, and posts
JANBERRY DESIGN
@janberrydesign
9.5 k
154.7 k
228.9 k
128.1 k
Bio
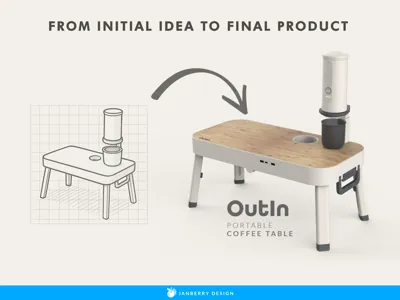
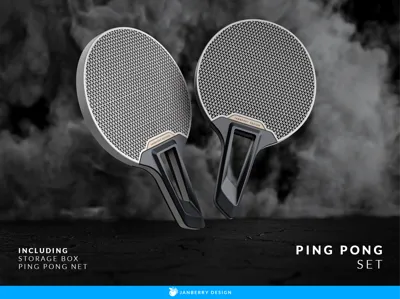
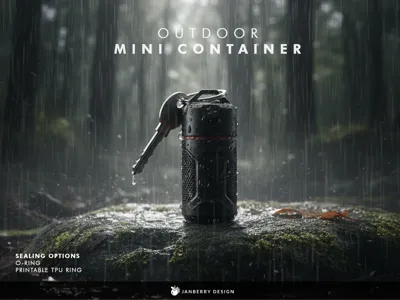
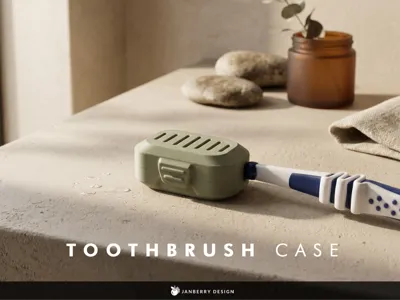
Industrial Designer and Engineer
Achievements
MakerWorld Guardian
Active more than 20 days out of last 30 days UTC time
Contest Winner
Won 3 model contest awards.
Featured Creator
6 models are featured by MakerWorld.
Maker's Supply Contributor
7 models with Maker's Supply Model Kit achieves 500 successful prints.
Popular Model
7 models more than 5,000 successful prints.
Popular Creator
More than 1,000 followers.
Stellar Reviewer
Rate or Comment 205 different models
Recent Article
From Initial Idea to Final Product
From Initial Idea to Final ProductThis project was created for the OUTIN competition. Unfortunately, it didn’t win any notable prizes. Still, it remains one of my most complex and refined projects on MakerWorld and serves well as an example of how I approach design—from the first concept to a fully realized 3D printed product. ANALYSISIn this case, I tackled the project as if OUTIN were my client. I analyzed the brand and its design language and thought about what kind of product could complement their existing portfolio. OUTIN’s portable coffee machine was the centerpiece. I quickly knew I wanted to design a compact table that would make preparing coffee easier while remaining highly portable. The key challenge was to offer a large usable surface that could still be packed down to a small size. The 25 x 25 cm footprint provided enough space not just for the coffee maker but for additional functionality. I began brainstorming what kind of features would make sense.I reached out to a number of camping enthusiasts to validate my ideas and collected valuable feedback during the early concept phase. CONCEPT STAGEOnce the core features and basic design were roughly visualized using a quick Photoshop render, the main challenge was fitting everything into the defined 25 x 25 x 10 cm volume. That constraint was by far the most difficult part of the project. I spent hours adjusting components in CAD to make everything fit. Throughout the design phase, new ideas kept emerging—some of which were feasible, others not. For instance, integrating the LED Kit 001 with a mini lampshade only came up halfway through the space claim process. PROTOTYPINGThe next step was full CAD development. While the table itself isn’t overly complex to model, it’s packed with technical details that required careful construction and consumed a lot of time. During this phase, I regularly created smaller sub-models to test individual mechanisms and features. Naturally, doing a full print for each test would have been inefficient, especially at this size. Still, I ended up doing a lot of test prints. For complex designs like this, countless small technical details must be tested—just aligning the power bank ports took me three iterations. H2D AS INSPIRATIONInspired by the H2D, I had the idea to combine 3D printing and laser cutting. I feel this hybrid approach is still underrepresented in Bambu Lab's featured projects. That’s exactly what makes the H2D so powerful—it supports multiple fabrication methods in one machine. Personally, I’d love to see more contests that combine these methods rather than treating 3D printing and laser cutting as separate categories. I don’t own an H2D myself, but I do have a standalone laser cutter. Maybe one day Bambu Lab will let me test one! FINAL PROTOTYPEBut back to the project: after completing countless part tests, the moment of truth arrived. I printed the two large main sections and hoped everything would fit.Everything came together as planned. The assembly went smoothly, though some minor tolerances and the latch mechanism needed small adjustments. Overall, I was very satisfied with the result.If this were a professional project, the next step would be preparing the product for mass production—typically injection molding or whatever process is required. That would involve significant additional CAD and 2D work and another round of prototyping.  SLICING For the MakerWorld upload, however, I kept the design as-is in terms of CAD. From here, the focus shifted to slicing. With products that depend on mechanical functionality and durability, slicing becomes a critical step. Print orientation, infill, speed, and many other parameters must be carefully chosen. That’s why I always recommend using the original print profile provided by the designer—it often reflects the thoughts that are put into this. Please don’t get me wrong—I think community print profiles can be very helpful. Unfortunately, in many cases, users don’t actually improve anything and sometimes even compromise the quality by trying to save print time or filament. ASSEMBLY MANUAL AND VIZUALISATIONSThe final steps before publishing a complex project on MakerWorld are creating the assembly guide and preparing high-quality images and visualizations. If done properly, both steps require considerable effort—but the time investment is worth it.In the assembly guide, I try to document every step clearly to make assembly as easy as possible.For visuals, I use both real photos and renderings. I believe both are essential. Real photos show what the printed product actually looks like—something a render can’t fully convey.They are a MUST for me. Renders, however, are useful for exploded views, detail shots, and scenes that are hard to capture with a camera. They’re also helpful when placing the product in a fitting environment. In this case, I imagined the table sitting in a mountain meadow to emphasize its outdoor and portable character. Since I don’t live in the mountains, rendering helped bring that vision to life.That was my little journey through this project. I focused more on the overall process rather than diving deep into the technical details—otherwise, this would’ve become a much longer article. If you're interested in a deep-dive into specific parts of the product, feel free to let me know in the comments. 👉Link to the camping table 👉 More of my work here Let me know if you enjoyed this kind of write-up. Is there anything else you’d like to learn about or you are interested in? How do you approach projects like this? I’ve received many questions about how I create my visualizations—would you be interested in an article on that?