


Print Profile(1)

Description
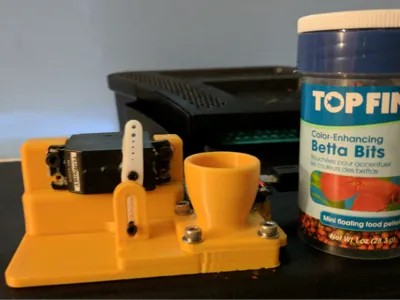
This is an automatic fish feeder controlled by an Arduino.
Boost Me (for free)
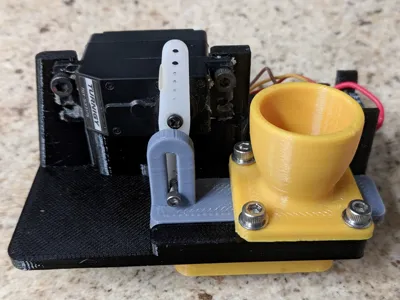
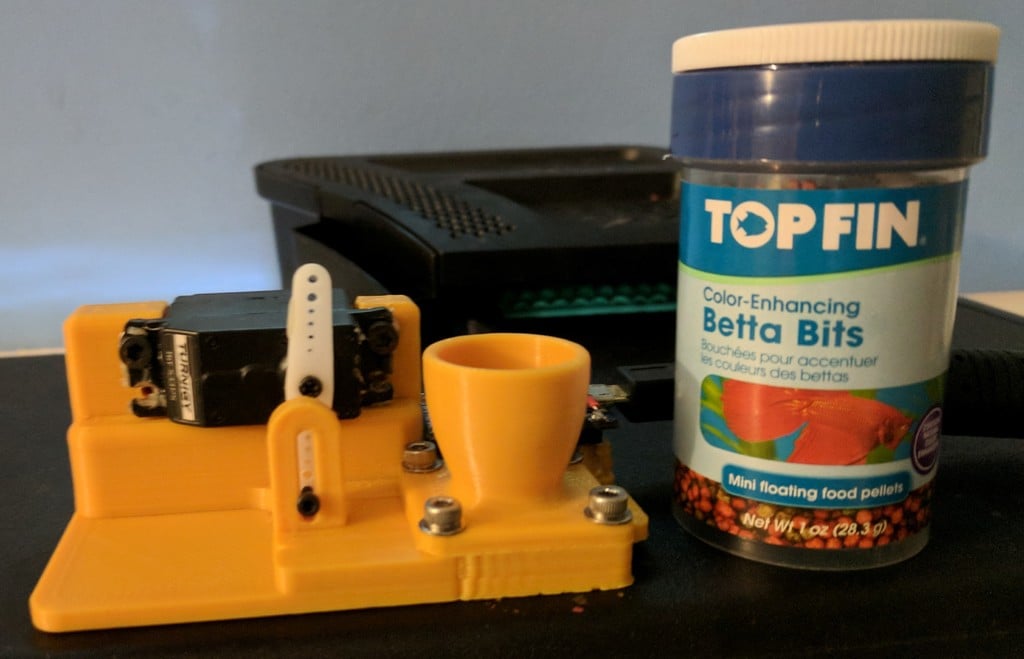
I tried several of the other automatic fish feeders listed online, and didn't have much luck, so I designed my own. It's designed to feed small food pellets, such as the Top Fin Betta Bits shown in the photos. The feeder arm contains a circular hole that is moved past the feeder bowl to meter out a small amount of food per actuation. If your fish need more (or less) simply change the code to update the feed interval. I'd recommend running a few cycles over a piece of paper to see if the mechanism feeds reliably for your chosen food, and to get the amount per feed cycle correct.
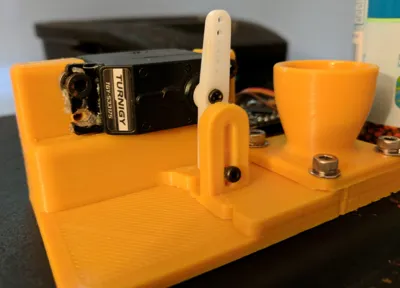
The "arm rev1" dispenses about 0.15 cm^3 of fish food per dose. I added another optional part, the "arm 6mm rev1" which dispenses about have of this, about 0.08 cm^3 per dose. I am trying some new ultra-fine ground guppy food, and it seems to work better to do a smaller dose, 2x per day. (which would require a slight tweak to the code as well)
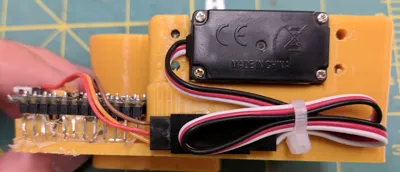
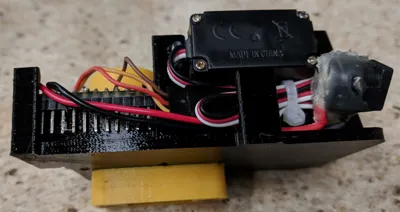
There are various .STL "base" components included for different servo sizes. I ended up using a Turnigy TGY-53317S I had lying around, but pretty much any mid-sized servo will work. Your biggest limitation is how much current your servo will draw, and if your chosen Arduino can supply that much power. You may need to use some washers or similar to provide the right "standoff" distance between the base and servo, to get the correct alignment between the servo arm and the feeder arm.
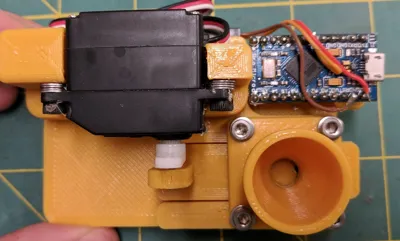
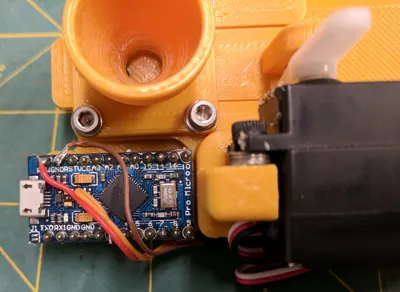
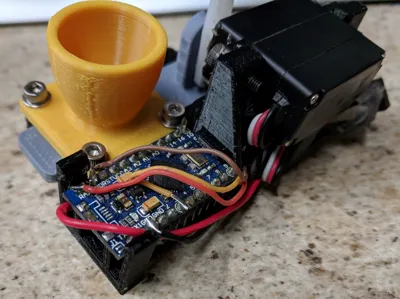
I used a Arduino Pro Micro, but any will work. The Pro Micro's I have seem a bit flaky so I might recommend trying another flavor of Arduino, perhaps a Nano. I made a short cable out of a servo extension to allow easy servo swap outs. I connected the servo + lead to "RAW", - lead to "GND", and the signal lead to 3. (which needs to be a PWM output)
A sample Arduino code: http://andy-projects.blogspot.com/2017/09/arduino-controlled-3d-printed-automatic.html
I powered the pro-micro with a 1+ amp output USB wall wart. This seems to work fine and was reliable for a 1 week vacation.
When you assemble and set up the feeder, be sure to adjust the servo arm location and degrees of travel to get a result that functions properly and sits in the rest position without servo buzz.
This remix is based on
License
You shall not share, sub-license, sell, rent, host, transfer, or distribute in any way the digital or 3D printed versions of this object, nor any other derivative work of this object in its digital or physical format (including - but not limited to - remixes of this object, and hosting on other digital platforms). The objects may not be used without permission in any way whatsoever in which you charge money, or collect fees.
Comment & Rating (4)