Function Pull handle. Multi-material support use.


Print Profile(1)

Description
Hallo everyone, because our Kobra S1 combo is a great machine, here is how you can utilize it to get a perfect support contact by using multi-material with minimum waste.
Tested and works great:
- PLA as support for PETG print
- PETG as support for PLA print
The results is a smooth, perfect and accurate layer printed on support. (While printing, make sure to modify the purge factor to 3 in the Printer UI)
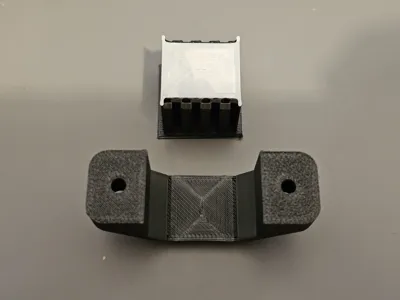
In the 3mf file you will find the settings ready and a small test functional model (you can use it as Pull handle) to test how the results on your great Kobra S1 will look like, try it with model 1st get to know it before you try it with your next big print. (While printing, make sure to modify the purge factor to 3 in the Printer UI)
How is it made?
The trick is to use the support material only for the (support/Raft interface) I have tested it
with one and two layers interface, both works, but the two layers is much cleaner. It is your choice, I will describe next how to change it, try it with the test model and judge by your self, it is only 10gm of filament 😆🫣. (While printing, make sure to modify the purge factor to 3 in the Printer UI)

Download links:
choose Download STL/CAD files, then download the file Support test.3mf
This is how to add the layer profile to your slicer:
download the 3mf file and open it
1- Click on the save icon under process as per photo to save the layer setting.

2- A new window will open, delete the dash.
3- Click on User Preset.
4- Click on OK.

Now you have saved it to your slicer.
How to use it:
Under the support tab in the slicer, you will find these options.
1- Support/raft base (keep it set to default) this is your base model material PLA/ or PETG.
2- Support/Raft interface (here you should choose a different material than your model) - choose PLA for a PETG model, and choose PETG for a PLA model
The settings that I have changed:
3- Top Z distance= set to 0
4- Top interface spacing= set to 0
5- Support/object xy distance= set to 1mm

And that it is all folks, You can now click print to try your new settings. (While printing, make sure to modify the purge factor to 3 in the Printer UI), happy printing 😁👍.
PS: No 3d printers were harmed in the making of this Model😎.
Comment & Rating (0)