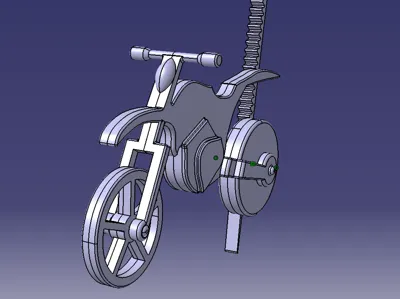
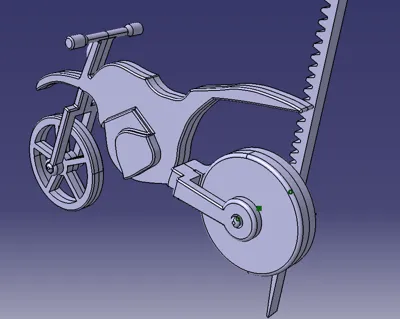
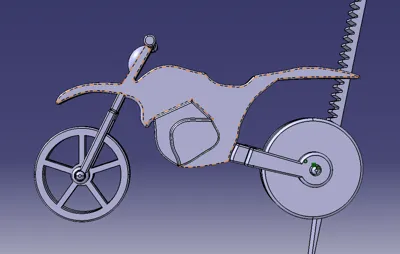
Pull-String Motorcycle


Print Profile(2)


Description
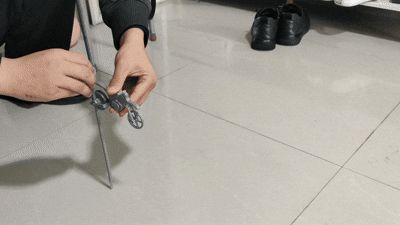
This project, developed over two weeks, involved the complete modeling, fabrication, and debugging process, with several iterations. Testing demonstrates a range of 10 meters, fulfilling my initial requirements, hence its release.
However, due to my limitations, the model is not yet perfect. Feedback regarding printing and usage is greatly appreciated.
Additional Materials and Tools Required:
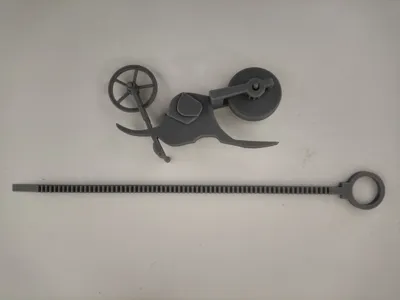
Adhesive (superglue suffices), 12 magnets (6mm diameter, 3mm thickness), a short filament segment (approximately 20mm), diagonal cutters or scissors, 28g of filament for printing the model.
Printing Considerations:
1. Utilize PETG filament, a 0.2mm layer height, and an overall model infill of 15%. Infill for vulnerable areas is increased to 50% via modifier settings;
2. The rear wheels require 6mm diameter magnets; their corresponding magnet holes measure 6.18mm. My printer uses a 0.6mm aperture compensation, accommodating the magnets without adhesive. Adjust this value as needed for your printer.
Assembly:
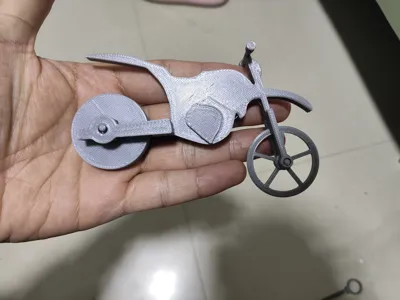
1.Front Wheel Assembly: The front wheel features a 2mm locating hole. Begin by inserting a short filament segment as a positioning shaft, then apply adhesive for secure mounting;
2.Rear Wheel Installation: Install twelve magnets in the rear wheels, meticulously observing polarity. Once both single-sided rear wheels are fitted, assemble them via magnetic attraction; adhesive is unnecessary;
3.Chassis Assembly: The chassis incorporates three 2mm locating holes. Insert short filament segments as positioning shafts, then pre-mount the rear wheels onto one side of the chassis before applying adhesive and completing the assembly;
Note: 1. Theoretically, adhesive is not required for magnet installation; however, if the magnet holes are excessively large, adhesive is necessary for secure attachment,
2. Six magnets can be used instead, but these must be spaced at intervals, leaving a hole empty. Fewer magnets reduce the rotational inertia of the rear wheels, leading to a shorter travel distance.
Boost Me (for free)
If you enjoy this model, please consider boosting me. Your support fuels my continued modeling and creation endeavors.
License
You shall not share, sub-license, sell, rent, host, transfer, or distribute in any way the digital or 3D printed versions of this object, nor any other derivative work of this object in its digital or physical format (including - but not limited to - remixes of this object, and hosting on other digital platforms). The objects may not be used without permission in any way whatsoever in which you charge money, or collect fees.
Comment & Rating (7)