Search models, users, collections, and posts


Bio
Worked for GE Healthcare - Retired
Achievements
Stellar Reviewer
Rate or Comment 248 different models
Pioneer Maker
Print successful 240 different models and 3,878 hours
MakerWorld Guardian
This badge has expired
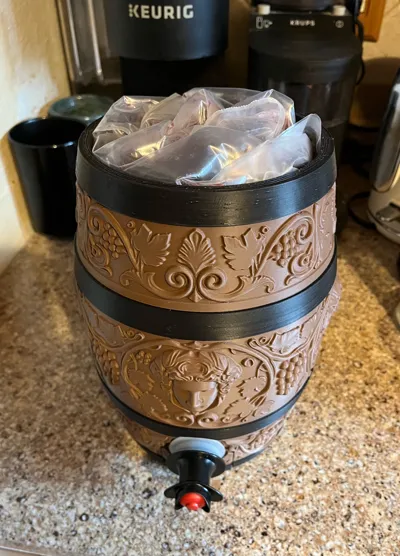
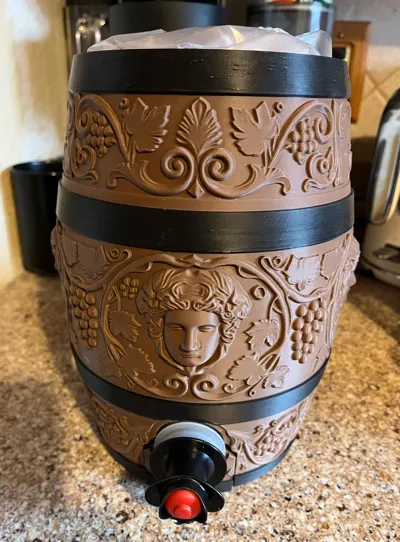
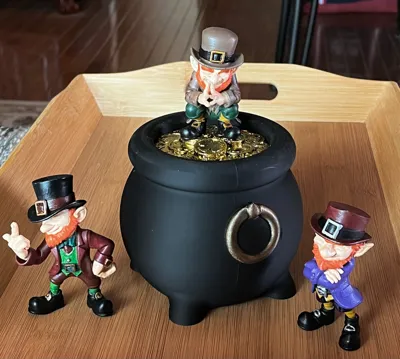
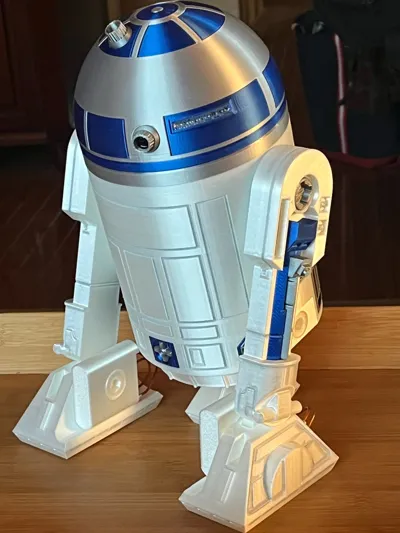
Printed without issues. A 3L bag doesn't quite fit, but we know how to fix that. 😁 I printed a second one black and painted it in metallic colors.
Share
0
0
0
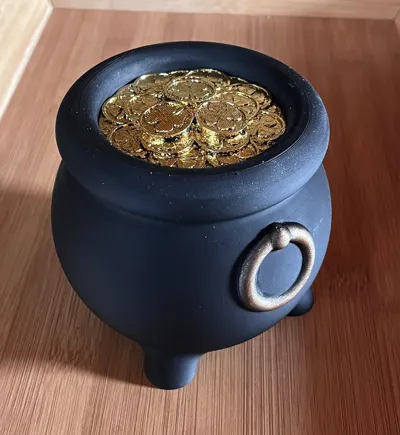
Wonderful easy print! I gilded the coins with imitation gold rather than using a gold silk filament and it looks really good.
Share
0
0
0
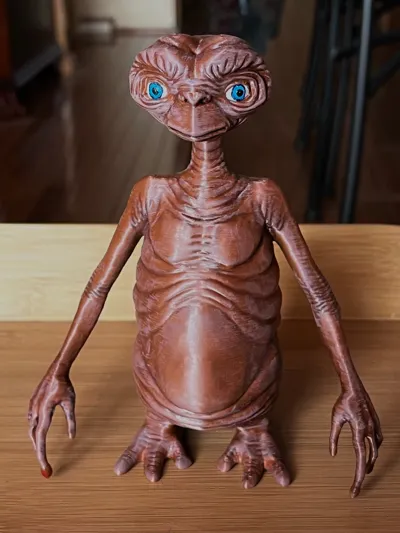
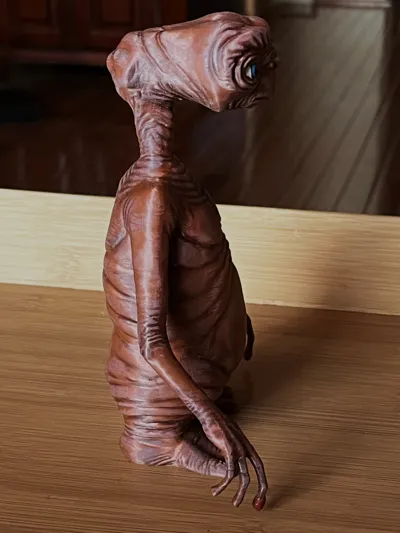
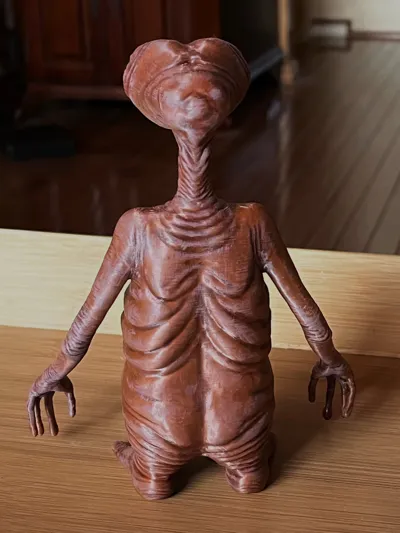
Print profile is good, but a little light. If I print it again I would make the body to head interface solid, becaause it stuck when dry-fitting and broke off. Not a big deal since I can still glue the head onto the body. Now it's time to paint and assemble. This is a fun model to have!
Share
0
0
0
Share
0
0
0
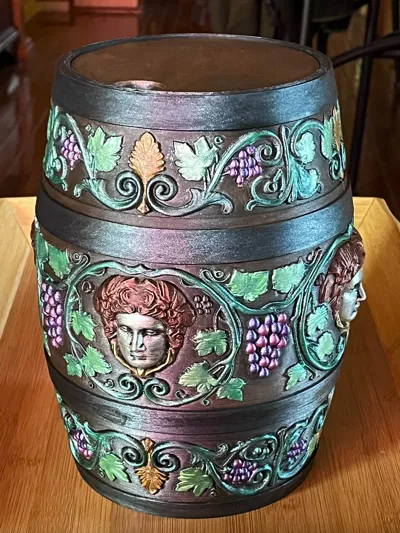
Definitely fiddley and takes time, but fun and worth the effort. I used a filament for the shell that made the supports vey difficult to remove, but no breaking. I used 3 different colors for each level: silk black (layer 1), silk brown (layers 2-4), then bone (layers 5 and up). Bone was used for the shell and matte black for the stand.
Share
0
0
0
I LOVE IT! I will boost when possible! I used all silk filaments except for black. This is my fourth model from your collection and they are BRILLIANT!
Share
0
0
0
Brilliant! I cannot ask for better! I also used 5 of the modifiers to obtain the look of the last photo. The Bambu H2D is perfect for this type of application.


Share
0
0
0

Share
0
0
0

Share
0
0
0
Printed without issues. I did make slight modifications, printing with 0.16 high quality layers and thin supports. I used an Amolen quick changing silk rainbow filament.
I made a couple more, but added ribbon stripes.


Share
0
0
0
A very easy print and fun. The only thing missing is his face with hat coming through the wall. I used Bambu white and green, but a maroon for the sleeve.

Share
0
0
0
Printed well! I really love this design and will post more photos after it is painted and sprayed with polyurethane.

Share
0
0
0
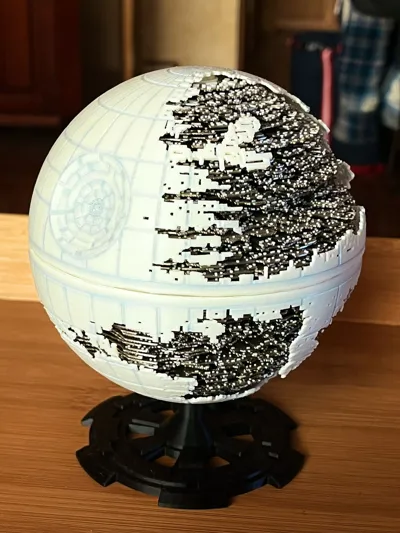
Printed well at slices of 0.20, but so much better at 0.16 High Quality on the X1C (highly recommended using a silk filament). I must say that the quality of the ball is superb after assembly. I'm trying different filaments and getting interesting results. Frustrating at first, but fun and worth it.

Share
0
0
0
I opted to enlarge the base in the X and Y dimensions to hide the stack of magnets, but kept the octahedron the same as designed. All worked out perfectly! I used silk silver for the base and a tri-colored silk filament for the balancing octahedron. The second one has a black base and quick-change rainbow silk filament.
Update: It turns out that the ring magnet is NOT in my first model (sucked out by the nozzle and found attached to the printing plate after). However, the octahedron still balances. 🤔


Share
0
0
0
I printed the first one and noticed where to make improvements. What's pictured is after my adjustments and it works perfectly. I use a teflon grease for the internal workings of the dial that gives a smooth movement with no effort whatsoever. I used silk purple and light gold for the print. Printed at 0.16 layer thickness, trimmed the underside disk slightly to clear the end when the top slides, and reduced the thickness slightly for the locking pins. The major change is to the box body so I could print in two colors. I split the box body down the middle and printed with the sides flat on the plate so the texture matches the end slides and colored specific layers for necessary coloring. Printing this way no longer requires supports, BUT gluing the two halves together is required.


Share
0
0
0
Worked it all out as recommended in the instructions. I have made 10 of these and they all work as expected with limited sanding/filing, all different colors and filament brands. There will always be variances depending on the printer and filament used, so I always expect some work on prints. This is a very good design. I have an original wooden puzzle box I've kept for 53 years that still works.


Share
0
0
0
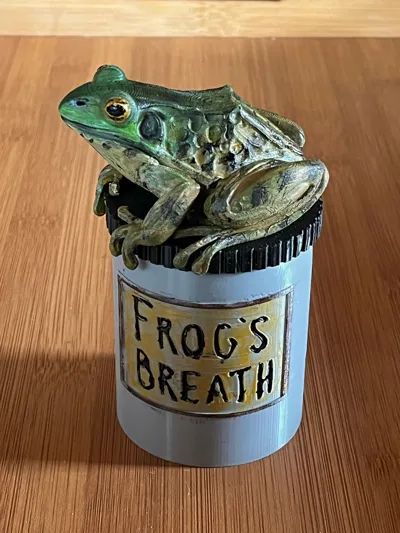
Printed with gold filament, but the plan is to add gold leaf to finalize (second photo). I had no issues with printing.


Share
0
0
0
Made slight modifications by tipping the coin back 10°, changing the support angle to 20°, and increased the nozzle temperature to 225°C. Doing this, it reduced the supports down and smoothed out the print a bit. I used a silk antique gold filament for printing.
I applied gold leaf in the end and the last two photos show before the application and after.


Share
0
0
0
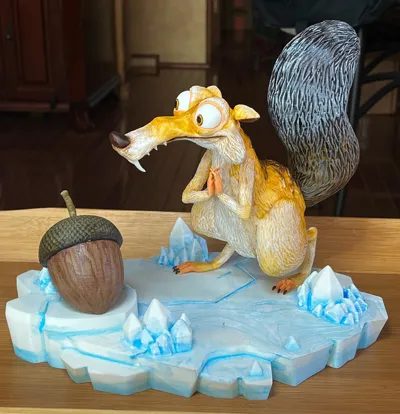
I tipped him up on his nose and paws and it printed nicely with few supports


Share
0
0
0
This came out so good using 0.12mm layers and I will probably make many more! Nicely done! I finally got around to painting it for my project.

Share
0
0
0