Brake Disc Clock


Print Profile(10)


Bill of Materials

Description
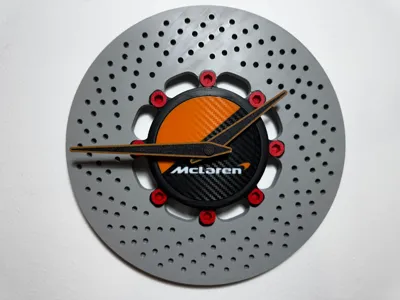
Brake Disc Clock
Discover the perfect combination of technology, design and passion for motorsports with our Clock!
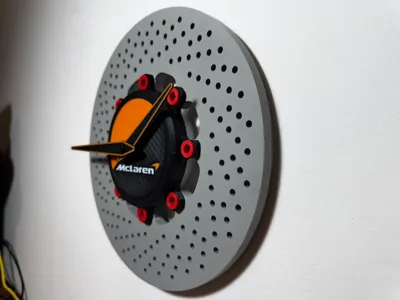
Inspired by an authentic floating brake disc. This masterpiece is the result of innovation and creativity, combining the dynamic aesthetics of racing cars with the functionality of a unique object.
Key features:
- Unique design: the dial faithfully recalls a ventilated brake disc, with ventilation holes.
- Customizable assembly: each component is designed to be manually assembled, offering an immersive experience for DIY and automotive enthusiasts.
- McLaren detail: the logo of the legendary British racing team is integrated into the design, paying homage to motorsport tradition and excellence.
Who it is designed for?
The brake disc clock is perfect for:
- Sports car and racing enthusiasts.
- Fans of the McLaren brand and the world of Formula 1.
- Those who love exclusive and customizable products.
- Step into the future with a clock that is not just an object, but an experience. Every detail is a reminder of the adrenaline and innovation that characterize the world of high performance.
Available now: let your passion for motors be reflected in your style!
Assembly instructions
Print all parts
Be sure to accurately print all the necessary parts, including the brake disc, bell, screws, and assembly accessories.
Pre-assembly of the brake disc
• Take the brake disc and tighten the screws without mounting the bellhousing yet.

• If you encounter resistance while screwing, unscrew slightly and try again. Continue until the thread of the screw is no longer visible.
• CAUTION: If a screw no longer advances, do not force it! You could damage the disc or break the screw, compromising the work.
This step is important to facilitate the next steps.Assemble the bell and mechanism support
• Take the bell and mechanism holder (with the logo).
• Insert the holder into the bell and rotate it to the right until it is firmly attached.
Insert the clock mechanism
• Place the clock mechanism inside the holder.

• Once inserted, you will notice that the pin for the hands protrudes along with a thread.
• Take the nut and screw it onto the thread by applying light pressure using the key (in the picture) by rotating (the thread may not be obvious, but just carefully rotate it to the right).
Attach the bell to the brake disc
• Now mount the bell to the brake disc, using the 8 screws printed above.
• Make sure all screws are tight to ensure stability.
Mounting the hands clock
• Apply the hands in the following order:
• Hour (short hand): place it at 00:00.
• Minutes (long hand): this should also be placed at 00:00.
• Finally, insert the center cap to complete the dial.

Mount the wall mount
• To attach the clock to the wall, you have two options:
• Heavy-duty double-sided adhesive tape for quick mounting without holes.
• Dowels and screws for a more secure hold.
Enjoy your clock!
Your floating brake disc clock is now ready for display, combining style and passion for motorsport.


Boost Me (for free)
“Every boost coin is a token of appreciation for my work. With your support, I can continue to create inspiring projects. Thank you for being part of this journey!” 😊✨
License
You shall not share, sub-license, sell, rent, host, transfer, or distribute in any way the digital or 3D printed versions of this object, nor any other derivative work of this object in its digital or physical format (including - but not limited to - remixes of this object, and hosting on other digital platforms). The objects may not be used without permission in any way whatsoever in which you charge money, or collect fees.
Comment & Rating (32)