
Shot Trophy
Print Profile(2)


Description
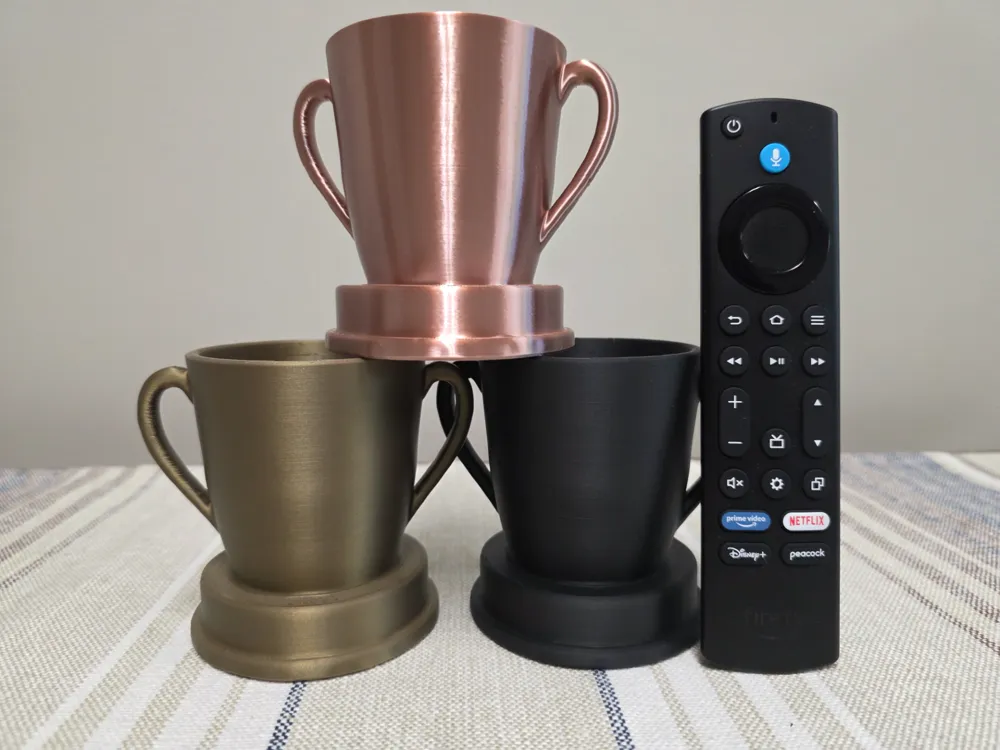
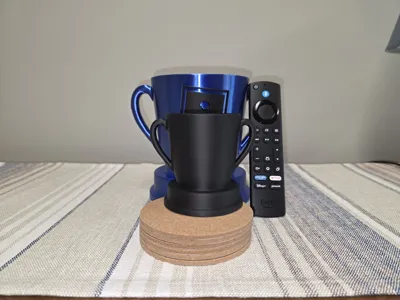
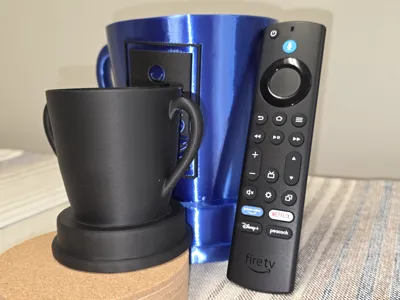
This 3D-printable model features a stylized, mini trophy cup with two side handles and a sturdy, flared base. It is optimized for 3D printing and designed to balance visual appeal with printable geometry.
Visual and Structural Features
- Classic Trophy Shape: Features a tapered main cup body that flares outward toward the rim.
- Ergonomic Handles: Two curved handles extend symmetrically from the sides.
- Flared Pedestal Base: A stepped, circular base provides excellent bed adhesion and stability.
- Print-Optimized Geometry: The steep overhangs of the main body print cleanly without supports on most 3d printers.
Printing and Scaling Guide
- Support Requirements: Requires minimal supports located only under the top curve of the handles on most 3d printers.
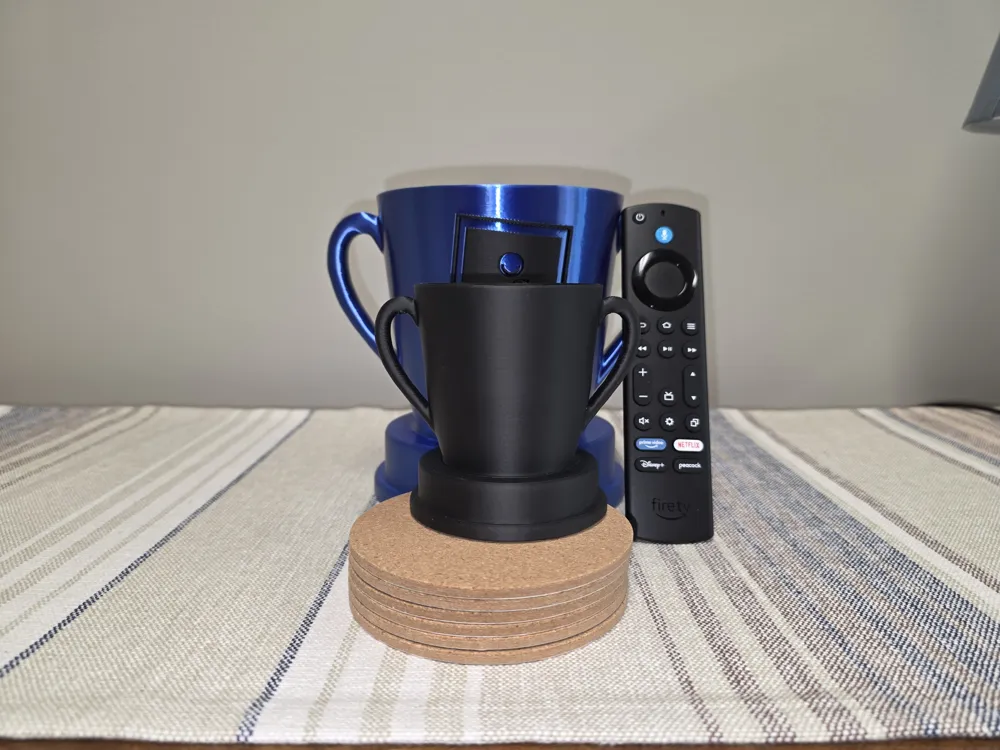
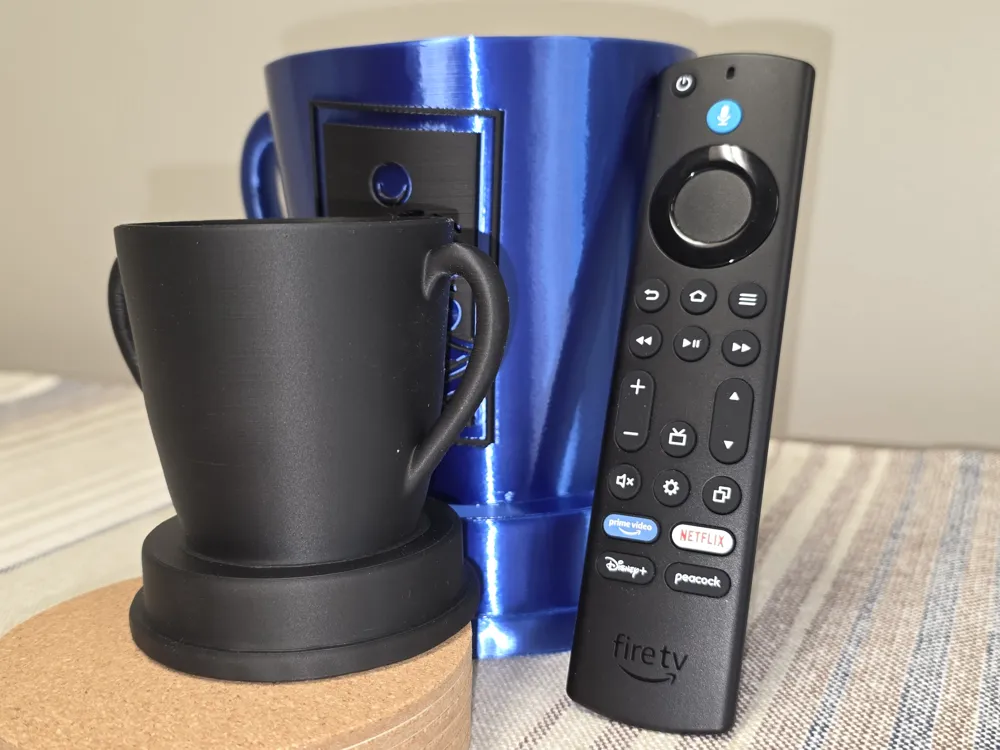
- Native Size (100%): Prints approximately at the size of a double shot glass, making it ideal for quick tokens, or prizes.
- High-Scalability: Scales up easily (shown at 175% in the photos) to create larger display trophies or desk organizers without losing detail.
- Material Versatility: Looks excellent in silk metallic filaments (like bronze or copper) as well as standard matte or glossy PLA.
Silk PLA for Bambu Printers
To achieve the glossy, uniform finish on the trophy cup for Bambu printers. This is only on Bambu printers since that is all I own.
- Outer wall speed: 35-45 mm/s
- Inner wall speed: 60 mm/s
- Top surface speed: 30 mm/s
- Nozzle temp: 225`c-235`c
- Bed temp: 55`c-60`c
- Wall loops: 3-4
- Layer height: 0.12 mm - 0.16 mm
- Position seam where you would like
- Auxiliary part cooling fan: off for print duration
- Main part cooling fan: stable between 50%-70%
- No cooling for the first X layers: change this to 0
- Keep fan always on: Check the box
- Fan speed: Min 50% max 70%
- Don't slow down outer walls: Check the box
To change most of these setting you will need to go into the Project Filaments then click the 3 dots next to the Silk filament you want edit/adjust. These were the settings I changed to make my Silk PLA+ look shiny.
License

You shall not share, sub-license, sell, rent, host, transfer, or distribute in any way the digital or 3D printed versions of this object, nor any other derivative work of this object in its digital or physical format (including - but not limited to - remixes of this object, and hosting on other digital platforms). The objects may not be used without permission in any way whatsoever in which you charge money, or collect fees.


Comment & Rating (0)