
Adjustable Mold Generator
Print Profile(1)
Description
Adjustable Mold Generator
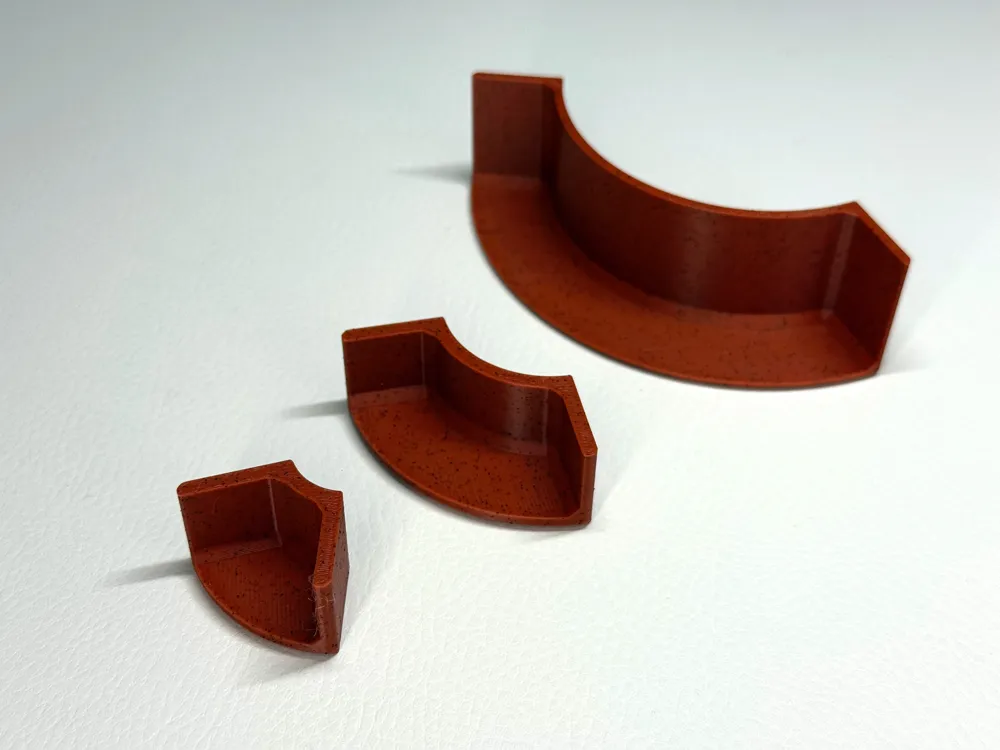
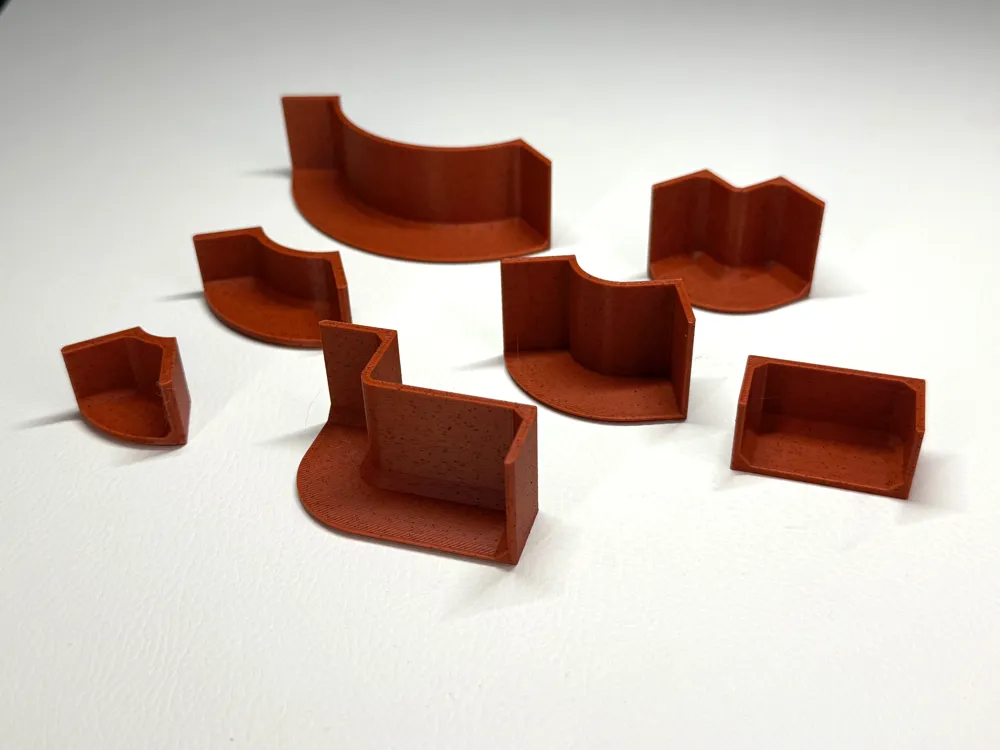
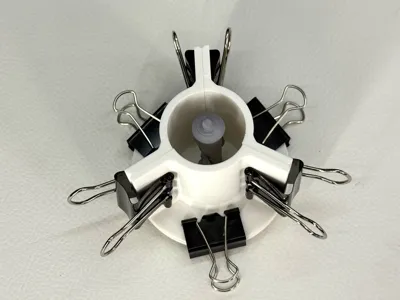
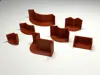
Generate custom round or square molds in seconds—just adjust the parameters and download.
I created this model because I frequently needed custom casting molds of different sizes and got tired of redesigning them from scratch. With this parametric version, a few parameter changes generate a completely new mold in seconds.

Adjustable Parameters Round
- Diameter – Internal diameter of the mold
- Height – Mold height
- Wall Thickness – Thickness of the mold walls
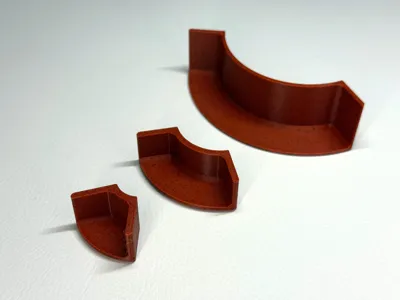
- Segments – Number of mold sections
- Clamp Lip Width – Extra material around the mold for clamps
Add top lip – Optional reinforcing rim to improve clamping on taller molds

Adjustable Parameters Square
- Length - Internal mold length
- Width – Internal mold width
- Height – Mold height
- Wall Thickness – Thickness of the mold walls
- Corner Radius - Recommended maximum value is the smaller of Length or Width /2.
- Clamp Lip Width – Extra material around the mold for clamps
- Add Top Lip – Optional reinforcing rim to improve clamping on taller molds
Features
✔ Fully customizable dimensions
✔ Fast generation of new mold sizes
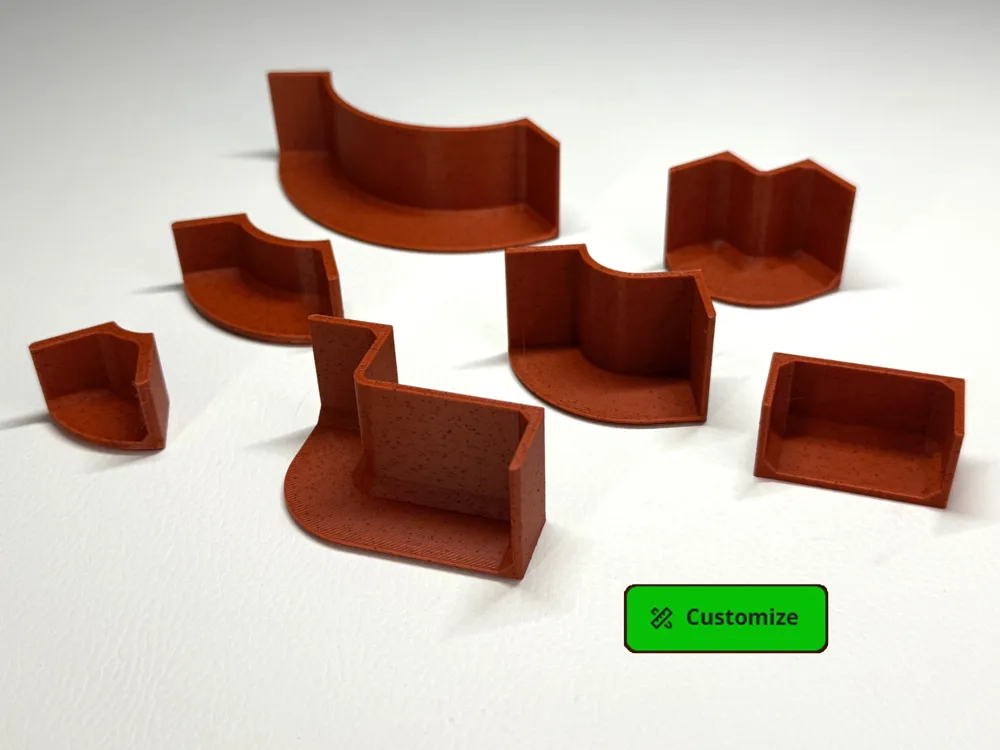
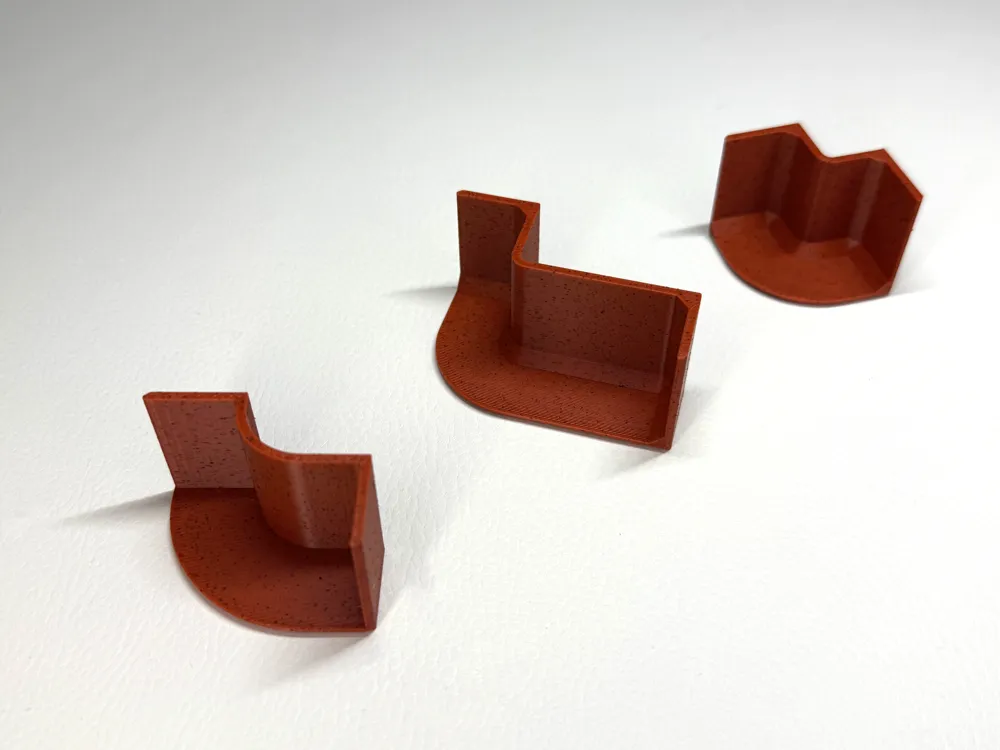
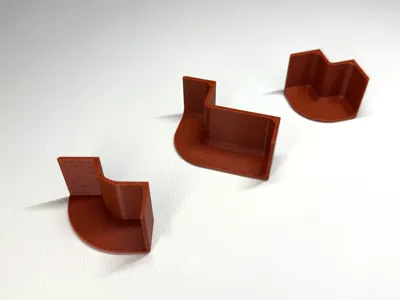
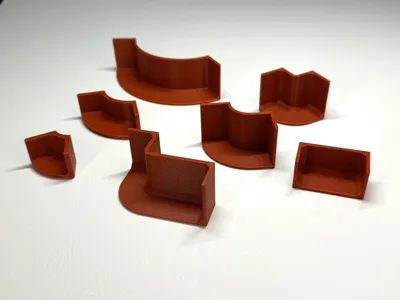
✔ Multi-part design for easy demolding
✔ Suitable for creating silicone molds and masters
✔ Designed for easy 3D printing
Recommended Print Settings
- Layer Height: 0.16–0.20 mm
- Walls/Perimeters: 3–4
- Infill: 15–25%
- Material: PETG recommended for durability, although PLA works well for most applications
Workflow

After opening the generated model in Bambu Studio:
- Divide the model into individual objects.
- Arrange the mold segments on the build plate. The mold base is also included in the generated model.
- Slice using your preferred print settings.
- Print all mold sections.
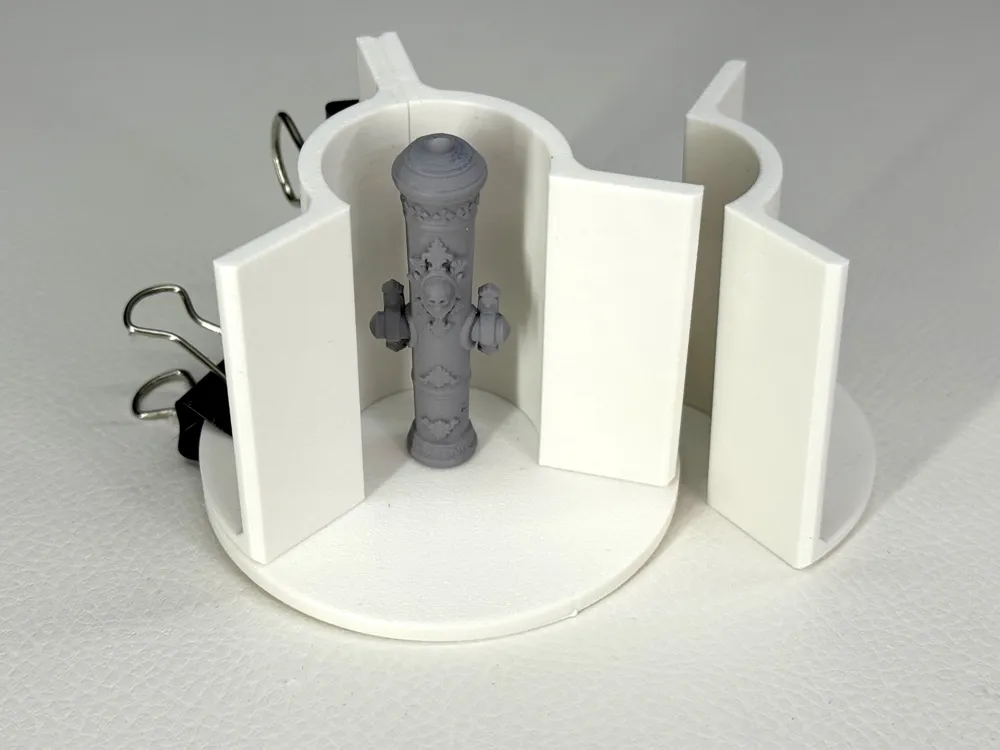
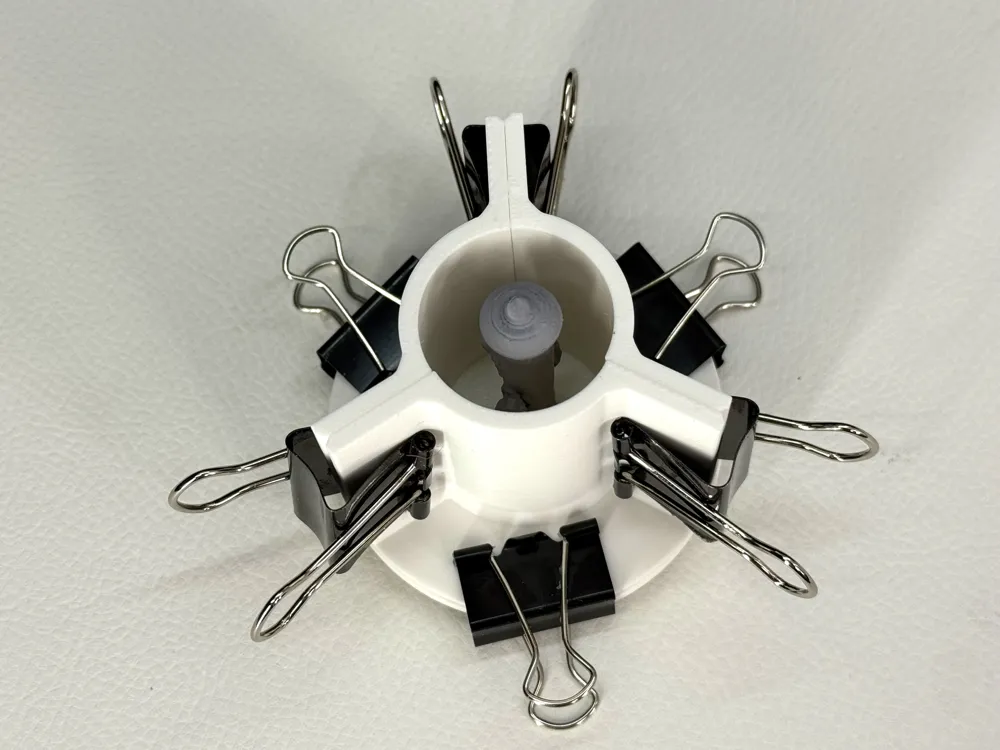
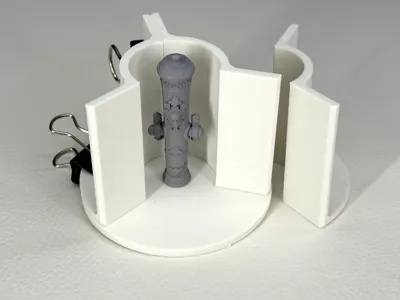
- Assemble the printed parts and secure them with clamps and rubber bands if needed.
- Use hot glue or another suitable adhesive to attach the object you want to mold to the center of the base. This can be a fruit, decorative item, or any other object you wish to reproduce.
- Pour your molding material and allow it to fully cure before demolding.
Example projects and a step-by-step video tutorial will be added soon.
Notes
- For tall molds, enable the Top Rim/Top Lip option to improve rigidity and clamping strength.
- Increase the number of segments when molding complex shapes to make demolding easier.
- The exterior surface quality is generally not critical, so faster print settings can be used if desired.
Share Your Makes
- If you create a mold using this generator, feel free to upload a photo in the comments. I'd love to see what you make!
License

You may create derivative works based on this object, provided that all such derivative works are published exclusively on the MakerWorld platform and include proper attribution to the original creator. You may not share, upload, host, distribute, or publish this object—or any derivative work of this object—on any other digital platform, marketplace, or distribution channel. Commercial use of this object and any derivative works is strictly prohibited. This includes, but is not limited to, selling, renting, sublicensing, or using the object in any context in which you receive monetary compensation or other financial benefits.


Comment & Rating (0)