


Print Profile(1)

Description
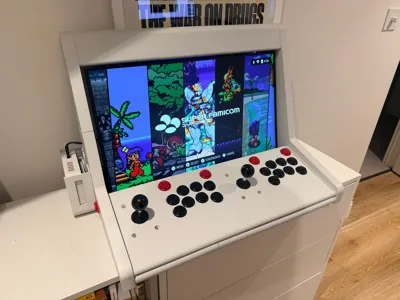
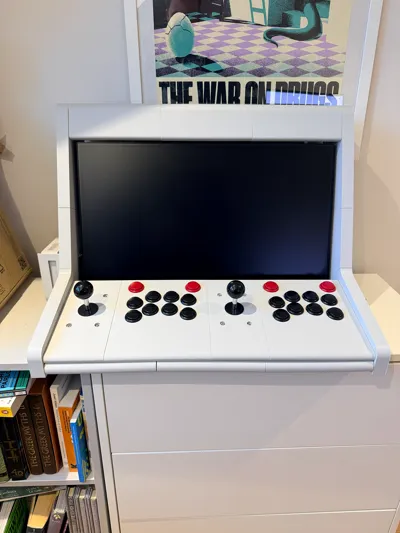
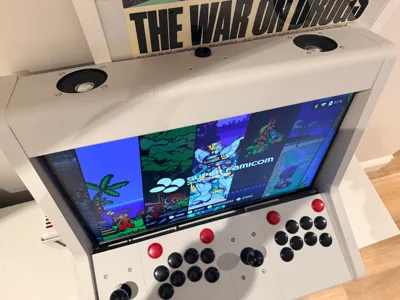
A fully 3D printed arcade machine for the Steam Deck. Also include alternative parts for my homemade Steam Machine (see profile for files).
Parts needed for this build:
22" Monitor (I used Samsung LS22R350FHUXEN)
Picade Max USB Controller
Picade Max USB Audio
Picade Max Encoder (Volume Control)
Pimoroni Arcade Buttons x22
Pimoroni Joystick x2
Pimoroni 3" Speaker 4Ω (5W)
Picade Wiring Loom v2
USB-C Hub (At least 3 USB ports) I use "SABRENT M.2 NVMe Enclosure, USB Hub"
2x USB-C to USB (or USB-C depending on what hub you use) cables
A set of M6 screws and nuts of various lengths (for the cabinet assembly)
A set of M5 screws and nuts of various lengths (for the joysticks and speakers)
A set of M4 screws and nuts (for the audio control board)
M6 wooden dowels (may need to be shaped down with a knife to fit snug)
Super glue
Step by step:
- Print all your parts using the provided file, pick whether you want the “Steam Machine” version of the middle left side or standard version for use with your Steam Deck dock.
- Once all the parts are printed align the side panels using the dowels and glue in place, you may need to use a rubber mallet to get the piece to fit snug.
- Next, use the M5 screws and nuts to attach the joysticks to their panels, at this point you can also add all of your arcade buttons.
- Use the M6 screws to combine all the cabinet parts together, except for the monitor brackets.
- Use the M4 and M5 screws to attach the audio control board, plug in your USB-C cable before this as it can be a pain to plug in afterwards.
- Using the monitor alignment plate combine the monitor brackets to the monitor, then attach to the rest of the cabinet.
- Now is the fun part, using your controller board and wires, plug in your buttons and use another USB-C cable to plug the boards into your dock.
- Once your Steam Deck is booted up, open the Steam Controller Input menu, disable Steam Input (else you'll have duplicate inputs) and test your button inputs. This part is trial and error as the labels on the board do not correlate to what Steam thinks is being pressed, so be patient and adjust the cables for each input.
And there we go! You have a Steam Deck Arcade Cabinet, a few thing to note:
- Sometime the audio can bug out and you'll need to either plug and unplug the USB cable for the controller or just switch the dock on/off.
- I'm unsure whether the monitor I've used uses a standard mounting system, please print off the alignplate before printed any other parts to test whether your monitor fits.
- This build is for 22" monitors and under, so please do keep that in mind as well.
- These control boards were made for Raspberry Pis, however due to that being Linux as well as the Steam Deck they work fairly well together!
I'd love to see your builds or if you have any questions please let me know :)
Have fun!!
License
You shall not share, sub-license, sell, rent, host, transfer, or distribute in any way the digital or 3D printed versions of this object, nor any other derivative work of this object in its digital or physical format (including - but not limited to - remixes of this object, and hosting on other digital platforms). The objects may not be used without permission in any way whatsoever in which you charge money, or collect fees.
Comment & Rating (17)